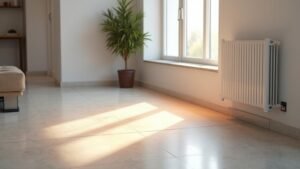
Restoring old wooden floors in period UK homes is usually worth it if your boards are structurally sound, because you’ll preserve original character, keep authentic thresholds, and often spend less with less disruption than full replacement. Check for adequate thickness, tight joints, minimal cupping or splits, and no rot, black staining, musty smells, or active woodworm dust. Expect roughly £25–£55/m² for sanding and finishing, plus repairs. Next, you’ll see when to repair, replace, or overboard.
Key Takeaways
- Restoring period floorboards is often cheaper than replacement and preserves the home’s original character and buyer appeal.
- It’s worth doing when boards are structurally sound, thick enough to sand, and free from widespread rot or active woodworm.
- Restoration avoids raising floor levels, helping keep original thresholds and transitions consistent across adjoining rooms.
- Costs commonly run £25–£55/m² for sanding and finishing, with extra for repairs, matching boards, and subfloor issues.
- Moisture problems and over-sanding can ruin old boards, so fix damp sources first and use gentle sanding methods.
Is Restoring Old Wooden Floors Worth It in UK Homes?
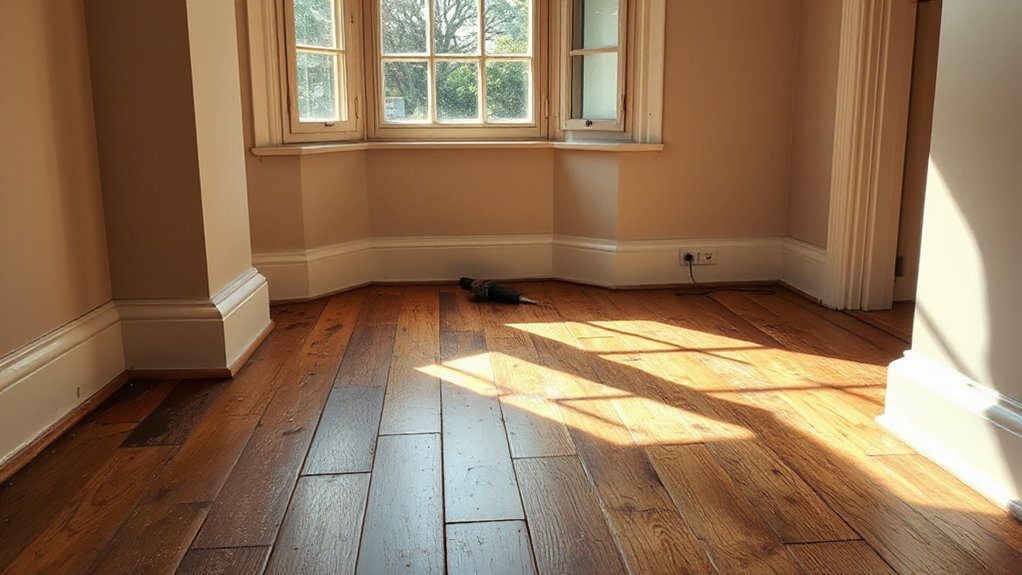
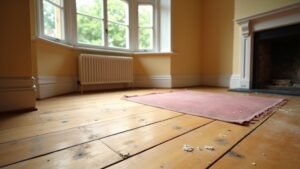
Why restore old wooden floors in a UK home instead of replacing them? You’ll often save money by keeping sound boards and fixing only what’s damaged. Restoration preserves original character, avoids skips and thresholds from new build-ups, and reduces disruption because you’re not lifting entire rooms. You can tighten creaks with screws, replace split sections using traditional carpentry, then sand flat for a consistent finish. Choose Eco friendly finishes to cut VOCs while still getting durable protection suited to busy hallways and living rooms. Restored floors also improve buyer appeal, especially where authenticity matters. If boards are rotten throughout, heavily worm-eaten, or structurally unsafe, replacement makes sense—but most floors respond well to targeted repairs and careful refinishing.
What Floorboards Do You Typically Find in Period Houses?
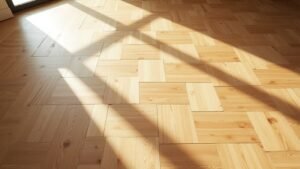
Although every house tells its own story, most UK period properties tend to have softwood floorboards—typically pine or deal—laid as straight, square-edged boards over joists, with widths and thicknesses varying by era and budget. In Georgian and early Victorian rooms, you’ll often see narrower boards and a regular Floorboard pattern, sometimes face-nailed with tight joints. Later Victorian and Edwardian houses commonly use wider, longer boards, and you may notice more frequent knots as faster-grown timber became common. In higher-status homes, you might find hardwoods like oak in principal rooms, or pine boards intended to sit beneath carpets. Basements, sculleries, and service areas can show cheaper, rougher grades. These choices carry historical significance and help date refurbishments.
How to Check If Your Old Boards Are Restorable
Before you book a sanding machine, inspect the boards methodically to confirm they’ve got enough sound timber left to restore. Lift a board in an inconspicuous area and measure thickness; you’ll need adequate wear layer above tongue-and-groove or nail heads. Check the Floorboard material for springiness, deep black staining, or a musty smell that signals rot. Probe suspect spots with a bradawl; sound wood resists and produces clean shavings, not powder. Look for widespread cupping, severe splits, or excessive knot loss that won’t clamp flat. Assess infestation by spotting flight holes and fresh dust; active beetle needs treatment first. Finally, map services, loose nails, and missing sections so you can plan realistic Restoration techniques and repairs.
When Restoring Old Wooden Floors Is a Great Idea
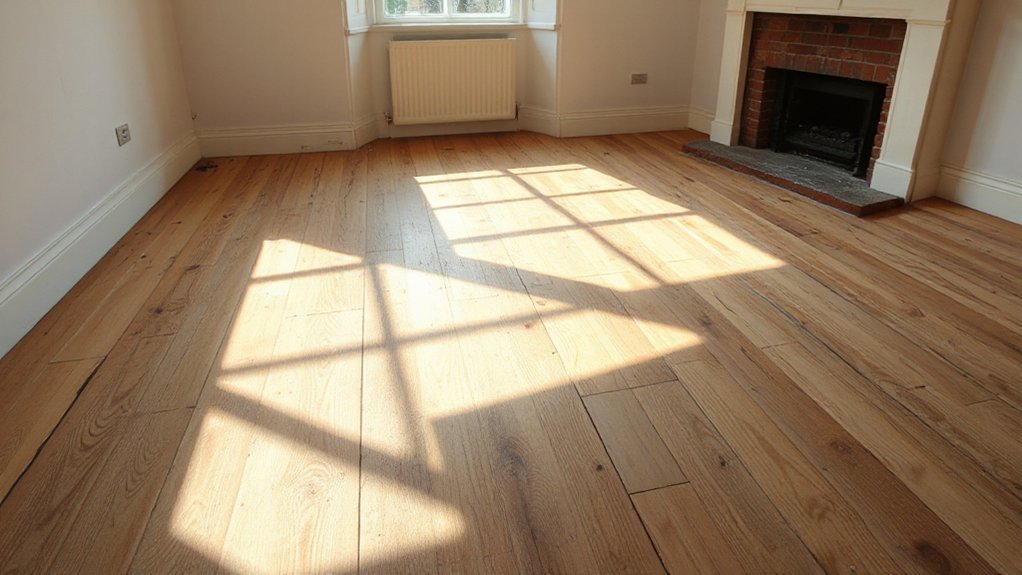
Once you’ve confirmed the boards are structurally sound, restoring an old wooden floor becomes a great idea when the timber still has character worth saving—tight grain, consistent board widths, and a patina that new flooring can’t replicate. You’ll get the best results when you want authenticity but also need performance that suits daily use, especially in busy hallways and living rooms. Restoration also makes sense if you’re matching adjoining rooms or keeping original thresholds and skirting lines intact.
- You want a period-correct look that complements Modern flooring elsewhere without visual clashes.
- You can sand, fill, and seal to reduce draughts while keeping board definition.
- You plan to finish with hardwax oils or lacquers using Eco friendly finishes for durability and low odour.
You’ll protect value, preserve history, and avoid unnecessary replacement waste.
When You Should Avoid Restoring Old Wooden Floors
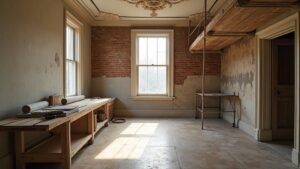
If the boards can’t deliver a stable, safe base, you should avoid restoration and plan for repair or replacement instead. Walk the room and listen for widespread bounce, cracking, or hollow sounds; these often point to failed joists, loose fixings, or subfloor movement that sanding won’t solve. Step back if you find persistent damp, black staining, powdery rot, or active woodworm, because refinishing can trap moisture and hide ongoing damage under synthetic finishes. You should also avoid restoration when past alterations have left patchwork boards, heavy cupping, or deep splits that would require excessive sanding and weaken the floor. If the space needs level thresholds, underfloor heating, or acoustic performance, modern flooring may be the more reliable route.
What Does Old Wooden Floor Restoration Cost in the UK?
In the UK, you’ll usually see old wooden floor restoration priced per square metre, but typical ranges shift with sanding depth, repairs, and finish choice. You can estimate your total quickly by sizing each room and applying the going rate, then adjusting for awkward edges, stairs, and thresholds. You should also budget for hidden extras like board replacement, subfloor levelling, insect or damp treatment, and skip hire, because they can change the final bill fast.
Typical UK Price Ranges
- Sanding + lacquer: ~£25–£45 per m²
- Sanding + hardwax oil: ~£30–£55 per m²
- Repairs + restoration finish: ~£45–£60+ per m²
Cost By Room Size
Two factors drive the price up or down when you cost old wooden floor restoration by room size: the floor area (m²) and how much of the job is “fixed” setup time (moving equipment in, edging, dust control, and finishing). In small rooms, that fixed time dominates, so your per‑m² rate rises. In larger rooms, setup gets spread out, so your per‑m² rate drops. As a working guide, a 6–10 m² box room often prices like a minimum visit, a 12–20 m² bedroom lands mid‑range, and a 20–35 m² lounge is usually best value per m². Floor sanding adds time around skirtings and doorways; Wooden staining pushes costs up when you need extra coats and drying gaps.
Hidden Restoration Expenses
Although your quote might look all‑inclusive, old wooden floor restoration in the UK often comes with extras that only show up once the sanding starts and the boards reveal what’s underneath. You’ll often pay more when hidden damage forces extra labour and materials, especially in period properties where Historical accuracy matters. Budget for surprises so you don’t compromise the finish or schedule.
- Subfloor repairs and joist levelling: rot, damp, or springy boards may require lifting sections and re‑fixing.
- Board replacement and matching: reclaimed timber, custom milling, and colour blending cost more than standard planks.
- Finishing upgrades and compliance: low‑VOC lacquers, fire‑safe thresholds, and Modern adaptations like underfloor heating assessments add fees.
Ask for a written allowance for contingencies (10–20%) and clarify disposal, edging, and stair nosing costs upfront.
Common Pitfalls When Restoring Period Floorboards
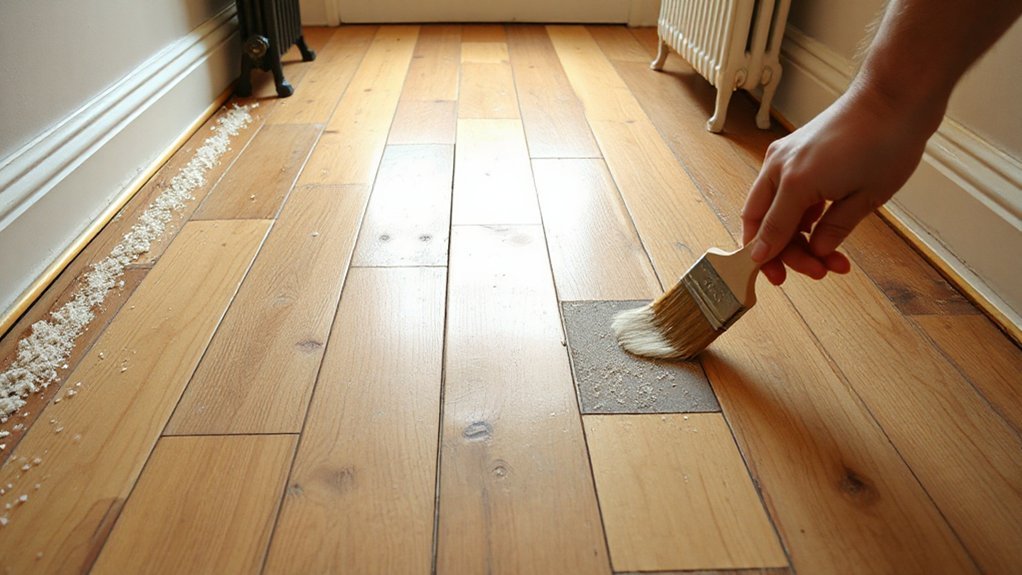
When you restore period floorboards, you can’t sand aggressively without thinning historic boards, rounding edges, and exposing fasteners or nail heads. You also need to manage moisture properly, because sealing over damp timber locks water in and leads to cupping, blistering, or finish failure. Start by evaluating board thickness and moisture content, then choose the lightest sanding schedule and a breathable finish that suits the building.
Over-Sanding Historic Boards
Before you even rent a drum sander, recognize that over-sanding is one of the fastest ways to destroy the character (and value) of historic floorboards. Aggressive Floor sanding can erase saw marks, soften worn edges, and thin boards until nails telegraph through or tongues weaken.
Use a cautious, evidence-led approach:
- Measure what you’ve got: check board thickness at vents/edges, and map cupping and nail heads.
- Preserve patina: start with the least abrasive grit, spot-sand only high ridges, and stop when historic finishes and stains just level out.
- Control the machine: keep the sander moving, feather passes, and finish with a light orbital screen rather than another heavy cut.
If boards are already thin, choose cleaning, repairs, and gentle abrasion instead.
Trapping Moisture Under Finish
Saving historic boards doesn’t end with careful sanding—you can still ruin them by sealing in moisture. If you lay finish over damp timber, you’ll trap water in the fibres, leading to cupping, black staining around nails, and a cloudy, soft coating that never properly cures. Before you seal, you must measure moisture content (aim for stable readings over several days) and find the source: leaking air bricks, wet plaster, or a bridged damp-proof course. Use Floor drying techniques: gentle heat, cross-ventilation, and a dehumidifier, not blasting hot air that shocks boards. Don’t rely on “breathable” varnish as a fix. Install appropriate Moisture barriers only where construction allows, and keep voids ventilated to prevent recurrence.
Should You Repair, Replace, or Overboard the Floor?
Although a few loose boards and surface scratches can look disastrous at first glance, you don’t have to guess whether your old wooden floor needs repair, full replacement, or an overboard layer. Start by lifting a few boards to check joists, nails, and signs of rot or woodworm, then measure deflection and listen for squeaks as you walk.
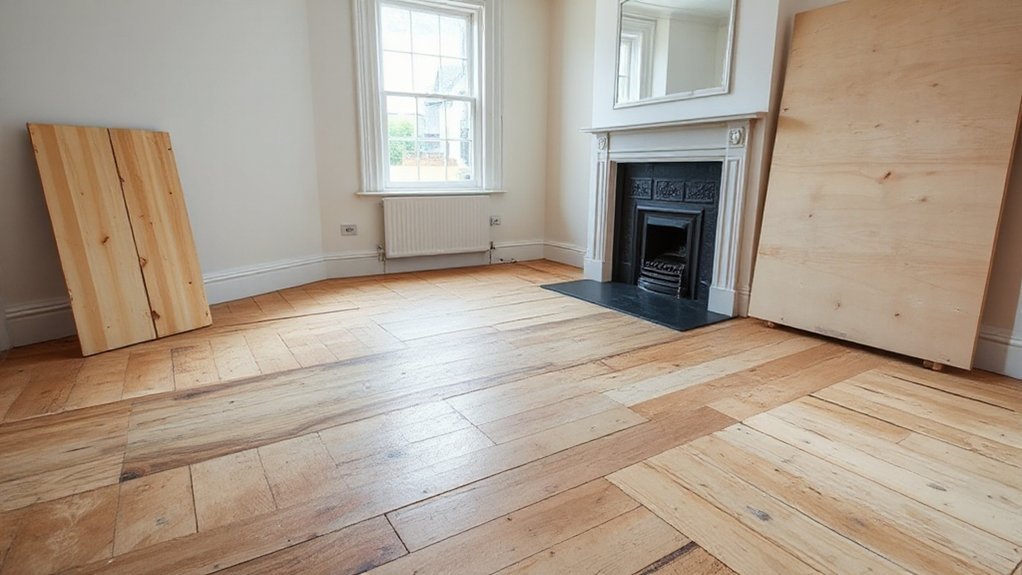
- Repair if boards are sound but cupped, split, or loose: refix into joists, splice damaged ends, and add noggins where bounce is local.
- Replace if widespread decay, severe infestation, or repeated patching has compromised strength and level.
- Overboard when you want a flatter base for modern upgrades while keeping vintage charm beneath, and services need hiding.
Best Finishes and Alternatives to Restored Floorboards
When you’ve put in the work to strip, level, and tighten old boards, the finish you choose determines how well they’ll handle daily wear and how authentic they’ll look. For period rooms, hardwax oil gives a low-sheen, breathable surface and lets you spot-repair scratches without re-sanding the whole floor. If you need maximum durability in halls or kitchens, use a high-quality water-based polyurethane: it stays clear, dries fast, and counts among reliable Modern finishes. Traditional shellac suits light-use spaces but marks easily.
If the boards are too gappy, cupped, or riddled with services, consider alternatives: overboard with 6–9mm ply, then fit engineered oak, parquet, or linoleum. You can still add character with Decorative inlays at thresholds or hearths.
Frequently Asked Questions
Will Restoring Floorboards Affect My Home Insurance or Claims Coverage?
Restoring floorboards can affect your home insurance if it changes risk, materials, or value, so you should notify your insurer. Keep receipts for restoration costs and photos for flooring aesthetics, ensuring smoother claims and accurate cover.
Do I Need Listed Building Consent to Restore Original Wooden Floors?
You’ll often need Listed Building Consent—like walking a tightrope—if you alter historic fabric; simple repairs may not. Check with your conservation officer. Prioritise Historic preservation, and document materials, methods, and environmental impact carefully.
How Long Does Floor Restoration Take in a Typical UK Period Home?
You’ll typically need 2–5 days, depending on room count and repairs. Floor sanding takes 1–2 days; Wooden refinishing needs 1–3 days, plus overnight curing. You can walk carefully after 24 hours.
Can Old Floorboards Be Restored Safely if the Home Has Asbestos?
Like walking a tightrope, you can restore old floorboards safely if you confirm asbestos presence, don’t sand or disturb suspect materials, and hire licensed specialists. Prioritise Asbestos safety, expect higher Restoration costs, and schedule professional air monitoring.
Will Sanding and Finishing Disrupt Neighbours in Terraced or Flat Properties?
Yes, you’ll likely disrupt neighbours: sanding noise travels through party walls and ceilings. You can reduce neighbour disturbance by using dust-contained sanders, working daytime only, warning neighbours, and choosing low-odour, fast-curing finishes.
Conclusion
Restoring old wooden floors can be like lifting a period home’s veil: you reveal character, not chaos. If your boards are thick, dry, and mostly sound, sanding and sealing will reward you with warmth, value, and a cleaner indoor environment. If they’re thin, worm-ridden, or bouncing on tired joists, don’t force it—repair, replace, or overboard. Choose hardwax oil for breathability, lacquer for toughness. Done right, your floor becomes the house’s steady heartbeat.