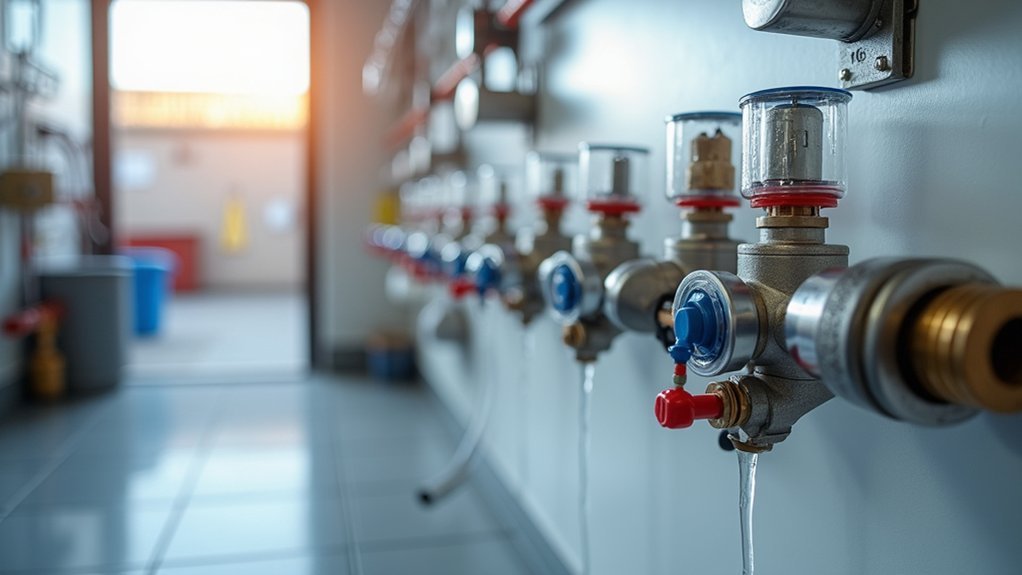
You don’t need to bleed underfloor heating routinely because it’s a sealed, pressurised circuit, but you should bleed it when trapped air causes cold patches, slow warm-up, gurgling, or repeated pressure drops. Air often gets in during filling, topping up, or repairs, and dissolved gases can form bubbles as temperatures change. Bleed at the manifold vents or bleed screws, then top up to around 1.0–1.5 bar cold and recheck for leaks. Keep going to see the exact steps and fixes.
Key Takeaways
- Underfloor heating only needs bleeding when trapped air causes cold patches, gurgling noises, slow warm-up, or repeated pressure drops.
- Air usually enters during filling, topping up, draining for repairs, or from dissolved gases releasing micro-bubbles as temperature and pressure change.
- Most trapped air collects at the manifold, so bleeding is typically done via automatic air vents or manual bleed screws there.
- Bleed each circuit slowly until bubble-free water flows, then restore cold pressure to about 1.0–1.5 bar and check for leaks.
- If symptoms persist after bleeding, balancing or flushing may be needed; call an engineer for ongoing pressure loss, PRV discharge, or black water.
Does Underfloor Heating Need Bleeding?
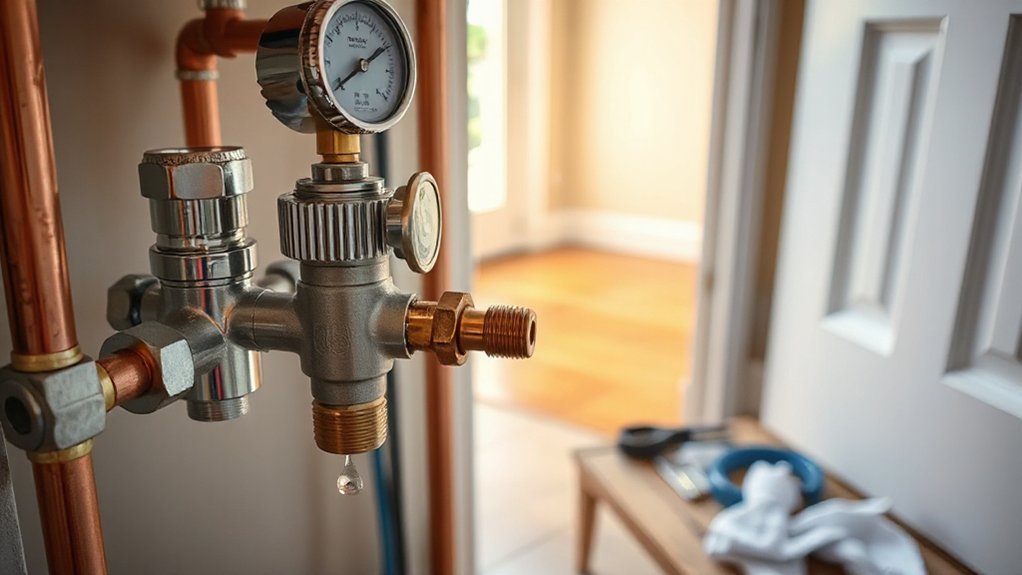
Although underfloor heating is designed to run as a sealed, pressurised system, it can still trap air in the pipe loops and manifold. You should bleed it when you notice cold patches, slow warm-up, gurgling at the manifold, or repeated pressure drops on the boiler gauge. Trapped air restricts flow, forces the pump to work harder, and reduces Energy efficiency, so you’ll pay more for the same heat output. Bleeding also helps protect components, as cavitation and poor circulation can accelerate wear on pumps and actuators. After the installation process, bleeding is often required during commissioning and again after the first few heat cycles as flow rates stabilise. You don’t need routine bleeding if temperatures are even, flow meters are steady, and system pressure holds.
How Does Air Get Into Underfloor Heating?
Where does the air come from in a “sealed” underfloor heating system? You often introduce it during filling, topping up, or draining down for repairs. Even with inhibitors, dissolved gases in mains water can come out of solution as temperature and pressure change, then collect at high points in pipework and the manifold.
Air can also enter through Air infiltration at joints, auto-air vents, valve spindles, and pump seals, especially if system pressure runs low. Micro-leaks on compression fittings, flexible hoses, or manifold connections can draw in air without obvious water loss. If you’ve got a heat pump or boiler with frequent pressure swings, you’ll drive more gas release. Poor Pump maintenance can worsen this by allowing cavitation and disturbing settled pockets.
Signs You Need to Bleed Underfloor Heating
If air’s collecting in your underfloor heating pipework or manifold, you’ll usually spot it through performance and noise issues before anything actually leaks. You’ll feel it as uneven floor temperatures, especially on longer loops, and you may hear gurgling or ticking as bubbles move with the circulating water. Watch for control oddities too: poor Thermostat placement can mask the problem, but persistent overshoot or slow warm-up often points to air pockets. Also check your build-up—wrong Insulation materials or gaps won’t create air, but they’ll exaggerate cold spots and make symptoms obvious.
- Cold patches despite normal flow temperature
- Noisy circulation: gurgling, rattling, or whooshing
- Frequent pump cycling or unstable heat-up times
- Repeated pressure drops after topping up the system
Where to Bleed Underfloor Heating (the Manifold)
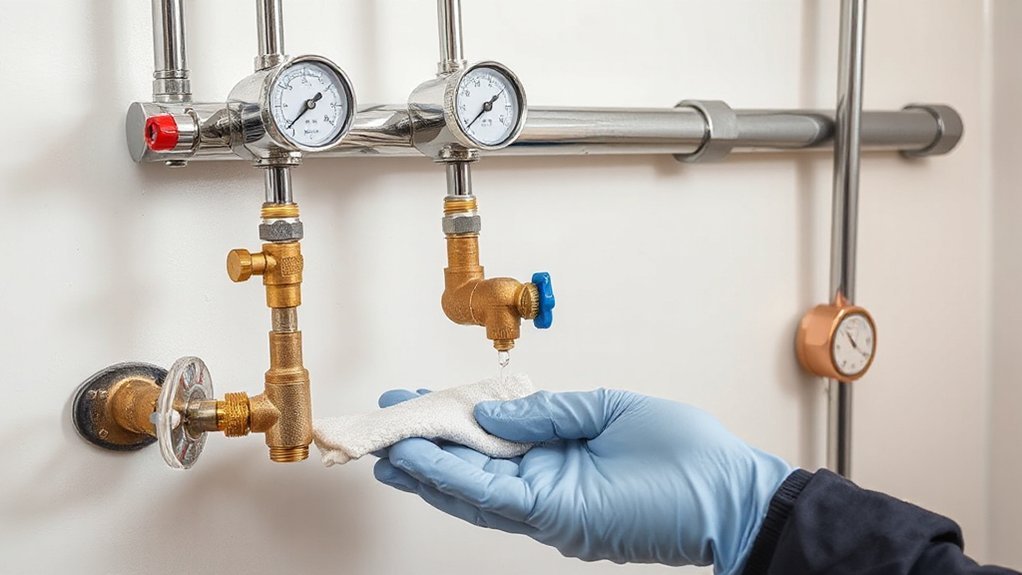
Since most underfloor heating systems trap air at their highest point, you’ll usually bleed the manifold rather than the pipework in the floor. In a typical UK install, the manifold sits in a cupboard and carries automatic air vents, plus manual bleed points on the flow and return bars. You’ll bleed at these vents because air collects there as water slows and changes direction through the circuits.
Look for the brass air vent caps at the top of the manifold, and the small bleed screws near the end stops. You’ll also find fill/drain valves at the lowest points; don’t confuse these with bleed points. If you’ve altered pipe insulation or circuit lengths, recheck thermostat calibration afterwards, as trapped air can skew temperature response and balancing readings.
Before You Start: Pressure and Safety Checks
Before you bleed the underfloor heating, you’ll check the system pressure on the manifold gauge and make sure it’s within the manufacturer’s limits. You’ll inspect the manifold, valves, and visible pipework for any leaks or weeping joints, as bleeding can shift pressure and worsen a weak seal. You’ll also isolate the electrical supply to the UFH controls and switch off the boiler or heat source so you’re not working on a live, hot circuit.
Check System Pressure
- Turn heating and pump off, then let the system cool to avoid false readings.
- Read the gauge at the boiler or UFH manifold; note cold pressure and any rapid drift.
- If it’s low, top up via the filling loop in short bursts, rechecking to stay within spec.
- If it’s high, bleed a radiator or use a drain point only if your manual allows it.
Inspect For Leaks
Once you’ve confirmed the system pressure is sensible, inspect the boiler, filling loop, UFH manifold, and any visible pipework for leaks—because even a small weep can keep dragging pressure down and pull air back into the circuit. Check around compression fittings, isolating valves, automatic air vents, and the pressure relief discharge pipe outside. Look for green staining, white limescale, rusty streaks, or damp insulation. Run a dry tissue over joints to spot fine seepage. On the manifold, check flow meters and actuator ports for drips, and make sure the caps are snug. If any Pipe insulation is wet, remove a section and trace the source before rewrapping. Don’t chase airflow issues with Thermostat calibration until leaks are ruled out first.
Isolate Power And Heat
With leaks ruled out, make the system safe to work on by isolating power and heat sources so you’re not bleeding against a live pump or firing boiler. You’ll also protect Energy efficiency by avoiding unnecessary heat-up cycles and pump run-on.
- Switch off the UFH controller at the fused spur, then lock it off if you can and label it.
- Turn the boiler off at the programmer, and set the room stat low so it can’t call for heat.
- Close the manifold’s isolating valves (flow and return) and confirm the pump has stopped.
- Let the circuit cool, then check system pressure on the gauge before opening any bleed points.
Good insulation techniques help retain heat, but you still need a cold, dead system.
How to Bleed Underfloor Heating, Step by Step
You’ll need the right tools and safety prep before you start bleeding, including a hose, bleed key (if fitted), and a bucket, and you should isolate power to the boiler and pump. You then bleed each manifold circuit loop one at a time, opening and closing the relevant valves to force trapped air out until the flow runs clear and steady. Finally, you check system pressure at the gauge and top up via the filling loop to the manufacturer’s cold-fill range, then recheck for leaks.
Tools And Safety Prep
- Adjustable spanner or manifold key, plus a small flathead screwdriver
- Hose, jubilee clip, and a bucket to control discharge to a drain
- Pressure gauge access, PTFE tape, and a bleed bottle for small releases
- PPE: heat-resistant gloves and safety glasses, plus a torch
Check your system type (boiler/heat pump), note target pressure, and locate the filling loop.
Bleed Manifold Circuit Loops
Once you’ve got the right tools, PPE, and access to the filling loop and pressure gauge, you can start bleeding the manifold circuits one loop at a time to drive trapped air out of the pipework. Close every circuit on the manifold using the flow meters/lockshields, then open only the first loop fully. Fit a hose to the drain-off valve and run it to a bucket or outside drain. Crack open the bleed/drain point on the return side and let water purge until it runs clear and bubble-free. Shut that loop, then repeat for each circuit, keeping all others closed to force flow through the active loop. Work methodically so loops under thicker Thermal insulation or tighter Floor covering zones don’t retain air pockets.
Check Pressure And Refill
After you’ve purged each loop, check the manifold pressure gauge and top the system back up via the filling loop to the cold fill pressure recommended for your setup (commonly around 1.0–1.5 bar on domestic systems). Do this with the pump off and the UFH mixing valve open, so you’re reading true static pressure. Refill slowly to avoid dragging air back in and keep an eye on the auto air vent cap.
- Open the filling loop valves and watch the gauge rise steadily.
- Stop at target pressure, then close both valves fully and remove the hose if required.
- Run the circulation pump for 10 minutes, then recheck and correct for Thermal expansion.
- Confirm pressure holds; low pressure harms flow, heat output, and Insulation efficiency across zones.
Top Up Pressure After Bleeding Underfloor Heating
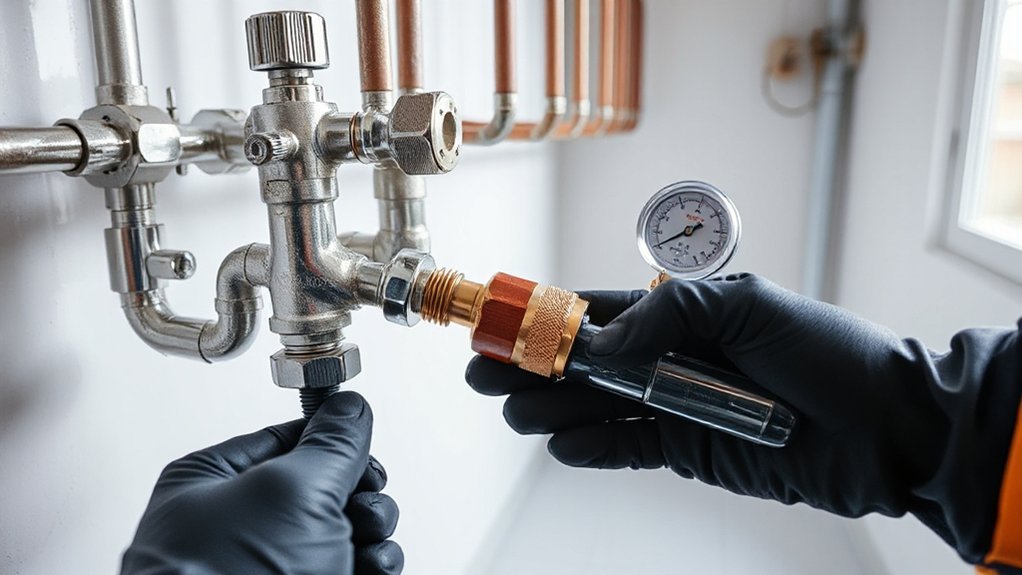
Although bleeding clears trapped air from the underfloor loops, it often leaves the system pressure low, so you’ll need to top it back up at the filling loop. Check the gauge at the manifold or boiler first; most UK sealed systems run around 1.0–1.5 bar when cold (follow your manufacturer’s spec). Open both filling-loop valves slowly, watch the needle rise, then shut them firmly at the target pressure. Bleed again briefly if the gauge drops, then re-top up in small increments. Finally, set the programmer back to normal and confirm Thermostat calibration so demand matches actual room temperature. While you’re there, inspect Pipe insulation on exposed tails to reduce heat loss and stabilise flow temperatures. Recheck after 24 hours.
Why Underfloor Heating Is Still Patchy After Bleeding
If bleeding hasn’t evened out your floor temperatures, you’re usually dealing with flow imbalance or a control issue rather than trapped air. Patchiness often happens when one loop steals flow, leaving longer runs lukewarm, or when the manifold settings don’t match your room heat loss and thermal insulation.
- Check manifold flow meters: set each loop to its design rate; longer loops usually need more.
- Verify actuators open: a stuck head or wiring fault can leave a zone half-shut.
- Confirm thermostat logic: wrong floor sensor placement or aggressive setbacks cause uneven recovery.
- Review pump and mixing valve: low pump speed or a mis-set blending valve limits flow temperature.
Sort these, and you’ll restore heating efficiency without chasing air that’s already gone.
Bleeding vs Flushing UFH Loops (and When to Call an Engineer)
Patchy heat and noisy pipes can look like “air in the system”, but bleeding and flushing solve different problems in a UFH loop. Bleeding releases trapped air via the manifold vents and restores circulation; it won’t shift sludge, limescale, or magnetite that restricts flow. Flushing forces clean water through each loop, often with a powerflusher and inhibitor, to clear debris and rebalance flow meters.
You can bleed safely if you’ve got a sealed system at correct pressure and the pump runs. Call an engineer if pressure keeps dropping, the PRV discharges, you see black water, or multiple loops stay cold after balancing and Thermostat calibration. Also check Pipe insulation on distribution pipes; heat loss can mimic poor flow.
Frequently Asked Questions
Can I Bleed Underfloor Heating Without Turning off the Boiler?
Yes, you can, but you shouldn’t; you’ll risk drawing in air pockets and upsetting system pressure. Turn the boiler and pump off, isolate the loop, bleed, then restart. It also supports pump maintenance too.
How Often Should Underfloor Heating Be Bled in a Typical Home?
You’ll typically bleed underfloor heating once a year, usually at service time, unless you notice Air bubbles (gurgling, cold loops). After refills or Pump maintenance, bleed immediately, then recheck pressure and flow rates.
Does Bleeding Underfloor Heating Affect Energy Bills or Running Costs?
Yes, it can: you’ll clear airlock issues, stabilise system pressure, and let water circulate evenly. You’ll heat faster, pump less, and cut wasted kilowatts—so running costs often drop. If over-bled, you’ll need refilling.
Is Bleeding Different for Electric Underfloor Heating Systems?
Yes—electric mats/cables don’t need bleeding because there’s no water circuit. Electric system differences mean you’ll only check electrics and stats. Bleeding process variations apply only to wet UFH: purge loops, vents, manifold.
Can Bleeding Underfloor Heating Void My Boiler or UFH Warranty?
Yes, it can—despite thinking it’s “just air.” If you bleed without manufacturer procedure or documented System maintenance, you risk Warranty implications. You should follow UK-approved instructions and get a Gas Safe engineer to record it.
Conclusion
So no, your underfloor heating doesn’t “need” bleeding… right up until it does, and you’re sat on a cold patch in July. If you’ve checked the manifold, pressure gauge, and loop valves, a quick bleed often shifts trapped air and restores flow. Top up to the correct system pressure afterwards and recheck for leaks. Still patchy? That’s when bleeding stops being heroic and flushing—or an engineer—becomes the sensible option.