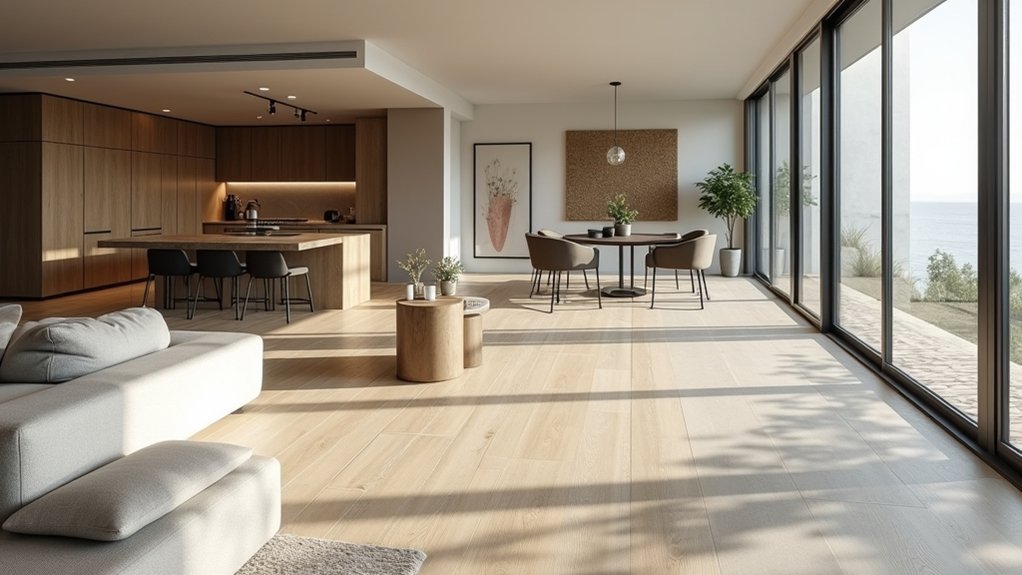
You can define zones in an open-plan space by using clear flooring signals: rotate plank direction 90° between traffic paths and seating, swap materials (tile in kitchen, wood in living), or add a tight herringbone “island” under dining. Keep undertones and sheen consistent, then use one contrasting border or inlay to mark shifts. Align seams with islands or rugs, and plan flush trims to prevent stubs—keep going for more layout tips.
Key Takeaways
- Use plank direction changes or patterns (like herringbone) to signal distinct seating, dining, and circulation zones in open plans.
- Define boundaries with consistent-width borders, trims, or inlays, keeping transitions flush and corners aligned to walls for clean geometry.
- Create visual separation through coordinated color, tone, and sheen; match undertones and repeat one anchor contrast per zone for cohesion.
- Switch materials at natural breaks like island edges or cabinetry lines, using flush reducers or metal profiles to avoid trip hazards.
- Map zones and traffic paths first, then place seams away from door swings and confirm clearances before installation to prevent awkward transitions.
Open-Plan Zoning: Pick Your “Flooring Signals
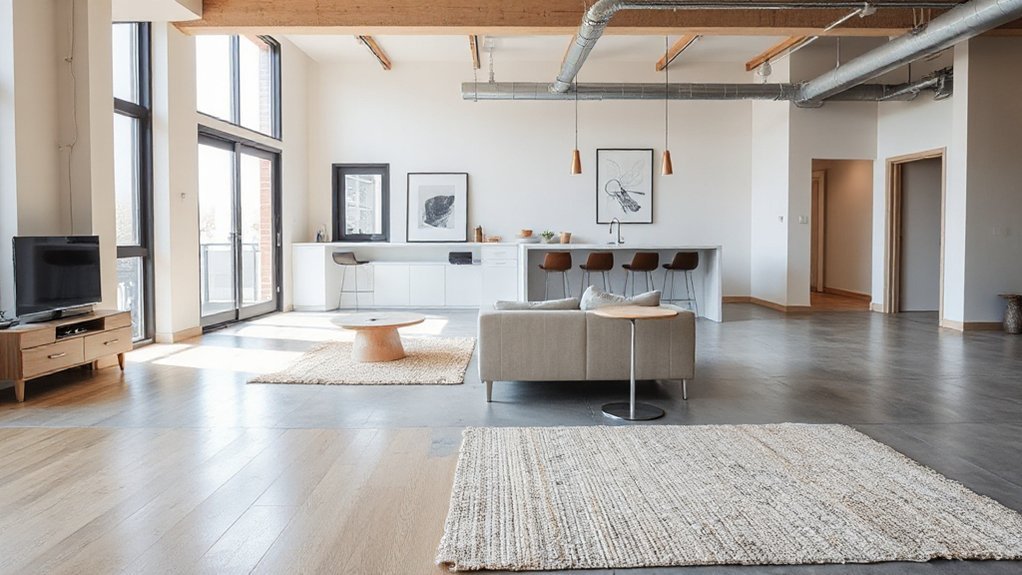
If you want an open-plan space to feel organized without adding walls, use flooring as your clearest signal. Choose distinct “signals” that read instantly: a direction change in plank layout, a contrasting tile grid, or a tighter herringbone field under seating. Keep transitions crisp with metal schluter strips, flush reducers, or clean saw-cut borders so the break looks intentional, not patched. Use color and sheen deliberately: matte, darker tones anchor lounge areas; lighter, glossier finishes sharpen kitchen or work zones. Prioritize Material durability where traffic and spills hit hardest, and reserve softer, quieter surfaces for low-wear areas. Plan Flooring installation details early—expansion gaps, underlayment height, and door clearances—so edges align perfectly.
Map Your Zones Before You Choose Flooring
Flooring only reads as a clear “signal” when it follows a zone plan you’ve already locked in. Start by sketching your layout to scale and label each activity area—cooking, dining, lounging, working—then confirm clear circulation paths. Once you’ve mapped zones, you can select Flooring materials that reinforce function, durability, and maintenance needs without guessing.
- Mark primary walkways and keep them unobstructed so transitions don’t land in traffic lanes.
- Set zone boundaries with fixed references (island edges, sofa backs, table perimeters) so seams align cleanly.
- Note moisture, heat, and wear conditions per zone to match underlayment, thickness, and slip resistance.
These zoning strategies prevent awkward cuts, waste, and visual confusion, and they simplify installation details and future repairs.
Keep Open-Plan Zones Cohesive With Color
In an open plan, you’ll keep zones feeling unified by matching undertones across flooring choices—warm with warm, cool with cool—so shifts read intentional. You can still define each area by setting one or two contrasting color anchors, like a deeper wood tone in the dining zone or a lighter tile in the kitchen. You’ll get clear boundaries without visual clutter because the palette stays controlled even as materials change.
Harmonize Tones Across Zones
Although each zone can serve a different purpose, you’ll keep an open-plan layout feeling intentional by harmonizing undertones across every flooring choice. Start with Tone matching: identify whether your dominant wood or tile reads warm (gold/red) or cool (gray/ash), then keep adjacent materials in the same temperature family. Use color blending to flow between zones without visual jolts—think shared mid-tones, not dramatic shifts. Check samples in morning and evening light, because LEDs and daylight can flip undertones.
- Match undertones first, then adjust depth (light-to-medium-to-dark) within the same family
- Repeat one shared hue in grout, stain, or grain across all zones
- Keep sheen consistent (matte/satin) so surfaces reflect light similarly
Use Contrasting Color Anchors
Once you’ve aligned undertones and sheen, use a few high-contrast color anchors to signal where one zone ends and the next begins without breaking the open-plan flow. Create Color contrast by pairing a pale oak plank in the living area with a charcoal-stained border plank around the dining table, or by switching to a deeper herringbone inset under the kitchen island. Keep the change intentional: repeat the anchor color in trim, stool legs, or a nearby rug edge so it reads as a designed shift, not a mistake. For clean visual separation, limit yourself to one anchor per zone and keep widths consistent (3–6 inches for borders, one tile course for insets). Verify samples under daytime and evening lighting before committing.
Separate Kitchen and Living With Flooring
How do you separate the kitchen from the living area in an open-plan layout without adding walls? You switch flooring materials to create a crisp boundary: durable tile or LVP in the kitchen, warm wood or carpet in the living zone. Run the transition line parallel to your cabinetry so it reads intentional, not accidental, and align it with the Kitchen backsplash edge or peninsula overhang for visual continuity. Then plan appliance placement so high-traffic paths stay on the tougher surface and the living area remains cleaner and quieter.
- Use a flush reducer or metal profile to prevent trip points
- Match grout or plank tones to your cabinetry for a cohesive kitchen field
- Keep the seam out of door swings and undercut baseboards for a clean finish
Anchor the Dining Area With a Floor “Island
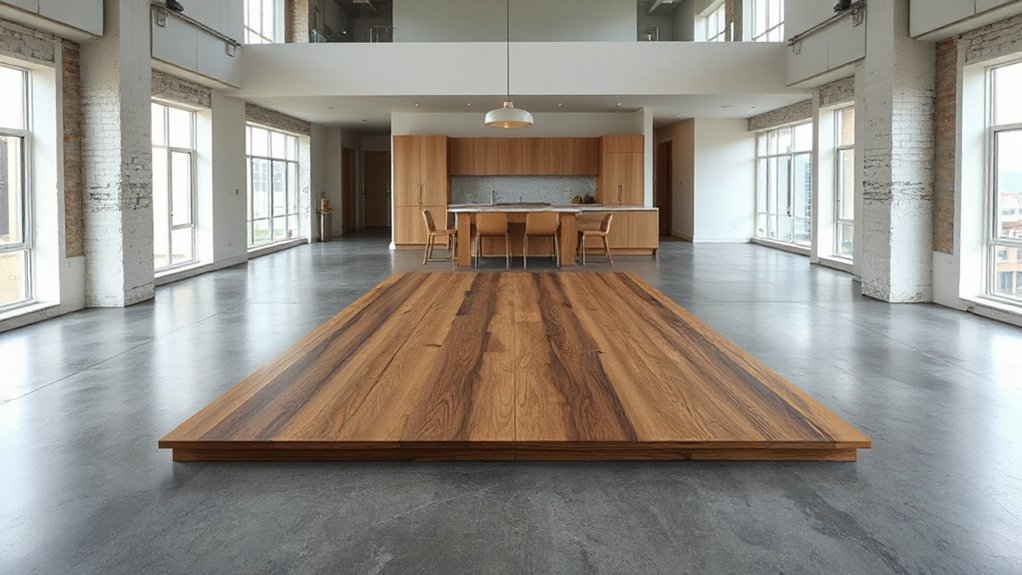
You’ll anchor the dining area by laying out a clear floor “island” with crisp borders that track the room’s circulation lines. Choose a contrasting material or pattern—like tile set within wood—to signal the dining zone without adding walls. Align the island’s edges with the table and chair pull-back space so everything reads intentional and functions comfortably.
Define Dining Island Borders
When your dining area sits inside an open-plan layout, a dedicated floor “island” draws a clean boundary without adding walls. You’ll get crisp floor delineation by defining the island’s perimeter with a Decorative border that reads from every approach. Keep the outline consistent with the table footprint, then allow chair clearance so the border never lands under chair legs. Use straight runs to echo cabinetry lines, and soften corners only where traffic cuts through.
- Set the border 24–30 inches beyond the tabletop to cover pull-back space.
- Align the island’s edges with major sightlines (kitchen run, window wall, entry axis).
- Finish the perimeter with a flush transition strip so feet and chair glides don’t catch.
This framing makes the dining zone feel intentional and easy to navigate.
Choose Contrasting Materials
Where should the dining zone start and stop in an open plan? Use a floor “island” with a clear material change to mark it instantly. Create deliberate texture contrast: pair smooth timber planks in surrounding circulation areas with matte porcelain, terrazzo, or sealed concrete under the table. This material pairing gives the eye a boundary without adding thresholds or walls. Keep the dining surface durable and stain-resistant; choose low-porosity finishes and tighter grout lines for easy cleanup. Control slip and sound by selecting a slightly textured rating and adding an acoustic underlay beneath hard finishes. Match thicknesses at progressions so the surface stays flush, and specify a slim metal edge or grout joint to make the border crisp and intentional.
Align Island With Furniture
Although a contrasting floor “island” defines the dining zone instantly, it only reads as intentional if it aligns with the table and chairs. Start with Furniture alignment: center the island on the table’s long axis, then square the perimeter to key sightlines like a fireplace, sofa edge, or window wall. Keep the island’s border parallel to your main traffic path so it doesn’t feel skewed. For clean Island integration, size it to include pulled-back chairs, not just the tabletop, and match edge profiles to adjacent flooring progressions.
- Allow 24–30 inches beyond chair backs for slide-out clearance
- Align island corners with rug corners or buffet edges for visual order
- Use a consistent reveal at thresholds to prevent “patchwork” seams
Create a Home Office Zone With Finish Changes
If you need a dedicated workspace without building walls, change the flooring finish to draw a clear boundary around your home office zone. Keep the same material for continuity, then shift sheen: matte under the desk, satin in adjacent living space. This contrast reads as purposeful, not patchwork, and it’s easy to maintain.
Use a low-pile area rug over the office section to reduce chair noise and add Acoustic solutions without construction. Anchor the desk so all front legs sit on the rug, and leave a 12–18 inch reveal to show the finish change. Add Creative storage by placing a slim file cabinet or shelving unit precisely on the transition point; it reinforces the edge and keeps clutter contained. Match trim color to the office finish for crisp definition.
Open-Plan Zoning With Plank Direction Changes
In an open-plan layout, you can define each zone by changing plank direction to match how you use the space. You’ll run planks lengthwise in main traffic paths, then rotate them 90 degrees in dining or seating areas to signal a clear shift without adding walls. Keep the shifts clean by aligning the direction change to a natural boundary—like an island edge or rug line—so it reads intentional and stays easy to install.
Orient Planks By Zone
When you shift plank direction between functional areas, the floor itself draws clean boundaries without adding walls or rugs. You’ll get stronger zone differentiation by planning plank orientation as deliberately as you plan furniture placement. Run planks lengthwise in circulation paths to visually extend the room, then rotate them in seating or dining areas to signal “pause and stay.” Keep your layout consistent with how you move through the space, and you’ll avoid a chopped-up look.
- Align living-zone planks with the longest sightline to calm the view.
- Turn kitchen planks parallel to the primary run of cabinets for order.
- Match dining planks to the table’s long axis to anchor the setting.
Confirm door swings, appliance clearances, and island edges before you commit.
Transition With Direction Shifts
Although open plans rely on uninterrupted surfaces, you can still mark a clear handoff between zones by rotating plank direction at the exact point where circulation shifts to activity. Align planks with the main movement flow in walkways, then turn them 90 degrees where you want people to slow down—at a seating group, dining table, or kitchen work area. Keep the change crisp by snapping a control line and starting the new run from that datum, not from the nearest wall. Use a straight plank joint as the shift, or add a slim divider strip only if required by the product. Match color and width so direction becomes the primary visual cues, not competing patterns.
Outline Zones With Flooring Borders and Trims
If you need clear zone separation without changing the entire floor, outline each area with borders and trims that create a deliberate “frame.” Use contrasting materials (such as a wood border around tile), a change in plank direction at the perimeter, or a thin metal/wood inlay to draw a crisp boundary line that reads instantly at eye level. You’ll get definition without raising floors or adding partitions. Keep Flooring borders consistent in width so the perimeter reads intentional, not patched. Use Trim accents to tie the border to nearby elements like baseboards, cabinetry, or stair nosings, and you’ll avoid visual clutter. Prioritize durable segues where traffic concentrates.
- Set border width (1–4 in.) to match room scale
- Align corners to walls for clean geometry
- Specify flush trims to prevent toe-stubs
Mark Transitions With Inlays and Patterns
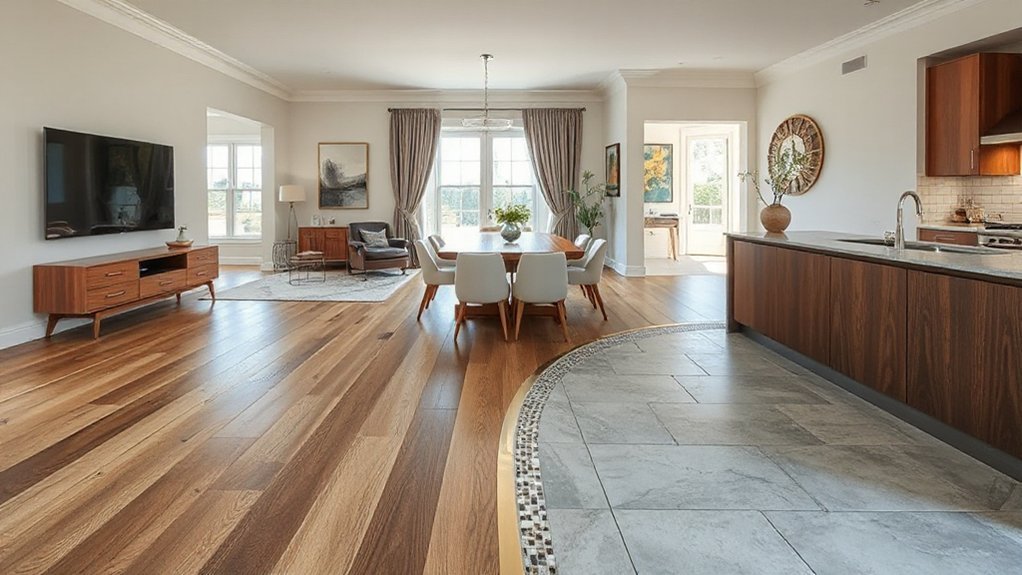
To make a shift read intentional rather than improvised, mark it with an inlay line or a repeatable pattern that signals “a new zone starts here.” Run a thin brass/wood strip at the seam, insert a tile ribbon between fields, or move to a herringbone (or diagonal) panel at an entry to create an immediate visual cue without changing floor height. Keep inlays aligned to primary sightlines so they read crisp from the room’s main approach. Use Inlay patterns that echo nearby geometry—cabinet reveals, window mullions, or stair nosings—so the change feels designed, not decorative. For durable transition marking, specify contrasting materials with similar wear ratings and finish them flush to prevent toe-stubs. Limit pattern changes to one decision point per path for clean, legible zoning.
Use Area Rugs for Renter-Friendly Zoning
Permanent inlays and pattern shifts draw crisp boundaries, but you can get the same zone clarity with an area rug—no adhesive, no floor swaps, and no landlord headaches. You’ll define a dining zone, reading nook, or home office by anchoring furniture legs on the rug and keeping surrounding pieces off it. For renter friendly results, size it to the function: let the rug extend past key edges so the zone reads intentional, not accidental. Choose a low-profile pad so doors clear and the rug doesn’t creep during use.
- Place front legs of seating on the rug to “lock” the conversation area.
- Align rug edges with major sightlines (sofa, desk, table) for clean geometry.
- Use contrasting color or texture to separate zones without changing flooring.
Choose Durable Flooring for High-Traffic Zones
Where do footsteps, chair scrapes, and dropped bags hit hardest—your entry, kitchen path, hallway, and the route to the sofa? Treat these corridors as work zones and specify flooring that’s built for abrasion, dents, and moisture. Start with Durability testing: check AC ratings for laminate (aim AC4–AC5), wear-layer thickness for vinyl plank (20 mil is a solid baseline), and Janka hardness for wood (higher numbers resist dents). Then run a Material comparison based on your risks: porcelain tile shrugs off grit and wet boots; luxury vinyl handles spills and quiets impact; engineered hardwood offers warmth but needs tougher species and a factory finish. Choose textured, matte surfaces to hide scuffs, and use deeper tones where grime tracks.
Plan Flush Transitions and Avoid Zoning Mistakes
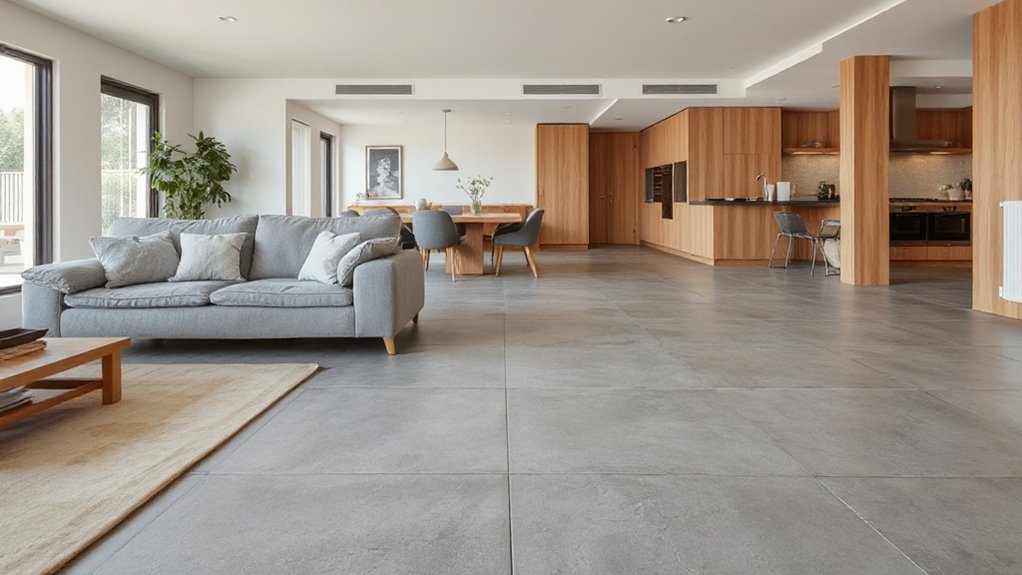
Although zoning with different materials can sharpen how a space functions, the details fall apart fast if your shifts feel like speed bumps. Plan transitions before flooring installation starts, not after you’ve committed to heights, underlayment, and door swings. Aim for flush surfaces so rolling chairs, strollers, and bare feet glide without catching, and so each zone reads intentional instead of patched together. Use proven transition techniques to manage expansion gaps, moisture, and movement between rigid and soft materials.
- Match finished-floor thicknesses with backer, self-leveler, or thinner underlayment to eliminate lips.
- Align seams with natural breaks (cabinet lines, island edges), not random mid-walkway cuts.
- Keep pattern direction consistent across zones unless you’re deliberately signaling a boundary.
Measure twice; mock up samples under real light.
Frequently Asked Questions
Do Flooring Changes Affect Resale Value in Open-Plan Homes?
Yes, flooring changes can affect resale value in open-plan homes if you choose durable flooring material and maintain tight color coordination. You’ll boost buyer appeal with cohesive shifts, but you’ll hurt value with mismatched textures, tones.
What Permits or Building Codes Apply to Changing Flooring Between Zones?
Like walking a tightrope, you’ll check if building permits are required: structural changes, subfloor alterations, radiant heat, or egress impacts often trigger them. You’ll guarantee code compliance for fire ratings, shifts, slip resistance, and accessibility.
How Do I Handle Flooring Zoning With Radiant Floor Heating Systems?
You’ll handle radiant floor shifts by matching floor coverings to output, keeping consistent R-values, and coordinating thermostat loops. Use zoning strategies like separate manifolds per zone, expansion gaps, and compatible adhesives to prevent hotspots, failures.
Can Flooring Choices Reduce Noise Between Activity Zones?
Yes, flooring choices can reduce noise between zones. In a busy home office, you’d add cork underlayment beneath LVP. Use soundproofing options like acoustic mats, and rely on flooring material comparisons—carpet dampens most, tile least.
What’s the Best Way to Match New Flooring to Existing Flooring?
Bring home samples, check them in your room’s lighting, and compare sheen, plank size, and texture. Prioritize matching materials where possible, then use precise color coordination. Confirm batch numbers, changeover profiles, and underlayment height.
Conclusion
When you zone an open plan with flooring, you guide traffic and attention without building barriers. Start with a clear map, then pick purposeful “signals”: steady tones for cohesion, tougher surfaces for busy paths, and a bold floor “island” to ground dining. Use patterns, inlays, and rugs to mark moments and soften shifts. Finally, plan seamless transitions so every seam sits smooth, safe, and smart—no trip hazards, no visual clutter.