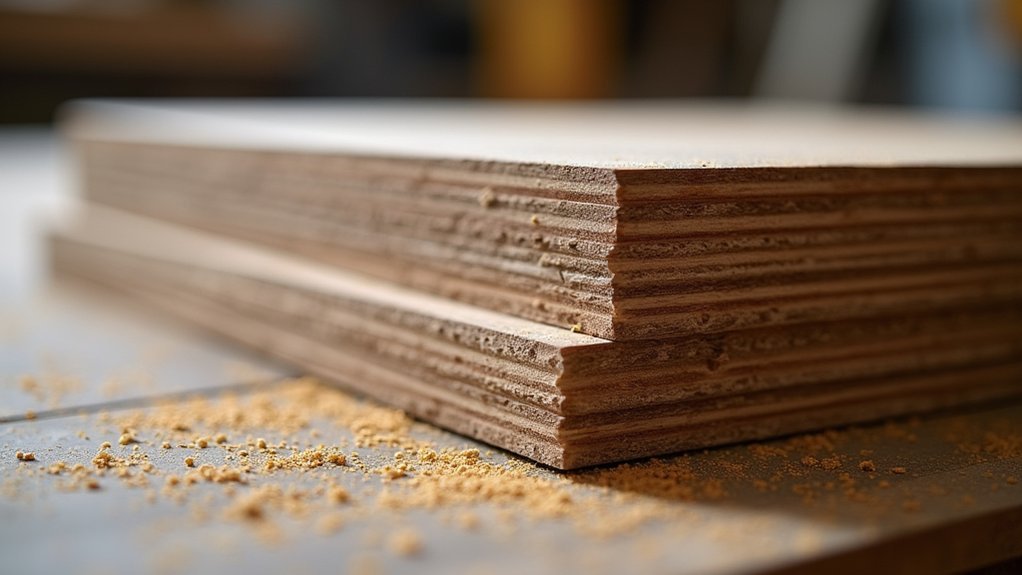
You’ll spot common manufacturing defects in flooring fast if you check multiple packs before you start. Watch for bowed, twisted, or warped boards straight out of the pack, mis-machined click or tongue-and-groove profiles that won’t lock and leave gaps or squeaks, and thickness variation that creates lippage. Look for core faults such as delamination, edge curl, and vinyl warping, plus finish issues like scratches, haze, peeling film, or uneven gloss. Next, you’ll see how to confirm and document faults.
Key Takeaways
- Core moisture imbalance causes swelling, shrinkage, gaps, or raised edges, often visible across multiple packs from the same batch.
- Delamination defects show hollow sounds, bubbling, layer separation, or edge curl due to adhesive failure or poor resin cure.
- Warping, bowing, or twisting straight out of the pack indicates internal factory stress, uneven density, or poor conditioning during manufacture.
- Mis-machined click/lock or tongue-and-groove profiles cause poor engagement, gaps, squeaks, lippage, and joint stress from tool wear or setup errors.
- Surface finish faults like scratches, haze, peeling film, or inconsistent gloss result from contamination or curing problems and are immediately visible.
Defect vs. Install Issue: Quick ID Checks
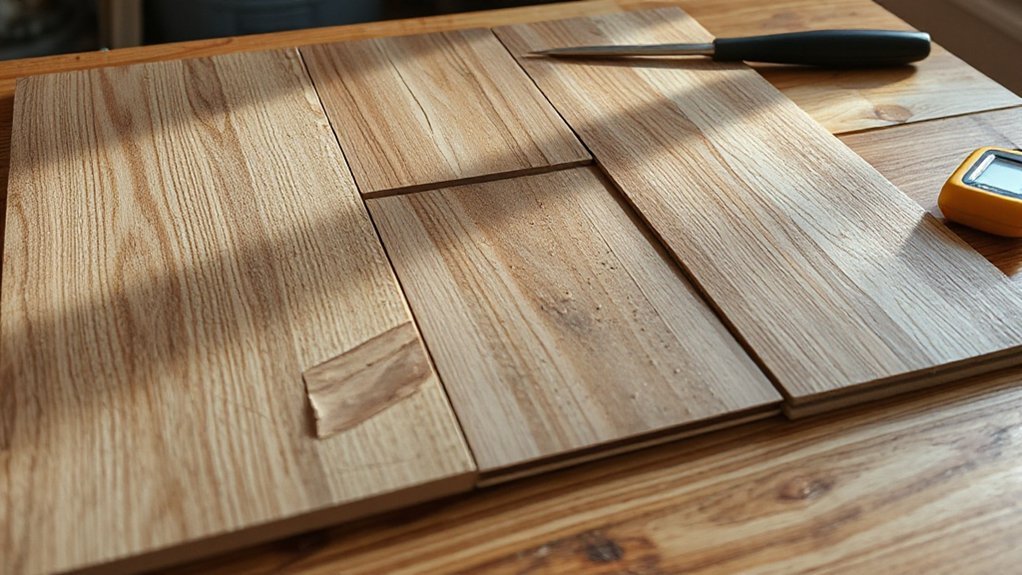
Before you log a claim as a manufacturing defect, run a few fast checks to separate product failure from fitting error. Check if the issue repeats across multiple packs and batches; isolated boards often point to handling or cutting. Measure moisture and substrate flatness to BS 8203 expectations, and confirm expansion gaps and acclimatisation were followed. Look for consistent edge swell, delamination, or print faults that track through the run; that suggests process control, Design variation, or material sourcing problems. If cupping or gapping aligns with radiator lines, bay windows, or damp zones, you’re likely seeing site conditions. Verify adhesive type, trowel notch, and open time against the manufacturer’s UK datasheet, and record ambient RH and temperature at install and after.
Pre-Install Inspection Checklist for Flooring Defects
Once you’ve ruled out obvious fitting errors, tighten your process by inspecting the flooring and site conditions prior to installation, because a documented pre-install check is often the deciding evidence in a UK defect claim. Treat it like QA: you’re looking for batch faults, machining issues, and packaging damage before you cut anything.
- Verify Flooring material types, shade, batch codes, and quantities match the delivery note; photograph labels and seals.
- Open multiple packs and check board length/width tolerances, edge profile consistency, surface finish, and click/lock integrity.
- Inspect for bowed boards, chipped tongues, damaged bevels, inconsistent coating, and print repeat in LVT.
- Calibrate Installation tools (tape, straightedge, square, callipers); record readings, ambient temperature, and acclimatisation time.
Moisture-Related Manufacturing Defects (Cupping, Gaps)
Although cupping and gapping often get blamed on site moisture, you should also treat them as potential manufacturing defects when boards leave the factory with an incorrect moisture content, uneven lamination, or poor core stability. If the product’s MC is too high, it’ll shrink after installation and open end or side gaps; too low and it can swell, stressing joints and raising edges. In engineered boards, inconsistent adhesive cure or veneer balance can accelerate Moisture absorption and drive movement across the width.
You can verify this by checking batch MC with a calibrated meter, comparing readings across packs, and reviewing the manufacturer’s declared range for UK conditions. Ask for production and kiln-drying records, plus tolerance data. Maintain Humidity control on site, but don’t accept blame for factory instability.
Milling Defects: Warp, Twist, and Bowed Boards
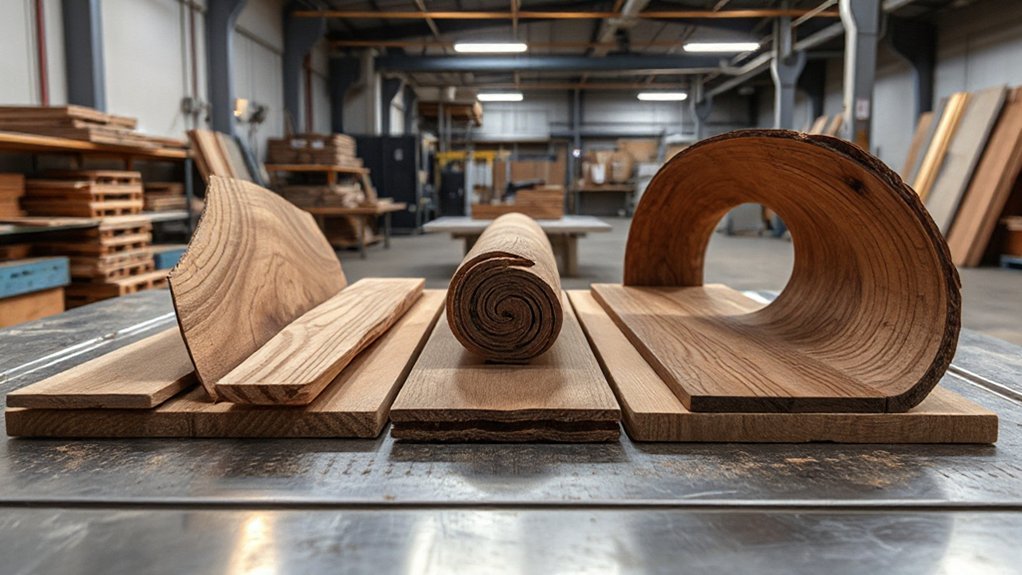
If boards arrive already warped, twisted, or bowed, you’re looking at a milling and conditioning problem that started at the factory, not a fitting issue on site. Poor Milling precision can leave uneven thickness, off-square edges, or internal stresses that release after packing, driving Board warping before you’ve even opened the last pack. You’ll waste time trying to pull boards flat, and you risk over-stressing fixings and adhesives.
- Check straightness with a 2m straightedge; reject packs with consistent crown.
- Measure thickness variation with callipers; >0.3mm across a board is a red flag.
- Sight along the edge for twist; it won’t “relax” once fixed.
- Log batch numbers and photos; raise a UK warranty claim fast.
Tongue-and-Groove Machining Defects (Gaps, Squeaks)
If the tongue-and-groove profile is mis-machined or inconsistent, you’ll struggle to achieve a tight fit, leaving visible gaps and creating movement that leads to squeaks underfoot. You can diagnose it on site by checking engagement depth, shoulder squareness, and board-to-board tolerance with a straightedge and feeler gauges, then tracing noise to loose joints rather than subfloor bounce. You’ll prevent most issues during installation by rejecting out-of-tolerance packs, keeping boards acclimatised to UK site conditions, and using the correct fixing pattern and adhesive where specified.
Causes Of Poor Fit
When tongue-and-groove profiles aren’t machined to consistent tolerances, boards won’t pull up tight during installation, so you’ll often see visible gaps and hear squeaks underfoot. You’re usually dealing with production variables, not site technique. Poor cutter calibration, worn heads, or inconsistent feed speed can leave tongues undersized or grooves too shallow, reducing contact area and allowing micro-movement. Moisture imbalance at the mill also matters: if boards leave the kiln too wet or too dry for UK conditions, they’ll shrink or swell after machining and the joint won’t match. Even design aesthetics and material selection can drive thinner profiles or softer species that machine less cleanly. Watch for:
- Tool wear and chatter marks
- Incorrect profile set-up
- Variable board thickness/warp
- Inadequate acclimatisation control
Diagnosing Gaps And Squeaks
Manufacturing variables show up on site as persistent gaps at the long edge and end joints and as squeaks that return even after you re-tap boards tight. Start by isolating boards with repeatable joint opening: if the gap tracks a specific batch, suspect tongue-and-groove milling tolerance or crushed tongues. Check for tight spots where the tongue bottoms out before faces close, leaving a shadow line that’s more obvious against lighter Flooring color. For squeaks, listen for noise at fixed joints under light footfall; that often indicates uneven groove depth or chatter marks that prevent full engagement. Use your installation tools to pull a short run, then inspect tongues for feathering, burnishing, or inconsistent shoulder height. Photograph defects with a ruler for claims.
Prevention During Installation
Where do tongue-and-groove machining defects cause the most grief—during the first few rows. If you force boards together, you’ll crush fibres, telegraph gaps, and trigger squeaks once the subfloor flexes. Start by controlling the variables you can on site, because you can’t re-machine the profile.
- Check subfloor flatness to BS 8203; pack low spots, then re-test with a 2 m straightedge.
- Dry-lay three rows and reject boards with loose tongues, chipped shoulders, or inconsistent bevels.
- Maintain expansion gaps and room conditions (UK heating swings matter); acclimatise per manufacturer.
- Use Eco friendly adhesives where specified, and pair underlay and fixings suited to sustainable materials to limit movement and noise.
Thickness and Sizing Defects That Cause Lippage
Although lippage often gets blamed on poor installation, you’ll frequently trace it back to thickness and sizing defects that leave adjacent boards or tiles sitting at different heights. If the factory can’t hold thickness uniformity across a batch, you’ll feel proud edges even on a flat, well-prepped subfloor. Likewise, poor sizing accuracy in length, width, or edge profile forces tight spots and gaps, so pieces don’t bed down evenly and the joint telegraphs a step. In the UK, check product tolerances against the relevant EN standard and reject packs with visible caliper variation. Dry-lay a few boards/tiles, rotate them, and measure with a vernier across multiple points. If variation exceeds spec, stop and raise a claim before fixing starts.
Finish Manufacturing Defects (Scratches, Peel, Gloss)
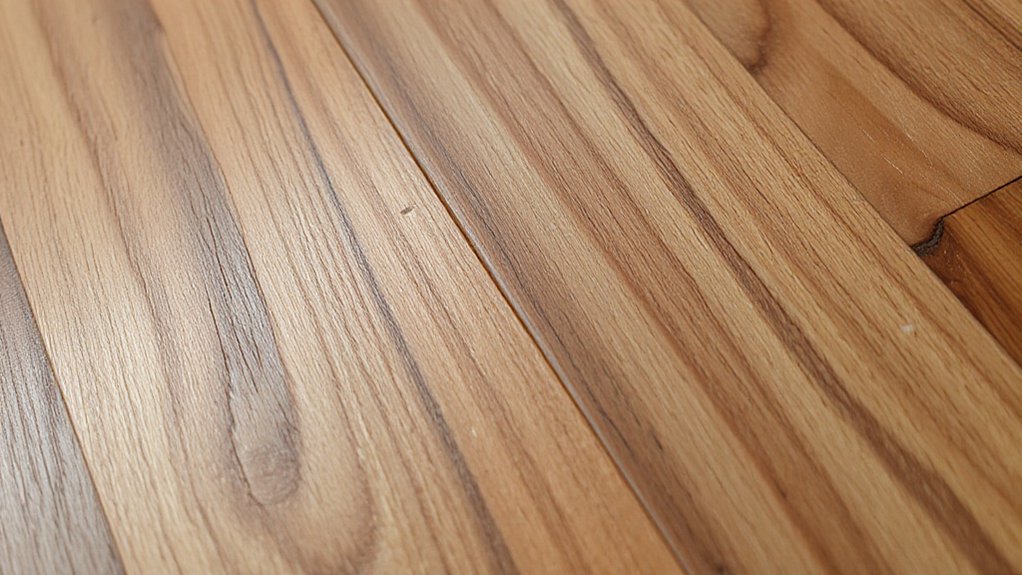
A factory-applied finish should arrive hard, even, and consistent, but defects like fine scratching, peeling at edges, and patchy gloss can show up straight out of the box and won’t “wear in” once you’ve laid it. These finishing flaws often come from poor curing, contaminated lacquer, or mis-set rollers, and they’ll catch light differently under UK daylight and spot lighting. Check boards before installation and quarantine any pack that shows surface blemishes.
- Inspect at a low angle with a torch to reveal micro-scratches and haze.
- Run a fingernail along edges; lifting film or flaking indicates peel risk.
- Compare sheen across multiple boards; inconsistent gloss usually worsens when cleaned.
- Photograph batch codes and defects, then stop fitting and raise a claim immediately.
Engineered, Laminate, and Vinyl Core Defects (Delam, Curl)
You’ll often spot core-related manufacturing faults when engineered boards delaminate between veneer and ply, laminate edges curl from poor resin cure or uneven moisture control, and vinyl cores warp from unstable formulations or pressing issues. You can confirm engineered delamination by checking for hollow-sounding areas and visible layer separation at cut edges, and you’ll trace laminate edge curl to raised joints, lip-page, and tight-lock stress even in dry UK site conditions. You should flag vinyl core warping when planks rock, seams open, or straightedges show bow or twist straight out of the pack.
Delamination In Engineered Layers
When engineered flooring, laminate, or vinyl core products leave the factory with weak adhesive bonds or unstable core layers, delamination can show up quickly as lifting veneers, bubbling, edge peaking, or curl. You’re typically seeing layer separation driven by adhesive failure, not installation error. In UK site conditions, you’ll spot it early if you check boards before fitting and monitor ambient RH.
- Inspect pack ends: look for blisters, raised grain, or telegraphing lines.
- Flex a board gently: listen for crackle and watch for veneer lift.
- Check core density and thickness consistency with callipers across samples.
- Document batch codes and moisture readings for a robust supplier claim.
If defects recur across unopened packs, quarantine stock and notify the distributor.
Laminate Edge Curling Causes
Although edge curl often gets blamed on site moisture swings, factory-side faults in engineered, laminate, and vinyl core boards can drive it from day one: uneven core density, mis-calibrated press cycles, or adhesive starvation create internal stress that pulls edges up as the product equalises. You’ll often see the laminate edge lift consistently along multiple planks from the same batch, not just at external walls. Check for resin-rich or resin-starved zones in HDF, poor edge sealing, and over-sanded faces that thin the wear layer and reduce stiffness. In click systems, tight milling tolerances matter; if the profile’s cut too shallow, the joint can’t resist uplift. When you’re investigating curling causes, record batch codes, measure moisture content, and compare uplift across unopened packs.
Vinyl Core Warping Indicators
If the vinyl core leaves the factory with locked-in stress, it won’t wait for “site conditions” to start moving—planks can dish, crown, or banana along their length straight out of the pack. In UK installs, you’ll spot Warping indicators before you blame heat, sunlight, or a wonky subfloor. Check boards on a flat surface and compare multiple cartons; random direction changes often signal manufacturing imbalance, not acclimatisation.
- Sight down the long edge: a consistent bow across several planks suggests core tension.
- Rock test on a straightedge: teetering shows crown or dish.
- Click-joint mismatch: tight ends with gapped middles indicate curvature.
- Pattern repeat in unopened packs: identical warp points flag batch-level defects.
What to Do Next: Document, Pause Install, Warranty Claim
Spot a possible manufacturing defect and you’ll save time and money by acting methodically straight away: stop the installation, photograph and label the affected packs/boards, record batch codes and delivery details, and keep a small sample. Check the rest of the consignment for repeat faults, then quarantine suspect material in a dry, flat area. Note site conditions (RH, subfloor moisture, temperature) and the product spec so you don’t misattribute fitting errors to factory issues. Log Customer feedback, including when the defect first appeared and any handling history. Don’t cut or modify affected boards; it can void warranty. Contact your merchant/manufacturer promptly and follow their warranty procedures: provide photos, batch codes, proof of purchase, and installer notes. Wait for written approval before resuming installation or disposal.
Frequently Asked Questions
What Flooring Defects Are Most Common by Brand or Product Line?
You can’t reliably rank defects by brand/product line in the UK without batch data; you should judge Brand reliability via independent claims rates. You’ll catch issues early through rigorous Product inspection and documentation checks.
How Long Do Manufacturing Defect Warranties Typically Last?
You’ll typically see manufacturing defect warranties last 10–25 years in the UK, sometimes “lifetime” for residential. Check Warranty coverage limits, exclusions, and required installation. Defect lifespan evidence, batch codes, and prompt reporting can affect acceptance.
Will a Manufacturing Defect Affect Indoor Air Quality or VOC Levels?
Yes—if you catch a sharp chemical haze on warm days, a defect can raise Indoor air pollution via higher VOC emissions. You should ventilate, log odours, measure with UK IAQ tests, and contact the supplier promptly.
Can Defective Flooring Be Safely Refinished or Repaired Instead of Replaced?
You can sometimes refinish or repair defective flooring, but you must confirm the defect’s scope. Arrange a professional inspection first; then attempt DIY repair only for minor surface issues. Otherwise, replace to meet UK safety standards.
How Do Manufacturing Defects Impact Home Resale Value or Appraisals?
You’ll likely see a lower asking price and valuation; defects create clear resale impact and trigger appraisal considerations. For example, a Leeds flat with delaminating boards got a £7k down-valuation until you documented remediation and warranties.
Conclusion
Before you click that last plank home, picture your floor under a raking torch beam: every lip, gap, and gloss ripple jumps out like a fault line. You’ll save time and money if you stop, tag the packs, and log batch codes the moment you spot cupping, bow, delamination, or finish peel. Don’t “make it fit” on site. Photograph, measure, and quarantine suspect boards, then raise a clear warranty claim with your supplier.