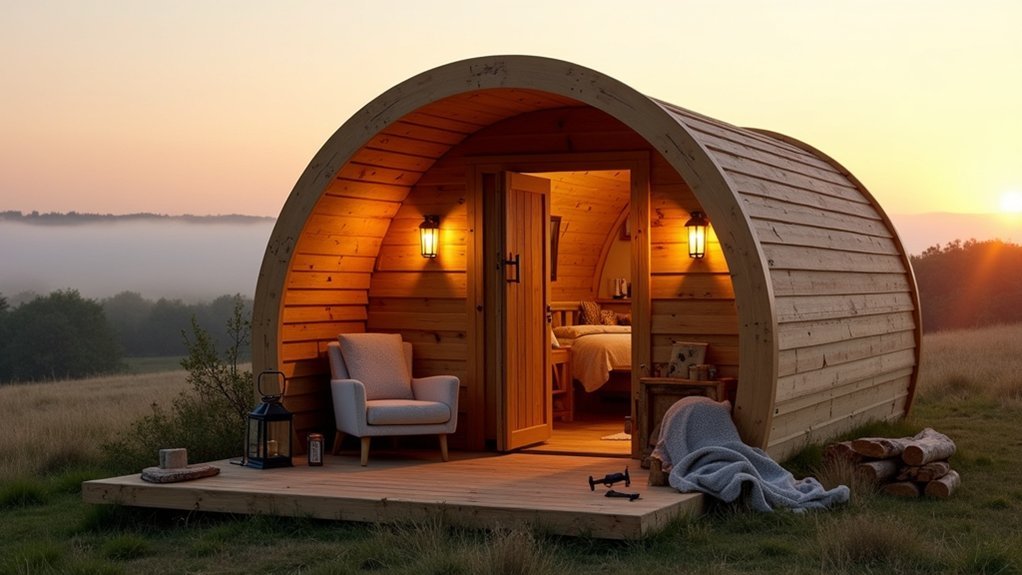
You craft a luxury shepherd’s hut by defining year-round use, surveying wind, sun, access, and drainage, and setting a budget for chassis, envelope, fit-out, and compliance. You match a 12–18 ft chassis to towing limits and layout modules, keeping a low centre of gravity. You specify vented rainscreen cladding, durable roofing, and high-performance windows. You pair dense insulation with airtight layers and balanced ventilation to prevent condensation, then map services and bespoke joinery before lining. Next, you’ll see how each choice locks together.
Key Takeaways
- Define purpose, budget, and comfort targets for insulation, ventilation, acoustics, and off-grid services before designing the hut.
- Survey the site for wind, solar, drainage, access, and planning constraints, including fire separation and service routes.
- Match chassis size and towing limits to the layout, keeping weight low and ensuring gate widths and turning radius work.
- Build a durable envelope with vented timber rainscreen cladding, long-life roofing, and high-performance timber-aluminium composite windows.
- Prevent damp and failures by pairing eco insulation with airtight layers, balanced ventilation, and preplanned service routes with accessible panels.
Define Your Hut’s Purpose, Site, and Budget
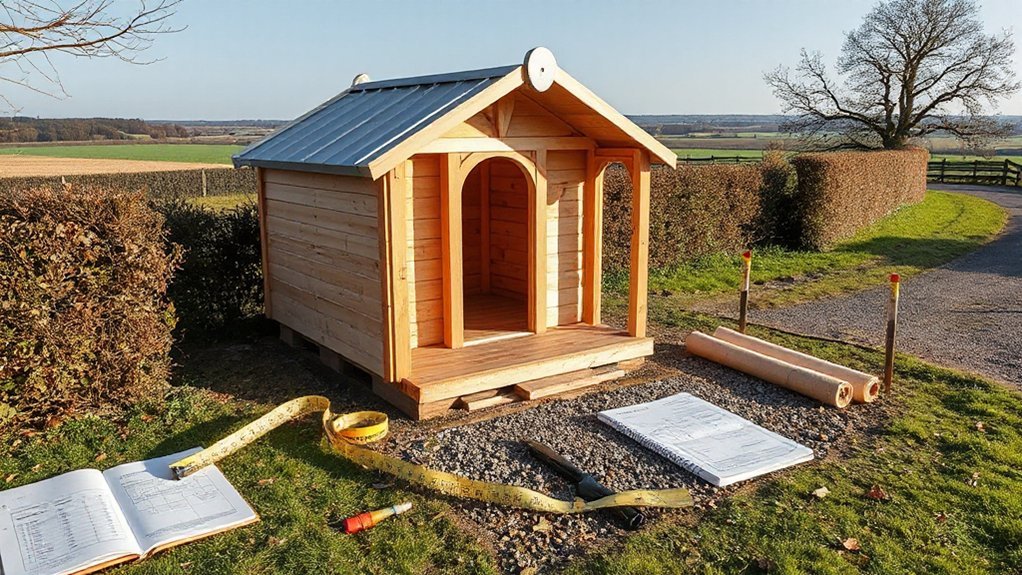
Before you sketch a frame or price timber, define exactly what your shepherd’s hut must do, where it must sit, and what you’re willing to spend. Specify use-cases: overnight retreat, studio, or guest suite, then translate them into performance targets for insulation, ventilation, acoustic control, and off-grid services.
Survey the site: gradients, prevailing wind, solar aspect, access for deliveries, and drainage. Confirm planning limits, fire separation, and service runs without assuming mains connections.
Set a budget that separates chassis, envelope, fit-out, and compliance, then add a contingency for groundworks and utilities.
Treat outdoor decor as a functional layer—durable finishes, lighting, and weatherproof storage.
Plan wildlife integration early: shielded luminaires, habitat buffers, and materials that won’t harm nesting or foraging.
Choose the Right Shepherd’s Hut Chassis Size
How long and wide should your hut really be? Start by matching chassis length to your intended layout and towing limits. Most luxury huts sit between 12–18 ft long and 6–8 ft wide; beyond that, you’ll face tighter access and higher axle loads. Keep overhangs minimal so the frame carries weight cleanly, preserving Traditional craftsmanship and rustic charm without structural compromise.
- Measure access: gate widths, turning radius, track camber, and delivery crane reach.
- Check legal/tow specs: gross weight, axle rating, hitch height, and braking requirements.
- Plan interior modules: bed length, aisle clearance, and service bay footprint.
- Balance stability: low center of gravity, wheelbase-to-length ratio, and drawbar length.
Select Premium Cladding, Roofing, and Windows
With your chassis size fixed and load paths kept clean, you can now lock in the external envelope—cladding, roofing, and windows—that will govern weatherproofing, thermal performance, and long-term maintenance.
Specify cladding with stable movement characteristics: thermally modified timber, cedar, or pre-weathered larch on a drained, vented rainscreen, with stainless fixings and crisp corner trims.
Choose a roofing system that suits curvature and wind uplift: standing-seam zinc/aluminium for longevity, or EPDM for seamless detailing, with robust drip edges and gutter interfaces.
For windows, select factory-finished timber-aluminium composites, argon-filled glazing, and warm-edge spacers; insist on tested air/water ratings and proper flashing kits.
Coordinate reveal depths with Luxury lighting wiring routes, and seal junctions using Eco friendly finishes compatible membranes.
Insulate, Ventilate, and Stop Condensation Year-Round
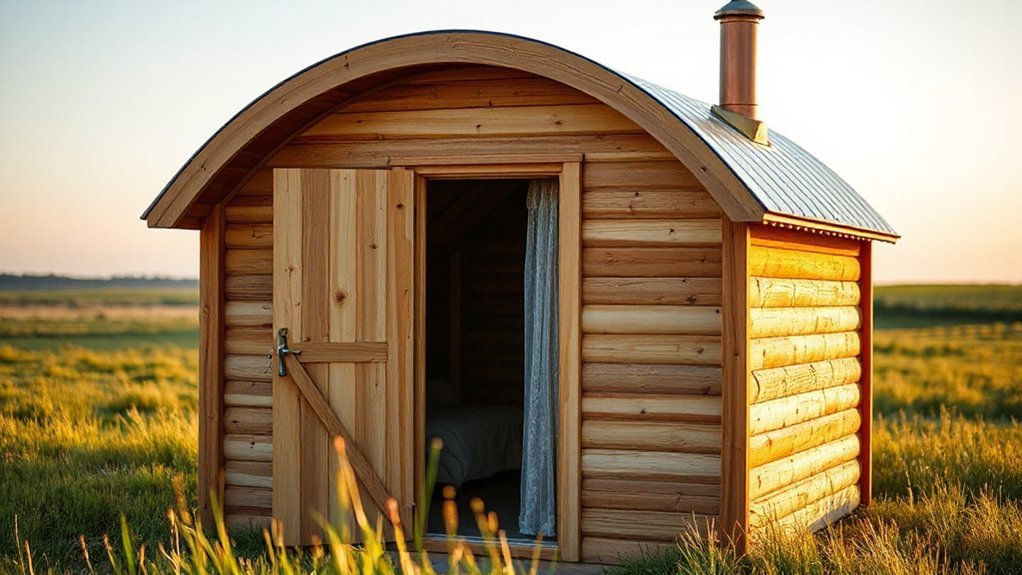
Although the cladding and roof keep rain out, you’ll only keep the hut comfortable year-round if you control heat flow, air leakage, and moisture at every layer. Use Eco friendly materials with predictable vapour behaviour, then pair insulation with a continuous air barrier so warm, moist air can’t reach cold surfaces and condense.
- Fit high-density insulation between studs, then add a thermal break to cut bridging at ribs and frames.
- Tape and gasket every joint; seal service penetrations so the air barrier stays unbroken.
- Specify a smart vapour control layer inside and a vapour-open, wind-tight membrane outside to let assemblies dry.
- Provide balanced, low-energy ventilation with controllable trickle paths, maintaining Wildlife integration by avoiding noisy fans and shielding vents from nesting.
Plan Plumbing, Electrics, Heating, and Lighting Early
Before you close in the walls and ceiling, map every plumbing run, cable route, heat source, and light point so you don’t compromise the air barrier or insulation later.
Keep water lines on the warm side, minimise joints, and specify access panels for shutoffs, filters, and a compact calorifier.
Route electrics in dedicated service voids, separate from plumbing, and size conductors for inverter loads if you’re off-grid.
Choose low-temperature heating—underfloor mats or a small hydronic loop—then confirm clearances to timber and eco-friendly materials with fire-rated sleeves.
Layer lighting: task, ambient, and exterior, all on dimmable circuits.
Prewire for Smart technology—thermostats, occupancy sensors, and battery monitoring—so controls integrate cleanly and reliably.
Test everything before lining.
Build Bespoke Joinery With Space-Saving Storage
Once your shell’s insulated and services are fixed, design bespoke joinery that treats every cubic centimetre as usable volume. You’ll lock in Furniture arrangement by building to the hut’s curves and axle line, maintaining clear circulation and access panels for valves and junction boxes.
Use moisture-stable ply cores with hardwood lippings, then oil or lacquer for abrasion resistance. Detail shadow gaps and removable backs so movement won’t bind doors.
- Build a banquette with lift-up seats, gas struts, and vented voids for bedding.
- Specify drawers on full-extension slides under the bed platform, with dust seals.
- Integrate a slimline pantry beside the galley, with adjustable shelves and larder pull-outs.
- Add overhead lockers with positive latches, aligned to window heads.
Coordinate door swings with Exterior landscaping sightlines.
Style the Interior With Textiles and Final Details
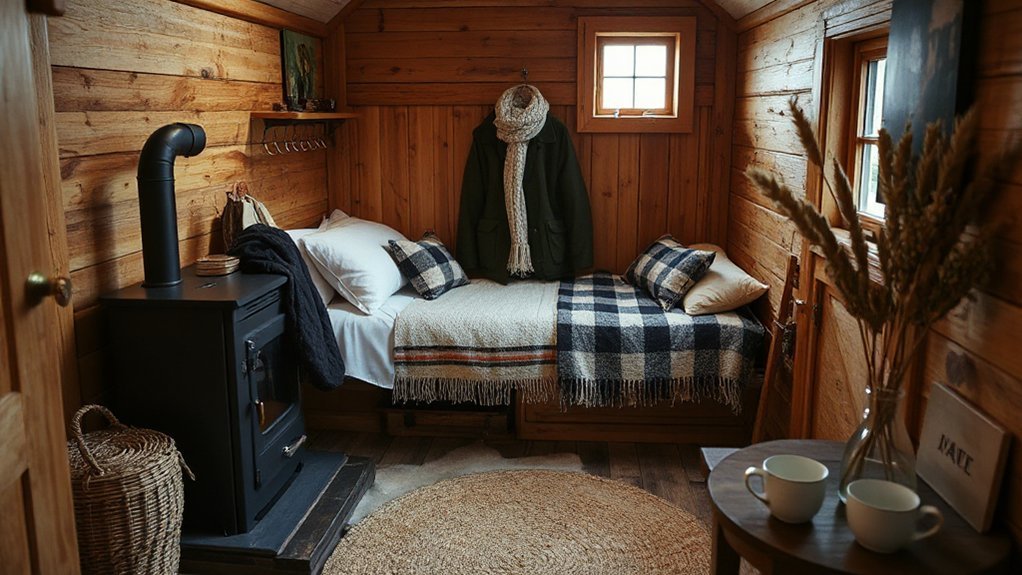
When the joinery’s fixed and the clearances are proven, you can tune the hut’s comfort and perceived space with textiles and final details that also control acoustics, glare, and condensation.
Start with lined curtains on a ceiling track, specifying blackout plus thermal interlining to reduce radiative chill and window drip.
Layer Textile textures deliberately: a tight-woven wool throw for warmth, a low-pile rug to cut footfall noise, and washable linen cushions where cooking vapour will land.
Keep colours high-LRV to bounce daylight, then add contrast in trim to sharpen edges.
Fit magnetic insect screens, soft-close stops, and felt pads to prevent rattle in transit.
Finish with calibrated Decorative accents—brass pulls, matte lamps, and a small mirror—to extend light without sparkle.
Add a discreet drying rail.
Frequently Asked Questions
What Planning Permission Is Required for a Shepherd’s Hut on Farmland?
You’ll often need full planning permission on farmland unless it’s genuinely moveable and ancillary; if used for accommodation, expect consent. You’ll also address building regulations and robust site preparation for access, drainage.
How Do I Insure a Shepherd’s Hut Used for Paid Guest Stays?
Like a safety net, you’ll insure it by arranging specialist holiday-let cover meeting insurance requirements: buildings/contents, business interruption, and public/employers’ liability coverage. You’ll disclose paid stays, fire safety, and any hot tubs.
What Are Typical Maintenance Tasks and Costs Over Five Years?
You’ll budget £2k–£6k over five years: annual repainting, roof checks, chassis rust treatment, sealant renewal, gutter cleaning, appliance servicing, and safety tests. Add landscaping costs £500–£2k and interior design refresh £300–£1.5k.
How Can I Make the Hut Accessible for Guests With Limited Mobility?
Make it so accessible even a mountain goat could glide in: apply Accessible design with a 1:12 ramp, 900mm doorways, flush thresholds, grab rails, fold-down seat, lever hardware, and Mobility modifications like widened circulation and parking.
What Fire Safety and Certification Standards Apply to Luxury Glamping Huts?
You’ll follow local fire safety regulations: smoke/CO alarms, extinguishers, clear egress, fire-rated linings, appliance clearances, and serviced chimneys. You’ll meet certification requirements for electrical, gas, solid-fuel, and planning inspections, plus periodic risk assessments.
Conclusion
You’ve shaped a shepherd’s hut into a luxury rural hideaway by balancing purpose, plot, and price. You’ve sized the chassis precisely, then specified superior cladding, robust roofing, and well-sealed windows. You’ll beat damp with disciplined insulation, vigilant ventilation, and meticulous vapour control. Because you planned plumbing, power, heating, and lighting early, every run stays tidy and testable. Finish with bespoke joinery, space-smart storage, and tailored textiles—then fine-tune fittings for polished, practical perfection.