
Coincidentally, the quickest way you can make your home feel updated is right under your feet. You’ll choose flooring by room, weigh hardwood against LVP, laminate, or tile, and budget for underlayment, trim, and disposal. You’ll measure twice, order smart overage, and decide if you’re installing it yourself or hiring a pro. But the real upgrade comes from one planning step most people skip…
Key Takeaways
- Pick room-suitable flooring: waterproof vinyl or porcelain for wet areas, engineered wood for living spaces, and carpet or cork for bedrooms.
- Match color, undertone, plank width, and sheen to your home’s style to create cohesive, updated transitions.
- Measure accurately, subtract permanent fixtures, and order 5–7% extra for straight layouts or 10–15% for diagonal patterns.
- Budget beyond materials for subfloor repairs, underlayment, trim, transitions, delivery, disposal, and a 10–15% contingency.
- Plan installation early: address moisture and levelness, decide DIY versus pro, and use durable finishes and proper sealing for longevity.
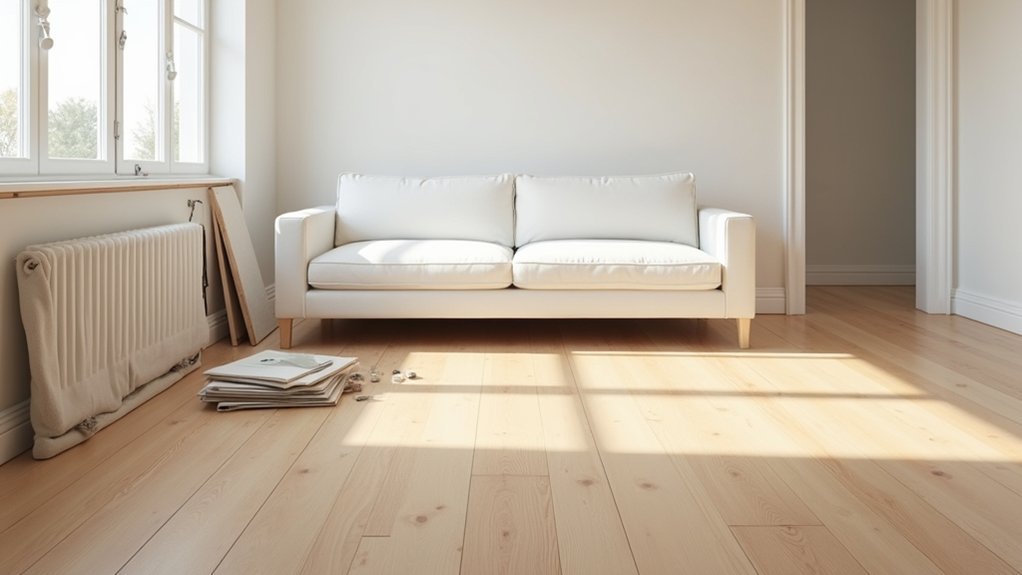
Choose the Best Flooring for Each Room
Because every room faces different wear, moisture, and traffic, you’ll get better performance (and fewer regrets) by matching flooring to the space instead of picking one material for the whole house.
Put waterproof luxury vinyl or porcelain tile in baths, laundry, and mudrooms; specify slip-resistant finishes and tight grout joints.
Choose engineered hardwood for living areas where you want warmth but need dimensional stability, and use a durable matte finish to hide scratches.
In bedrooms, select plush carpet or cork for sound control and comfort underfoot.
For kitchens, prioritize easy cleanup with rigid-core vinyl or sealed tile, and add rugs for softness.
Use Decorative patterns—herringbone, checkerboard—to define zones, and rely on color coordination to keep progressions polished.
Set a Flooring Budget (Include Hidden Costs)
Set your total project limit upfront, including a buffer so upgrades don’t blow your plan.
Account for hidden expenses like subfloor repairs, moisture barriers, underlayment, trim, connectors, delivery, and haul-away fees.
Then compare material and labor line by line—today’s pricing swings make install rates, pattern complexity, and prep work just as important as the flooring cost per square foot.
Determine Total Project Limit
Before you fall in love with a particular plank or tile, lock in a total project limit that covers more than the sticker price. Start by measuring square footage, then add a realistic overage for cuts and waste so you don’t underbuy.
Next, choose a price tier that supports your design goals—Color coordination and flooring patterns can shift costs fast, especially with wide planks, herringbone, or mixed-width layouts.
Set your ceiling by ranking priorities: durability, water resistance, comfort underfoot, and resale appeal. Compare good/better/best options in your preferred look, then cap spending at a number you can fund without stretching.
Keep a small contingency within that limit for surprises, and don’t shop outside it. This keeps decisions fast and consistent.
Account For Hidden Expenses
Once you’ve capped your total spend, protect it by pricing in the line items that don’t show up on the flooring tag. Hidden costs often start with removal and disposal of old flooring, plus dumpster or haul-away fees.
If your subfloor needs leveling, patching, or moisture mitigation, add materials, tools, and extra drying time to your Budget planning. Switch strips, stair nosing, quarter-round, and underlayment can quietly add up, especially with today’s wider-plank and waterproof trends.
Factor permits where required, furniture moving, and door trimming for thicker assemblies. Build a 10–15% contingency for surprises like squeaky joists or asbestos testing in older homes.
You’ll keep choices flexible without blowing your cap.
Compare Material And Labor
Where does your flooring budget actually go—into the planks you see or the labor that makes them perform? Material costs vary fast: luxury vinyl and laminate hit popular Flooring trends at midrange prices, while hardwood, tile, and terrazzo climb quickly. Eco friendly options like cork, bamboo, or FSC-certified wood can cost more upfront but may reduce replacement cycles.
Labor often rivals materials, especially with herringbone patterns, large-format tile, or glued-down installations. You’ll pay more for subfloor leveling, moisture mitigation, demolition, and disposal—line items that protect warranties and long-term wear.
Ask for separate quotes for materials, underlayment, trim, transitions, and stair nosing. Then compare installer rates by scope, not hourly price, so you’re budgeting for performance, not surprises.
Compare Flooring Materials: Hardwood, LVP, Laminate, Tile
Now you’ll compare hardwood, LVP, laminate, and tile by how they handle durability and daily wear, especially in high-traffic and moisture-prone rooms.
You’ll also weigh total cost and installation reality—material price, subfloor prep, underlayment, and labor—so the “deal” on the shelf matches the final invoice.
Finally, you’ll judge look and maintenance: hardwood’s timeless grain, LVP’s on-trend waterproof visuals, laminate’s budget-friendly style, and tile’s crisp finishes with grout care.
Durability And Wear
Because your floors take daily hits from foot traffic, pets, dropped items, and rolling furniture, durability and wear should drive your material choice as much as style. Hardwood ages beautifully, but heels and grit can dent it; choose harder species and resilient finishes.
LVP shrugs off scuffs and moisture, making it a go-to for busy households and pet claws. Laminate resists scratches well, yet edge swelling can show in wet zones. Tile is the wear champion, though heavy impacts can crack it and grout can stain.
For eco friendly options, look for certified wood or recycled-content LVP, and prioritize underlayment for noise reduction.
Picture your day-to-day:
- Dog nails sprinting through hallways
- Chairs sliding at dinner
- Muddy boots at the entry
Cost And Installation
Although the sticker price grabs your attention first, the real cost of flooring comes from installation complexity, prep work, and the tools or labor each material demands.
Hardwood typically costs more per square foot and often requires acclimation, subfloor flattening, and pro nailing or glue-down, so labor runs high.
LVP follows current Flooring trends because you can float it fast with click-lock, but you’ll still pay for moisture barriers and precise trimming.
Laminate installs similarly, yet you may need extra underlayment and tighter expansion gaps.
Tile can be mid-priced, but thinset, backer board, waterproofing, leveling, and curing time drive labor up.
If you want Eco friendly options, budget for certified wood or low-VOC adhesives.
Look And Maintenance
How do you want your floors to look five years from now—rich and patinated, crisp and modern, or clean and spa-like—and how much upkeep will you actually keep up with?
Hardwood deepens with age, but it demands gentle cleaners, felt pads, and periodic refinishing.
LVP stays photo-real and trend-forward (matte oaks, warm neutrals) and handles wet mops, making cleaning routines easy.
Laminate delivers sharp visuals on a budget, yet you’ll avoid standing water and use dry methods to protect seams.
Tile nails spa minimalism and bold patterns, but you’ll scrub grout and seal when needed; it’s also cooler underfoot.
- Hardwood: warm grain, repairable; more maintenance.
- LVP: water-ready, consistent; minimal upkeep.
- Tile/Laminate: design-driven; watch grout or seams, plus Color coordination.
Pick Durable, Low-Maintenance, Water-Smart Flooring
When you choose flooring that can handle daily wear and occasional spills, you’ll save yourself years of upkeep and premature replacements. Prioritize waterproof cores and tight locking systems in luxury vinyl plank, rigid SPC, or sealed porcelain tile, especially in kitchens, baths, and entries.
For real wood, pick engineered planks with factory-finished aluminum-oxide coatings and a moisture-rated underlayment. Check AC wear ratings for laminate, and demand a quality pad to reduce noise and joint stress.
You can still keep it modern with Eco friendly options like FSC-certified engineered wood, linoleum, or recycled-content tile, while using pattern and color to camouflage dust, pet hair, and scuffs.
Finish by matching trim gradual change and sealing perimeter gaps where water sneaks in.
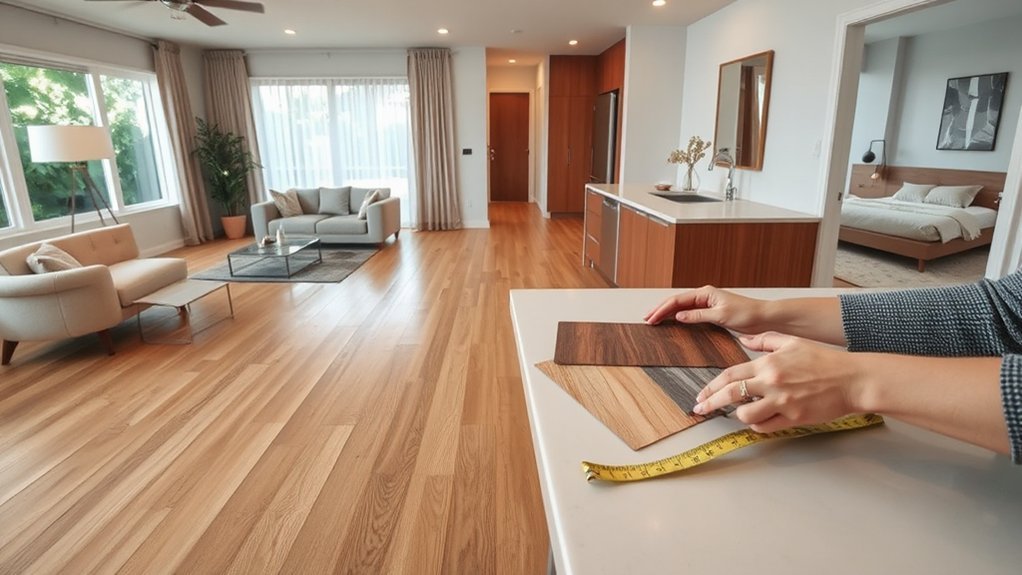
Match Your Flooring to Your Home’s Style
Because flooring sets the visual baseline for every room, you should choose a material, plank width, and finish that reinforces your home’s architecture instead of fighting it. Start by reading your trim profile, door style, and natural light, then align sheen and undertone so your Home decor feels intentional and your color schemes stay cohesive.
- Modern/Scandi: pick wide, long planks in pale oak or greige with a matte finish; keep grain quiet and edges micro-beveled.
- Traditional: choose medium-width boards in warm walnut or honey tones, satin sheen, and subtle variation that echoes classic millwork.
- Industrial/Coastal: lean into light concrete-look tile or whitewashed wood visuals, lower gloss, and cooler undertones to match metal or linen textures.
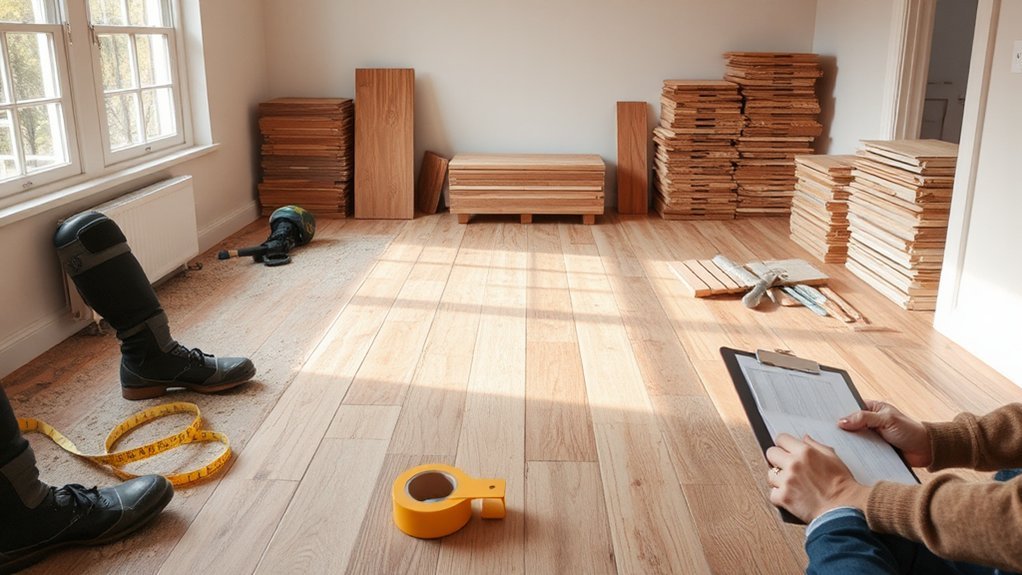
Measure Your Space and Order Enough Flooring
Before you click “add to cart,” measure every room like a pro so you don’t stall the project with backorders or waste money on excess. Sketch each space, then measure length and width wall-to-wall, noting alcoves, closets, and angled runs. Confirm measuring accuracy by double-checking with a second pass and converting to square footage consistently (inches to decimals).
Subtract permanent islands only if flooring won’t run beneath them. Match your material selection to the layout: wide planks and large tiles amplify waste in tight rooms, while smaller formats flex around jogs.
Add overage based on pattern—5–7% for straight lay, 10–15% for diagonals or herringbone. Order transitions, underlayment, and spare planks from the same lot for color consistency.
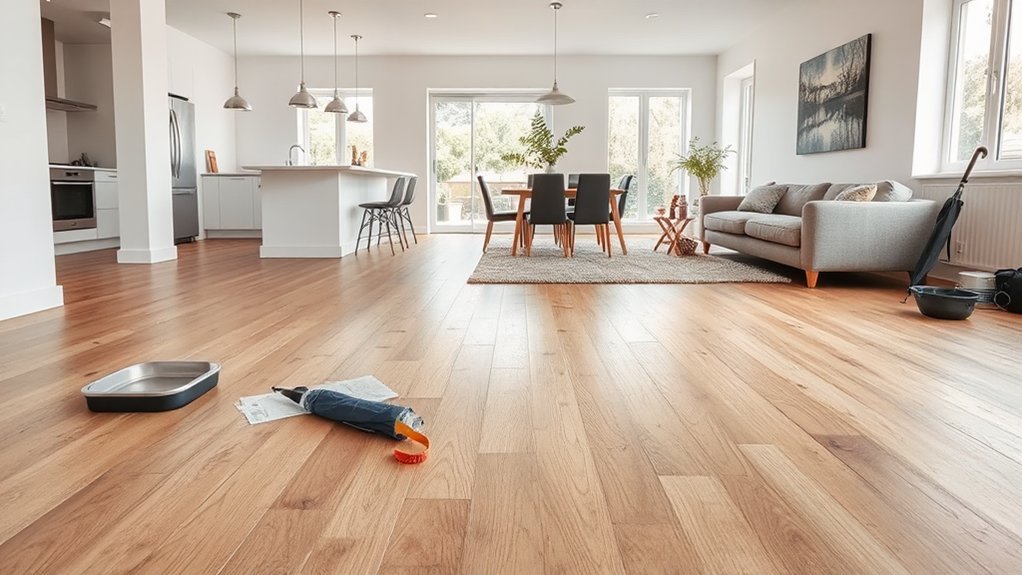
Plan Flooring Installation: DIY vs. Hiring a Pro
Even if you’ve installed a floor or two, decide early whether you’ll DIY or hire a pro based on your subfloor condition, layout complexity, and timeline—not just the material cost. Trend-forward floating LVP installs fast, but prep drives results: flatness, moisture, and seam transitions.
DIY pitfalls usually show up at door jamb cuts, stair noses, and uneven slabs that telegraph seams. Professional benefits include moisture testing, self-leveling, and tighter pattern alignment for wide-plank hardwood and herringbone looks.
- Map your cuts: closets, radiators, islands, and angled walls.
- Audit tools: miter saw, jamb saw, laser level, spacers, underlayment.
- Schedule reality: acclimation days, adhesive cure time, and furniture moves.
If you need permits or warranty coverage, book a pro before ordering.
Frequently Asked Questions
How Long Should I Stay off New Floors After Installation?
Stay off new floors for 24 hours minimum; wait 48–72 for heavy traffic or furniture. Your Flooring material and adhesive dictate the Installation timeline—follow manufacturer specs, keep temps stable, and avoid wet cleaning for a week.
Do I Need to Move Furniture Out Before Flooring Work Begins?
Yes—you’ll move most furniture out; leave it, and you’ll delay work. You protect pieces with Furniture protection while pros handle Floor preparation: clear rooms, empty closets, and remove fragile décor. Coordinate staging ahead.
Will New Flooring Increase My Home’s Resale Value?
Yes, new flooring can boost your home’s resale value if you choose on-trend flooring types like wide-plank LVP or engineered hardwood. You’ll see the best resale impact when you match neighborhood standards and keep finishes neutral.
Can I Install New Flooring Over Existing Flooring Without Removal?
Yes, you can install over existing flooring if it’s flat, solid, and dry. You’ll still assess Floor removal triggers and handle Subfloor preparation: patch dips, fix squeaks, test moisture, and confirm door/height clearances.
How Do I Reduce Dust and Fumes During Flooring Installation?
You’ll cut dust and fumes by sealing rooms, using Air purifiers with HEPA, and applying smart Ventilation strategies: exhaust fans, open windows crossflow, and negative pressure. Choose low-VOC adhesives, damp-mop often, and wear respirators.
Conclusion
When you refresh your home with new flooring, you’re not just covering subfloors—you’re giving every room a quiet upgrade. Choose materials that suit real life: waterproof LVP where splashes happen, cozy carpet where you unwind, and tile where durability matters. Budget for the “extras” that like to appear—underlayment, trims, connections, and disposal. Measure twice, order smart overage, and plan installation realistically. Done right, your floors deliver effortless style and lasting comfort.


