
Stick to a seasonal checklist so you catch small issues before they become expensive repairs. You’ll clean gutters in spring and fall, inspect your roof for missing shingles and cracked flashing, and extend downspouts 4–6 feet from the foundation. You’ll check weekly for plumbing drips, toilet leaks, and water heater corrosion, and keep drains clear with strainers and enzyme cleaners. Change HVAC filters every 30–90 days and test smoke/CO/GFCI monthly. Keep going to see the full schedule.
Key Takeaways
- Follow seasonal maintenance checklists to prevent rot, water damage, and equipment failure before small issues become expensive repairs.
- Inspect for leaks weekly in bathrooms, kitchens, and around water heaters; fix drips, corrosion, and dampness immediately.
- Keep water moving away from the house by cleaning gutters, extending downspouts 4–6 feet, and maintaining proper drainage and grading.
- Maintain HVAC and moisture control: change filters every 30–90 days, clear condensate lines, and ensure good ventilation to prevent mold.
- Test safety devices monthly and call professionals for electrical arcing, gas odors, sewage backups, active roof leaks, or widening foundation cracks.
Property Maintenance Checklist by Month and Season
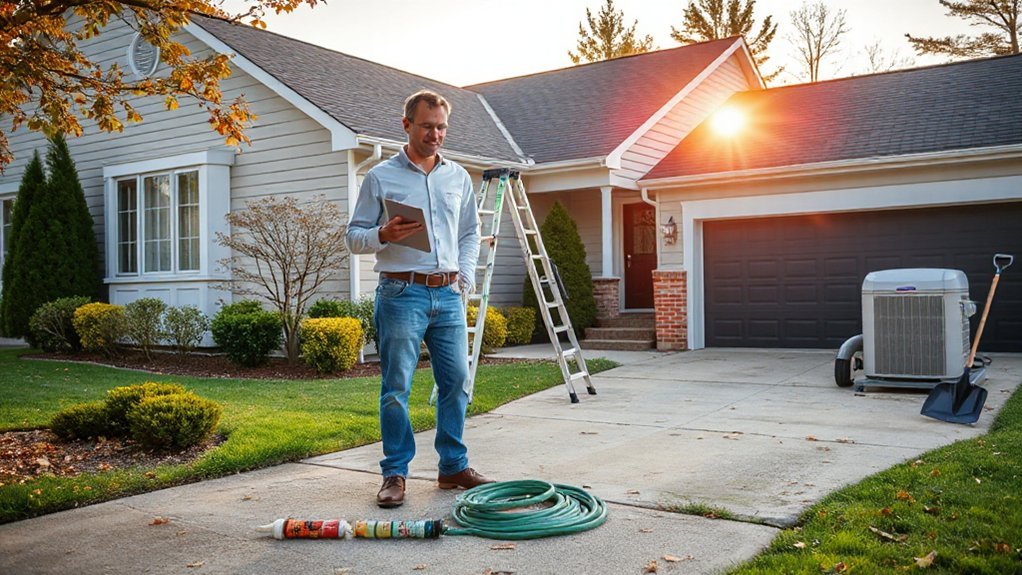
Even if you stay on top of small fixes, your property needs a predictable maintenance routine that matches the calendar and the weather.
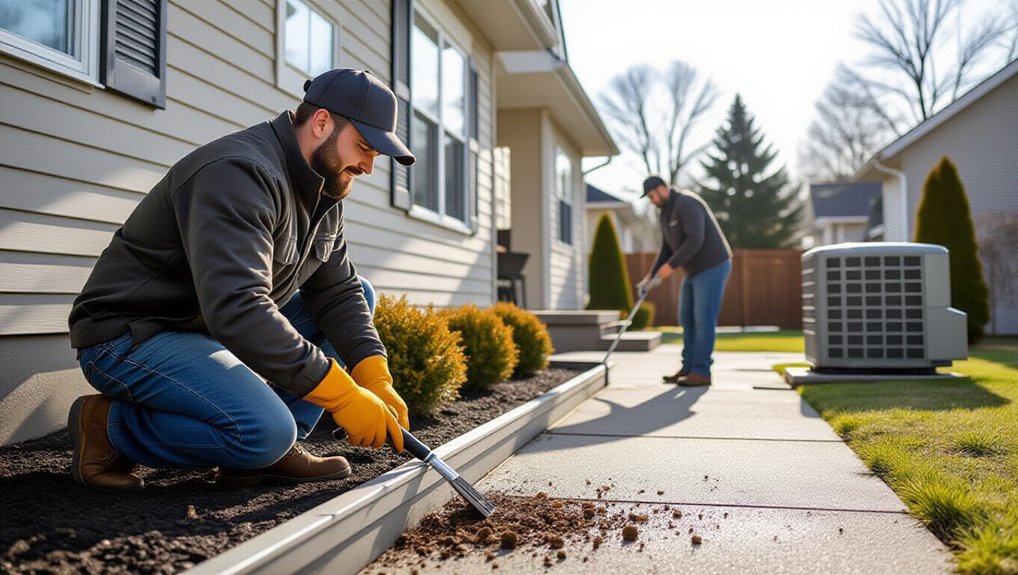
In spring, clear gutters, inspect shingles and flashing, service the HVAC, and refresh caulk around exterior trim. Use Landscaping tips: prune dead limbs, edge beds, and test irrigation timers before heat arrives.
In summer, wash siding, check deck fasteners, and keep vegetation away from the foundation. Apply Pest control strategies: seal gaps at penetrations, remove standing water, and schedule perimeter treatments.
In fall, aerate lawns, clean downspouts, store hoses, and winterize exterior faucets.
In winter, monitor attic ventilation, replace weatherstripping, keep drains clear of ice, and test smoke and CO alarms monthly.
Find Water Leaks Fast (Fixtures, Toilets, Water Heater)
You’ll save money and prevent damage if you catch water leaks early, so start by checking every fixture and faucet for drips, loose fittings, and damp cabinet bottoms.
Next, detect toilet tank leaks by adding a few drops of food coloring to the tank and watching the bowl for color within 10–15 minutes.
Finally, inspect your water heater connections for moisture, corrosion, or mineral buildup around the supply lines, shutoff valve, and temperature-and-pressure relief valve.
Check Fixtures And Faucets
Where do most hidden water leaks start? Right under your daily-use fixtures and faucets. Begin a weekly fixture inspection: run your hand around shutoff valves, supply lines, and trap joints under sinks. Look for mineral crust, swollen cabinets, or a musty smell—each points to slow seepage.
Check faucet bases and spouts for drips, and watch for water pooling around escutcheons. For faucet repair, replace worn washers or cartridges, then snug packing nuts and mounting hardware without over-tightening.
Move to tubs and showers: press on caulk lines, inspect grout cracks, and confirm the shower arm isn’t weeping at the wall.
Finally, scan your water heater connections for dampness and rust trails, and drain-pan moisture.
Detect Toilet Tank Leaks
After you’ve checked sinks, showers, and the water heater, head straight to the toilet—tank leaks can waste gallons silently between flushes. Remove the Toilet tank lid and listen for a faint hiss; constant refilling signals trouble.
Add 10–15 drops of food coloring to the tank, don’t flush, and wait 10 minutes. If color appears in the bowl, you’ve confirmed leak detection and should inspect the flapper for warping, mineral buildup, or a slack chain.
Check the fill valve: water should stop about 1 inch below the overflow tube. If it keeps running, adjust the float or replace the valve.
Finally, wipe around tank bolts and the supply line nut; dampness means a slow seep.
Inspect Water Heater Connections
Because a water heater can leak at multiple joints long before the tank itself fails, inspect every connection point closely with a flashlight and a dry paper towel. Wipe the cold inlet, hot outlet, shutoff valve, flex lines, and threaded fittings; any dampness means you’ve found a slow leak.
Check the temperature-and-pressure relief valve and its discharge pipe for drips or mineral crust. Look at the drain valve and the base of the tank for pooling that suggests internal seepage.
For Water heater safety, keep your hands clear of hot piping and don’t touch electrical components on electric units.
During Connection inspections, tighten loose compression nuts slightly, replace worn washers, and call a plumber if corrosion, bulging lines, or persistent leaks appear.
Roof and Gutter Property Maintenance to Stop Rot
If you want to stop rot before it starts, keep water moving off your roof and away from your walls with consistent roof and gutter maintenance. Schedule a Roof inspection twice a year and after major storms. Look for missing shingles, lifted flashing, cracked sealant, and soft spots around vents and chimneys. Fix small failures fast so water can’t wick into decking, fascia, or siding.
Stay strict with gutter cleaning each spring and fall, and anytime you see overflow. Clear leaves, grit, and shingle granules, then flush downspouts to confirm full flow. Reattach loose hangers, seal leaking joints, and keep gutters pitched toward outlets.
Extend downspouts 4–6 feet, and keep splash blocks in place to protect your foundation.
HVAC Property Maintenance That Extends System Life
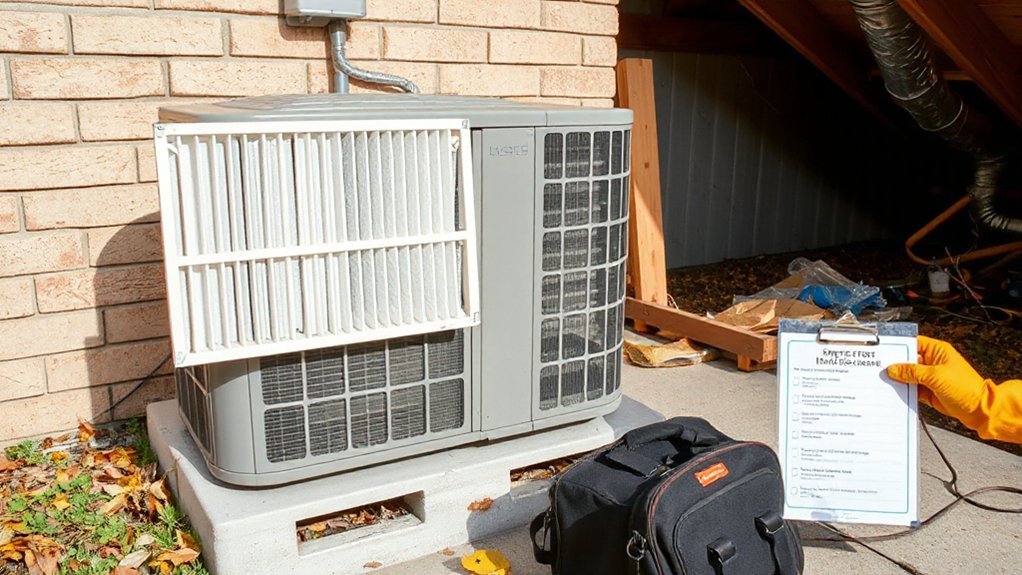
Water control on the outside keeps rot at bay, but your home also depends on steady airflow and clean heat exchange inside. Protect your HVAC system by changing filters every 30–90 days, using the correct MERV rating, and keeping returns unobstructed so the blower doesn’t strain.
Vacuum supply registers, and schedule professional duct cleaning when you see visible dust buildup, musty odors, or after major remodeling.
Keep the outdoor condenser clear of leaves and grass, and maintain 24 inches of clearance for airflow. Flush the condensate line with vinegar twice a year, confirm the drain pan isn’t rusting, and test the float switch.
Have a technician check refrigerant charge, coil cleanliness, and burner flame annually. Catching airflow and combustion issues early prevents breakdowns.
Seal Doors, Windows, and Siding Against Moisture
Even when your roof and gutters do their job, wind-driven rain can sneak through worn weatherstripping, failed caulk joints, and cracked siding and start rotting framing from the outside in. Walk the exterior each season and look for dark staining, peeling paint, soft trim, and open joints around doors and windows.
For Weatherproofing gaps, replace compressed door sweeps, tighten threshold screws, and install quality adhesive-backed foam or silicone bulb seals. Scrape loose caulk, clean with alcohol, then apply a paintable, exterior-rated sealant with a smooth bead.
For Exterior sealing at siding, repair split boards, re-nail loose panels, and seal end-grain cuts. Keep weep holes clear, don’t caulk under siding laps, and maintain a small clearance above grade to prevent splashback and wicking.
Test Smoke, CO, GFCI, and Leak Alarms
Because small failures can turn into life-threatening surprises, you should test your smoke alarms, carbon monoxide (CO) alarms, GFCI outlets, and leak sensors on a set schedule rather than waiting for a warning chirp or a puddle.
For Alarm testing, press each alarm’s test button monthly, verify every unit sounds, and replace batteries at least yearly (or as labeled). Vacuum dust from alarm vents, confirm CO alarms aren’t past their end-of-life date, and log results so you don’t miss a device.
For GFCIs, press “TEST” to trip, then “RESET” to restore power; if it won’t trip or reset, replace it.
Test leak sensors by dampening the probe and confirming the alert reaches your phone or panel.
Keep written safety protocols for tenants and guests.
Property Maintenance for Drains to Prevent Backups
If you treat drains as routine service points instead of “wait-and-see” plumbing, you’ll prevent most slow clogs from turning into messy backups. Put monthly reminders on your calendar: flush kitchen drains with hot water, then a small dose of dish soap to move grease; never pour oils down the sink.
Use hair catchers in showers and clean them weekly. For bathroom sinks and tubs, remove the stopper and clear buildup before it compacts.
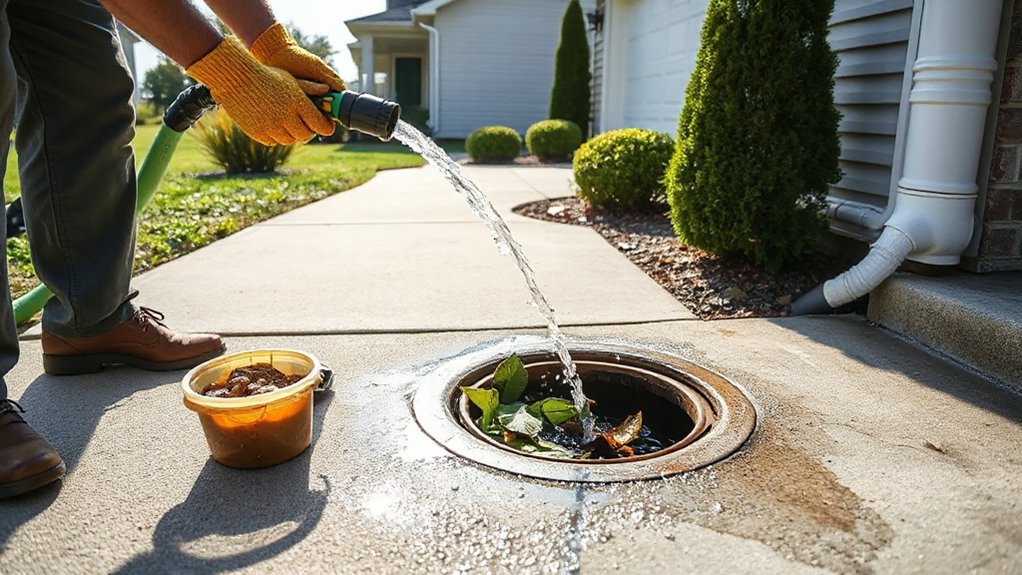
Schedule seasonal drain cleaning with an enzyme-based product overnight, following label directions, and avoid caustic chemicals that can damage pipes and seals.
Outside, keep gutters and yard drains free of leaves so water doesn’t overload the line. After heavy rain, run fixtures and watch for gurgling—early warning for sewer inspection.
When to Call a Licensed Property Maintenance Pro
When a maintenance issue starts affecting safety, structure, or critical systems, you should bring in a licensed property maintenance pro rather than improvising a fix. Call immediately for electrical arcing, repeated breaker trips, gas odors, sewage backups, active roof leaks, foundation cracks widening, or any burst pipe that won’t isolate at a shutoff.
You should also hire a pro when the problem keeps returning after basic cleaning—like persistent drain odors, recurring mold, or moisture around windows—because it signals hidden damage.
For pest control, involve licensed help if you see droppings, gnaw marks, termites, or nests, or if DIY treatments fail.
Tie this to Emergency preparedness: schedule inspections, document repairs, and verify code compliance so small issues don’t become emergencies later.
Frequently Asked Questions
How Much Should I Budget Annually for Routine Property Maintenance?
You should budget 1%–4% of your property’s value annually for routine maintenance. You’ll cover HVAC servicing, minor repairs, and inspections, plus variable Landscaping costs and predictable Pest control expenses, adjusting upward for older properties.
Which Home Repairs Add the Most Resale Value Before Selling?
You’ll practically print money by prioritizing curb-appeal fixes: Exterior painting and Landscaping upgrades. Then update kitchens and baths with fresh hardware, lighting, and fixtures, and address roof or HVAC issues to reassure buyers.
Do I Need Permits for Common Maintenance Tasks and Minor Repairs?
You usually don’t need permits for Minor repairs like painting, caulking, or swapping fixtures, but Permit requirements kick in for electrical, plumbing, HVAC, structural, roofing, or window changes. Check your local building department first.
How Can I Document Maintenance to Support Insurance Claims?
Stack proof like bricks, layer by layer: keep dated photos, invoices, and before/after notes. Store Insurance documentation in cloud folders. Update Maintenance records after each task, log contractors, materials, and receipts, and back up everything monthly.
What Maintenance Responsibilities Belong to Landlords Versus Tenants?
You handle Tenant responsibilities like cleanliness, minor wear, filter changes, and reporting issues promptly. You expect Landlord obligations to cover habitability: structural repairs, plumbing/electrical, heating, pest remediation, and code compliance. Check your lease and local laws.
Conclusion
Stay ahead of repairs by treating maintenance like Odysseus treated the sea: respect it, read the signs, and act early. Follow your monthly and seasonal checklist, hunt leaks at fixtures, toilets, and the water heater, and keep roofs and gutters clear to stop rot. Service HVAC, seal doors, windows, and siding, and test smoke, CO, GFCI, and leak alarms. Flush drains before they bite back—and call a licensed pro when safety or code’s involved.


