
You might think a squeaky floor is always just loose boards, but that theory doesn’t always hold up. You’ll need to pinpoint the exact spot, then work out whether the noise comes from the joist, the subfloor, or boards rubbing at the tongue and groove. From there, you’ll choose a fix from above with screws and filler, or from below with shims and adhesive—if you can get access, that is…
Key Takeaways
- Locate the squeak by walking slowly in socks, marking the loudest spot and direction with low-tack painter’s tape.
- Identify the cause: loose subfloor fasteners, joist gaps, board-to-board rubbing, or seasonal shrinkage and expansion from humidity changes.
- Fix from above by predrilling and driving 50–65mm countersunk screws into joists, then fill and refinish the holes.
- Fix from below by tapping in tapered shims, adding glued/screwed blocking (noggins), or applying construction adhesive to eliminate movement.
- Recheck after curing by walking heel-to-toe and lightly bouncing, then address remaining voids with slivers or minimal low-expansion foam.
Locate the Squeaky Floor Fast (Mark It)
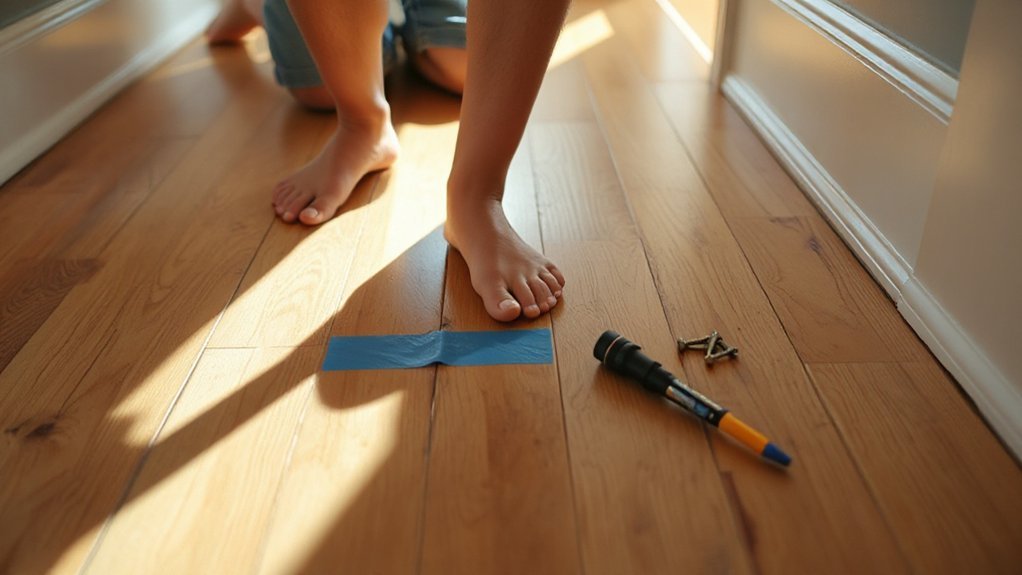
Before you pick up any tools, you need to pinpoint the exact board or joist line causing the noise. Walk the area in socks, applying your weight slowly and repeatedly until you can reproduce the squeak on demand.
Work in a grid: heel-to-toe, then side-to-side, so you don’t miss adjacent movement. Use low-tack painter’s tape to mark the loudest spot and add arrows for the direction of travel.
If you’ve got flooring patterns (herringbone, parquet, engineered planks) or decorative inlays, mark the specific element, not the whole section, to avoid unnecessary disturbance.
For carpeted rooms, push a blunt object along the pile to feel the seam lines and mark those too. Recheck after five minutes.
Why Your Floor Squeaks: Joists, Subfloor, or Boards
Your floor usually squeaks because something’s moving where it shouldn’t: the joists flex and leave small gaps, so the subfloor shifts under load.
Over time, nails or screws can work loose in the subfloor, letting it lift and rub against the joist on each step.
With timber boards, seasonal shrinkage can make edges rub together or against fixings, creating that sharp creak you hear.
Joist Movement And Gaps
When joists flex under footfall, even a small gap between the joist and the subfloor can trigger a squeak as the fixings rub and the boards shift. You’ll often find this in older UK homes where timber joists have crowned, twisted, or shrunk, leaving uneven bearing points.
Floor expansion and moisture effects make it worse: central heating dries joists in winter, while summer humidity swells the subfloor, cycling stresses and reopening gaps.
If you can access from below, check for daylight lines between joist and deck, or movement when someone walks above. Use a straightedge to spot a dipped joist and note any crushed packers.
Tighten support by adding timber noggins or solid blocking between joists, or fit construction adhesive and wedges to close gaps.
Subfloor Fastener Loosening
Even if the joists sit firm, a squeak can start once subfloor fixings loosen and the sheet lifts slightly with each step.
In many UK homes this shows up on 18mm tongue-and-groove chipboard where nails or old screws have worked loose, letting the panel flex and rub on the joist head.
To confirm, walk the area while you watch for vertical movement at joints and listen for a chirp directly over a joist line.
Fix subfloor fastener loosening by driving 50–60mm flooring screws into each joist, spacing about 150mm along edges and 200mm in the field, keeping clear of services.
Add construction adhesive only if you can lift the sheet.
For lasting floor joist stabilization, re-fix any missed joists and replace stripped fixings.
Board Shrinkage And Rubbing
Loose fixings aren’t the only source of movement; timber itself can change size and start making noise. In UK homes, seasonal humidity swings drive material expansion and contraction, so boards shrink, edges dish, and tongues rub in the grooves. That friction gives you the sharp chirp when you load the board.
You’ll often see fine gaps along board joints or around radiator pipes, yet the squeak tracks your footfall.
To confirm, walk slowly and mark noisy seams with tape. If the boards are accessible, dust the joint and apply a dry graphite or talc as a temporary test; if it quietens, rubbing’s the cause.
For a lasting fix without harming flooring aesthetics, re-tighten gaps with hidden screws into the joist, or inject a flexible floor adhesive between board and subfloor.
Choose Your Squeaky Floor Fix: Above vs. Below Access
You’ll first decide whether you can tackle the squeak from above the floorboards or you’ve got access from below via a cellar, basement, or suspended timber floor void.
Above-floor repair options usually mean locating the noisy spot, securing loose boards or the subfloor with the right screws, and finishing neatly under carpet or laminate.
If you can work from below, you’ll fix movement at the joists with wedges, adhesive, or noggins while keeping the visible floor surface untouched.
Above-Floor Repair Options
When you can’t access the floor from below—because there’s a finished ceiling, no cellar, or limited void space—an above-floor repair lets you tackle squeaks directly through the floor covering or surface boards.
First, locate the squeak by walking and marking joist lines with a stud finder or by lifting a corner of carpet.
For timber floors, drive flooring screws through pilot holes into the joist, keeping fixings 10–15mm from board edges to avoid splitting.
If you’ve got tongue-and-groove, use a countersink and plug the hole for tidy floor finishing.
For laminate, lift the run, pack low spots, and refit with correct expansion gaps.
Add underlay or thin Acoustic insulation where voids amplify noise, then resecure trims and thresholds.
Below-Floor Access Methods
Where can you get to the underside of the floor—cellar, suspended timber void, or by lifting a small section of ceiling—and is it safe to work there? You’ll need clear access, good lighting, and stable footing; wear a mask if there’s old insulation or dust.
In a suspended timber floor, you can crawl the void, locate the squeak, and confirm whether joists, noggins, or boards are moving.
From below you can add glue blocks, screw through joists into boards, or pack shims between joist and board to stop friction. You’ll also protect decorative finishes upstairs, as you don’t disturb floorboards, tiles, or other flooring materials.
Check services first: pipes, cables, and gas runs.
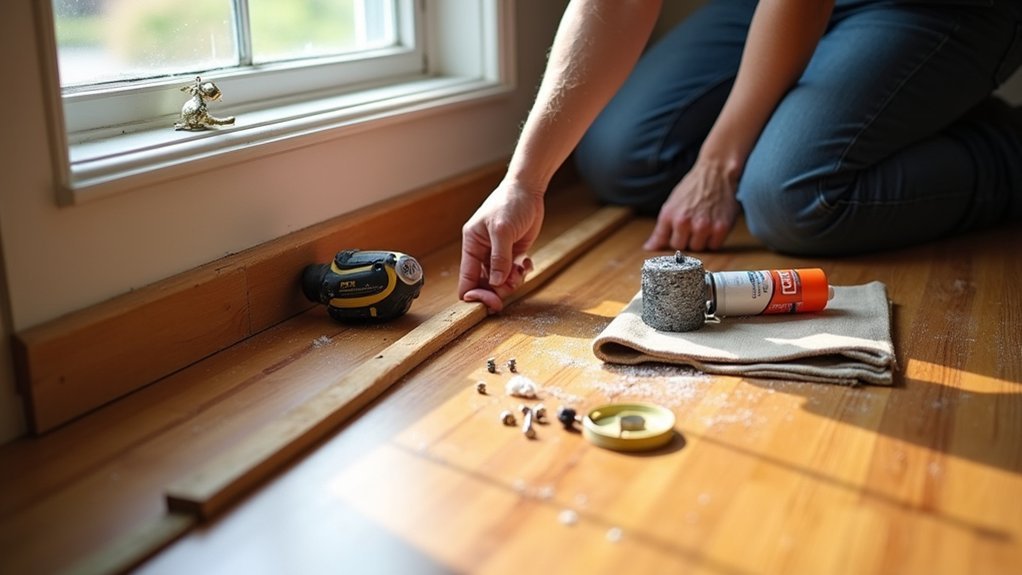
Fix a Squeaky Floor From Above (Screws, Kits, Filler)
A squeaky floor often comes from loose boards rubbing on joists, so fixing it from above focuses on clamping the layers tight with the right fixings.
First, identify your flooring materials: chipboard, floorboards, or plywood over joists. Mark the joist line (using a stud finder or tapping), then drive 50–65mm wood screws through the sheet into the joist.
Pre-drilling is recommended to prevent splitting, and set the screw heads just below the surface. For finished floors, use a breakaway screw kit designed for carpeted areas, or lift a single board if possible.
For aesthetic considerations, countersink and fill with colour-matched wood filler, then sand and seal.
Avoid nails; they work loose again over time.
Fix a Squeaky Floor From Below (Shims, Blocks, Glue)
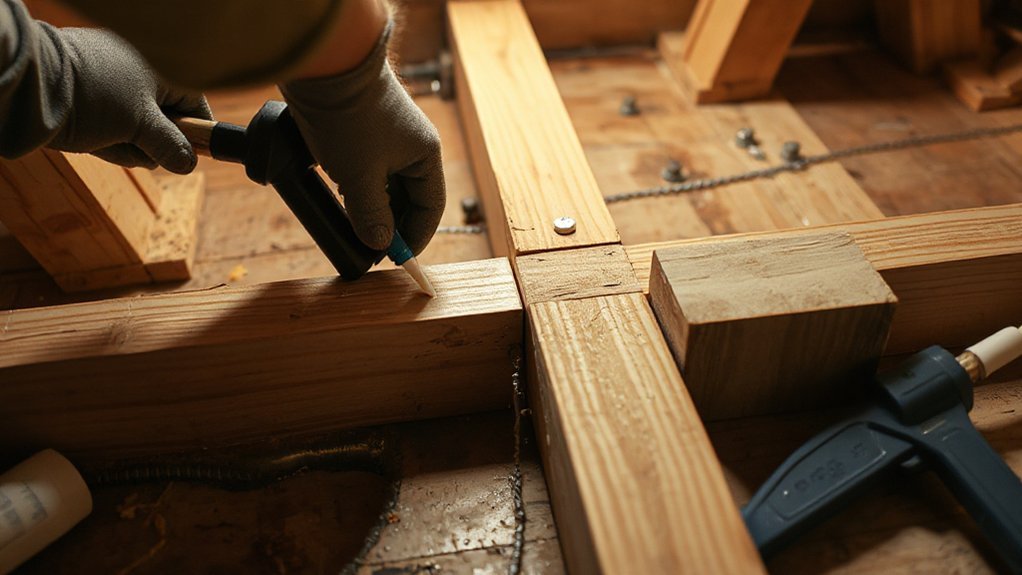
If you can’t (or don’t want to) disturb the finished surface, tackle the squeak from underneath via the joists. Work from a cellar or lifted ceiling, and wear eye protection. The aim is to eliminate movement between the subfloor and joist without altering your Flooring materials or undoing Acoustic treatments.
- Identify the squeak: have someone walk above while you mark the noisy joist line.
- Tap in tapered shims: slide wood shims into the gap between joist and board, then trim flush—don’t overdrive or you’ll crown the floor.
- Add blocking: screw solid noggins between joists to stiffen the span at the noise point.
- Glue and clamp: run construction adhesive along the joist edge and clamp the board tight until cured.
Stop Floorboard-on-Floorboard Squeaks (Powder/Adhesive)
When the subfloor and joists are solid yet the squeak persists, adjacent floorboards usually rub at the tongue-and-groove, edges, or nail line.
Dust the joint with talc or graphite powder, then work it in by walking along the board and brushing excess into the gap. For varnished boards, mask with low-tack tape to avoid scuffing; you don’t want extra hardwood polishing later.
If powder won’t last, wick a thin polyurethane adhesive into the seam using a syringe or fine nozzle, then clamp or weight the boards flat until cured.
Wipe squeeze-out immediately with white spirit. Keep adhesive clear of floor joist insulation below, as drips can bind fibres and reduce performance.
Test for Squeaks and Keep Them From Coming Back
Run a proper squeak check once the talc or adhesive has cured so you can confirm the rub’s gone and catch any other movement before it worsens. Walk heel-to-toe across the room, then repeat with a light bounce, listening for changes in floor acoustics at joist lines, door thresholds, and radiator pipe notches. Mark any noise points with masking tape so you don’t lose them.
- Recheck fixings: add countersunk screws into joists, not nails, and plug holes.
- Kill voids: pack gaps with slivers or low-expansion foam sparingly to stop flex.
- Control humidity: keep timber stable with ventilation and steady heating.
- Improve isolation: apply soundproofing techniques like acoustic underlay or resilient strips under boards to reduce future rubbing.
Frequently Asked Questions
Will Repairing Squeaks Damage Hardwood Finish or Require Refinishing Afterward?
You won’t usually damage the hardwood finish, so you won’t need a refinishing process if you use pilot holes, countersink screws, and fill neatly. Poor drilling or adhesive smears can mark boards, requiring local refinishing.
How Much Does Professional Squeaky Floor Repair Typically Cost per Room?
You’ll typically pay £80–£250 per room in the UK, depending on access, floor type, and fixing method. Cost estimates and repair pricing rise to £300+ if boards lift, joists need packing, or carpets relaying.
Can Squeaky Floors Indicate Structural Damage or Safety Issues?
Yes—those screams underfoot can signal serious issues. You’ll usually face loose boards, but if you notice sagging, cracks, or bounce, check Structural integrity. Act fast for Safety concerns; call a UK structural engineer.
Are There Quiet, Renter-Friendly Fixes That Don’T Use Screws or Nails?
Yes—you can use Temporary solutions and DIY methods: sprinkle talcum powder or graphite into gaps, work it in; add thin felt pads under rugs; wedge removable shims gently. You’ll reduce friction without fixing permanently.
Should I Repair Squeaks Before Installing Carpet, Laminate, or New Flooring?
Yes—you should repair squeaks before fitting carpet, laminate, or new flooring. You’ll avoid trapped noise and callbacks. Use renter-friendly repair techniques: talc, adhesive wedges, or felt pads. Check subfloor movement, then choose compatible flooring materials.
Conclusion
You’ve tracked the noisy spot, chosen above- or below-floor access, and locked the movement out with screws, shims, blocks, or adhesive. Fill and finish any countersunk holes, then let glue cure fully before retesting under load. Keep indoor humidity steady to prevent timber movement and repeat squeaks. If boards rub, dust with suitable powder or bond the joint. Done right, your floor stays quiet like a well-set joist line.


