You don’t have to rip out tired wood wall panelling to make a room feel current. Start by deciding if it’s solid and worth keeping, then choose a finish that suits your home: paint for a clean update, whitewash to keep the grain, or stain for warmth. You’ll need proper cleaning, deglossing, and a primer that actually grips. Miss those steps and the finish won’t last, so next you’ll want to check the surface properly…
Key Takeaways
- Inspect panelling for rot, woodworm, movement, and damp; repair causes of moisture before any cosmetic updates.
- Choose an update style: paint for a modern look, whitewash for softer brightness, or stain to enhance natural grain.
- Clean thoroughly with sugar soap, rinse, dry, and degloss with 120–180 grit sanding to ensure good adhesion.
- Fix loose boards, fill dents with two-part wood filler, and caulk open joints; sand repairs flush and remove dust.
- Prime with a stain-blocking or adhesion primer, then apply durable topcoats like acrylic eggshell or sealed whitewash/varnish.
Is Your Wood Wall Paneling Worth Saving?
Before you rip it out, check whether your wood wall panelling has good bones: if the boards are solid, reasonably flat, and free from widespread rot or woodworm, it’s usually worth saving.
Tap for hollow spots, look for crumbling edges, and probe suspect areas with a bradawl; soft fibres mean decay.
Check joints and battens for movement, and confirm it’s not hiding damp—use a moisture meter if you’ve got one, or look for tide marks and peeling finishes.
In period homes, keeping original panelling supports Historical restoration and can add value.
Even in later properties, good-quality timber scores on Material durability and often outlasts modern sheet materials.
If damage is localised, you can splice in matching timber and refix securely.
Choose Your Update: Paint, Whitewash, Stain, or Trim
If you want crisp, modern contrast, you’ll get the biggest shift by painting your panelling in a clean neutral or bold shade.
If you’d rather keep the grain but lift a gloomy room, whitewash gives a softer brightness that suits many UK homes.
For a more subtle refresh, you can stain for richer tone or add trim accents to sharpen the lines without covering the wood.
Paint For Modern Contrast
When you want wood wall panelling to feel current rather than dated, paint delivers the sharpest modern contrast with the least disruption. You’ll get instant Color contrast by pairing crisp whites with deep charcoals, inky blues, or muted greens, while keeping the grain’s texture subtle beneath the coating.
Start by degreasing, sanding lightly, then apply a stain-blocking primer, especially on knotty pine common in UK homes. Use acrylic eggshell for a durable, wipeable look in hallways and kitchens, or matt emulsion for calmer bedrooms.
Your finish options matter: satin highlights moulding and grooves; matt disguises imperfect boards. Cut in grooves with an angled brush, then roll the flats for speed and a uniform sheen. Let coats cure fully before rehanging art or shelves.
Whitewash For Soft Brightness
Paint gives you bold contrast, but whitewash keeps the timber character while lifting the room with a softer, brighter finish. You’ll get gentle Light diffusion that reduces harsh shadows and makes smaller UK rooms feel more open, without losing the grain’s warmth.
Start by degreasing with sugar soap, then key the surface with a fine abrasive so the wash grips. Mix water-based white paint with water (about 1:1), or use a proprietary liming wash, and test on an offcut first.
Brush along the grain, then wipe back with a lint-free cloth for controlled coverage and Textural enhancement. Work in small sections to avoid lap marks.
Seal with a clear, matt water-based varnish if the panelling sits in a hallway or kitchen. Let it cure fully before rehanging pictures.
Stain Or Trim Accents
Although a full colour change isn’t for everyone, a good stain or sharp trim accents can modernise wood panelling while keeping it convincingly “timber” rather than painted MDF.
Choose a water-based stain for quicker drying in UK homes with limited ventilation, and test on an offcut because species and old varnish shift the tone. Sand lightly, de-nib, then apply with a synthetic brush or lint-free cloth, working along the grain for even absorption and clear Texture enhancement.
If you’d rather keep the panels natural, pick trim accents: a crisp skirting, dado rail, or beading in a clean satin. Use Color coordination by matching trim to existing doors or radiators, and you’ll get a cohesive, updated look without losing character.
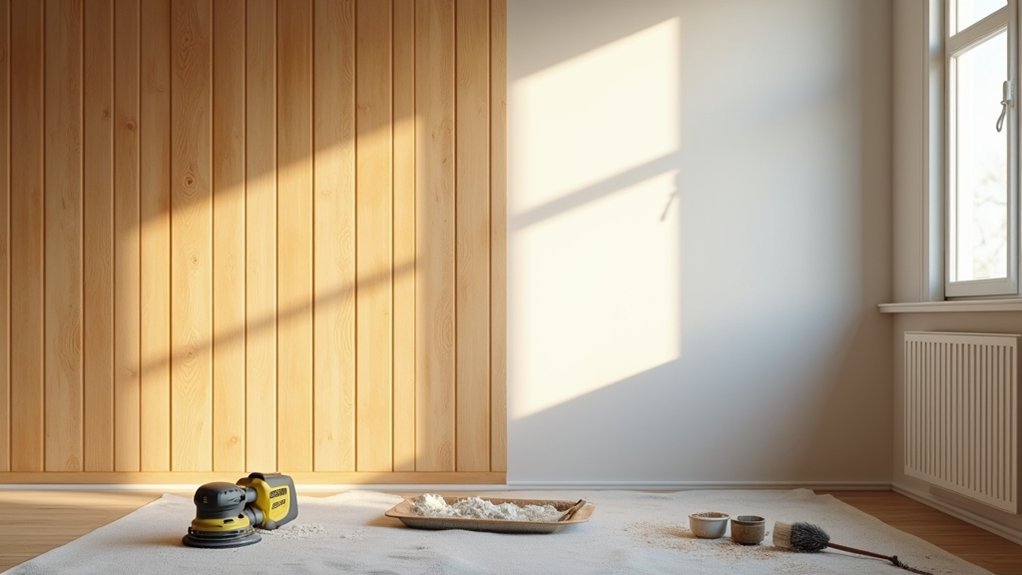
Clean and Degloss Wood Wall Paneling Properly
Before you reach for primer, you’ll need to get the wall panelling properly clean and deglossed so the new finish actually sticks. Good surface preparation saves you from peeling paint and patchy sheen later, especially on older, varnished boards.
Start by vacuuming grooves and edges, then wash with sugar soap or a degreasing cleaner, following the label. Rinse with clean water and let everything dry fully.
For cleaning techniques that cut through polish, nicotine, or kitchen film, work in small sections and change cloths often so you don’t smear grime back on.
Next, degloss: use 120–180 grit sandpaper or a liquid deglosser for profiles you can’t reach easily. Wipe down with a tack cloth or damp microfibre to remove dust.
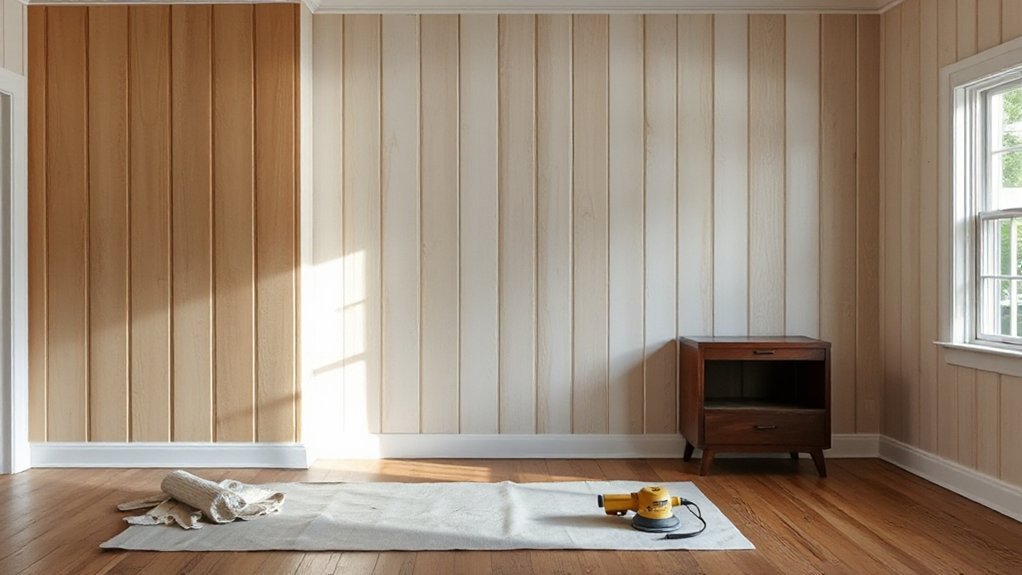
Repair Wood Wall Paneling Dents, Gaps, and Loose Boards
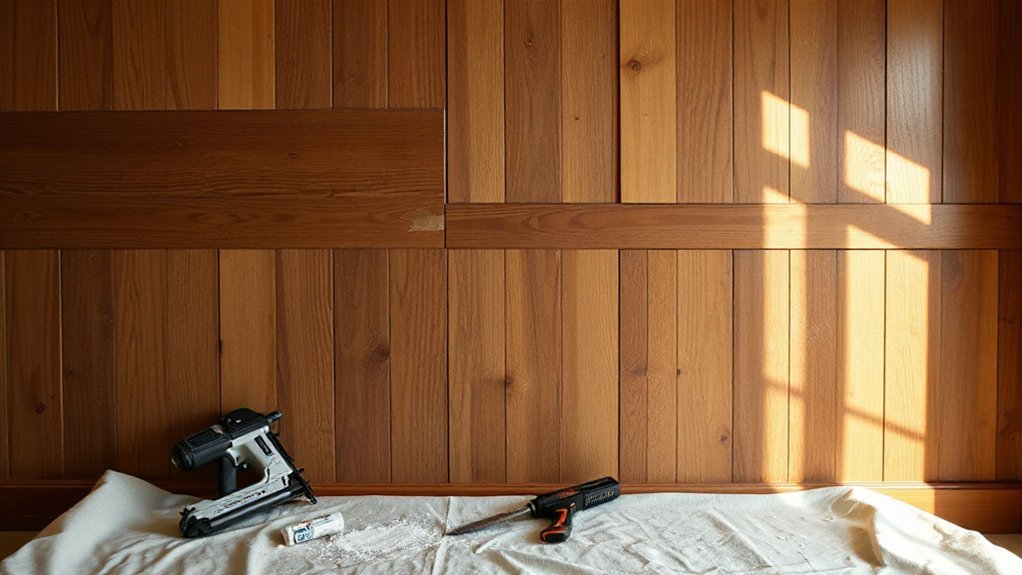
Once the panelling’s clean and deglossed, fix any dents, gaps, and loose boards now so your primer doesn’t telegraph every flaw. Push loose boards tight and re-pin into studs with lost-head nails, or drive countersunk screws and plug the holes.
For dents and chips, use a two-part wood filler; press it in proud, let it cure, then sand flush with 120–180 grit.
When you’re repairing surface scratches, feather the edges and fill shallow marks with fine surface filler.
For open joints, rake out crumbly filler, then apply flexible decorator’s caulk with a caulking gun and smooth with a damp finger.
Blend repairs by sanding with the grain and choosing filler shades for matching wood grain.
Vacuum dust and wipe down.
Paint Wood Wall Paneling With the Right Primer
When you choose the right primer for wood panelling, you lock down stains, stop tannin bleed, and give your topcoat a solid key that won’t peel. Start by degreasing with sugar soap, rinse well, and let it dry fully.
Then sand lightly to dull any sheen and vacuum the dust.
For knots, resin, or nicotine marks, use a stain-blocking primer (shellac-based works fast). For sound, previously painted boards, an adhesion primer is usually enough.
Always check primer compatibility with your chosen topcoat: water-based primers suit most modern acrylics; oil-based can suit enamels but need longer curing.
Apply one even coat with a mini-roller, brush edges, and don’t rush overcoat times. Your paint finish will level better and last longer.
Whitewash or Stain Wood Wall Paneling for Warmth
Primer sets you up for a durable finish, but you don’t have to cover the grain completely—whitewash or stain lets the timber’s character show while warming the room.
If your panelling feels heavy, choose a whitewash: thin down water-based paint or use a ready-made limewash effect, then wipe back with a lint-free cloth so highlights stay pale and low spots keep depth. You’ll get Rustic charm without darkening the space.
For a cosier, richer look, apply a stain or tinted oil. Pick oak, walnut, or “antique pine” tones that suit UK light, and test on an offcut first. Work with the grain, keep a wet edge, and seal with a clear satin varnish for Modern elegance and easy cleaning.
Frequently Asked Questions
How Much Does It Typically Cost to Update Wood Wall Paneling?
You’ll typically pay £300–£1,500 to update wood wall paneling, depending on prep, repairs, and finish. You can cut costs with DIY restoration, but you’ll still budget for paneling maintenance, materials, and tools.
Can Updated Paneling Increase Home Resale Value or Buyer Appeal?
Yes, you’ll usually boost buyer appeal and can lift resale value, especially in the UK. Pair refreshed finishes with smart furniture placement and lighting enhancements; you’ll make rooms feel larger, brighter, and more modern.
Do I Need Permits to Modify or Remove Existing Wall Paneling?
In most UK cases, you don’t need permits; around 80% of internal cosmetic changes go unnotified. Check permit requirements if paneling removal affects electrics, plumbing, insulation, or you alter a listed building.
How Long Should I Wait Before Hanging Art on Freshly Painted Paneling?
Wait at least 7 days before hanging art; 14 is safer for heavy frames. You’ll avoid dents while the paint curing process finishes. Follow the manufacturer’s art drying time guidance, especially in damp UK homes.
What Are the Best Ways to Soundproof a Room With Wood Paneling?
Like wrapping your room in a thick quilt, you’ll block noise by sealing gaps, adding mass-loaded vinyl behind boards, and fitting underlayed carpets. Use Soundproofing techniques: resilient bars; Acoustic panel options: fabric panels.
Conclusion
Funny how the “dated” wood panelling you nearly ripped out can end up being your room’s smartest feature. Once you’ve cleaned, deglossed, and fixed dents or loose boards, you’re not battling timber—you’re controlling it. Prime properly, then paint for a crisp modern look, whitewash to keep the grain, or stain for richer warmth. Finish with a tough water-based topcoat. You’ll keep the character, skip the mess, and add value without trying.