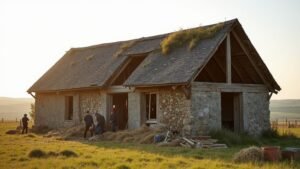
In the UK, moisture is implicated in roughly 80% of timber framed cottage fabric failures reported in conservation surveys. You start by surveying every post, beam, and joint, then map decay, beetle activity, and deflection against moisture paths from roof, ground, and poor ventilation. You’ll choose like‑for‑like green oak splices, reversible fixings, and breathable infill with lime mortar and plaster so the frame can move and dry. Miss the sequence, though, and you’ll trigger the next problem…
Key Takeaways
- Survey each bay with measured photos, moisture readings, and probing to map decay, movement, and load paths before any intervention.
- Fix moisture sources first: roof defects, rainwater goods, ground levels, and ventilation to keep timber moisture below 20%.
- Repair with traditional joinery—scarf splices, housed shoulders, and drawbored riven-oak pegs—replacing members only when structurally necessary.
- Match timber species and grain orientation, and allow for green-oak shrinkage by leaving slight overlength and planing flush after seasoning.
- Use breathable infill and finishes—daub, soft brick with slip planes, and lime mortar/plaster—avoiding cement, rigid infill, and sealed coatings.
Survey the Timber Frame Before Any Work
Before you lift a single floorboard or strip back plaster, you need a clear survey of the timber frame so you can separate cosmetic defects from structural movement and decay. Begin with a measured room‑by‑room inspection, photographing elevations, joints, and suspected damp paths, and logging everything to a sketch plan.
Use a moisture meter on posts, sole plates, and beam ends; then confirm readings with a bradawl probe where safe.
Check for differential settlement by taking plumb lines on studs, levels across wall plates, and diagonal measurements for racking.
Map beetle flight holes, fungal staining, and salt efflorescence, noting ventilation and rainwater goods.
For Historic preservation, you’ll record species, saw marks, and past craftsmanship techniques, keeping evidence intact for analysis.
Decide What Needs Repair, Splicing, or Replacement
You’ll assess each structural timber for soundness by probing for soft rot, checking bearing ends, and tracing splits back to their cause.
You then decide whether a scarf splice will reinstate strength and retain historic fabric, or whether full replacement is unavoidable where section loss or joint failure compromises the load path.
When you do splice or replace, you’ll match the original species and grain orientation, keeping moisture movement and compatibility with existing oak or softwood members in mind.
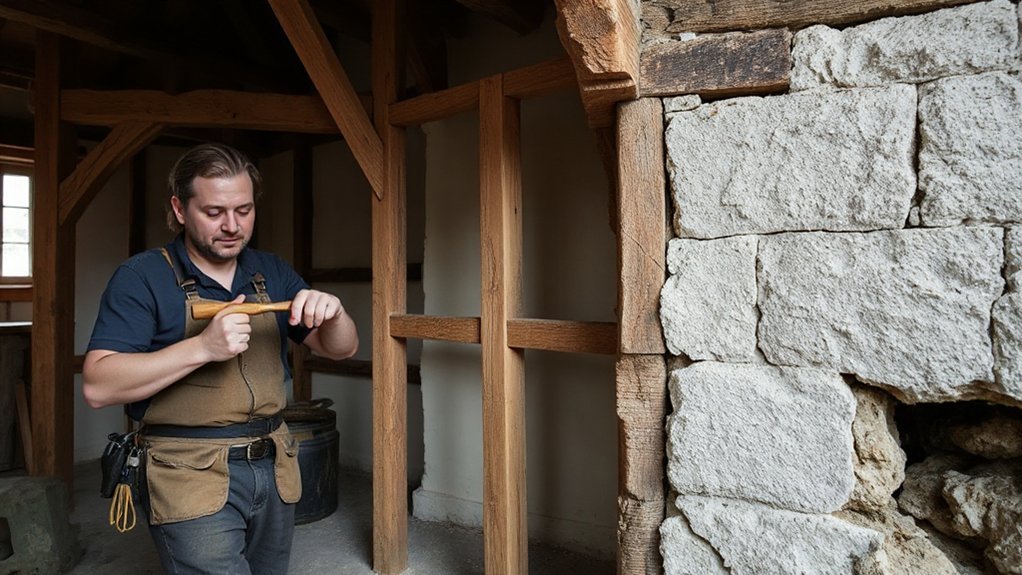
Assess Structural Timber Soundness
While you may be keen to strip back and rebuild, start by proving each principal timber is structurally sound: map the frame bay by bay, then combine close visual inspection with probing (bradawl/knife), moisture readings, and a small mallet tap test to distinguish superficial weathering from active decay. Record findings to support Wood preservation and Historical accuracy, not guesswork.
Focus on load paths through posts, wall plates, tie beams, and braces, and trace defects to sources of water ingress.
- Mark soft fibre depth, beetle flight holes, and friable edges; note whether damage follows sapwood.
- Log moisture content (target <20%); compare shaded vs exposed faces.
- Check joints for slippage: pegs proud, shoulders gapped, twisting or racking.
- Measure section loss and crack orientation; photograph with scale for your survey record.
Plan Splice Versus Replace
Your bay‑by‑bay timber survey now needs turning into a repair schedule that keeps as much original fabric as you can without leaving compromised load paths in service.
Classify each member by function: principal posts, plates, braces, and joists get priority because failure cascades.
Where decay is localised and the remaining section meets capacity, specify a timber splice with sound bearing shoulders, pegged or wedged, and guarantee the joint lands beyond the rot margin.
If damage crosses joints, crushes tenons, or reduces section at high‑stress zones, choose replacement options for the affected length, not whole frames.
Note moisture sources and sequence temporary propping before dismantling.
Record dimensions, joint type, and tolerances so the workshop cuts accurately and site fitting stays tight.
Match Species And Grain
Because timber works as a directional material, you must match both species and grain to the original member before you decide whether to repair, splice, or replace.
Start with species identification: in many UK cottages you’ll find oak for posts and plates, and elm or pine in later repairs; each moves and machines differently.
Then check grain orientation—flat‑sawn versus quarter‑sawn—and align growth rings so the new work cups and shrinks in sympathy, not against the frame.
Use simple site tests and careful observation:
- Read end grain, medullary rays, and pore structure under a hand lens.
- Compare density and smell when you plane a fresh face.
- Mark heartwood/sapwood and keep like with like.
- Lay out joints so grain runs continuous through pegs and housings.
Track Moisture Sources (Roof, Ground, and Airflow)
Before you repair any timber, you’ve got to trace where moisture’s getting in: check slipped tiles, valley details, and lead flashings around chimneys and abutments for staining and wet rafters.
At ground level, look for rising damp signs such as tide marks, salts, and persistently high meter readings, and confirm that external ground levels and rainwater goods aren’t bridging the plinth or sole plate.
You’ll also need to verify ventilation and airflow paths—blocked air bricks, sealed voids, and impermeable finishes can trap humidity and keep frames wet even when the roof’s sound.
Roof Leaks And Flashings
Where’s the moisture really coming from when a timber‑framed cottage shows staining or decay—roof ingress, ground‑borne damp, or humid air driven by airflow? Start at the top: you’ll often find defects at junctions, not in the main covering. Inspect slates/tiles, then interrogate every abutment, valley, and penetration before you touch internal finishes.
- Trace water paths with a hose test, working upslope; mark first appearance inside.
- Check Metal flashing laps, soakers, and step flashings at chimneys and dormers; look for pinholes, split lead, or chased joints failing.
- Confirm underlay drape and eaves support trays aren’t directing water behind fascia.
- Verify roof ventilation continuity; blocked soffit vents can push moist air to cold timbers and mimic leaks.
Rising Damp And Ventilation
Although roof defects often take the blame, you’ll only pinpoint persistent staining in a timber‑framed cottage by separating true rising damp from rain splashback and moisture carried by air leakage.
Start at ground level: check external levels sit at least 150mm below internal floors, and look for bridged dpcs, dense cement plinths, or modern renders trapping moisture. Probe sole plates and wall posts with a resistance meter, and sample salts; nitrates/chlorides suggest ground‑borne moisture, while sulphates often indicate masonry.
Next, track airflow: smoke pencils reveal draught paths at skirtings, sockets, and ill‑fitted boards that drive humid indoor air into cold voids.
Use breathable Moisture barriers only where capillary break is needed, then apply Ventilation strategies—clear subfloor vents, fit hit‑and‑miss grilles, and control extract in kitchens and baths.
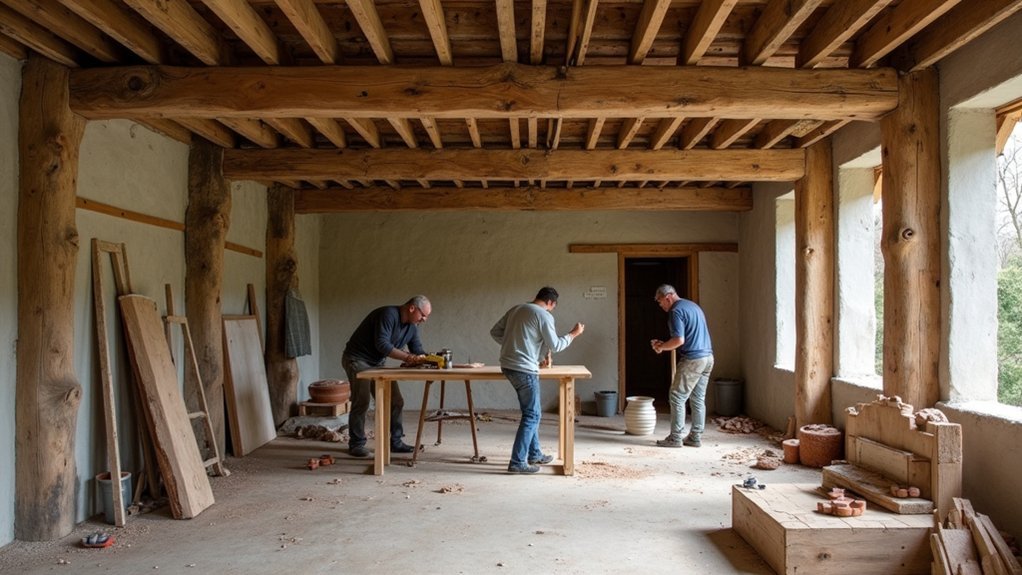
Plan Breathable Timber-Frame Repairs (Materials + Sequence)
Since timber frames stay sound when moisture can move freely, you need to plan repairs as a breathable system. Start by mapping wetting sources, then choose materials that match vapour permeability and capillarity across frame and infill, supporting Timber preservation without trapping salts.
- Survey + recording: moisture readings, boroscope checks, and notes on Traditional joinery layout for sequencing.
- Strip back carefully: remove cement renders, gypsum plasters, and bitumen paints; keep historic lath where stable.
- Specify compatible layers: lime putty or NHL2 mortars, woodfibre/haired lime plasters, oak or softwood repairs with boron where justified.
- Rebuild outward: reinstate breathable infill, then limewash; finish with ventilated skirtings and clear service zones.
Repair Timber Joints With Like-for-Like Green Oak
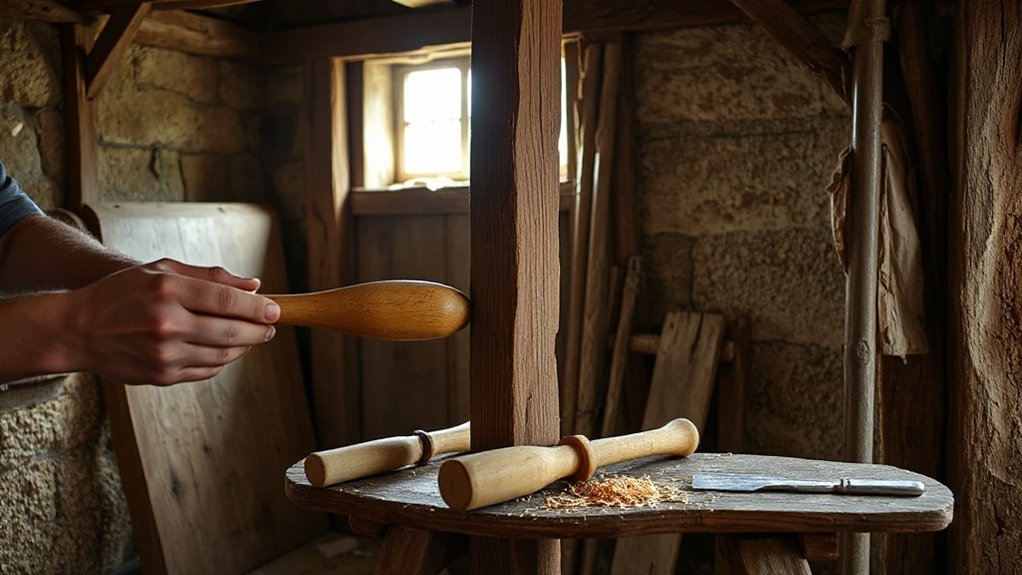
When you repair a failed mortice-and-tenon or scarf in a timber-framed cottage, you should splice in like-for-like green oak so the joint’s movement, shrinkage and bearing behaviour stay predictable. Cut back to sound fibres, square the shoulders, and keep the original geometry so loads return through the same bearing faces.
Select matching section and grain orientation; align heart and sap positions to minimise twist and checking. You’ll want tight, straight pegs in riven oak, drawbored to pull the joint home without metal fixings.
Allow for Green oak seasoning by leaving slight overlength and planing flush after initial shrinkage. Treat new timber joinery with restrained detailing: stop-chamfer to match, but don’t weaken arrises. Keep all cuts clean and housed.
Choose the Right Infill: Daub, Brick, or Panels
Before you close up the bays in a timber‑framed cottage, choose an infill that works with the frame’s seasonal movement, moisture load, and exposure. Your infill material must stay slightly compliant, avoid trapping water against oak, and suit the elevation’s weathering.
- Daub on laths: best for breathability and racking tolerance; ideal where panels have historically sat and you need aesthetic preservation.
- Soft brick infill: use where existing brickwork proves performance; detail a slip plane to limit shear transfer and keep units sacrificial.
- Timber panels (boarded): suit gable peaks and sheltered bays; allow easy inspection and replacement.
- Insulated panels: reserve for cold, exposed faces; specify vapour‑open build‑ups and robust edge restraint to stop drumminess.
Use Lime Mortar and Lime Plaster (Mixes + Curing)
Once you’ve settled on an infill that won’t fight the frame, match it with lime mortar and lime plaster so the whole bay stays vapour‑open, slightly compliant, and able to dry to both sides without dumping moisture into the oak.
For bedding and pointing, use Lime mortar based on NHL 2 (internal/soft exposure) or NHL 3.5 (more exposed), mixed about 1:2.5–3 sharp sand by volume; aim for well‑graded, washed sand.
For Lime plaster, use a coarse base (1:2.5) with hair or fibre, then a float (1:2.5), finishing with fine sand (1:2). Keep coats thin, key each layer, and cure slowly: mist, cover with hessian, and protect from sun, frost, and draughts for 7–14 days.
Common Timber-Framed Cottage Restoration Mistakes to Avoid
Although timber frames look robust, you can do real damage with well‑meant “modernisation”, so treat compatibility as the rule: avoid trapping moisture against the oak with hard cement renders or dense gypsum plasters, don’t inject chemical damp‑proof courses into breathable walls, and don’t replace failed infill with rigid masonry that can’t move with the frame.
Keep Historical accuracy by reading the building: carpenters’ marks, tool faces, wattle patterns, and earlier lime layers guide your choices.
Use Preservation techniques that stay reversible and vapour‑open, and record every intervention for Building Control and conservation officers.
Avoid these common errors:
- Over‑zealous sandblasting that erodes arrises and opens grain.
- Resin fillers that crack under seasonal movement.
- Hard pointing that drives water into joints.
- Sealing beams with modern varnish, preventing drying.
Frequently Asked Questions
Do I Need Listed-Building Consent for Timber-Frame Repairs?
You usually need listed-building consent if repairs alter fabric, details, or Historic authenticity; like-for-like timber splicing may not, but you should confirm with the LPA. Building regulations can still apply for structural, fire, or thermal works.
How Much Does a Full Timber-Framed Cottage Restoration Typically Cost?
You’re typically looking at £150,000–£400,000+; imagine limewash drying under scaffolded eaves. Costs swing with Historical accuracy, Material sourcing, hidden oak decay, roofing, and UK labour rates, plus surveys, contingencies, and VAT.
How Long Will Restoration Work Take From Start to Finish?
You’ll usually need 6–18 months start to finish; complex structural repairs can push 24+. Historical accuracy extends lead times for surveys, approvals and specialist trades, while Modern adaptations shorten programmes through prefabrication, faster services, and sequencing.
Should I Hire a Conservation Architect or Structural Engineer First?
Hire a conservation architect first; they’ll coordinate historic craftsmanship with modern techniques and planning. For example, on a Grade II timber cottage in Kent, your architect scopes defects, then instructs a structural engineer for calculations.
Will Restoring Traditionally Improve Insulation and Energy Bills?
Yes, you’ll usually cut heat loss if you add Modern insulation sympathetically, seal draughts, and upgrade glazing. You won’t always match new-build standards, but you’ll improve Energy efficiency and typically reduce UK energy bills.
Conclusion
You start with a survey, and you’ll often find the worst decay exactly where rainwater’s been tracking behind a flashing you hadn’t planned to touch. Coincidentally, once you fix that moisture path—roof, ground levels, and ventilation—your “structural” problems shrink. You’ll splice like‑for‑like green oak, keep joints true, and choose breathable infill with lime mortar and plaster, curing slowly. Avoid cement, hard sealants, and rushed drying, and the frame will work as intended.