On your first site visit to the Gamekeeper’s Lodge, a hairline crack in the gable reads like a timeline—one wet winter can widen it by millimetres that become structural movement. You start with a measured survey, then confirm listing, planning, and estate constraints before you touch stone or slate. You specify breathable lime mortar, match repairs to existing fabric, and plan drainage and ventilation to stop damp at source. Get that sequence wrong, and every “upgrade” becomes a liability—so what do you tackle first?
Key Takeaways
- Survey the lodge room-by-room, mapping moisture routes, roof lines, services, and masonry defects on scaled plans with photographs.
- Confirm planning, listing, and estate covenants early, aligning materials, colors, signage, access, and easements with conservation requirements.
- Fix water ingress first: reset slates, renew lead flashings, repair gutters and downpipes, and check timbers and battens systematically.
- Restore stone and mortar like-for-like, hand-raking failed joints and repointing with breathable lime matched in color and aggregate.
- Improve damp resilience with better drainage, vapour-open finishes, cleared ventilation paths, and targeted insulation that preserves breathability.
Start With a Gamekeeper’s Lodge Survey

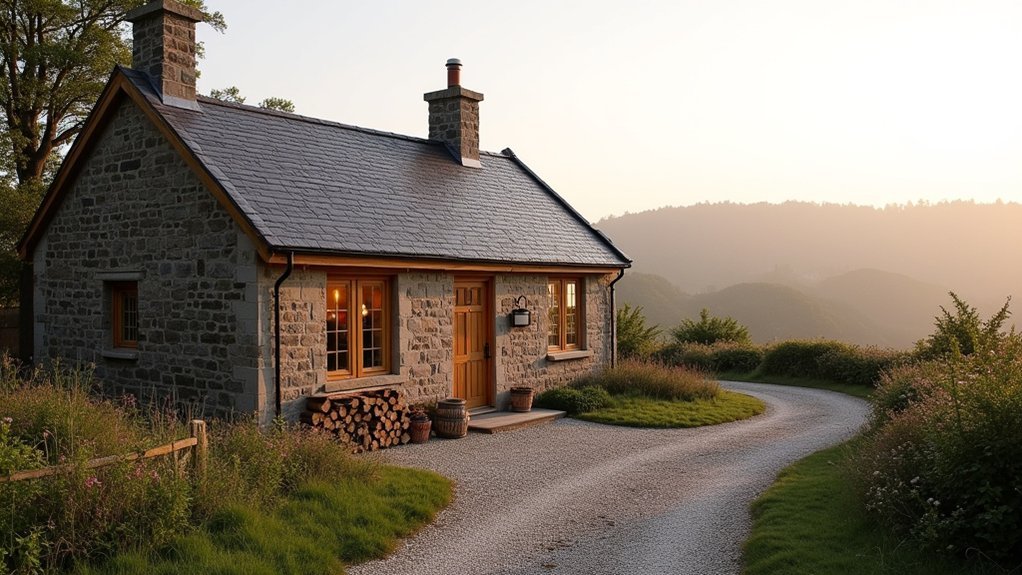
Where do you begin when you’re renovating a gamekeeper’s lodge with decades—sometimes centuries—of hard use behind it? You begin with a measured, room-by-room survey that treats the building like evidence. Map moisture routes, check roof lines, and record stone, brick, and mortar condition before you touch finishes.
Trace services: electrics, plumbing, flues, drainage falls, and ventilation paths, noting risks to timber and plaster. Photograph every elevation and junction, then mark defects on scaled plans.
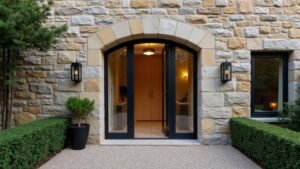
You’ll also read the setting: prevailing winds, runoff, and how access tracks affect Wildlife habitat. Finally, define Lodge aesthetics in objective terms—proportions, openings, materials, patina—so repairs match the lodge’s character, not a generic cottage template.
Check Planning, Listing, and Estate Constraints
Before you draw a single detail, confirm what you’re legally allowed to change. Check whether the lodge is listed, within a conservation area, or covered by estate covenants, then map each constraint onto your design brief.
Speak early with the local planning officer and conservation specialist so your proposals align with historic preservation requirements on windows, doors, chimneys, and interior plan form.
If the estate controls materials, colors, signage, or access, get written standards and approval routes to avoid redesign later.
Review rights of way, shared drives, boundary treatments, and service easements that affect entrances and parking.
Commission ecology notes on bats, nesting birds, and drainage, and use them to shape lighting, landscape, and site works with minimal ecological impact overall.
Repair the Gamekeeper’s Lodge Roof and Stone
You start at the roofline, inspecting slipped slates, failed flashings, and soft timbers so you can stop water at the source.
You then restore the stonework with like-for-like masonry—raking out failed joints, resetting loose stones, and repointing in breathable lime to protect the lodge’s character.
Finally, you lock in performance with weatherproofing, clear gutters, sound downpipes, and correctly graded drainage so moisture can’t migrate back into the walls.
Inspecting Roof Damage
How do you tell whether a lodge roof needs a straightforward patch or a full strip-back? You start with a systematic survey: sight along the ridge for dips, check slate courses for creep, and trace any staining to its highest point. Then you test the details that fail first—valleys, flashings, and verges—because good design lives or dies at junctions. Don’t skip roof ventilation checks; blocked paths trap moisture and accelerate decay.
Plan moss removal early, since it hides fractures and lifts edges, but do it gently to protect the surface.
- Photograph each elevation and mark defects on a roof plan
- Probe battens at eaves and around penetrations for softness
- Inspect gutters, downpipes, and drip lines for overflow clues
Restoring Stone Masonry
Roof defects rarely stop at the slates; they track into the wallhead, soak parapets, and show up as blown joints and spalled faces on the lodge’s stonework.
Start by recording every elevation, then tag stones for reuse so you don’t lose the wall’s original coursing and character—core to heritage preservation.
Rake out failed mortar by hand to avoid bruising arrises, and keep joints square and consistent with the historic profile.
You’ll repoint with a breathable lime mix matched to colour and aggregate, not a hard cement that traps stress.
Where faces have delaminated, you’ll indent with geologically compatible stone, set on full beds, and pin discreetly only when necessary.
Finish with brushed joints and crisp margins.
Weatherproofing And Drainage
Once the masonry’s sound, weatherproofing and drainage become the decisive layer that keeps the lodge dry without suffocating its fabric. You’ll start at the roof: reset slipped slates, renew lead soakers, and dress flashings tight to chimneys and abutments, so wild weather can’t drive water behind the covering.
Then you’ll tune the wall’s breathability—use limewash or a vapour-open silane, never a glossy sealer that traps moisture and salts.
- Specify deep eaves, properly sized gutters, and leaf guards to control splashback
- Set falls to downpipes, add rodding eyes, and discharge into French drains, not the footings
- Grade ground away from walls and install discreet channel drains at thresholds for drainage solutions
Control Damp Before Insulating the Lodge
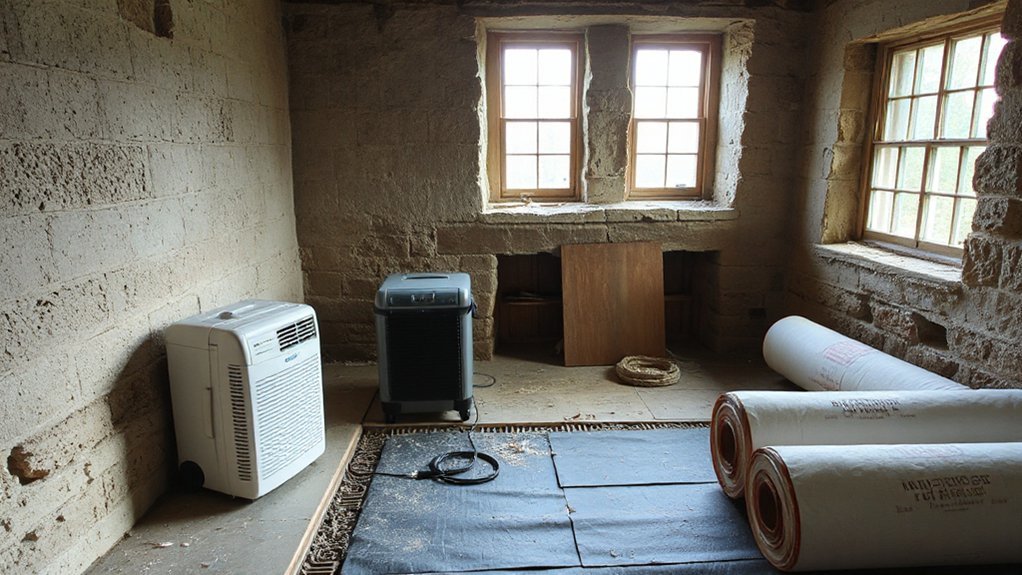
Before you add a single roll of insulation, you’ve got to stop moisture at its source, because trapped damp will turn a beautifully finished lodge into a slow rot problem. Start with Damp mitigation: map tide marks, blistered paint, and musty corners, then measure with a moisture meter so you’re not guessing.
Rake out failed mortar, repoint in breathable lime, and replace cracked render to keep walls drying outward. Treat fungal growth, but don’t mask it—fix the water path first.
Check floors for bridging: clear debris from air bricks, lower external ground if it’s kissing the sill, and capillary-break where needed.
Use Ventilation techniques to purge humidity: unblock flues, maintain trickle paths, and keep internal doors undercut for even airflow.
Insulate and Ventilate the Gamekeeper’s Lodge Properly
Because a gamekeeper’s lodge needs to breathe even after you’ve tightened it up, you should treat insulation and ventilation as one coordinated system rather than two separate jobs.
Start by choosing insulation materials that respect the building’s fabric: breathable wood fibre or sheep’s wool for solid walls, and dense mineral wool between joists where you can maintain an air gap.
Then lock in clear ventilation strategies so moisture doesn’t stall in corners or roof voids. Keep air paths continuous, and detail every junction—eaves, wall plates, and window reveals—to avoid cold bridges and hidden condensation.
- Use a smart vapour control layer on the warm side, taped at seams.
- Ventilate roof spaces with discreet eaves and ridge vents.
- Add underfloor vents and keep them clear year-round.
Upgrade Services, Light, and Layout for Modern Living
With the lodge now insulated and ventilated as a single moisture-safe system, you can turn to the upgrades that make it genuinely liveable: services, daylight, and a layout that works with the building’s proportions.
Start by rewiring to current regs, adding enough circuits for kitchen loads, EV charging, and future heat pumps. Run new plumbing in accessible zones, insulate pipework, and place manifolds centrally to shorten runs and cut heat loss.
Next, increase daylight without erasing character: enlarge select openings on secondary elevations, fit slimline timber windows, and use rooflights where sightlines stay discreet. Layer modern lighting—task, ambient, and accent—on dimmable drivers.
Finally, refine the interior layout by aligning doorways, widening pinch points, and using built-ins to keep circulation clear and rooms balanced.
Frequently Asked Questions
How Much Does It Cost to Refurbish a Gamekeeper’s Lodge?
You’ll typically spend £60,000–£200,000+ to refurbish a gamekeeper’s lodge, depending on structure, Interior design scope, and Modern amenities. You’ll pay more for rewiring, insulation, windows, bespoke joinery, kitchens, and bathrooms.
How Long Does a Typical Lodge Renovation Take From Start to Finish?
You’ll typically finish a lodge renovation in 4–8 months; 60% of delays come from permits and lead times. Start Interior design by week 2, and coordinate Landscape planning during rough-in to avoid costly redesigns.
Can I Add an Extension Without Changing the Lodge’s Character?
Yes—you can add an extension without changing the lodge’s character if you prioritize Historic preservation and Design compatibility. You’ll match proportions, rooflines, and materials, set it back, and use subtle shifts that respect original detailing.
What Grants or Tax Reliefs Are Available for Heritage Renovations?
You can pursue Heritage grants via Historic England, the National Lottery Heritage Fund, and local councils; you can also claim Tax reliefs like VAT reductions on approved repairs. Check listing status, eligible works, and professional-led applications.
Should I Hire a Specialist Architect or Can a General Builder Manage It?
You should hire a specialist architect; a general builder can’t reliably manage heritage complexities. You’ll control Design considerations, coordinate Material selection, secure compliant detailing, and reduce rework. You’ll still use a builder for execution.
Conclusion
When you finish, you haven’t “renovated” a gamekeeper’s lodge; you’ve gently persuaded it back into service. Your survey-led choices, permissions, and estate rules keep every move precise. You’ve re-laid slate, stitched stone with lime, and guided rain away so walls can breathe. With discreet insulation and calm ventilation, the lodge stays warm without trapping ghosts of damp. Upgraded services, thoughtful lighting, and a refined plan make heritage feel quietly current.