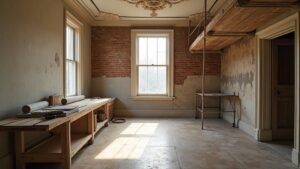
You’re starting with a structural and heritage survey because the cruik frame dictates everything: loads, movement, and where you can intervene. You plan zones around headroom pinch points, using built-in storage under collars and along low eaves. You bring in light with conservation rooflights and discreet glazing that won’t overpower the elevation. You specify breathable insulation, low‑temp heating, and service runs that avoid chasing stone. The tricky part is making all those junctions work without losing the barn’s character…
Key Takeaways
- Commission structural and heritage surveys to understand load paths, timber condition, and significant fabric before any design or demolition decisions.
- Plan zones between trusses around a clear datum line, keeping full-height circulation central and using low-eave areas for storage or seating.
- Preserve the cruck frame by avoiding notching or fixing new partitions to principal timbers, using reversible linings and shadow gaps instead.
- Improve daylight discreetly with conservation rooflights and deep-set glazing, while detailing breathable lime-and-timber junctions for airtightness and durability.
- Upgrade comfort with vapour-open insulation and low-temperature heating, routing plumbing, electrics, and ventilation through accessible service layers with clear labeling.
Get a Structural and Heritage Survey First
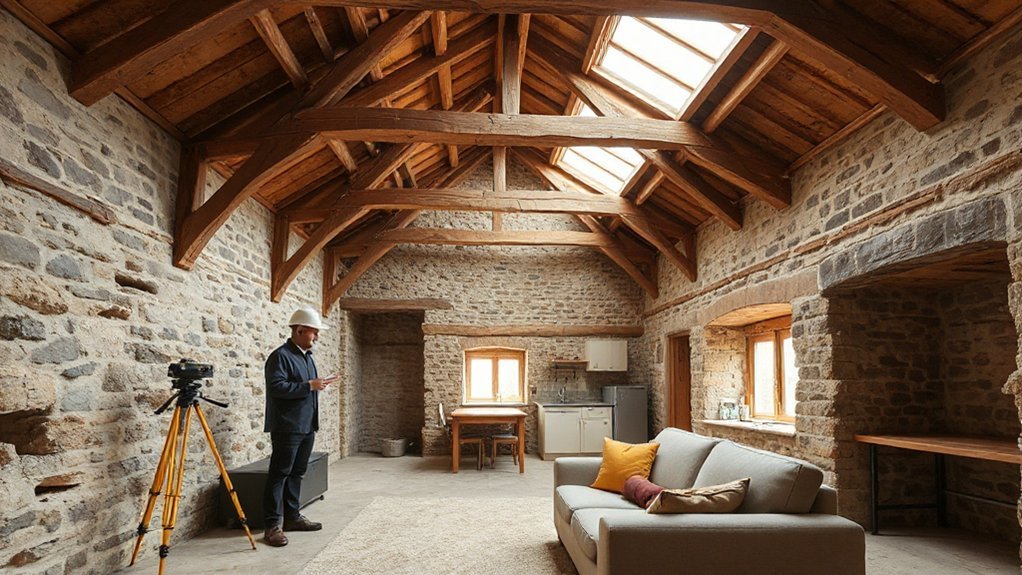
Before you sketch layouts or price materials, commission a structural engineer and a conservation/heritage specialist to survey the cruik barn as it stands.
You’ll get a Structural assessment that maps load paths through the cruck blades, tie beams, purlins, and wall plates, and flags spread, rotation, or differential settlement.
Ask for moisture readings, timber species ID, insect/fungal activity notes, and joint condition grading, plus crack monitoring points and a basic movement history.
Require a roof and masonry check for thrust, bulging, and failing bearings.
For Heritage preservation, have the specialist identify significant fabric, past alterations, and acceptable repair methods, then outline permissions, documentation, and salvage protocols.
Use both reports to prioritise stabilisation, specify compatible materials, and set a risk-managed sequence of works.
Design Zones Around the Cruck Frame and Headroom
You’ll set the cruck frame as the primary visual and structural datum, then anchor focal zones like seating, dining, or a work bay between trusses without cutting or notching members.
You’ll manage low headroom by assigning it to storage, built-ins, or sleeping platforms, and you’ll keep standing functions in full-height corridors.
You’ll also map circulation under tie beams with clear sightlines and compliant head-clearance, using lighting and floor pattern shifts to steer movement away from pinch points.
Cruck Frame Focal Zones
Although the cruck frame reads as a single structural gesture, it works best when you treat it as a set of focal zones defined by headroom, span, and circulation. Start your cruck frame design by mapping the bay: locate the apex line, tie-beam levels, and the clearest walking route beneath the sweep.
Place primary functions where the frame’s arc is widest—living, dining, or studio—so sightlines terminate on the timber ribs.
Next, assign secondary zones at each cruck pair: build storage walls, service runs, or glazing reveals between posts without cutting or notching principal members, supporting heritage preservation.
Use lighting to reinforce each zone: uplights to wash the curve, task lights under collars, and floor-level guides along circulation.
Keep junction details reversible and clearly legible.
Managing Low Headroom Areas
Because the cruck’s sweep drops headroom fastest at the eaves, treat those margins as programmed “low-clearance bands” rather than compromised floor area. Set a clear datum height and map it to the frame geometry so you can place functions by clearance, not guesswork.
Push full-height activities inward, then assign the eave zone to storage drawers, banquettes, daybeds, toy nooks, or built-in desks with seated headroom targets. Keep cabinetry below the cruck blades and maintain ventilation gaps so timbers can dry.
You’ll preserve Vintage charm by leaving rafters exposed, but protect Structural integrity: don’t notch cruck members, don’t hard-fix new partitions to them, and use slip joints where linings meet the frame.
Use low-glare lighting and contrasting floor edges to signal the drop safely.
Circulation Under Tie Beams
Once you’ve programmed the low-clearance bands at the eaves, set the main circulation spine around the cruck frame’s tie beams and any collar lines, where headroom changes quickly and impacts day-to-day movement.
Keep primary routes beneath the highest bay, then offset secondary paths where tie beams drop, using floor inlays or lighting to cue duck zones.
Verify clearances at door swings and stair landings, and model sightlines so you don’t create collision points at beam intersections.
For Historic preservation, avoid notching or trimming members; instead, adjust floor levels, relocate partitions, or recess services between joists.
Protect Structural integrity by limiting new penetrations near tie beam bearings, using independent studs for walls, and coordinating MEP runs to bypass tension zones and existing pegs.
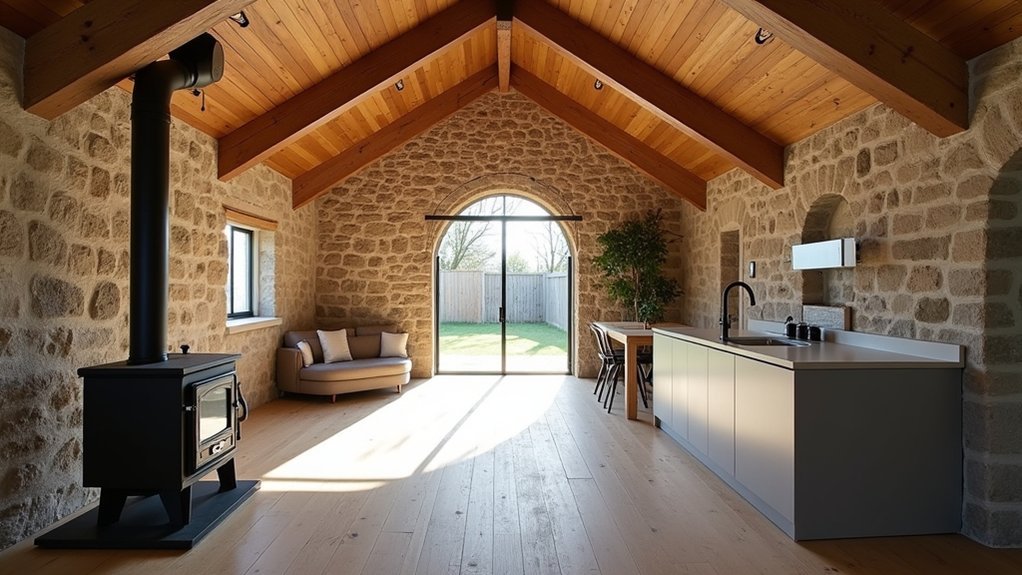
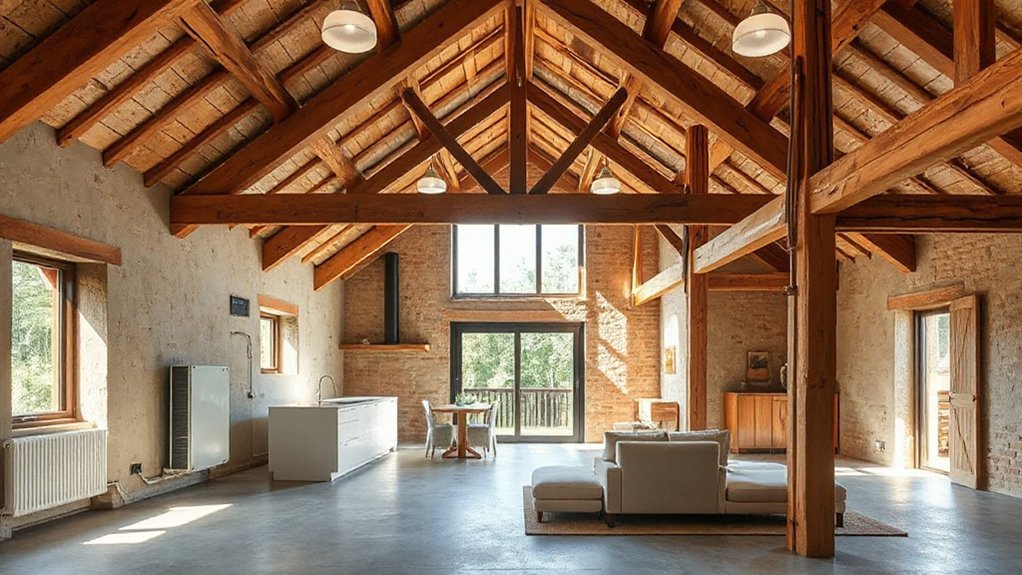
Add Rooflights and Glazing With Minimal Visual Impact
When you introduce rooflights and new glazing into a cruik barn, you need daylight and thermal performance without disrupting the long, low roofline and sparse elevations. Set rooflights flush with the covering and align them between cruik blades to keep structure legible and avoid awkward cut timbers.
Specify slim-framed, conservation-style units with low‑iron outer panes, warm-edge spacers, and high g‑value control to limit solar glare while preserving useful winter gains. Use internal blinds or fritted glass rather than bulky external shading.
Detail upstands with continuous air- and weather-seals, and design clear maintenance access: locate opening sashes where you can reach them from a mezzanine or catwalk, and include safe anchor points. Keep new wall glazing grouped, deep-set, and proportioned to existing openings.
Choose Breathable Insulation and a Low-Temp Heating Plan
You’ll protect the cruik frame by specifying vapour-open insulation—wood fibre, hemp, or sheep’s wool—paired with a continuous airtight layer and targeted vapour control where needed to manage interstitial condensation.
You’ll then size a low-temperature heating system around that fabric performance, favouring underfloor heating, oversized radiators, or wall panels fed by an air- or ground-source heat pump.
You’ll lock in comfort and efficiency by designing for 35–45°C flow temperatures, zoning the space, and setting steady setpoints that suit the barn’s thermal mass and intermittent use.
Breathable Insulation Choices
Although a cruck barn’s stone, timber, and lime-based fabric can buffer moisture naturally, the wrong retrofit insulation will trap water vapour, drive interstitial condensation, and rot the frame—so specify a vapour-open build-up and pair it with low‑temperature heat.
For Historic preservation, use hygroscopic, capillary-active insulants: woodfibre boards, hemp-lime, cork, sheep’s wool, or dense cellulose in serviced voids. Keep the existing wall breathable with lime plaster or clay finishes, and avoid foil-faced PIR, closed-cell spray foam, and vinyl paints.
Detail airtightness on the warm side using smart vapour control membranes or taped boards that still allow seasonal drying.
Maintain Material durability by isolating timbers from wet masonry with lime mortar, capillary breaks, and ventilated cavities where appropriate.
Check U-values, moisture models, and junctions.
Low-Temperature Heating Options
A vapour-open insulation build-up only works as intended if you pair it with gentle, steady heat that keeps internal surfaces above dew point without overheating the building’s moisture-buffering fabric. Aim for low flow temperatures (30–45°C) so the masonry and timber warm evenly and stay dry.
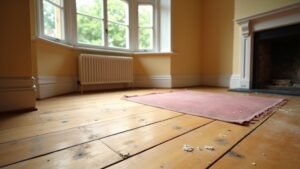
Underfloor systems suit large, open bays: you’ll get uniform radiant output, fewer cold corners, and stable humidity. Use thin-slab or retrofit plates if you can’t raise floor levels, and zone by use (studio, living, sleep).
If you choose radiators, optimise radiator placement: put them on external walls or beneath glazing to counter downdraughts, and size them for low-temperature operation. Pair either approach with weather-compensated controls and continuous background ventilation so heat and moisture stay balanced year-round.
Route Plumbing, Electrics, and Ventilation Without Chasing Stone

Since a cruck barn’s stonework and lime mortar don’t tolerate chasing, plan your service runs as reversible layers: route plumbing, electrics, and ventilation through new stud linings, raised floors, and ceiling voids. Then drop to points of use via surface-mounted or boxed-in risers.
Keep Modern plumbing on accessible manifolds, using PEX with isolation valves and acoustic clips to reduce hammer.
For drainage, set shallow falls within the floor build-up and use pumped wastes only where unavoidable.
Run Electrical wiring in conduit or dado trunking with clear segregation from wet services and a continuous RCD/AFDD strategy where required.
For ventilation, push rigid ducting through voids, insulate cold runs, and place condensate drains to serviceable points.
Label routes and photograph before closing.
Finish With Lime, Timber, and Detailing That Matches the Barn
When you finish a cruck barn conversion, you’ll get the most durable, breathable result by treating lime, timber, and junction detailing as a single system rather than separate “decor” choices. Use Lime plaster on stone and daub interfaces to manage vapour and salts; keep coats thin, well-keyed, and finished with a breathable limewash, not acrylic.
Where you need lining, fix Timber cladding on battens over a ventilated cavity, and leave a capillary break from masonry. Detail junctions so movement doesn’t crack: use timber slip joints at posts, lime-compatible compressible fillers, and maintain shadow gaps that read as original framing.
At thresholds and reveals, return plaster onto timber stops, add drips, and keep end grain sealed yet vapour-open.
Frequently Asked Questions
How Much Does It Cost to Convert a Cruck Barn Overall?
You’ll typically spend $250,000–$600,000 overall to convert a cruck barn, depending on interior design scope, material costs, structural repairs, utilities, insulation, glazing, and code compliance. Get surveys, detailed specs, and fixed-price bids.
How Long Does a Typical Cruck Barn Conversion Take?
Like a long chess match, you’ll typically finish in 6–18 months. You’ll schedule surveys, approvals, and trades while ensuring Structural integrity and Historical preservation; complex repairs, utilities, and bespoke joinery extend timelines.
Do I Need Planning Permission or Listed Building Consent?
You’ll likely need planning permission for change of use, alterations, or new services; you’ll need listed building consent if it’s designated. Check local heritage regulations early, and secure renovation permits for structural, fire, drainage, and access works.
Can I Add a Mezzanine Floor Without Compromising the Cruck Frame?
Yes—you can, but you must keep new loads off the cruck; build a freestanding mezzanine on independent posts. Contrast light insertion with heavy alteration. Prioritise Mezzanine safety and Structural reinforcement via engineered connections.
Will My Home Insurance Cover a Converted Cruck Barn?
Your home insurance might cover a converted cruck barn, but you’ll need specialist Insurance coverage. You’ll document Conversion considerations: structural reports, listed-status compliance, fire protection, wiring/plumbing certification, and updated rebuild valuations to satisfy underwriting.
Conclusion
You’ll get the best result by letting the cruik frame set the plan: survey first, then zone uses to suit headroom and loading paths. You can boost daylight with conservation rooflights and slimline glazing, keeping sightlines clean. Specify breathable insulation and low‑temperature heating so moisture can migrate safely. Don’t chase stone—route services in floor voids and shadow gaps. Done right, you can cut space‑heating demand by up to 50% while preserving character.