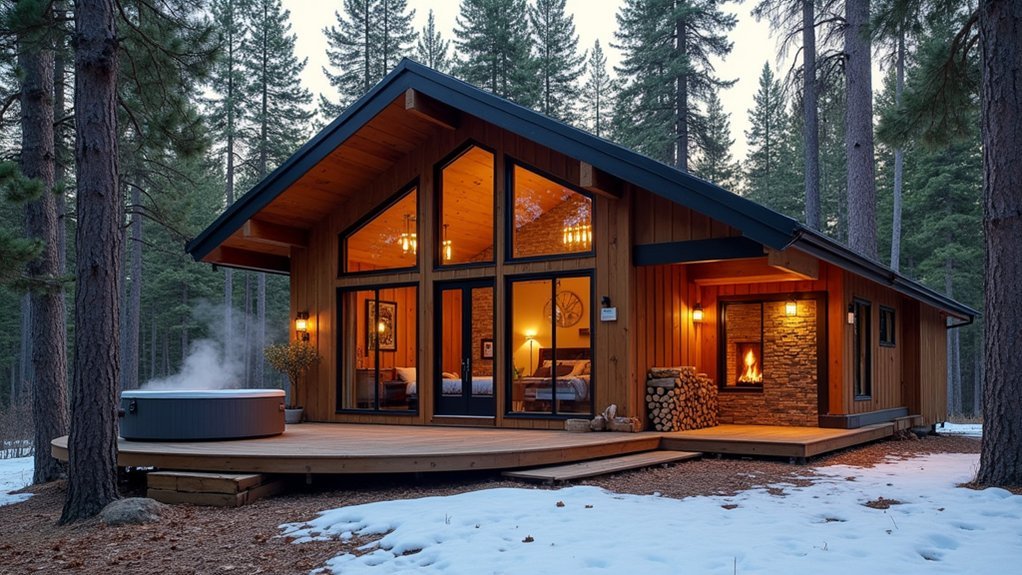
Like wrapping a compass in wool, you can make a woodland lodge steadier in every season without losing its direction. You start with an audit for drafts, cold bridges, and damp risk, then air-seal and add vapour-open internal insulation that respects timber movement. You upgrade glazing and doors to low U-values, size a heat pump with sensible backup, and set ventilation to control moisture and smoke. The next decision is the one that determines whether comfort lasts…
Key Takeaways
- Audit heat loss and moisture risks with blower-door, thermography, and room surveys, then prioritize fixes by air leakage and occupant comfort impact.
- Improve airtightness and internal insulation using vapour-open membranes and woodfibre/hemp-lime, sealing junctions at floors, skirtings, loft hatches, and services.
- Upgrade windows and doors with compression gaskets, adjustable thresholds, drop-down seals, and low‑E argon glazing with warm-edge spacers.
- Install Part F–compliant MVHR with commissioned airflow and humidity-boost extracts to keep indoor RH near 40–60% and prevent condensation.
- Modernize heating with a right-sized air-source heat pump, low-flow emitters, smart zoning, and a room-sealed stove for rapid localized warmth.
Audit Your Woodland Lodge: Leaks, Drafts, Priorities
Before you specify new finishes or services, you need a clear audit of where your woodland lodge is losing heat and comfort. Start with a room-by-room survey, noting cold spots, condensation, and wind-wash at skirtings, window reveals, and loft hatches.
Commission a blower-door test with smoke pencils and thermography to map leakage paths, then rank defects by measured air-change rate and occupant impact.
Check flues, external doors, and service penetrations; document moisture risk around bathrooms and utility zones.
Review glazing gaskets, trickle vents, and extractor performance against Part F expectations.
Log findings on plans and prioritise interventions that protect Wildlife habitat and scenic preservation by reducing lighting spill, fan noise, and unnecessary external works.
Produce a brief for designers and contractors.
Air-Seal and Insulate Without Losing Lodge Character
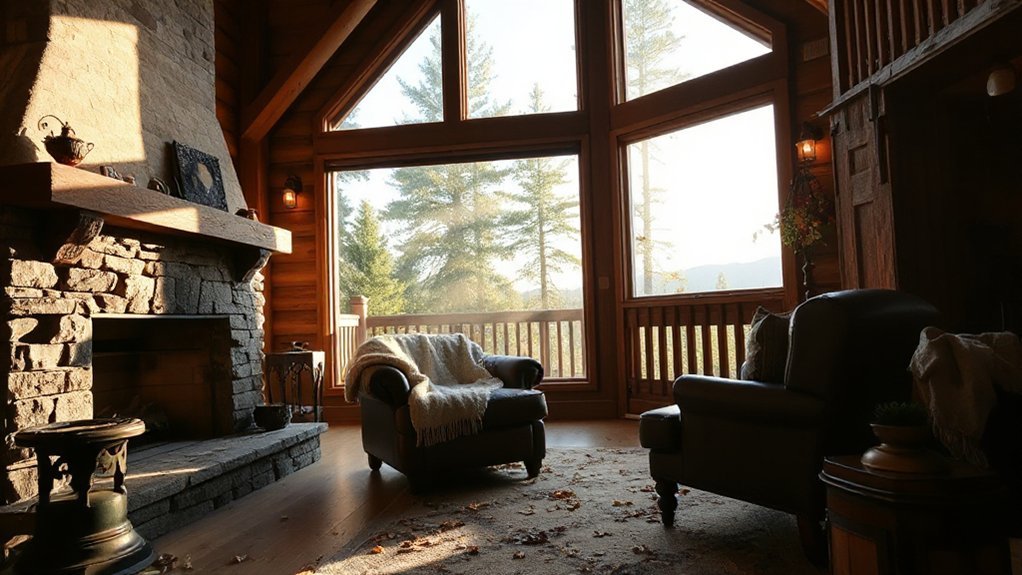
Although you might worry that airtightness and insulation will “modernise” the feel of a woodland lodge, you can upgrade the thermal envelope quietly by working from the inside and keeping original linings and profiles intact.
Tape and gasket junctions at skirtings, floor-to-wall edges, loft hatches, service penetrations, and around joist ends; use vapour-open membranes so timber can dry to the inside.
Add woodfibre or hemp-lime between studs and over rafters, then reinstate matchboard to keep shadow gaps and architraves reading as before.
Specify airtight downlight hoods and route cabling within a service zone so outdoor lighting circuits don’t puncture the air barrier.
Seal floor voids and insulate underboards; keep ventilated subfloors balanced for wildlife preservation.
Upgrade Woodland Lodge Windows and Doors (Biggest Weak Spots)
You’ll get your biggest comfort gains by treating windows and doors as the primary weak points, starting with a methodical check of typical air‑leak zones at frames, sashes, thresholds, and junctions to timber cladding.
Specify high‑performance glazing—low‑E double or triple units with warm‑edge spacers and suitably low U‑values—to lift thermal performance without compromising the lodge’s proportions.
Then tighten the envelope with upgraded door weather seals, including continuous compression gaskets, a proper threshold system, and well‑set draught excluders to control infiltration.
Identify Air Leak Zones
Because windows and doors typically interrupt the lodge’s insulation line, they become the primary air‑leak zones you need to map first: check sash-to-frame junctions, meeting rails, hinge sides, threshold gaps, letter plates, and any trickle vents or ageing seals that no longer compress properly.
Then run a simple smoke pencil or incense stick on a windy day, or use a thermal camera at dusk to pinpoint draught paths and cold-edge patterns around reveals.
Inspect mastic lines, packers, and expanding foam for shrinkage, and confirm the frame-to-wall connection hasn’t cracked with seasonal movement.
Record each location on an elevation sketch so you can specify targeted gaskets and draught seals without compromising Indoor air quality; coordinate with existing ventilation systems to avoid over-sealing and creating stagnant rooms.
Choose High-Performance Glazing
Where do you win the biggest comfort gains in a woodland lodge without touching the walls? By upgrading glazing: windows and glazed doors are your main thermal weak spots and your main source of cold downdraughts.
Specify low‑E, argon‑filled double or triple glazing with warm‑edge spacers and airtight frames, targeting a whole‑window U‑value around 1.2 W/m²K (or lower) to suit UK winters.
For design, choose slimmer sightlines to preserve natural lighting while reducing unwanted losses.
Manage summer peaks with solar shading: external blinds, brise‑soleil, or solar‑control coatings matched to orientation and g‑value, so you keep brightness without overheating.
Prioritise south and west elevations, and check Part L compliance and FENSA/Certass installation quality.
Upgrade Door Weather Seals
Even with high‑performance glazing, most lodges still feel draughty at the thresholds and around door leaves, so upgrade the weather seals to lock in the gains. Start by inspecting frame alignment and hinge sag; a perfect seal needs consistent contact pressure.
Fit high‑quality door weather seals: Q‑Lon or EPDM compression gaskets in routed grooves, plus brush or fin seals where tolerances vary. Replace tired threshold strips with an adjustable aluminium threshold and a drop‑down seal to close the undercut without scraping timber floors.
Use sealing techniques that suit UK moisture swings: avoid over‑tight foams, and specify closed‑cell tapes behind ironmongery and letter plates. Confirm performance with a smoke pencil and aim for airtightness without compromising egress.
Choose Lodge HVAC: Heat Pumps, Wood, and Backup Heat
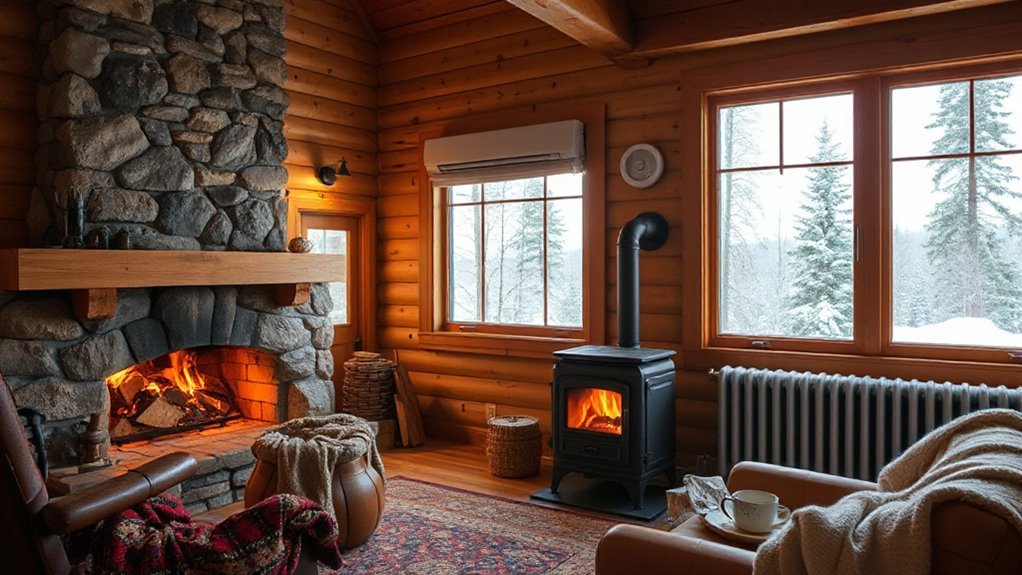
When you’re modernising a woodland lodge for all-season use, you’ll need an HVAC strategy that balances fabric-first design with resilient heat sources. Start with an air-source heat pump sized to your upgraded envelope, aiming for low-flow temperatures and oversized emitters (UFH or fan convectors) to keep COP high in UK winters.
Add a room-sealed wood-burning stove for rapid, localised heat and ambience, and integrate it so it complements the Lodge interior without compromising clearances or circulation. Treat it as a peak-lopping feature you can dress with seasonal decor rather than your primary system.
Specify an electric boiler or direct-acting panel heater circuit as backup for extreme cold snaps, maintenance outages, or shoulder-season quick warm-ups. Use smart zoning and weather compensation to minimise run hours and peak tariffs.
Prevent Damp and Smoke: Ventilation + Moisture Control
Because a woodland lodge sits in a damp microclimate and you’re tightening the fabric for heat‑pump performance, you must control moisture and combustion byproducts with deliberate ventilation rather than relying on trickle leakage.
Specify MVHR sized to Part F, with commissioned airflow rates, low‑SFP fans, and summer bypass so you don’t overheat.
Keep wet rooms on continuous extract, and run a humidity‑boost function to stabilise RH around 40–60% for moisture management.
Detail an airtight, fire‑rated stove enclosure with a dedicated external air supply, and add an interlocked extract fan so negative pressure won’t pull smoke back.
Use Natural ventilation tactically: secure night vents and cross‑flow purge routes, plus a vented, insulated roof void to prevent interstitial condensation.
Fit CO and particulate alarms.
Specify Lodge Finishes That Beat Mud, Pets, and Soot
You’ll keep a woodland lodge looking sharp by specifying hardwearing wall and trim finishes that resist paw-scuffs, muddy contact, and soot staining. You’ll pair that with easy-clean floors—think sealed timber or porcelain.
And a non-porous hearth surface that shrugs off ash and wet boots.
You’ll detail junctions, skirtings, and thresholds so cleaning’s quick and the finish system stays intact through UK winters.
Hardwearing Wall And Trim
Although a woodland lodge begs for characterful materials, your walls and trim still need finishes that shrug off muddy wellies, wet dog shake‑offs, and the fine soot that drifts from a stove. Specify scrubbable, low‑VOC acrylic eggshell on plasterboard; it resists burnishing and cleans with a damp microfibre.
In high‑traffic zones, add a wipeable matt vinyl or a microcement dado to 1.1m for impact resistance without gloss.
For timber linings, use a water‑based polyurethane lacquer or hardwax oil rated for interior joinery, tinted to mute yellowing.
Detail Decorative wall accents as washable panels or sealed timber slats, not porous limewash.
For trim, choose satinwood acrylic on MDF or hardwood, and plan Trim maintenance with caulked joints and touch‑up pots stored on site.
Easy-Clean Floors And Hearth
Once your walls and trim can take a wipe-down, the floor and hearth become the next durability spec, since they’ll see the worst of grit, claws, wet boots and stove ash.
Choose porcelain tile (R11 slip rating) or sealed microcement with a PU topcoat for stylish flooring that won’t trap mud.
In living zones, specify LVT with a 0.55mm wear layer and welded or colour-matched seals at thresholds to stop moisture creep.
Keep skirtings slightly proud so you can mop tight to the edge, and fit recessed coir mats at entrances.
For the stove, use a non-combustible hearth: honed slate, granite, or glazed quarry tile on a cementitious backer board.
Plan hearth maintenance with dark grout, minimal joints, and a removable ash lip.
Phase the Woodland Lodge Reno: Costs, Timing, Permits
Because a woodland lodge sits at the mercy of weather, access, and UK building control, you’ll get better value by phasing the renovation into clear work packages with defined budgets, lead times, and approval gates.
Start with surveys, asbestos checks, and moisture mapping, then lock the scope to protect contingency.
Price each phase with a QS-style elemental breakdown, and programme around nesting seasons to support Wildlife integration and reduce site risk.
Specify Eco friendly materials early so suppliers can meet FSC, EPD, and Part L targets without substitutions.
Align approvals with design freezes so Building Control and planners aren’t chasing revisions.
- Enabling works: access, temporary power, drainage
- Fabric first: insulation, airtightness, windows
- Services: heat pump, MVHR, electrics
- Fit-out: joinery, finishes, commissioning, handover
Frequently Asked Questions
What Internet Options Work Best in Remote Woodland Lodge Locations?
You’ll get best results using Satellite internet where fibre can’t reach, and you’ll enhance resilience with Cellular boosters for 4G/5G fallback. Specify external directional antennas, low-loss cabling, and a mesh Wi‑Fi layout aligned to your lodge plan.
How Do I Design Wildlife-Safe Exterior Lighting Around the Lodge?
Use Outdoor lighting design with shielded, warm 2200K LEDs, low-lumen levels, and PIR controls. Specify Wildlife friendly fixtures: downward bollards, timers, and curfews. Avoid blue-rich light, uplighting, and glare near hedgerows.
What Insurance Coverage Changes After Renovating a Seasonal Lodge?
Like Theseus refitting his ship, you’ll need coverage adjustments: notify your UK insurer, update rebuild cost, contents, and liability, add contractors’ all‑risks, consider unoccupancy and escape‑of‑water. Document works to streamline insurance claims.
Which Firewood Storage Methods Reduce Pests and Moisture Indoors?
You’ll cut pests and moisture by using Dry storage: a ventilated, raised, covered log store outdoors, plus a sealed indoor bin for day-use only. Stack off floors, rotate stock, and add Pest prevention mesh.
How Can I Deter Bears and Rodents Without Harming the Lodge’s Character?
Like a Fort Knox bin stopped one raid in my Cumbria site, you’ll deter wildlife by specifying discreet bear proofing strategies: steel food lockers, lidded bins. Add rodent deterrent methods: brush seals, mesh vents, tidy detailing.
Conclusion
When you retrofit your woodland lodge, you’re not chasing “cosy”; you’re engineering a stable envelope. A client in Cumbria cut air leakage from ~12 to 4 ACH50 after airtightness tapes, vapour-open insulation, and low‑U glazing—then their ASHP ran quietly at lower flow temps. It’s like repairing a bothy roof: you don’t notice each nail, but you feel the storm stop. Specify breathable layers, controlled ventilation, and robust finishes, and the lodge stays calm year‑round.