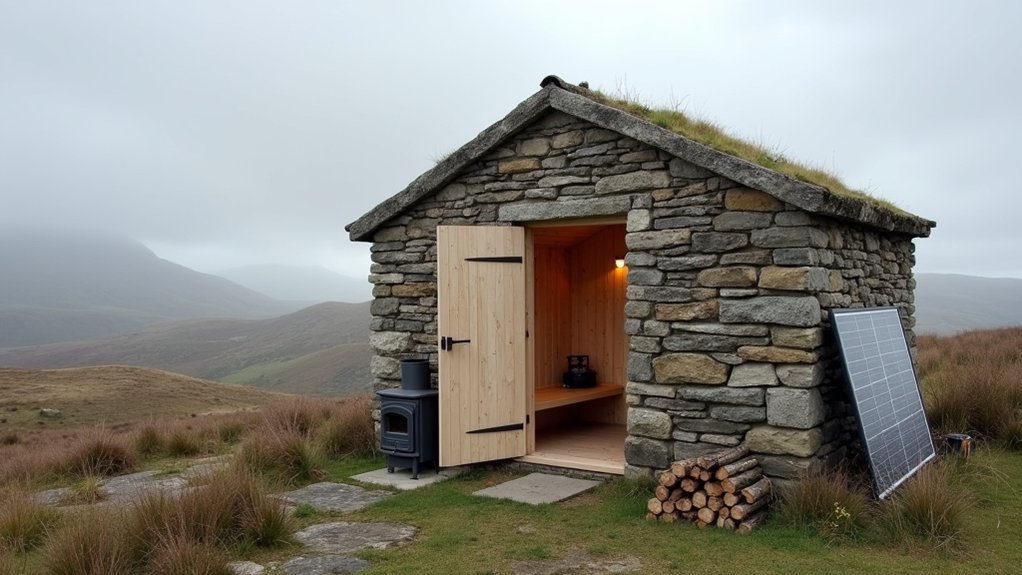
Youbegin turning a remote bothy into a minimalist off grid escape by getting written permission first, then mapping access, water, and flood or wind exposure. You keep the shell tight and dry by patching roof pinholes, taping and sealing drafts, and fitting door sweeps while maintaining ventilation. You add safe heat with a properly flued stove and a tested CO alarm. You run simple solar‑LiFePO4 power, treat water in stages, and follow strict leave‑no‑trace. Next, you’ll refine each system.
Key Takeaways
- Choose a bothy with safe access, reliable water, low flood risk, and confirmed permissions, planning rules, and communications limitations.
- Stabilize and weatherproof fast: inspect roof, doors, chimney, and rot; seal drafts and leaks while keeping ventilation to prevent damp.
- Pack a minimalist, reliable kit: compact sleep system, simple cook set, repair tools, and organized dry storage to reset the space quickly.
- Install safe heat and airflow: noncombustible stove base, proper flue clearances, balanced vents, and a tested CO alarm at sleeping height.
- Add simple off-grid systems: solar plus LiFePO4 battery, and staged water treatment; follow strict leave-no-trace waste and dishwater practices.
Choose a Remote Bothy and Get Permission
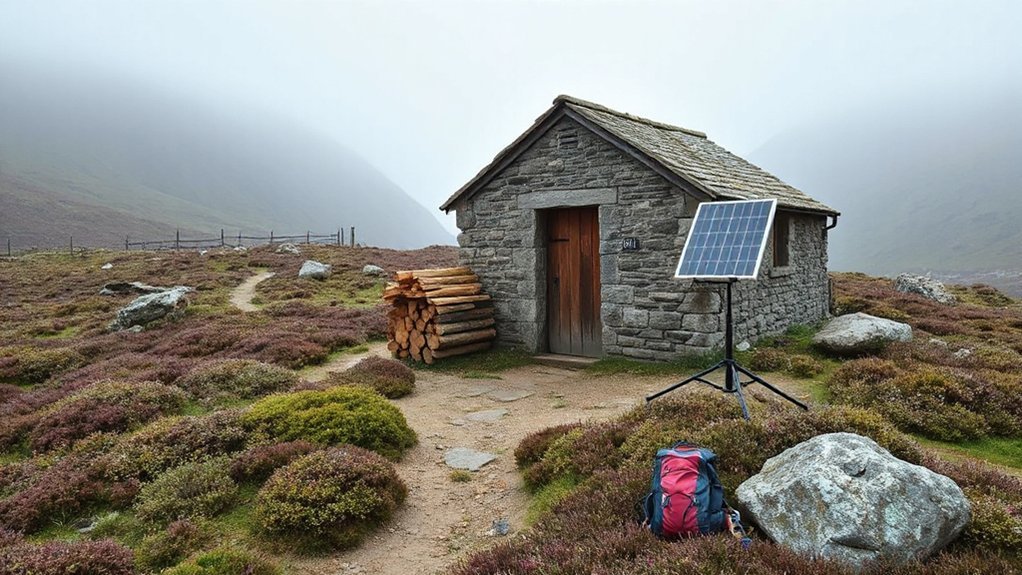
Before you haul in tools or supplies, pick a bothy that matches your access limits, water availability, and exposure to wind and flooding. Then confirm you’re legally allowed to use and modify it.
In a remote location, map the approach, check seasonal river crossings, and verify comms dead zones so you don’t rely on rescue.
Assess the structure fast: roof integrity, chimney draw, rot at sill plates, and signs of ongoing use.
Then secure legal permissions in writing from the owner, estate, or managing trust, and ask about restrictions on fuel, sanitation, and repairs.
If it’s on protected land, confirm planning rules and heritage constraints.
Agree on a leave-no-trace standard and a contact plan for issues.
Seal Drafts, Leaks, and Doors to Keep It Dry
Because a bothy’s comfort hinges on staying dry, treat drafts and leaks as your first maintenance job after you’ve dropped your pack. Walk the interior perimeter and feel for moving air at door edges, window frames, and wall-to-roof joints. Mark gaps with tape so you don’t miss them.
Start with the door: tighten hinges, add a stick-on EPDM seal, and fit a sweep to the threshold. For cracks, press in backer rod, then apply flexible exterior-grade sealant; it moves with timber and stone.
Patch roof pinholes from inside with flashing tape until you can do a proper exterior repair. Use removable draft excluders at night.
These weatherproofing tips pair well with insulation techniques like reflective foil behind boards, but keep everything breathable to prevent trapped moisture.
Add Safe Bothy Heat and Ventilation Basics
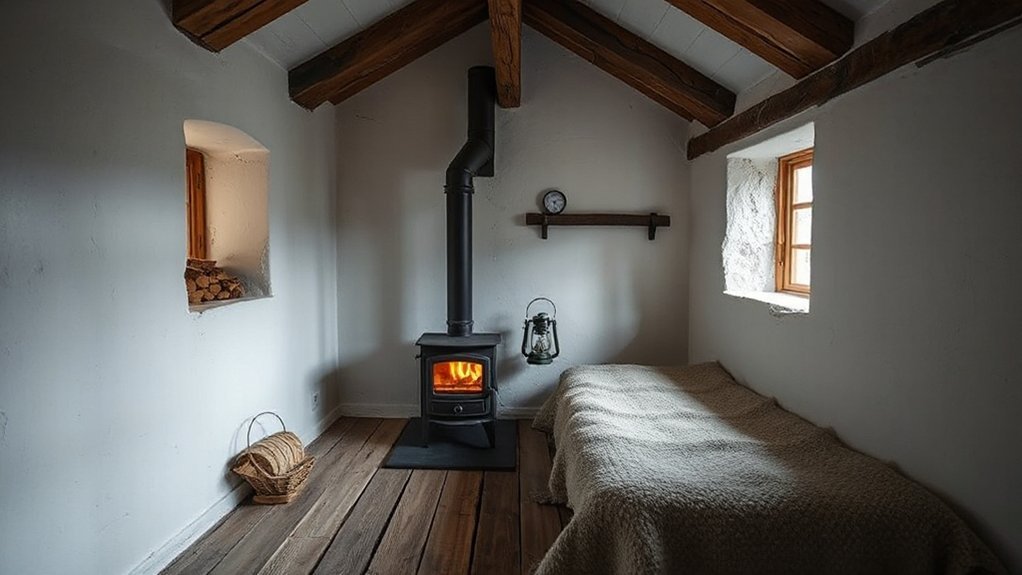
Once you’ve sealed drafts, you need heat that won’t compromise safety, so you’ll mount a stove on noncombustible hearth and wall shielding. Maintain proper clearances, and vent it through a correctly sized, insulated flue.
You’ll also manage airflow with dedicated make‑up air and a controllable high‑low vent path, so the bothy stays dry and combustion stays clean.
You can’t skip carbon monoxide protection: install a certified CO alarm at the right height, test it regularly, and treat any alarm as a shut‑down and ventilation event.
Safe Stove Setup
Although a stove can turn a cold bothy into a livable shelter, it also introduces fire and carbon‑monoxide risk that you must control with a disciplined setup. Treat stove safety as a system: solid base, clearances, stable fuel, and controlled ignition.
Set your heat source on a non‑combustible hearth that extends beyond the firebox, then add a sheet‑metal heat shield where walls or bunks sit close.
Keep kindling, clothing, and dry bags outside the clearance zone, and store fuel in sealed containers away from embers.
Assemble the flue with tight joints and correct rise, secure it against knocks, and fit a spark arrestor.
Mount a CO alarm and a small extinguisher within reach, and keep a lidded ash bucket for cool‑down and disposal.
Airflow And Ventilation
While your stove provides the heat, deliberate airflow keeps the bothy breathable and prevents carbon monoxide and moisture from building up. Create a controlled intake and exhaust path: crack a low window or door vent for make‑up air, and open a high vent or skylight slightly to promote stack effect.
You’ll stabilize airflow dynamics by keeping openings on opposite sides when wind shifts, reducing back‑drafting and smoke spillage. Don’t rely on random leaks; instead, size vents so you can fine‑tune ventilation efficiency without chilling the room.
Use a simple ribbon or incense test to confirm flow direction, then adjust dampers and vents until the flame burns steady. In wet seasons, maintain a small, continuous exchange to limit condensation on cold walls.
Carbon Monoxide Protection
Good ventilation keeps smoke moving the right way, but it doesn’t guarantee you’re safe from carbon monoxide (CO), because CO can build up fast without smell or visible warning.
Treat every solid-fuel stove, gas hob, and heater as a potential CO source, especially in tight, well-insulated bothies.
Install carbon monoxide detectors to standard, with a second unit near sleeping height, and test them on arrival and weekly. Replace batteries before winter trips.
Keep flues clean, joints sealed, and draft stable; if you smell smoke indoors, you’ve already got a ventilation problem.
Don’t block air inlets, and don’t “throttle down” a stove overnight.
Use ventilation systems with dedicated make-up air, and crack a leeward vent during calm, cold nights.
Build a Simple Off-Grid Bothy Power Kit
You’ll keep your bothy powered with a tight kit: a LiFePO4 battery, roof‑mounted solar panel, MPPT charge controller, fused DC distribution, and a small pure‑sine inverter only if you truly need AC.
You size it by listing daily watt‑hours, matching panel output to your worst‑case sun window, and choosing battery capacity for the autonomy and depth‑of‑discharge you can accept.
You install it by minimizing cable runs, using proper wire gauge and fusing at the battery, bonding/grounding correctly, and keeping all electrics dry, ventilated, and easy to isolate.
Essential Power Components
Because an off‑grid bothy’s comfort depends on predictable watts, start with a tight, modular power kit built around four core components: generation, storage, regulation, and distribution.
For generation, choose rugged solar panels with MC4 leads and a weatherproof junction; add a small backup input port for a generator if you need one.
For storage, prioritize safe, serviceable battery storage—LiFePO4 with an internal BMS and a hard disconnect switch.
For regulation, use an MPPT charge controller matched to your battery chemistry, plus a DC‑DC charger if you’ll occasionally charge from a vehicle.
For distribution, install a fused DC bus, a pure‑sine inverter for AC loads, and a master breaker.
Include shunts and meters so you can track state of charge accurately.
Sizing And Installation Basics
Once you’ve chosen generation, storage, regulation, and distribution hardware, size the system so those parts actually work together under real bothy conditions.
Start with a load list in watt-hours/day, then add 25–40% for inverter losses, cold-weather battery derating, and future devices.
Choose battery capacity so you’ll reach no more than 50% depth of discharge at your target autonomy (often 2–3 days).
Match PV or wind input to winter sun and site exposure, not summer averages, and verify charge-controller current ratings with headroom.
Install DC runs short, fuse every branch, and bond negative to an earth rod where code allows.
Route cables away from interior insulation to prevent heat buildup and abrasion.
Add security measures: locking battery box, tamper-resistant fasteners, and concealed conduit.
Set Up Bothy Water: Collect, Filter, Store
Even if the bothy sits beside a burn, treat water as a system: capture it cleanly, filter it to a known standard, and store it so it can’t be re‑contaminated.
For rainwater harvesting, fit a simple gutter and leaf screen, then first-flush diverter, feeding a sealed tank; include an overflow that drains away from foundations.
If you draw from a burn, place the intake upstream, below the surface, and add a coarse prefilter to cut silt.
For water purification, use staged treatment: sediment filter, then 0.1–0.2 micron cartridge or gravity membrane; finish with UV or boiling when risk is high.
Store in opaque food-grade containers, keep lids on, and dispense via spigot to avoid hand contact. Label treated versus raw.
Plan Toilets, Rubbish, and Leave-No-Trace Use
Although a remote bothy feels forgiving, waste management is the system that most quickly turns an off‑grid escape into a problem, so you should plan toilets, rubbish, and leave‑no‑trace habits before you arrive.
Check local legal regulations for human waste, ash disposal, and where you may dig; rules vary by landowner and protected status.
If no latrine exists, site a cat hole 60–70 m from water and trails, dig 15–20 cm deep, and pack out paper in a sealed bag.
Use a lidded container for food scraps and never bury packaging; it attracts animals and undermines wildlife conservation.
Separate recyclables, carry out everything, and compress rubbish to reduce volume.
Strain dishwater and scatter it widely, away from camp.
Make Minimalist Bothy Comfort: Sleep, Cook, Store
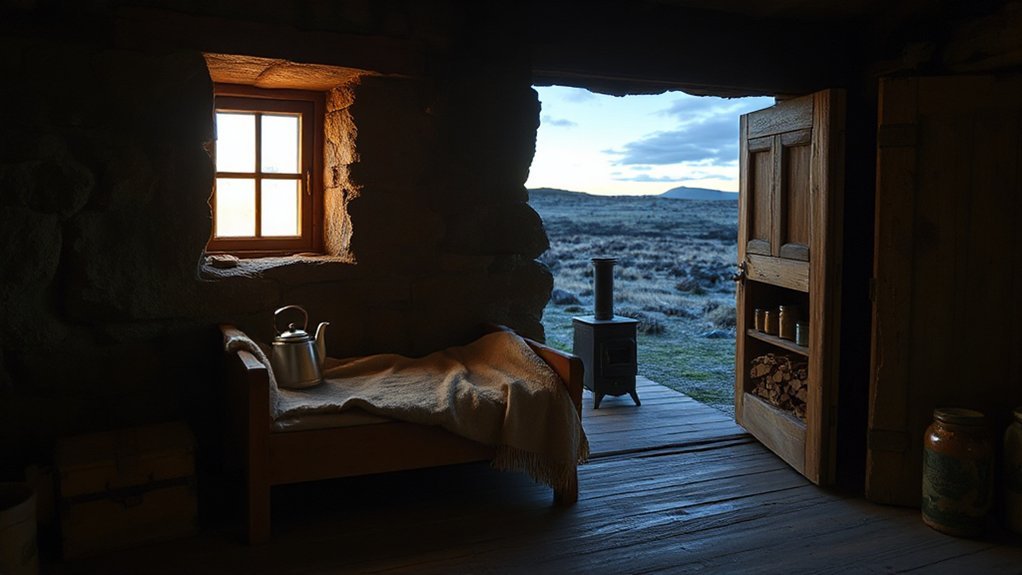
Because a bothy strips life down to essentials, you’ll get the most comfort by engineering three small systems—sleep, cooking, and storage—so they stay dry, clean, and quick to reset.
For sleep, lift your pad and bag off stone with a pallet or closed-cell mat, then air them daily. Keep cozy textiles in a roll-top dry bag to prevent damp and odors.
For cooking, build a compact galley: stove, windscreen, lighter, pot, mug, and wash kit in one tote. Use a heatproof base and a splash zone to protect timber and speed cleanup.
For storage, assign labeled bins, hang wet gear, and keep food sealed against rodents.
Add Decorative lighting on a low draw circuit for safe, calm evenings.
Frequently Asked Questions
How Do I Insure a Remote Bothy Against Fire, Theft, or Storm Damage?
You’ll insure a remote bothy by using specialist rural property cover, declaring renewable energy systems, fitting certified locks and storage solutions, adding monitored alarms, and documenting assets. You’ll choose storm/fire endorsements, higher excesses, and inspection clauses.
What Legal Liabilities Apply if Guests or Hikers Use My Restored Bothy?
You face guest liability for injuries, property loss, and negligent maintenance; you must guarantee legal compliance with occupancy permissions, safety standards, and warnings. You’ll mitigate exposure via inspections, signage, waivers, insurance, and guest logs.
How Can I Budget and Estimate Total Costs for a Bothy Conversion?
Build a line‑item budget: surveys, permissions, materials, labor, transport, contingency. Price DIY insulation by area and R‑value. Model Solar power via load audit and battery sizing. Add 15–25% contingency, then track quotes.
Which Seasonal Wildlife Risks Should I Plan for Around a Remote Bothy?
In twilight hush, you’ll plan for ticks in spring, midges in summer, deer rut aggression in autumn, and food‑seeking rodents in winter. Control Wildlife attractants, track Seasonal migrations, and secure stores, water, and waste.
How Do I Maintain the Bothy When I Can Only Visit a Few Times Yearly?
You’ll maintain it by standardizing checklists, scheduling seasonal inspections, and pre-staging repair kits. You’ll monitor sustainable energy systems remotely, winterize plumbing, secure water collection, and log wear to prioritize next-visit tasks efficiently.
Conclusion
You turn a remote bothy into a minimalist off‑grid escape by treating it like a field‑built system: permission first, then carry only what closes loops—weatherproofing, safe heat with ventilation, compact power, and reliable water treatment. Manage waste with strict leave‑no‑trace discipline. Keep comfort modular: sleep dry, cook clean, store tight. Done right, the bothy becomes a small ship at anchor—self‑contained, efficient, and ready for bad weather.