
Start by auditing your Brighton flat for salt and corrosion: check window frames, balcony fixings, radiators, and hidden pipe joints for white crusting, blistered paint, and orange staining. Next, confirm leasehold permissions and Building Regs before you touch structure, plumbing, or electrics. Then lock your budget, timeline, and a 10–15% contingency. Fix damp, drafts, insulation, and ventilation first. Finally, choose marine-grade finishes and upgrade kitchen, bathroom, lighting, and storage for sea-air durability. Keep going to see the full sequence and product choices.
Key Takeaways
- Audit salt corrosion and damp room‑by‑room, mapping rust, leaks, and condensation hotspots before planning any cosmetic changes.
- Check lease alteration clauses, secure freeholder approval, and confirm Building Regulations requirements for structural, plumbing, electrical, or fire‑safety work.
- Set a scoped budget with 10–15% contingency, create a sequenced timeline, and book trades early around coastal weather and long material lead times.
- Fix drafts and moisture first with sealing, insulation, pipe lagging, and improved kitchen/bathroom ventilation to prevent mould and recurring corrosion.
- Upgrade kitchen and bathroom using coastal‑resistant materials—316 fixings, quartz/porcelain tops, sealed ply vanities, mould‑resistant grout, and humidity‑sensor extraction.
Audit Your Brighton Flat for Salt and Corrosion
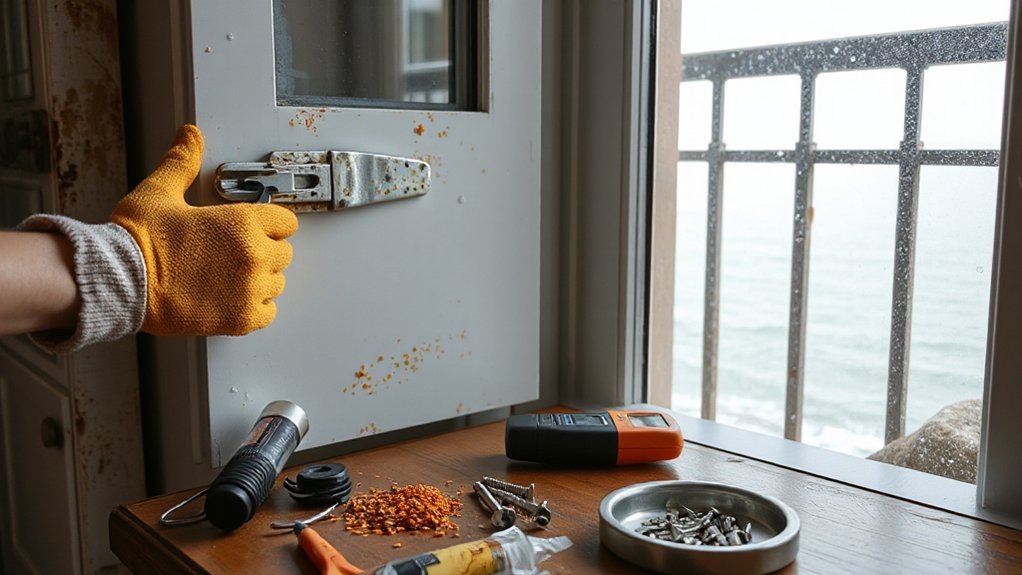
Because Brighton’s sea air carries salt deep into buildings, start your upgrade by auditing every place moisture can sit and metal can react. Check window frames, balcony fixings, radiators, pipe joints, and extractor ducting for white crusts, blistered paint, and orange staining—classic salt damage markers.
Use a torch and mirror to inspect behind appliances, under sinks, and around the bath panel where condensation lingers. Test ventilation by timing how fast steam clears after a shower; if it’s slow, note it for upgrades.
Wipe suspect surfaces with a damp cloth: gritty residue suggests salt deposition. Photograph findings, map them room by room, and prioritise active rust, pitting, and loose fasteners for immediate corrosion prevention actions.
Confirm Permissions (Leasehold, Freeholder, Building Regs)
Before you start any upgrade works, you’ll confirm what your lease allows and get written approval from the freeholder or managing agent where required (especially for structural changes, windows, plumbing, and external vents).
You’ll also check which elements trigger Building Regulations—electrics, bathrooms, insulation, fire safety, and any load‑bearing alterations—and line up the right notices, drawings, and certifications.
If you lock these permissions in upfront, you’ll avoid enforcement action, rework, and costly delays later.
Leasehold And Freeholder Approval
While you might own the flat, your lease and the building’s freeholder can still control what you’re allowed to change, so confirm permissions early and in writing. Read the lease for alteration clauses, notice periods, and “licence to alter” requirements before you book trades.
If you’re planning structural, façade, window, balcony, or plumbing changes, expect Leasehold negotiations and formal Freeholder approvals, plus possible surveyor fees.
- Picture marked-up plans stamped “approved” on a kitchen table
- A clipboard walk-through with the managing agent in the corridor
- Email threads confirming materials, colours, and working hours
- A signed licence to alter filed beside your title documents
- A neighbour notice pinned neatly to the lobby board
Get all consents dated, scoped, and conditional, then proceed.
Building Regulations Compliance
Even if your leaseholder and freeholder sign off, you still need to check whether Building Regulations apply and get the right approvals in place.
In Brighton flats, common triggers include removing walls, altering fire doors, changing electrics, new bathrooms, ventilation upgrades, and window replacements.
You should confirm scope early with Building Control (council or approved inspector) and your contractor. Ask for a written statement of what’s notifiable, then schedule inspections for structural work, insulation, and fire stopping.
Make sure all designs meet current Building codes, especially Part B (fire), Part L (energy), Part F (ventilation), and Part P (electrical).
Keep Permit paperwork, certificates, and completion sign‑off in a single project file. Without them, you’ll struggle to sell, remortgage, or prove compliance later.
Plan Your Brighton Renovation Budget and Schedule
Now you’ll set a realistic budget by pricing each trade, materials, and fees, then locking in a clear scope so costs don’t creep.
You’ll build a renovation timeline that sequences surveys, ordering lead times, and on‑site work, with milestones you can track week by week.
You’ll also plan contingency and cashflow—hold 10–15% for surprises, align stage payments to progress, and keep funds ready for long‑lead items and approvals.
Set A Realistic Budget
Before you pick finishes or call in trades, lock in a realistic renovation budget that reflects Brighton’s coastal conditions and the true scope of work. Coastal weather accelerates wear, and salt damage can turn “minor” repairs into essential replacements, so price for durability first.
Get two or three itemised quotes, confirm what’s excluded, and reserve 10–15% for hidden issues behind walls.
- A rust-streaked balcony balustrade needing re-coating
- Swollen window frames that won’t seal against wind-driven rain
- Corroded fixings in bathroom fittings near sea air
- A patchy plasterboard wall masking damp ingress
- A premium, low-VOC marine-grade paint finish
Track every line item (materials, labour, permits, waste removal) and prioritise structural, waterproofing, and electrical safety before cosmetic upgrades.
Build A Renovation Timeline
Once you’ve set your budget, map a renovation timeline that matches Brighton’s coastal realities and your building’s rules, then lock it to clear milestones.
Start with approvals: freeholder consent, planning if needed, and building control dates.
Next, sequence intrusive works first—strip‑out, wiring, plumbing—then close up with plastering and flooring, and finish with joinery and decoration.
Book trades early and align lead times for windows, marine‑grade paint, and ventilation equipment.
Schedule exterior or balcony tasks around Coastal weather, avoiding peak storm months and allowing drying days.
Add inspection points for damp proofing and corrosion protection to prevent Salt damage in fixings and metalwork.
Finally, set handover dates for snagging, deep clean, and resident re‑entry.
Keep it visible weekly.
Plan Contingency And Cashflow
How do you keep a Brighton coastal renovation moving when salt‑air surprises and long lead times hit? You lock in contingency planning and cash flow management before the first tile lifts.
Set a 10–15% contingency for corrosion, hidden damp, and slab repairs, and ring‑fence it from upgrade “wants.” Stage payments to match milestones, not dates, and keep a rolling four‑week forecast so you can order early without starving trades.
- A separate contingency pot, untouched until approved
- A milestone payment schedule tied to inspections
- A four‑week cash forecast on one spreadsheet tab
- Early deposits for joinery, windows, and extraction fans
- A decision log for variations, costs, and lead times
Fix Damp, Drafts, and Insulation Before Cosmetics
Although fresh paint and new flooring look satisfying, you’ll waste money if you don’t tackle Brighton’s coastal basics first: damp ingress, cold drafts, and weak insulation.
Start with moisture control: check external walls, window reveals, and balcony junctions for staining, salts, or musty odours, then identify the source—leaks, condensation, or bridging.
Improve ventilation in kitchens and bathrooms, clear air bricks, and keep furniture off cold walls.
Next, stop drafts by sealing gaps around frames, service penetrations, and skirting voids; fit brush strips to doors and seal loft hatches if you have them.
Finish with insulation enhancement: add internal wall insulation where feasible, insulate suspended floors, and lag hot-water pipes.
You’ll cut mould risk, heating bills, and callbacks later.
Choose Sea-Air-Resistant Materials and Finishes
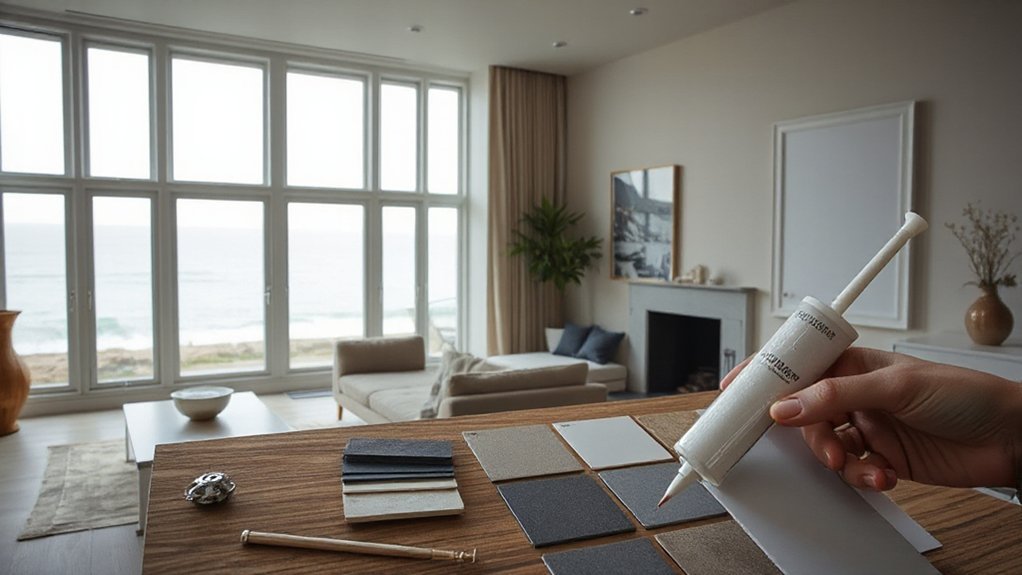
After you’ve tackled damp and drafts, make every visible upgrade work harder by choosing materials that won’t fail in Brighton’s salty, wind‑driven air. Prioritise marine grade finishes and corrosion resistant materials anywhere air circulates, especially near windows, balconies, and entryways. Specify stainless fixings (A4/316), aluminium with powder coating, and exterior-rated sealants; they’ll stop tea‑stain rust marks and bubbling paint.
Choose dense, low‑porosity surfaces that wipe clean and don’t swell when humidity spikes. If you’re repainting, use scrubbable, mould-inhibiting systems and seal cut edges.
- Satin powder‑coated metalwork that shrugs off spray
- A4/316 screws that stay bright
- UV-stable sealant lines, crisp and intact
- Non-porous tiles or stone, cool underfoot
- Tough marine varnish on trim, glassy and smooth
Brighton Kitchen, Bathroom, Lighting, and Storage Upgrades
Once you’ve specified sea‑air‑resistant finishes, focus your budget on the four upgrade zones that change day‑to‑day living fastest in Brighton: kitchen, bathroom, lighting, and storage.
In your brighton kitchen, prioritise soft‑close marine‑grade cabinetry, quartz or porcelain worktops, and a high‑capture extractor to control salt‑laden humidity.
For bathroom upgrades, replace any MDF vanity with sealed ply or composite, fit thermostatic brassware, and specify mould‑resistant grout plus an inline fan with a humidity sensor.
Upgrade lighting with IP‑rated downlights in wet areas, warm‑white LED strips under cabinets, and dimmers to manage glare from sea light.
Finally, build storage that stays dry: vented wardrobes, lift‑up bed bases, and full‑height utility cupboards with corrosion‑proof hardware.
Frequently Asked Questions
Which Local Brighton Contractors Specialise in Coastal Apartment Refurbishments?
You’ll find coastal refurbishment specialists through Brighton & Hove City Council’s trusted-trader listings and the FMB directory. Nearly 70% of failures trace to marine corrosion, so you’ll verify contractor credentials, seaside references, and warranty terms.
How Disruptive Will Renovations Be for Neighbours in a Shared Block?
You’ll cause moderate disruption, mainly from drilling, deliveries, and shared-access congestion. You must meet building permit requirements, schedule loud work in daytime, use noise mitigation strategies, protect communal areas, and notify neighbours early.
What Insurance Cover Is Needed During a Coastal Flat Renovation?
Secure solid site-specific cover: builder’s risk, public liability, and contractor’s works. Confirm your contents and excess. Check renovation permits compliance to avoid denied insurance claims. Require contractors’ indemnity, plus storm and flood add-ons.
Are There Grants or Incentives for Energy Upgrades in Brighton Flats?
Yes, you can access grants and financial incentives for energy efficiency upgrades in Brighton flats. Check ECO schemes, local council programmes, and regional retrofit funds. You’ll need EPC data, installer quotes, and landlord consent.
How Can I Maintain Upgrades Long-Term Against Ongoing Sea-Air Exposure?
Like a salt-sprayed ship, you’ll win long-term by sealing, rinsing, and inspecting. Prioritize corrosion prevention: marine-grade coatings, stainless fixings, fresh-water washdowns. Use maintenance scheduling—quarterly checks, annual recoats, filter changes—to stop creep.
Conclusion
You’ve checked for salt corrosion, secured leasehold permissions, mapped your budget, and tackled damp, drafts, and insulation before any cosmetic spend. Now lock in sea‑air‑resistant finishes and upgrade your kitchen, bathroom, lighting, and storage with coastal durability in mind. Remember: UK homes lose around 35% of heat through walls and roofs, so every seal, fix, and insulated layer you add protects comfort and running costs. Finish with a clear snag list and dated maintenance plan.