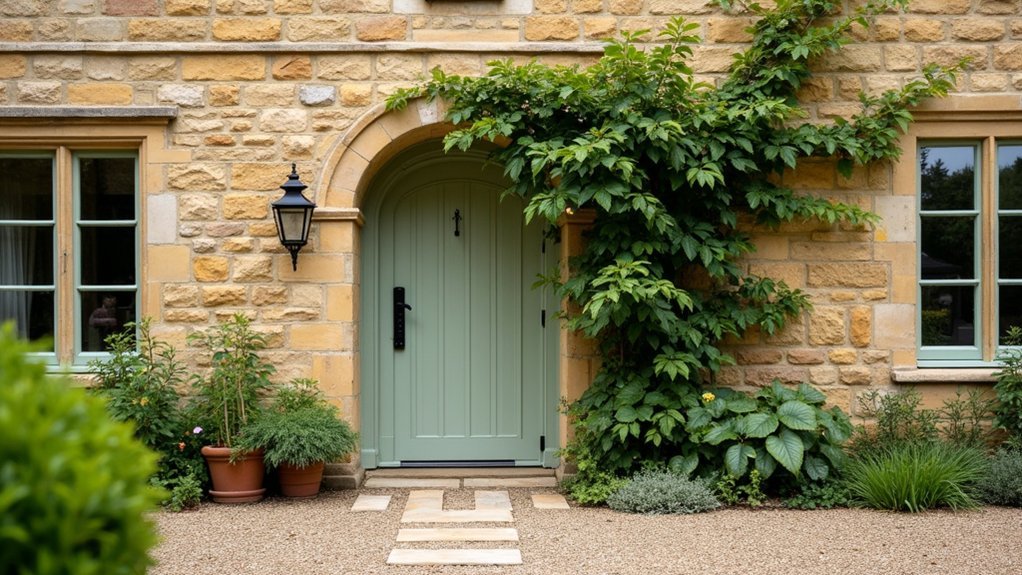
You’ll breathe fresh life into a Cotswold stone cottage by starting with a roofline-to-footings, fabric-first survey and mapping services on scaled plans. Fix damp at the source—gutters, flashings, high ground levels, blocked airbricks, and cement pointing—before touching finishes. Repair and repoint in matched lime, then insulate with vapour-open systems like wood-fibre or hemp-lime, paired with smart membranes and quiet humidity-sensing extraction. Keep electrics and plumbing accessible with surface routes, and keep going for the next practical steps.
Key Takeaways
- Survey roof-to-footings with a heritage surveyor, mapping defects and services to price accurately and plan phased, low-risk works.
- Fix damp at the source—gutters, flashings, ground levels, vents, and cement pointing—before insulating or redecorating.
- Repair and repoint stone with compatible lime mortars and plasters, curing slowly to preserve breathability and prevent trapped moisture.
- Upgrade comfort using vapour-open insulation, smart membranes, and discreet ventilation like humidity-sensing extract or MVHR to control condensation.
- Modernise services with accessible surface routes, safe electrics, insulated pipework, and gentle low-temperature heating to protect fabric and improve efficiency.
Survey Your Cotswold Stone Cottage First
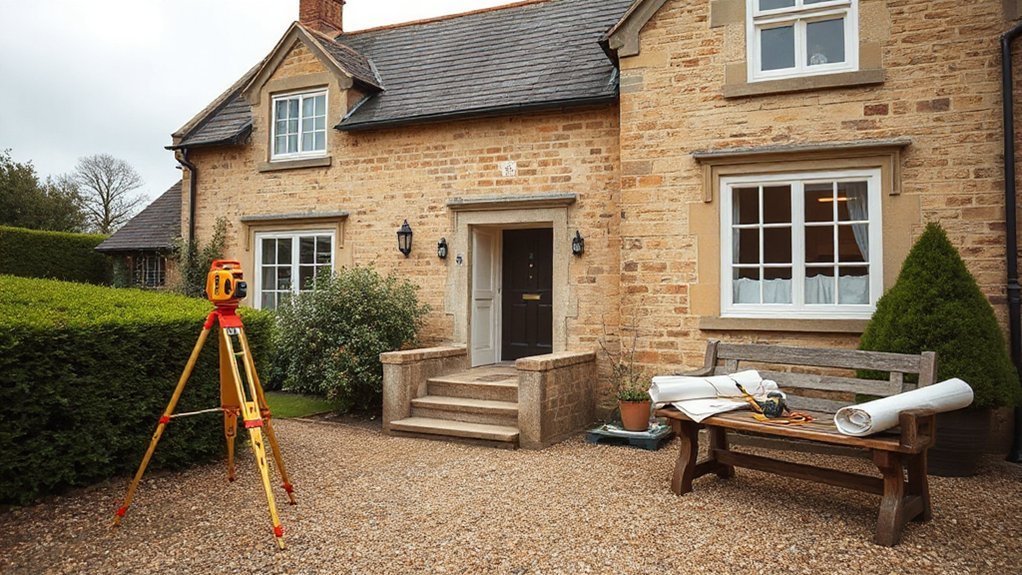
Before you pick up a chisel or call a builder, survey your Cotswold stone cottage from roofline to footings so you’re renovating facts, not assumptions. Book a heritage-savvy surveyor and ask for a fabric-first report: roof coverings, flashings, chimneys, gutters, stonework, pointing type, lintels, and movement cracks.
Map services too—lead pipes, ageing electrics, hidden junction boxes, and undersized consumer units. Use a moisture meter only to identify patterns, not to prescribe cures.
Photograph every elevation and room, then mark defects on scaled plans. This evidence guides your Cottage layout decisions: which walls can open, where structure needs support, and how to route heating without harming Cotswold charm.
You’ll price accurately, phase works sensibly, and brief trades with confidence.
Fix Damp Causes Before Any Refurbishment
Although it’s tempting to jump straight to plaster, paint, and new joinery, you’ll get a better renovation if you tackle damp at its source first—Cotswold stone cottages don’t forgive “cover-ups.” Start by tracing moisture pathways, not symptoms: failed gutters and downpipes saturating walls, cracked flashings and chimneys driving rain inward, high external ground levels bridging the damp line, blocked airbricks choking underfloor ventilation, and hard cement pointing trapping moisture in the stone.
Then set measurable targets: improve falls and drainage, clear and sleeve rainwater goods, cap and ventilate chimneys, and reinstate subfloor airflow. Use a moisture meter plus salt testing to separate rising damp myths from hygroscopic salts.
This damp prevention-first sequence protects finishes and accelerates drying, giving you reliable moisture management before you seal anything up.
Repair Stone Walls With Lime, Not Cement
When you repair Cotswold stone, choose lime mortar and lime plaster rather than modern cement, because the wall needs to “breathe” and manage moisture through evaporation instead of trapping it. Cement’s rigidity forces movement into the stone, causing spalls, hairline cracking, and salts to crystallise behind a hard skin.
Use Lime mortar that matches the original in colour, aggregate size, and softness, then repoint by hand so joints sit slightly back and shed water. For Stone preservation, you’ll get a resilient, repairable fabric that ages gracefully and stays compatible with historic masonry.
- Rake out failed joints gently; keep arises crisp.
- Pre-wet, press in mortar, and finish with a brushed texture.
- Cure slowly: mist, shade, and protect from wind and frost.
Insulate and Heat a Stone Cottage Safely
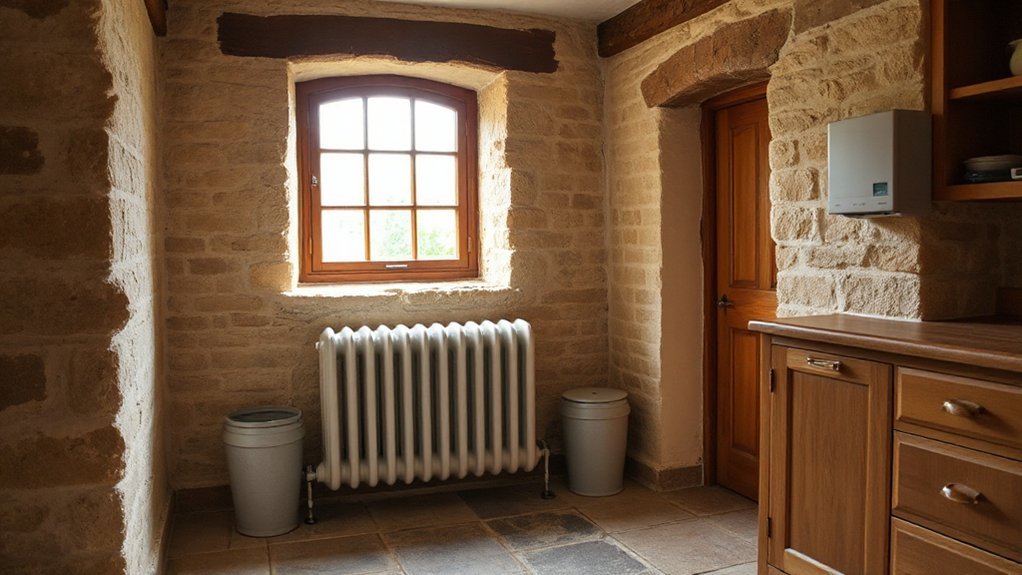
To insulate and heat your stone cottage safely, you’ll prioritise breathable insulation—wood fibre, hemp-lime, or sheep’s wool—so the walls can still manage vapour.
You’ll pair that with tight moisture control: smart vapour membranes where appropriate, continuous ventilation, and careful thermal-bridge detailing around reveals and floors.
Then you’ll modernise heating with low-flow emitters, weather-compensated controls, and heat pumps or high-efficiency boilers sized to your upgraded envelope.
Breathable Insulation Choices
Because Cotswold stone walls manage moisture by absorbing and releasing it, you’ll get the safest, most durable upgrade by choosing insulation that stays vapour-open while tightening up drafts. Avoid plastic moisture barriers on solid walls; instead, pair smart detailing with breathable paints so finishes can buffer humidity without trapping it.
Aim for continuous coverage at reveals, eaves, and around joist ends, and keep junctions neat so you don’t create cold stripes. Trend-wise, natural and mineral systems now match modern U-values with heritage-safe performance.
- Wood-fibre boards: dense, capillary-active, great behind lime plaster.
- Hemp-lime or lime-hemp infill: forgiving, low-embodied carbon, ideal for uneven bays.
- Calcium-silicate or aerogel blankets: slim, high-performance where space is tight.
Moisture Control Strategies
Breathable insulation only performs as promised if you manage moisture with the same care, since Cotswold stone will keep moving water vapour through the wall year-round. You’ll start by mapping risks: driving rain, rising damp, and indoor spikes from cooking and bathing.
Use humidity monitoring to keep indoor RH steady; aim for 45–60% and investigate anything consistently above that. Improve extraction in wet rooms, maintain clear air paths, and avoid sealing the cottage with impermeable finishes.
Where you must add moisture barriers, place them deliberately: use capillary breaks at floors, vapour-control layers on the warm side only when your build-up demands it, and always detail overlaps and penetrations.
Keep gutters, pointing, and external ground levels correct so liquid water never loads the wall.
Efficient Heating Upgrades
Even if you’ve improved the wall build-up, your heating still needs a rethink, since stone cottages respond slowly and punish stop‑start heat with cold surfaces and condensation risk. Aim for gentle, continuous warmth and low flow temperatures, so fabric stays above dew point and finishes last.
For Historic preservation, keep interventions reversible and hide services; for modern aesthetics, favour clean emitters and smart zoning.
- Fit a modulating heat pump or high‑efficiency boiler, then run it weather‑compensated to avoid temperature swings.
- Use underfloor heating where floors are rebuilt, or slimline radiators elsewhere; balance circuits and add TRVs.
- Add airtightness details and mechanical extract in wet rooms, so heat upgrades don’t trap moisture.
Ventilate Better Without Losing Character
While you’re upgrading a Cotswold cottage, you can dramatically improve ventilation without turning it into a drafty, modernised shell by working with the building’s original airflow paths, not against them. Start by mapping existing chimneys, trickle gaps, and underfloor voids, then clear blocked vents and reinstate breathable lime finishes so moisture can migrate safely.
Protect Indoor air quality with targeted extraction: fit quiet, humidity-sensing fans in kitchen and bath, ducted through discreet routes, and commission them to run low-and-slow rather than on noisy bursts.
If you need whole-house support, choose compact MVHR or decentralised units and hide grilles behind joinery or in secondary spaces. Seal unintended leaks at skirtings and service penetrations, but keep intentional inlets.
Done right, your Ventilation systems stay invisible, and the cottage still breathes naturally.
Brighten Deep-Set Windows and Improve Glazing
Because Cotswold cottage windows often sit deep in thick stone reveals, you’ll get a bigger lift from controlling light and heat at the opening than from cosmetic redecorating.
Start with exterior cleaning: clear algae and soot from glass, cills, and reveals so daylight isn’t dulled before it enters.
Then rethink glazing—slim-profile double glazing, secondary glazing panels, or upgraded seals can cut drafts while preserving sightlines and timber proportions.
- Fit low-profile, light-filtering window treatments (linen Roman blinds or discreet shutters) that stack tight to the reveal.
- Paint the inner reveal in a soft, high-LRV mineral paint to bounce light inward.
- Add a deep, pale oak sill and a small mirror return to spread daylight.
You’ll feel rooms brighten, even on grey days.
Run Electrics, Plumbing and Finishes the Right Way
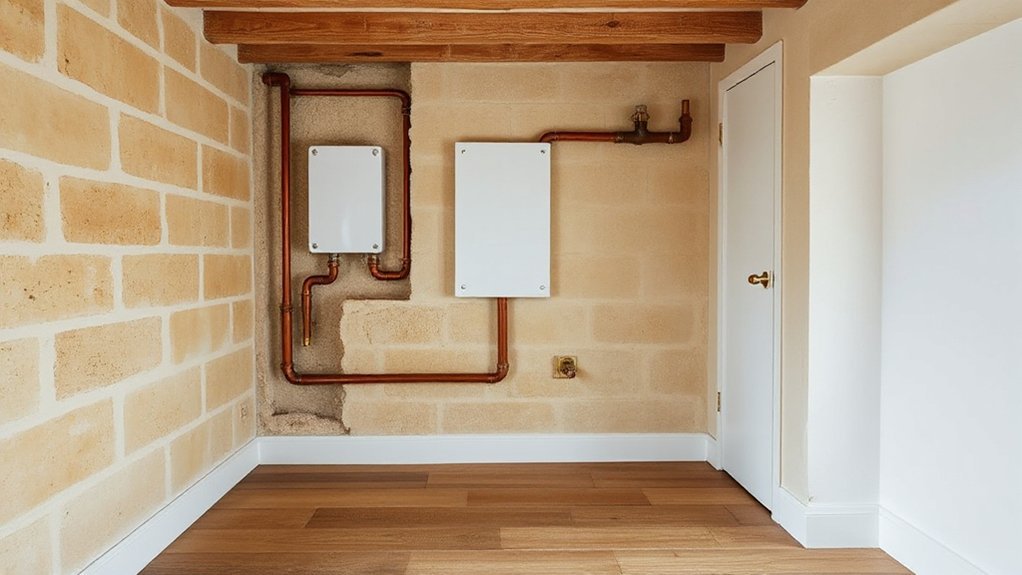
Once you’ve maximised daylight at the window opening, protect that gain by routing electrics, plumbing, and finishes in ways that respect thick stone walls and breathable lime-based construction. You’ll avoid chasing deep channels into historic masonry; instead, run cabling in surface-mounted mini trunking, shadow-gap skirting, or service battens with vapour-open boards.
Prioritise Electrical safety with RCD protection, metal back boxes where required, and clear zoning around wet areas.
For Plumbing upgrades, keep pipework in accessible voids, insulate to prevent freezing, and use isolation valves at every branch. Don’t bury push-fit joints in walls; specify compression or soldered where inspection’s impossible.
Finish with lime plaster, breathable paints, and moisture-tolerant detailing at reveals so your new services don’t compromise the cottage’s hygrothermal balance.
Frequently Asked Questions
Do I Need Planning Permission for Changes to a Listed Cotswold Cottage?
Yes, you’ll usually need listed building consent, and sometimes planning permission, for changes to a listed Cotswold cottage. Because of its Historical significance, even Modern interventions like windows, roofs, or interiors can require approval.
How Much Does a Full Cottage Refurbishment Typically Cost per Square Metre?
You’ll typically pay £1,800–£3,500 per m² for a full cottage refurbishment, depending on specs. Protect Vintage charm with bespoke joinery and lime finishes; budget higher for Modern upgrades like insulation, MEP rewires, kitchens.
What’s the Best Way to Source Matching Cotswold Stone for Repairs?
You’ll get the best match by commissioning a stone survey, then using reclamation yards or the original quarry for matching materials; verify color, bed depth, and tooling. Document stone sourcing, secure samples, and check planning requirements early.
How Long Does a Lime-Based Restoration Project Usually Take to Cure?
You can’t rush it—like watching paint dry, lime-based work needs time: Lime mortar sets in days, carbonates 4–12 weeks, and fully cures over 6–12 months, depending on Cotswold repair materials, weather.
Will Renovating Affect My Buildings Insurance or Require a Specialist Policy?
Yes—renovating can change your cover, so tell your insurer before work starts. You’ll face Insurance implications like altered rebuild costs and higher risk, and you may need Specialist policies for vacant periods, listed status.
Conclusion
When you breathe fresh life into your Cotswold stone cottage, you don’t “modernise” it—you tune it. Start with the survey, kill damp at its source, then let lime mortar flex and wick as it should. Add breathable insulation, right-sized heat, and discreet ventilation, and you’ll feel the change fast. A homeowner I worked with cut winter humidity from 78% to 55%—like clearing fog from a lens. Finish with thoughtful glazing and services, and it’ll glow.