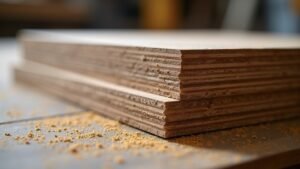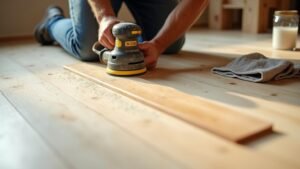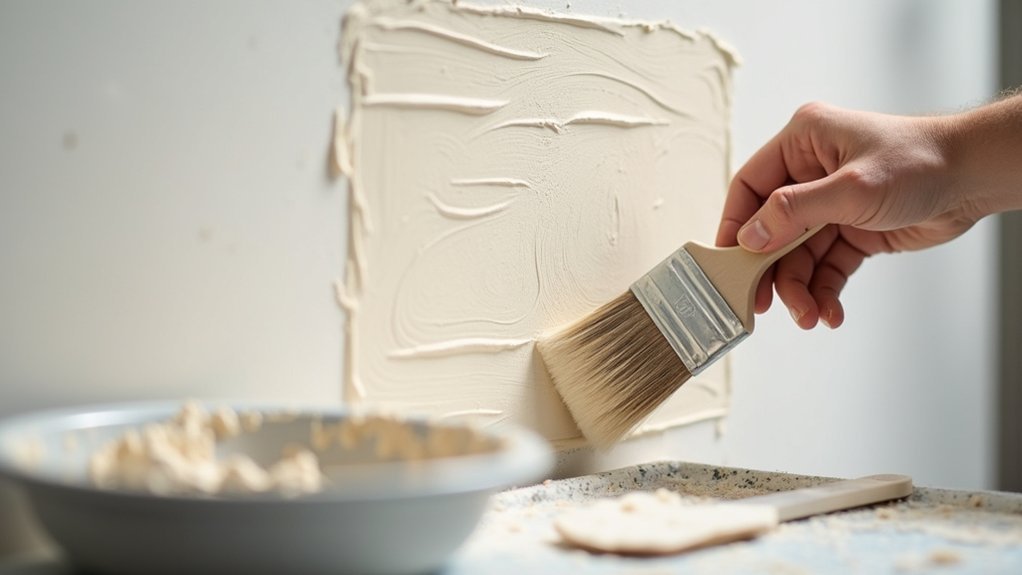
You’ll get a controlled texture finish by first equalizing wall suction: spot-seal porous patches with PVA, then prime the full surface (tint it toward your topcoat) and check coverage under raking light. Choose premixed texture for repeatable aggregate load, or dose additives precisely and respect pot life. Remix often to keep grit suspended, don’t thin unless approved, and roll with consistent pressure while maintaining a wet edge to blend overlaps. Next, you’ll see how to sample, feather, and troubleshoot.
Key Takeaways
- Prime properly and coat the whole wall to equalize suction, preventing patch show-through and uneven texture build.
- Choose premixed texture paint for predictable aggregate loading, or measure additives precisely to avoid clumps and sheen shifts.
- Remix aggressively and re-stir every 10–15 minutes to keep aggregates suspended and maintain a consistent pattern.
- Apply with even roller loading, consistent pressure, straight passes, and a wet edge to control film build and avoid lap marks.
- Create a sample board under project lighting to confirm texture level, coverage, sheen, and drying behavior before full application.
Choose Texture Paint Type (Premixed vs. Additive)
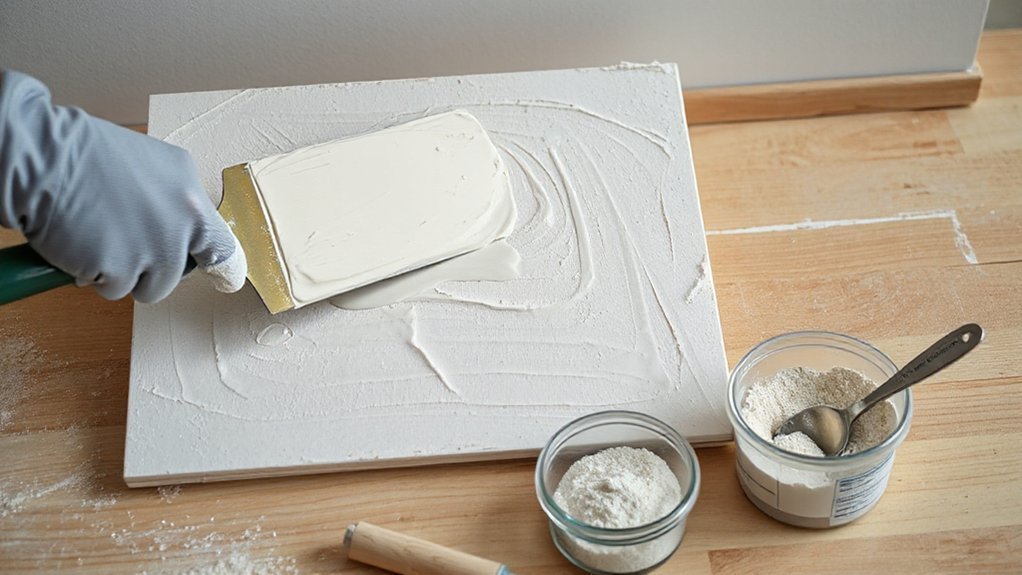
Before you buy texture paint, decide whether a premixed formula or an additive system best fits your scope, timeline, and finish requirements. Premixed products give you consistent aggregate loading, predictable spread rate, and fewer mixing variables, so you’ll hit schedule with less rework. Choose them when you need repeatable texture across multiple batches and reliable Color matching from a single SKU. Additive systems let you tune build, pattern, and viscosity by dosing sand, perlite, or polymer beads into a base paint, helping you meet custom spec targets and adjust in-field. You must control mix ratios, shear time, and pot life to avoid clumping and sheen shifts. For environmental impact, compare VOC limits, packaging waste, and whether additives increase transport weight.
Check Surface Fit: Drywall, Plaster, Wood, Masonry
Before you apply texture paint, you’ll confirm the substrate can accept the build and cure evenly. You’ll assess drywall porosity (and prime or seal where absorption is uneven) and verify plaster stability by checking for chalking, cracks, or loose sections that will telegraph through the finish. For wood and masonry, you’ll match the texture profile to movement, grain, and surface roughness so the final pattern reads consistent and holds up over time.
Assess Drywall Porosity
How can you predict whether texture paint will level out cleanly or flash and blotch? You assess drywall porosity before you open a pail. Run a clean, damp sponge over the board: if water darkens instantly and dries in under a minute, you’ve got high suction. If it beads or stays wet, porosity is low or the face paper is sealed. Compare joints to field areas; hot-mud, skim coats, and sand-throughs absorb differently and can telegraph through texture.
For surface preparation, you’ll spot-seal porous patches with a PVA drywall primer and let it cure fully. Then you’ll prime the full wall for uniform uptake. For tool selection, choose a thicker-nap roller or hopper settings that match the suction rate and minimize edge buildup.
Verify Plaster Stability
Uniform porosity won’t save a job if the substrate moves, powders, or lets go, so verify plaster stability and surface fit before you commit to texture paint. Start by probing suspect areas with a putty knife; you shouldn’t lift edges, crush corners, or release dust. Tap for hollow sound that signals delamination, then cut back to solid material and patch. On drywall, confirm fasteners are tight and joints aren’t cracked from framing movement. On existing plaster, check for hairline cracking, salt, or soft skim coats that need consolidation. On wood, verify panels are dry, firmly fixed, and not telegraphing seams. On masonry, rule out dampness and efflorescence. Stable substrates protect texture paint durability and preserve accurate color matching across repairs.
Match Wood Masonry Texture
Once you’ve confirmed the substrate won’t move or release, match the wall’s existing texture to the material you’re coating—because drywall, plaster, wood, and masonry telegraph different profiles and absorption patterns under texture paint. On drywall, you’ll typically mimic orange peel or knockdown with a controlled roller nap and consistent pressure. On plaster, you’ll match trowel burnish or sanded swirl by adjusting aggregate size and working time. For wood, don’t bury Wood grain unless the spec calls for a uniform field; seal knots, then skim or stipple lightly so the pattern reads intentional. For masonry, align Masonry patterns by mapping joints, choosing a thicker build, and feathering edges to avoid picture-framing. Always test a 2×2 area, let it dry, and approve sheen and shadowing.
Pick a Texture Level That Matches Your Tools
Start by selecting a texture grade that your applicator can place consistently—fine for rollers and tight trim work, medium for standard nap rollers and broad wall fields, and heavy only when you’re spraying or using a knockdown/trowel technique with enough open time to manipulate the peaks. If you choose too coarse a product for your tool, you’ll skip aggregate, leave lap marks, and lose edge definition at cut-ins. Match the viscosity to your roller nap and frame stiffness so the film builds evenly without overworking. Specify a grade that supports reliable color matching; uneven thickness shifts sheen and can telegraph substrate repairs. Also consider environmental impact: heavier textures often require more material and extra passes, increasing VOC load, cleanup water, and disposal. Choose the minimum texture that meets coverage and hide.
Make a Sample Board to Test Look and Coverage
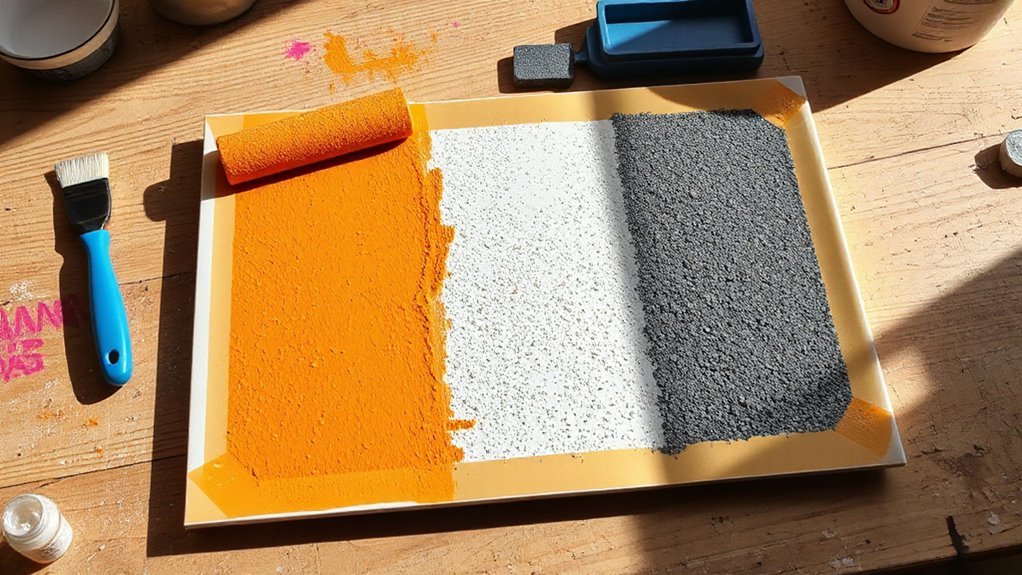
Build a sample board from the same substrate and prep system you’ll paint on-site, so your test reflects real absorption and tooth. Apply your chosen texture paint with the exact tools and film build you plan to use, then check coverage and pattern uniformity under jobsite lighting. Let it cure fully and compare sheen, color shift, and dry-time between coats so you can lock in the spec before you start.
Choose Matching Substrate
Because texture paint telegraphs whatever’s underneath it, choose a sample substrate that matches your actual surface—same drywall type, primer, porosity, and patching compounds—and make a small test board before you commit. Cut off-cuts from the same drywall batch or use identical gypsum board (regular, moisture-resistant, or Level 5 skim) so absorption rates align. Prime the board with the exact primer and dilution ratio you’ll use onsite, and replicate any joint compound, spackle, or setting-type patches at typical thicknesses. Sand to your target grit so the profile matches your finish schedule. This setup lets you evaluate color coordination and lighting effects accurately, since sheen shift and shadowing change with substrate suction and smoothness. Label the board with product, lot numbers, and prep steps for repeatable results.
Test Texture And Coverage
How will the texture actually read once it dries and the light hits it? Build a sample board that matches your project substrate, primer, and application method, then label it with product, batch, mix ratio, and tool type. Apply the texture at your planned spread rate and thickness, using the same trowel angle or roller nap you’ll use on-site. Cut in edges and a small corner to verify coverage in tight areas and around trims. Check for holidays, pinholes, and aggregate drag, and measure square-foot coverage so you can price labor and materials accurately. Do a side-by-side mockup for Color coordination with adjacent finishes. View the board under jobsite Lighting effects (daylight, warm LEDs) to confirm the pattern reads consistently at typical viewing distance.
Compare Drying And Sheen
After it cures, will the finish dry dead-flat, satin, or flash unevenly across the field? You won’t know until you build a sample board that matches your substrate, primer, and lighting. Apply two panels side by side: one with your intended roller/knife pattern, one with an alternate pass. Keep wet-film thickness consistent, then record dry time, tack-free time, and recoat window. Track Gloss differences by viewing at 15–30° raking light; note hotspots, lap marks, and sheen banding at changes. Test Application techniques: cross-roll versus lay-off, knife knockdown versus stipple, and feathered edges versus hard stops. Let the board cure fully before judging; texture can dull or brighten as binders level. Photograph results for client sign-off.
Prep the Wall so Texture Lays Flat
Before you open the texture paint, make the wall flat, clean, and uniformly absorbent so the finish doesn’t telegraph dents, dust, or glossy patches. Evaluate the surface under raking light to reveal ridges, nail pops, and joint lines; lighting effects and color contrast will exaggerate these flaws once texture hits. You’ll get better control when the substrate is consistent.
- Flatten: Scrape high spots, cut loose paper, and skim low areas with setting compound; sand to a feathered edge and vacuum dust.
- De-gloss: Scuff-sand semi-gloss or enamel, then wipe with a damp microfiber so the texture can grip evenly.
- Stabilize: Spot-seal stains, remove mildew, and caulk gaps; let repairs cure fully before coating.
Prime for Even Suction and Consistent Finish
Even if the wall looks uniform, you still need primer to lock down porosity differences so the texture paint doesn’t flash, dry patchy, or telegraph repaired areas. Choose a primer that matches the substrate: PVA for new drywall, bonding primer for glossy alkyds, and stain-blocking for water marks or tannins. Spot-prime patches first, then coat the full field so suction equalizes edge to edge. Maintain a wet edge and consistent film build; thin only per label so you don’t underseal. Tint the primer toward your finish to support color coordination and reduce show-through on peaks. Inspect under strong raking light to catch lap marks early; those lighting effects will exaggerate texture once topcoated. Let primer cure fully before texturing.
Mix Thoroughly so Grit Doesn’t Sink or Clump
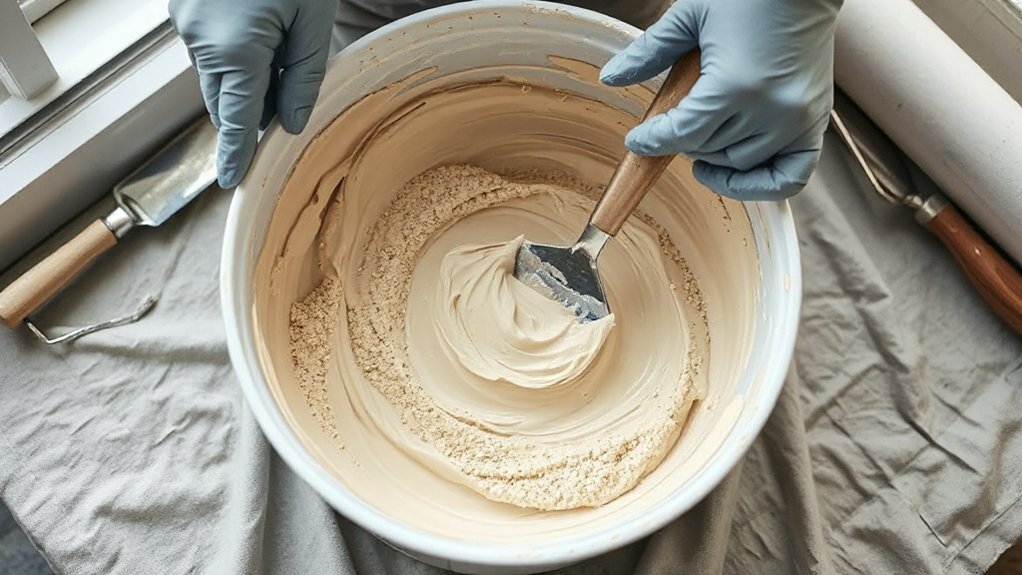
Because texture paint carries heavy aggregates that settle fast, you need to remix it aggressively and keep it moving throughout the job so the grit stays suspended and the pattern stays consistent from the first wall to the last. Use a low-speed drill with a paddle, scrape the pail sides, and lift from the bottom until the mix looks uniform, not streaky. Then strain only if the spec allows—don’t remove designed media. Stay client-focused: stable texture supports predictable Color coordination across adjoining rooms and reduces callback risk under harsh Lighting considerations like raking daylight.
- Mix 2–3 minutes, pause 30 seconds, then mix again to break hidden clumps.
- Re-stir every 10–15 minutes, especially after pauses.
- Don’t thin unless approved; adjust with measured water only.
Roll on Texture for a Subtle Finish
You’ll get a subtle, controlled texture by matching the roller nap and material to the aggregate size and the finish your client expects. Load the roller evenly and manage film build with consistent thickness, light-to-moderate pressure, and straight, overlapping passes so you don’t crush the grit or leave ridges. Keep a wet edge and feather each section into the next to blend lap lines and maintain uniformity across the wall.
Choose The Right Roller
When you want rolled texture to read as a light, controlled pattern instead of a heavy stipple, the roller cover matters as much as the product. Match nap and fiber to the sheen, the substrate profile, and your client’s Color schemes so the texture doesn’t visually fight trim lines or feature walls. Use test passes under the same lighting techniques you’ll have at handoff, because shadows exaggerate nap marks and can shift perceived uniformity.
- Nap length: Choose 1/4″–3/8″ for smooth drywall; move to 1/2″ only on lightly irregular surfaces.
- Cover material: Microfiber lays a finer pattern; woven holds more aggregate for consistent distribution.
- Core and width: Use a rigid phenolic core and 9″ frame for flatter walls, 4″ for tight cut-ins.
Control Thickness And Pressure
A well-matched roller sets the pattern, but film build and hand pressure decide whether that pattern reads as refined or turns into a mottled stipple under raking light. Load the roller evenly, then roll it out on the tray ramp until it stops dripping; you want a damp, not saturated, cover. Keep a consistent arm speed and apply light-to-moderate pressure so the nap deposits material instead of squeezing it out. If you press hard, you’ll crush Texture patterns, leave lap marks, and expose base tone through thin spots. Maintain a wet, uniform film by reloading before the roller starts to chatter. For Color coordination, verify coverage in the same lighting your client uses, adjusting film thickness to prevent undertone show-through.
Blend Edges For Uniformity
Even with a consistent film build, texture can flash at cut lines and roller stops, so blend edges while the coating stays wet. Plan your work zones after surface preparation, and keep a wet edge so light doesn’t catch ridges. Use controlled Edge blending to unify stipple and sheen across fields, corners, and patches.
- Feather overlaps: Roll back into the previous pass with light pressure, then cross-roll once to level peaks without flattening the profile.
- Soften cut-ins: Immediately stipple brushed perimeters with a mini-roller, matching nap and load to the main roller.
- Hide stops: When you reload, restart inside the wet area, then roll outward to fade the restart line.
You’ll deliver a seamless, subtle texture that reads uniform wall-to-wall.
Trowel on Patterns (Skip, Knockdown, Swirl)
Because trowel-applied textures let you control both build thickness and pattern definition, you can tailor skip, knockdown, and swirl finishes to match the room’s lighting, traffic, and tolerance for visual variation. Start with Surface preparation: clean, dull glossy paint, and spot-prime repairs so your compound wets out evenly and doesn’t skate. For Pattern selection, test on a drywall panel under raking light; what reads subtle head-on can look busy from a hallway. Pull a skip pattern by dragging a curved trowel with intermittent pressure, leaving intentional flats. For knockdown, lay a heavier coat, let peaks set to “thumbprint” firmness, then flatten with a clean knife at a low angle. For swirls, keep consistent arcs and reload frequently to avoid chatter. Measure coverage and mix times for repeatability.
Feather Seams, Corners, and Patch Edges
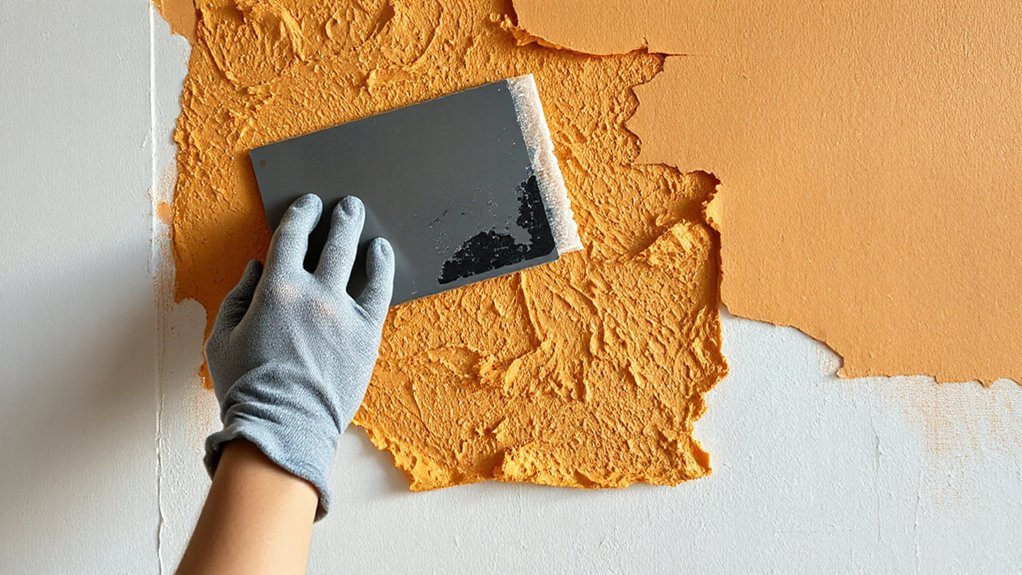
While your field texture can hide small waves, seams, inside corners, and patch perimeters will telegraph through paint unless you feather them to a true zero edge. Treat transitions as finish work, not prep, so the wall reads flat under raking light. For Seam feathering, widen your knife passes and keep compound pressure tapered, leaving no hard ridge for texture to bridge. For Corner detailing, keep both planes crisp: build minimal material, then pull it tight so the angle stays straight and clean.
- Skim seams 10–12 inches wide, then re-skim 16–20 inches with lighter pressure.
- Knife inside corners in two passes, alternating sides to avoid a hump.
- Float patch edges outward, sanding only the perimeter to confirm a zero edge.
Fix Common Texture Paint Problems (Runs, Lap Lines, Flakes)
After you’ve feathered seams and corners to a true zero edge, your next biggest threats to a clean finish are runs, lap lines, and flakes—issues that come from film build and timing, not wall flatness. Stop runs by dialing back load, shortening your roller nap, and maintaining a wet edge; back-roll immediately to even film thickness. Prevent lap lines by working in full-wall sections, keeping overlap areas wet, and staging cut-in so it doesn’t flash before you roll. If flakes show up, you’ve exceeded open time or sprayed too dry; adjust Texture consistency with measured dilution, strain material, and increase pressure or tip size for proper atomization. For touch-ups, lock Color matching by batching, boxing, and replicating texture passes. Document settings for repeatability.
Frequently Asked Questions
How Much Texture Paint Do I Need per Square Foot?
You’ll typically need 0.1–0.2 gallons per 100 sq ft (about 1.3–2.6 oz/sq ft), depending on application techniques and texture depth. You’ll use more for heavy patterns and color matching touchups.
Can I Tint Texture Paint to Match Existing Wall Colors?
Like dialing a rotary phone, you can tint texture paint to match existing wall colors. Ask for Color matching and Tint customization at the paint counter, then test a dry sample; texture changes hue.
How Long Does Texture Paint Take to Dry and Fully Cure?
You’ll see drying time of 2–4 hours to touch and 12–24 hours to recoat, but the full curing process takes 7–28 days. You should confirm product specs and jobsite humidity and temperature.
Is Texture Paint Safe for Bathrooms, Kitchens, or High-Humidity Areas?
Yes, you can use texture paint in bathrooms, kitchens, and high-humidity areas if you choose Mold resistance formulations, guarantee thorough Surface preparation, seal porous substrates, and topcoat with moisture-resistant paint to prevent water intrusion.
How Do I Clean and Maintain a Textured Wall After Painting?
You’ll handle wall cleaning by vacuuming dust with a brush attachment, then wiping gently using a damp microfiber and pH-neutral soap; avoid abrasives. For paint touch ups, dab matching paint with a stippling sponge, feather edges.
Conclusion
When you use texture paint for a controlled finish, you’ll get better results by testing first, then committing—because *measure twice, cut once*. You’ve matched the right product (premixed or additive) to your surface, dialed in texture depth for your roller or trowel, and validated coverage on a sample board. With proper prep and feathered edges, your pattern stays consistent. If runs or flakes show up, you’ll correct them fast and keep the finish uniform.