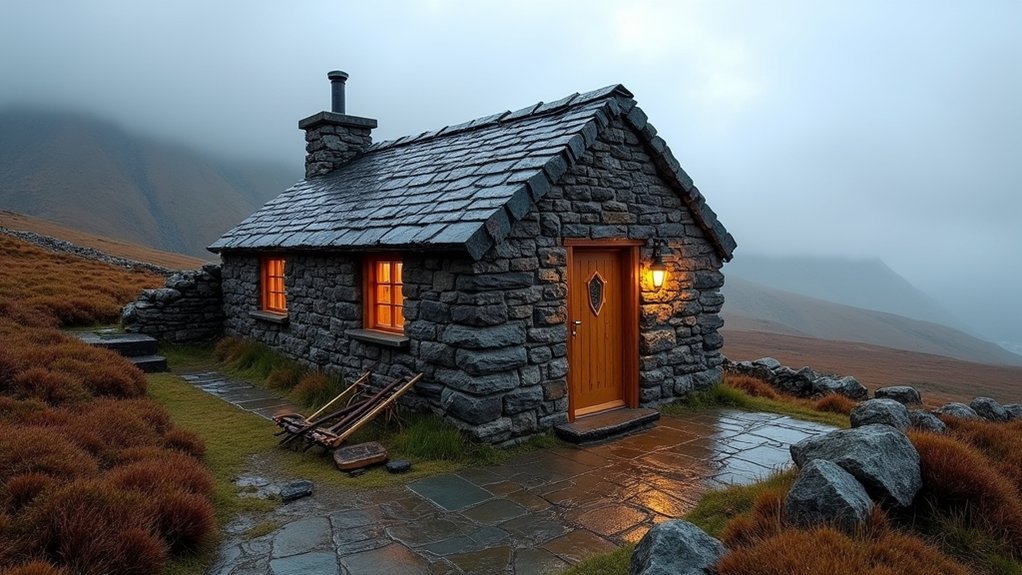
We’ll start by surveying for stains, musty zones, rot, and drafts, then stop water at the source: reset roof coverings, rebuild stepped flashings, clear gutters, extend downpipes, and add shallow French drains with proper ground fall. Next, we’ll repoint stone with breathable NHL lime mortar and replace fractured units like-for-like. We’ll insulate using mineral wool or wood fibre behind a vapour-open, wind-tight membrane, add controlled vents, then draught-proof doors and windows before fitting a correctly sized, safely flued stove—keep going for the full checklist and build-up details.
Key Takeaways
- Survey and document damp, rot, and drafts; probe timbers, smoke-test junctions, and verify vents and original fabric remain clear.
- Weatherproof the roof: reset slates, rebuild stepped flashings and chimney saddles, maintain underlay continuity, and keep gutters and drip details working.
- Control ground and rainwater: extend downpipes to splash pads, regrade for fall, and add shallow French drains where runoff concentrates.
- Improve warmth with breathable insulation: batten with service gaps, fit mineral wool or wood fibre, tape vapour control and membranes, and avoid trapping moisture.
- Reduce heat loss and condensation: draught-proof doors/windows, add balanced high/low ventilation or HRV, and install a correctly sized stove with safe flue and alarms.
Bothy Survey Checklist: Leaks, Rot, and Airflow
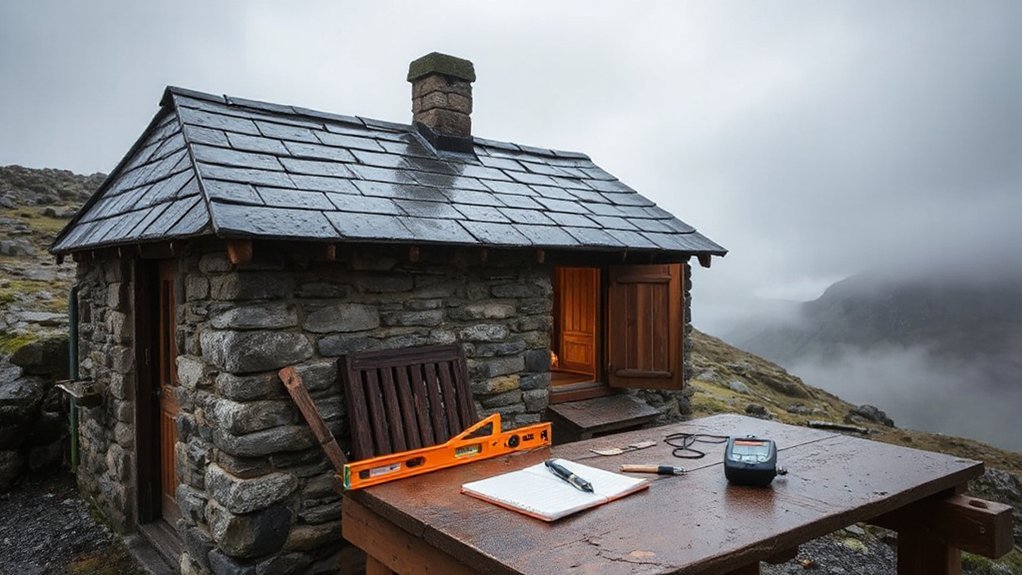
Before we bring in tools or materials, we’ll survey the bothy systematically so we can fix the right failures in the right order. We’ll map the interior, note musty zones, and log every stain line, tide mark, and efflorescence patch with photos and measurements.
We’ll probe skirting boards, joist ends, and window reveals with an awl to grade rot: sound, softened, or punky. We’ll check floor spring and listen for hollow spots that signal delamination.
For airflow, we’ll smoke‑test around frames, door edges, and wall‑to‑ceiling junctions, then record dominant drafts versus stagnant corners. We’ll verify vent paths aren’t blocked by debris or past repairs.
We’ll mark any original fabric for Historical preservation, respecting the bothy’s cultural significance.
Stop Water First: Roof, Flashing, and Drainage
Because every downstream repair fails if liquid water keeps cycling through the shell, we’ll stop water at the top and move outward: inspect the roof covering for slipped slates, lifted corrugated sheets, nail fatigue, and ridge gaps; reset or replace fixings; then rebuild flashing and abutments with correctly lapped, stepped details and sound chimney saddles so runoff can’t track inside.
Next we’ll check underlay continuity at eaves and verges, clear silted gutters (or fit simple drips where none exist), and extend downpipes to a splash pad so water discharges away from the footing line.
We’ll regrade ground to fall off the walls, add a shallow French drain only where flow concentrates, and keep inspection points accessible.
When Roof insulation goes in later, we’ll preserve ventilation paths so the deck can dry.
Document all flashing repairs with photos.
Repair Stone and Pointing Without Sealing in Damp
Next we’ll repoint and repair the stonework in a way that sheds water yet still lets the wall dry, so we’re not trapping moisture behind a hard skin.
We’ll use breathable lime mortar pointing matched to the existing fabric, rake out cement and loose joints to sound edges, and rebuild damaged stones with proper bedding and tight, well-compacted joints.
We’ll also add small drainage details—open weep paths, clear wall bases, and properly formed drips at ledges—so water exits fast instead of saturating the core.
Breathable Lime Mortar Pointing
Although modern cement looks like a quick fix, we’ll point our stonework with a breathable lime mortar so the bothy can shed rain yet still let trapped moisture evaporate through the joints, not the stones.
We’ll rake out loose, friable material to 2–3× the joint width, then brush and mist the beds so they’re damp, not dripping.
We’ll mix Lime mortar to suit exposure: NHL 2 for sheltered walls, NHL 3.5 where weather hits harder, using sharp sand (well graded, 2–3 parts) for strength and capillarity.
We’ll press mortar in layers, compacting to remove voids, and finish slightly recessed with a stiff brush to create breathable joints.
We’ll protect fresh work from wind, sun, and frost with hessian.
Stone Repair Drainage Details
Once we’ve restored breathable joints with lime, we’ll tackle stone repairs and drainage details so water exits the wall assembly fast instead of getting trapped behind hard patches.
We’ll replace fractured faces with like-for-like stone set in lime mortar, not cement, and we’ll pin only where needed using stainless dowels bedded in lime. For stone repair on delaminating blocks, we’ll consolidate by rebuilding the outer leaf in small lifts, keeping bond stones continuous.
For drainage details, we’ll form slight drips at projections, rake back ledges that pond, and set discreet weep gaps at the base course where the core can purge.
We’ll keep mortar proud but not smeared across stone, and we won’t seal the wall with coatings. After curing, we’ll brush off fines and check for new wet spots.
Insulate a Bothy Safely: Breathable Layers That Work
Because a bothy must stay dry as well as warm, we’ll insulate it with a breathable build-up that lets water vapour escape while blocking wind-driven rain. We’ll start by lining rough stone with treated battens on packers, keeping a small, continuous service gap so fixings don’t bridge damp patches.
Between battens, we’ll fit robust insulation materials that tolerate intermittent moisture: mineral wool or wood fibre slabs, friction-fit and cut tight around openings.
Over that, we’ll staple breathable barriers (vapour-open, wind-tight membranes) and tape all laps to stop draughts. At junctions, we’ll return the membrane onto frames and sills, then seal with flexible tape.
Finally, we’ll add a durable inner lining—ply or boards—fixed through battens, not directly into stonework.
Ventilation and Vapour Control: Avoid Condensation and Mold
Now we’ll manage moisture as aggressively as we manage heat by setting up balanced airflow strategies—high/low vents or a small HRV—so stale, wet air exits while fresh air enters without stripping warmth.
We’ll pair that airflow with the right vapour barriers and membranes, placing control layers on the warm side where needed and keeping a continuous air-seal so humid indoor air can’t reach cold surfaces and condense.
Then we’ll lock in mold prevention maintenance with routine checks for damp spots, clear vent paths, and fast drying after wet kit, so problems don’t get a foothold.
Balanced Airflow Strategies
How do we keep a small bothy warm without trapping moisture in the fabric of the building? We balance supply and extract so damp air leaves at the same rate fresh air enters, without creating cold drafts.
We’ll use Natural ventilation where possible: a low-level inlet on the leeward side and a high-level outlet near the ridge, so stack effect drives steady exchange.
For windier sites, we’ll add closable trickle vents and a controllable roof vent to prevent over-venting.
Inside, we’ll promote airflow circulation by keeping furniture off external walls, leaving a clear path from inlet to outlet, and using a small, low-watt fan only when drying gear.
We’ll monitor humidity and aim for 40–60% RH year-round.
Vapour Barriers And Membranes
Balanced airflow keeps indoor humidity under control, but we still need the wall and roof build-up to manage water vapour safely when warm, moist air meets cold surfaces.
We’ll place vapour barriers on the warm-in-winter side of insulation, typically behind internal lining, and we’ll tape every seam to maintain continuity. Around sockets, pipes, and rafters, we’ll use gaskets or preformed collars so leaks don’t bypass the layer.
Where the bothy sees seasonal heating and drying, we’ll favour a smart vapour retarder that opens to diffusion when conditions reverse.
Outside the insulation, membrane barriers act as wind-tight, water-shedding layers while remaining vapour-permeable, so incidental moisture can dry outward. We’ll lap and tape membranes to direct drainage.
Mold Prevention Maintenance
Because condensation forms wherever warm, moisture‑laden indoor air hits a colder surface, we’ll prevent mold by maintaining continuous vapour control and verifying that ventilation actually clears humidity instead of just moving it around.
We’ll inspect taped seams, service penetrations, and check that membranes still lap correctly at corners and around window bucks. Then we’ll measure indoor RH; we’ll aim for 40–60% and boost extraction during cooking and drying gear.
We’ll keep vents unobstructed, add a controllable trickle vent, and confirm airflow with smoke or a strip of tissue at grilles. Where cold bridging persists, we’ll add targeted insulation and thermal breaks.
We’ll finish susceptible surfaces with mold resistant paints, and place moisture absorbing materials in cupboards and under bunks.
Draught-Proof Doors, Windows, and Wall Gaps
When the wind starts driving rain sideways and pressure changes pull air through every crack, we’ll feel the bothy’s weakest seals immediately.
We’ll tackle doors first: square the frame, fit an adjustable threshold, then add a compressible EPDM perimeter gasket and a brush sweep, checking latch pull‑in.
For windows, we’ll re-bed panes with glazing tape, replace cracked putty, and add secondary acrylic panels on magnetic strip where sashes can’t seal.
At wall junctions, we’ll hunt leaks with a headtorch and incense, then pack gaps with mineral wool and cap with airtight tape or a flexible sealant.
These draught exclusion techniques work best when we choose weatherproofing materials rated for low temperatures, UV, and constant damp exposure.
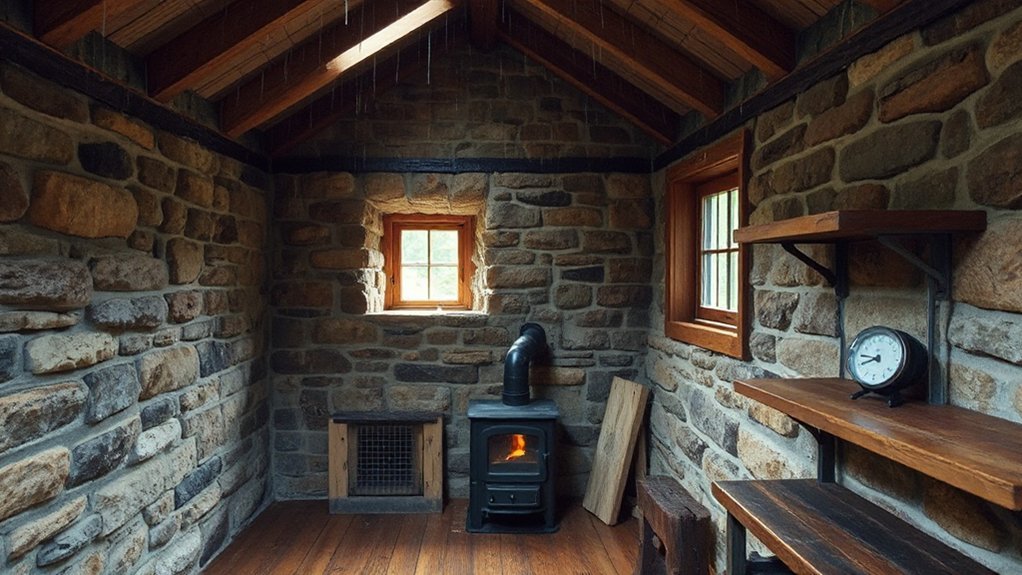
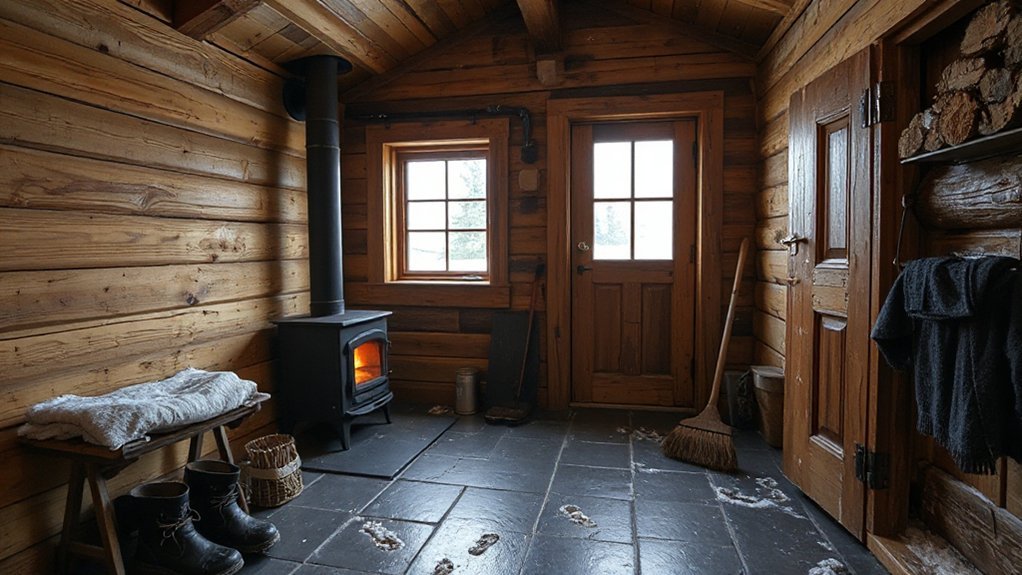
Bothy Heating That Lasts: Stove, Flue, and CO Safety
Now that we’ve tightened the envelope and stopped cold air from bypassing our insulation, we can size and install heat that won’t be undermined by leaks. We’ll choose a wood stove matched to the bothy’s volume and expected burn rate, not the biggest box on sale. Set it on a noncombustible hearth with required clearances, and add a heat shield where spacing is tight.
For flue safety, we’ll run a straight, insulated flue through the roof, minimize elbows, and keep joints accessible for inspection. We’ll fit a storm collar and flashing, then brace the stack for wind load.
Inside, we’ll seal the thimble, include a cleanout, and use a CO alarm plus smoke alarm. We’ll also provide dedicated combustion air if the space is very tight.
Hard-Wearing Interior Upgrades and Winter Maintenance
After we’ve made the bothy airtight and installed reliable heat, we need an interior that shrugs off wet boots, wood ash, and freeze–thaw cycles without constant repair.
We’ll lay a floated stone or tile floor over rigid insulation and a vapour-open membrane, then seal grout and add a boot tray at the door.
We’ll line walls with lime plaster or cement board at splash zones, fit stainless corner guards, and hang gear on a ventilated drying rack above the stove’s safe clearance.
For bunks, we’ll use treated larch or birch ply with removable slats for airflow and inspection.
Winter maintenance means weekly ash cleanout, monthly flue check, and keeping vents clear of spindrift.
Outside, Landscape integration preserves drainage and wildlife habitats.
Frequently Asked Questions
How Much Does a Bothy Renovation Typically Cost Overall?
We typically see bothy renovations cost $15,000–$60,000 overall, and you’ll pay more with Historical preservation requirements. We’ll cut lifecycle costs using Sustainable materials, prioritizing roof, damp-proofing, insulation, glazing, and safe stove installs.
Do I Need Planning Permission or Landowner Consent to Modify a Bothy?
If we swap a bothy’s roof timbers, we’ll usually need landowner consent and possibly planning permission; building regulations may apply. Check title, leases, and legal considerations with the council before altering structure, access, or services.
What Tools and Materials Should I Carry in on Foot?
We’ll carry a compact repair kit: multitool, folding saw, hammer, screwdrivers, drill driver, bits, tape, headlamp. For Tool selection and Material sourcing, pack screws, nails, sealant, tarp, paracord, gloves, small prybar.
How Long Will the Refurbishment Take With a Small Volunteer Team?
Expect 2–6 weekends or 3–10 working days with 4–6 volunteers. If weather delays worry you, we’ll plan buffer days. Interior insulation typically takes 1–2 days; Ventilation systems add another day.
What Insurance or Liability Cover Should I Consider for Volunteer Work?
We should carry public liability, employers’ liability for volunteers, and personal accident cover; add tools/equipment and property damage. These Insurance considerations provide liability protection; we’ll use waivers, risk assessments, and verify landowner policy endorsements.
Conclusion
After all that heroism—chasing leaks, repointing stone with lime, layering breathable insulation, and letting the bothy actually breathe—we’ve built a refuge that won’t try to compost us. We’ve sealed the draughts (not the walls), sized the stove, flashed the flue, and fitted a CO alarm so we don’t “sleep forever.” Now we just keep gutters clear, sweep the chimney, check rot lines, and re‑inspect after every proper storm.