With a basic UK DIY kit (claw hammer, tape measure, Pozidriv drivers, drill/driver, sealant, gloves and safety specs), you can fix common niggles fast. Stop a squeaky door by cleaning hinges and adding silicone spray or 3‑in‑1 oil. Tighten loose handles, or swap for longer screws. Fill small wall dents with fine filler, sand, prime, and paint. Re-caulk gaps, clear slow drains with bicarb/vinegar, and sort a running loo by adjusting the float or flapper. Keep going to pick the right materials and avoid rookie mistakes.
Key Takeaways
- Stop squeaky doors by cleaning hinge pins and lubricating with silicone spray or lithium grease, then wipe excess and retest.
- Patch small wall dings by scraping loose edges, applying thin filler layers, sanding smooth, priming, and touching up paint.
- Reseal gaps around tubs or windows by removing old caulk, cleaning and drying, laying a steady bead, and smoothing for a neat finish.
- Clear slow drains by pulling hair, flushing with hot water plus baking soda and vinegar, then plunging with the overflow sealed.
- Replace a light switch plate safely by isolating power, verifying dead, photographing wiring, swapping plates, tightening gently, and restoring power to test.
Tools for Quick DIY Home Fixes
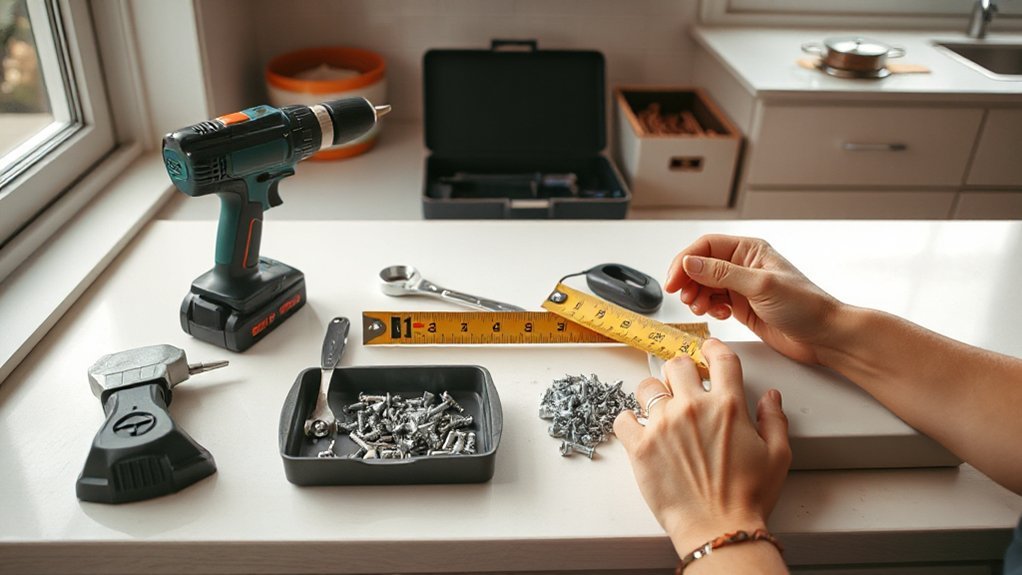
When something breaks and you need a quick fix, the right tools let you sort it safely without a last-minute dash to B&Q. Keep a claw hammer, tape measure, adjustable spanner, Stanley knife, and a decent screwdriver set (Pozidriv bits matter in UK fittings). Add a small spirit level, wall plugs and screws, and a tube of all-purpose sealant for fast patches.
For power tools, a cordless drill/driver with a mixed bit set covers most jobs; a multi-tool helps with trimming and scraping in tight spots. Don’t skip safety gear: safety specs, cut-resistant gloves, dust mask, and ear defenders for noisy tasks. Store everything in a labelled box so you’re ready within minutes.
Stop a Squeaky Door (DIY Fix)
You’ll first need to pinpoint where the squeak’s coming from—open and close the door slowly and listen at each hinge, not the latch or frame. Once you’ve found the culprit, wipe away any grime, then apply a proper lubricant (silicone spray or a drop of 3-in-1 oil) directly into the hinge knuckle. Work the door back and forth to pull the lubricant through, and wipe off any excess to avoid marks on your paintwork or carpet.
Identify Squeak Source
Before reaching for WD‑40 or a screwdriver, pinpoint exactly where the squeak’s coming from: open and close the door slowly while you listen at each hinge, then put a finger lightly on the hinge knuckles and pin to feel which one vibrates. For solid Squeak diagnosis, also check the latch side: if the noise happens only as the door meets the frame, it may be the latch rubbing the strike plate, not the hinges. Look for shiny scuff marks on the latch, keep, or painted edges. Next, lift the handle slightly while moving the door; if the squeak changes, the latch alignment’s suspect. Finally, test for door sag: hold the door half open and gently lift; movement suggests wear at the top hinge, guiding Noise elimination.
Lubricate Hinges Properly
Once you’ve confirmed the hinges are the culprit, lubricate them properly rather than just spraying the outside and hoping for the best. Put an old towel down, then open the door wide. Tap the hinge pin up with a screwdriver and hammer, pull it out, and wipe off grime with a rag. Apply a thin coat of white lithium grease or a silicone-based lubricant along the pin for proper hinge lubrication, then slide it back in and tap it fully home. Work the door back and forth 10–15 times to draw lubricant into the knuckles. Wipe away excess to avoid drips on your skirting boards. For squeak prevention, repeat on every hinge and check again after a day.
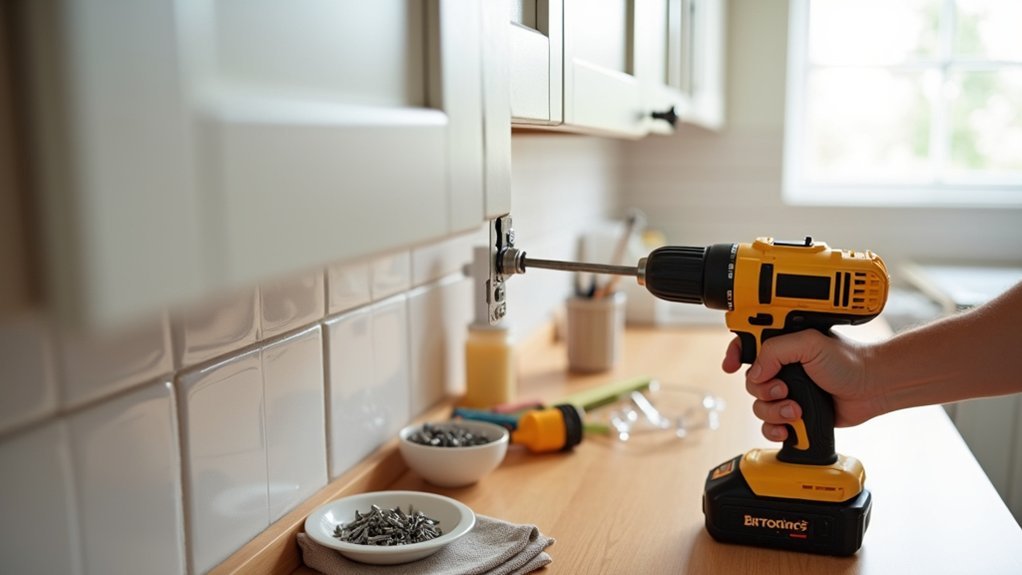
Tighten Loose Cabinet Hardware Fast
Although a wobbly handle or knob feels like a minor annoyance, it can quickly chew up the screw holes and damage the cabinet door if you leave it. Open the door and support the handle from the front so you don’t twist it. With a Pozidriv screwdriver (common in UK kitchens), tighten the fixing screws from the inside, turning clockwise until snug—don’t overdo it or you’ll strip the threads. If the screw just spins, remove it and check the fixing: swap in a slightly longer M4 machine screw, or add a split lock washer under the nut on bolt-through styles. For standard cabinet hardware on thin doors, use a dab of medium-strength threadlocker on the screw threads, then refit. Test by pulling firmly; it should feel solid.
Patch Small Wall Holes (DIY, Smooth Finish)
If you tackle small wall holes straight away, you’ll stop crumbly plaster spreading and you’ll get a near-invisible repair. First, scrape loose edges with a filling knife, then brush out dust. For plasterboard, push in any proud paper and score a neat circle; for plaster on brick, widen hairline cracks slightly so filler keys. Apply ready-mixed fine surface filler in thin passes, pressing firmly. Overfill by a touch, then let it dry fully (check the tub). Sand with 120–180 grit on a sanding block until flat, feathering 5–10cm out. Wipe clean, then spot-prime with a stain blocker or mist coat before paint. These Wall repair techniques and drywall patching tips keep patches smooth and stable.
Caulk Small Gaps Around Tubs and Windows
For tubs, you’ll get the best seal with sanitary silicone; for windows, use a paintable acrylic caulk unless the frame needs silicone’s flexibility. Clean out old sealant, scrub off soap scum or dust with methylated spirits, and let everything dry before you start. Cut the nozzle to suit the gap, run a steady bead with a caulking gun, then tool it smooth with a wet finger or profiling tool for a neat, watertight finish.
Choose The Right Caulk
Before you squeeze a tube into any crack, pick a caulk that matches the job, because the wrong one will peel, crack, or go mouldy fast. For baths, showers, and sink edges, use sanitary silicone with anti-mould additives; it stays flexible where water and movement are constant. Around uPVC window frames, choose a low-modulus silicone or a frame sealant labelled for exterior use, so it copes with temperature swings and rain. For skirting boards and internal cracks you’ll paint, use decorators’ acrylic caulk, not silicone, because paint won’t stick to silicone. Check caulk types on the label: interior/exterior, paintable, and waterproof. Do quick colour matching—white, clear, grey, or “almond”—to blend with grout and frames.
Prep And Clean Surfaces
Although the best caulk won’t stick to soap scum or loose paint, you can make any tub edge or window frame ready in a few minutes with the right prep. Start with surface preparation: scrape out old, cracked caulk using a plastic scraper or a Stanley knife, keeping the blade flat so you don’t gouge acrylic or uPVC. Vacuum crumbs and dust, then wipe with a damp microfibre cloth.
Next, use proven cleaning techniques. For bathrooms, spray an anti-mould cleaner or diluted bleach, leave it per label, rinse, and dry thoroughly. For windows, degrease with methylated spirits or isopropyl alcohol, then let it flash off. Mask nearby tiles or paint with low-tack tape, and make sure everything’s bone-dry before moving on.
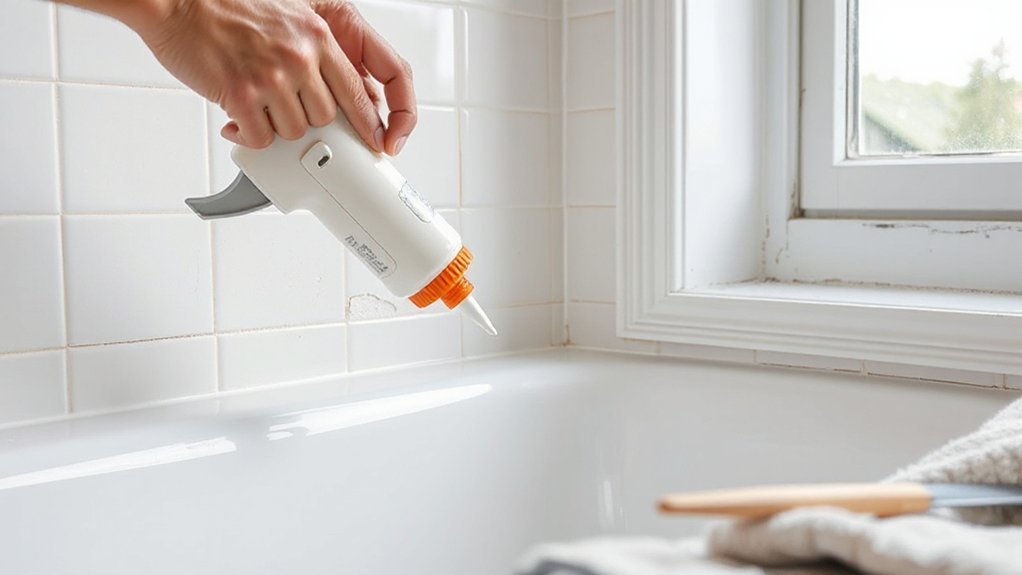
Apply Smooth, Even Bead
Once the surface is clean and bone-dry, you can lay a neat bead by loading a quality bathroom/sanitary silicone into a caulking gun and cutting the nozzle at a 45° angle to match the gap (smaller hole for finer joints). Keep steady pressure on the trigger and pull the gun towards you; that’s how you control bead consistency. Don’t stop-start, and don’t overfill—silicone should sit slightly proud, not blobbed.
- A smooth, continuous line running along the bath edge without breaks
- A thin, even ribbon around a window frame, tucked into the corner
- A crisp finish after one pass with a wetted profiling tool
Use masking tape for straight edges, and remove it immediately. These application techniques save cleanup.
Touch Up Paint for Instant DIY Home Fixes
When scuffs, chips, or grubby fingerprints make a room look tired, a quick touch-up can sharpen it up in under an hour. Start with a clean surface: wipe with sugar soap, rinse, and let it dry fully. Lightly sand any rough edges, then dust off.
For color matching, check if you’ve got the original tin; if not, take a small flake (from behind a radiator cover) to a DIY store like B&Q for mixing. Use the same finish (matt, silk, or eggshell) or the patch will flash. Decant a little paint, then apply with a small brush or mini roller, feathering the edges. For paint durability, let it cure 24–48 hours and avoid scrubbing the spot.
Fix a Running Toilet Fast (DIY)
If your loo keeps refilling or you can hear a constant hiss, you can usually stop a running toilet in minutes with just a screwdriver and a bit of checking inside the cistern. Turn off the isolation valve (usually on the pipe by the pan), flush, then lift the lid and watch what happens in the toilet tank as it refills.
- Water trickling into the bowl? The flapper isn’t sealing.
- Water rising above the marked line? The float’s set too high.
- Water pouring down the overflow? The inlet valve may be sticking.
Adjust the float screw or clip so the fill stops below the overflow. Clean grit from the seal, then do a Flapper replacement if it’s warped or perished. Turn the water back on, test-flush twice, and refit the lid.
Unclog a Slow Drain Fast (DIY)
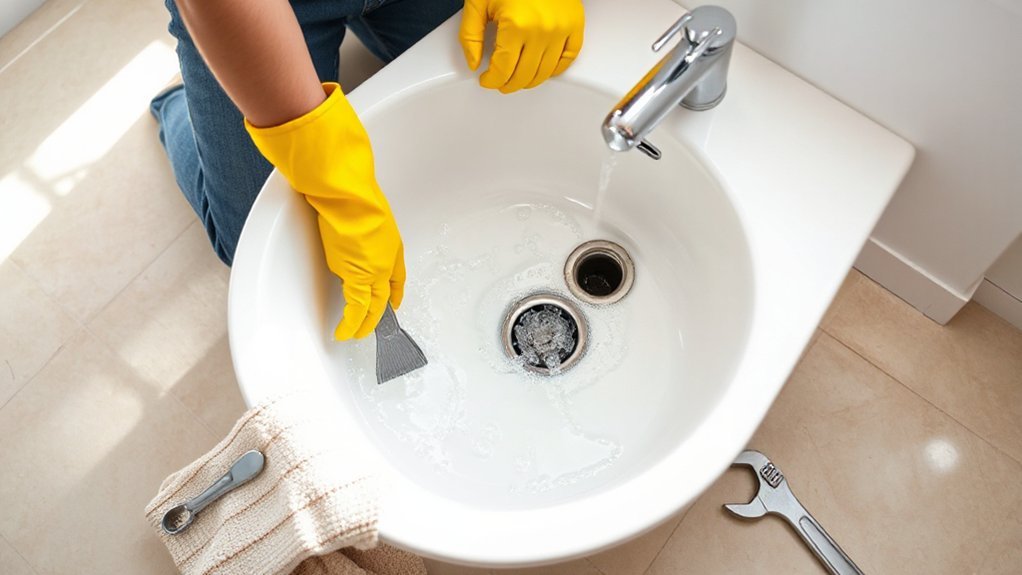
A toilet that runs wastes water, but a slow sink or shower drain can quickly turn into a smelly backup, so it’s worth tackling as soon as you notice the water lagging. Start by lifting out the plug and fishing out hair and soap with a gloved hand or a £3 plastic drain snake from B&Q.
Next, do simple Drain cleaning: pour a full kettle of hot (not boiling) water down PVC pipework, then add 3 tbsp bicarbonate of soda and a mug of white vinegar. Cover the waste with a damp cloth for 10 minutes, then flush hot water again.
If it’s still slow, use Plumbing tools: a sink plunger. Seal the overflow with tape, plunge hard 20 seconds, and rinse.
Replace Old Switch Plates for a Quick Refresh
Although grubby, yellowed switch plates look minor, swapping them out can instantly smarten a room and costs only a few quid from Screwfix or B&Q. Turn off the relevant circuit at the consumer unit, then verify it’s dead with a voltage tester before you touch any terminals. Unscrew the old faceplate, keep the screws, and note where each wire sits (take a quick photo). Fit your new plate, tighten firmly but don’t crack the plastic, and restore power to test.
- Brushed steel Decorative switch plates that lift tired paintwork
- Crisp white Modern switch covers that match fresh skirting
- Black nickel plates that modernise a hallway without repainting
If the back box is loose, nip up the lugs or replace the screws. Always.
Frequently Asked Questions
How Do I Know When a DIY Fix Requires a Professional Instead?
You’ll know it’s pro time when the job feels like juggling knives: any gas, consumer-unit electrics, structural cracks, leaks, or persistent damp. Prioritise DIY safety—stop, isolate, and get a professional assessment, UK-qualified.
What Home Repairs Are Unsafe to Attempt Without Turning off the Power?
You shouldn’t attempt any electrical repair without isolating power: changing sockets, switches, light fittings, ceiling roses, consumer unit work, or investigating tripping RCDs. Follow Electrical safety and Power precautions—turn off the main switch, prove dead.
Which Quick Fixes Can Help Boost Home Value Before Selling?
You’ll boost value fast with Home staging and curb appeal: declutter, neutralise paint, deep-clean, fix squeaky doors, replace tired handles, refresh grout, mow/edge lawn, repaint front door, add planters, and update bright LED bulbs.
How Can I Find the Source of a Mystery Water Stain on a Ceiling?
Trace it, test it, fix it: follow the stain uphill, check loft insulation for damp, inspect roof tiles, flashing, and pipework. Isolate circuits, run taps, flush loo, then monitor. A Ceiling leak causes Water damage.
What Should I Do if My Landlord Is Responsible for the Repair?
Report it to your landlord/agent in writing, cite tenant responsibilities, and request clear repair timelines. Take dated photos, keep copies, and follow up. If they delay, contact your council’s Environmental Health or Shelter.
Conclusion
You’ve now got the tools and quick fixes to silence squeaks, snug up handles, patch holes, re-caulk gaps, touch up paint, tame a running loo, clear a slow drain, and swap tired switch plates. None take more than an hour, yet each one shifts how your home feels. But here’s the suspense: the next creak or drip isn’t just a nuisance—it’s a warning. Catch it early, and you’ll save pounds, prevent damage, and stay one step ahead.