Start with a basic toolkit and safety gear, then locate your consumer unit, main stopcock, and gas shut-off. Stop a dripping tap by tightening the handle, cleaning limescale, and replacing a washer or cartridge. Silence squeaky hinges with silicone spray and tighten screws. Clear a slow sink with hot water, washing-up liquid, plunging, or a quick P-trap clean. Patch wall dings with spackle, sand, and touch up. Next, you’ll learn when to call a pro.
Key Takeaways
- Keep essential tools and safety gear ready, including a torch, insulated screwdrivers, adjustable spanner, voltage tester, and safety glasses.
- Isolate power, gas, or water before repairs; stop immediately if you see smoke, scorching, or buzzing, and call a qualified professional.
- Fix dripping taps by tightening hardware, then replacing worn washers or cartridges after turning off water and clearing limescale or grit.
- Clear slow drains by removing debris, flushing hot water with detergent, plunging with overflow blocked, and cleaning the P-trap; use strainers to prevent clogs.
- Repair squeaky doors and loose fixtures by lubricating hinges, tightening or replacing stripped screws, and patching wall dings with spackle, sand, and touch-up paint.
Quick Household Fixes: Tools and Safety Shutoffs
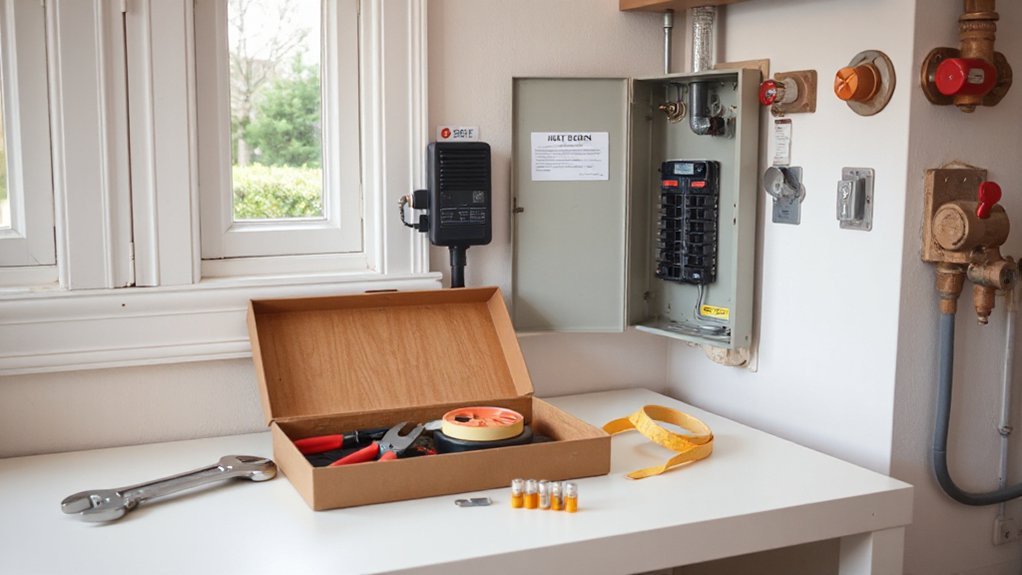
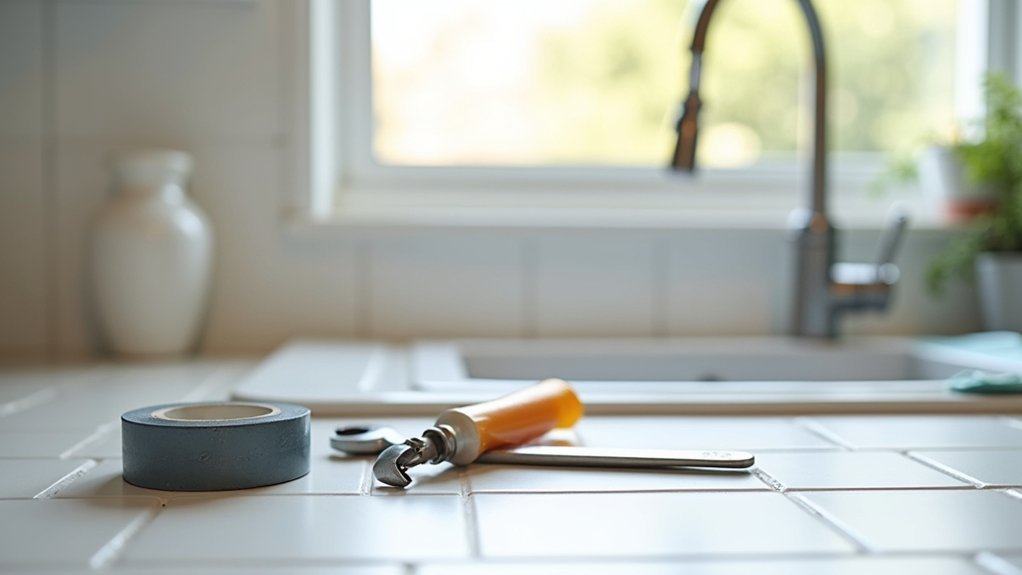
Before you tackle any quick household fix, make sure you’ve got the right basics to hand and you know how to shut things off safely. Keep a torch, insulated screwdriver set, adjustable spanner, Allen keys, tape measure, utility knife, and a small tub of assorted screws and wall plugs. Add a voltage tester and safety glasses, and you’ll work faster and safer.
Learn your shutoffs: locate the consumer unit and label key circuits; know the main stopcock (often under the kitchen sink) and any isolation valves; find the gas emergency control valve by the meter and don’t force it. For Home security, keep spare batteries for alarms and check door-chain fixings. For energy efficiency, isolate power before swapping bulbs or sealing draughts.
Stop a Faucet Drip Fast (Tighten, Clean, Replace)
If your tap’s dripping, start by tightening the handle hardware with a screwdriver or Allen key, as loose fixings often cause the leak. Next, turn off the water and clean the aerator and valve to clear limescale and grit that stop a proper seal. If it still drips, replace the worn washer or swap the cartridge to restore a tight shut-off.
Tighten Handle Hardware
Although a dripping tap often points to a worn washer or cartridge, loose handle hardware can let the valve sit slightly open and cause a steady drip. Start by turning off the water at the isolation valve under the basin, then plug the plughole to catch screws. Pop off the cap, then use a screwdriver or Allen key to snug the handle screw. If the handle still wobbles, remove it and tighten the packing nut a quarter-turn with an adjustable spanner—don’t overdo it or you’ll bind the tap. This Handle adjustment often stops a drip immediately. If threads are stripped, screws are missing, or the handle’s cracked, go for Hardware replacement with like-for-like parts from a UK DIY shop. Refit, turn water on, and test.
Clean Aerator And Valve
Why does a tap still drip even after you’ve tightened the handle? Limescale and grit often lodge in the aerator or the valve inlet, stopping a proper seal. Turn off the isolation valve under the basin (or the stopcock if you’ve got no isolator). Put the plug in, then unscrew the aerator with grips and a cloth to protect the finish. Rinse the mesh, scrub with an old toothbrush, and soak it in white vinegar for 15 minutes. Flush the spout briefly into a bucket, then refit the aerator. If the drip persists, remove the handle and trim, and wipe visible debris from the valve opening—don’t force parts. A clean flow helps Aquarium maintenance and Plant watering.
Replace Washer Or Cartridge
When cleaning the aerator and valve hasn’t stopped the drip, the washer or ceramic cartridge has usually worn enough to let water creep past the seal. Turn off the isolating valves under the basin (or the stopcock), open the tap to drain, then plug the waste to catch screws.
Pop off the cap, undo the handle screw, and lift the handle. For compression taps, remove the headwork and swap the rubber washer and O-ring; check the seat for pitting. That’s basic Washer maintenance and it often fixes the leak. For mixer taps, pull the cartridge, match the model, and fit the new one squarely—Cartridge replacement must align the lugs. Reassemble, turn water on, and test for drips and stiffness.
Silence a Squeaky Door Hinge in Minutes
First, work out where the squeak’s coming from by opening and closing the door slowly and listening at each hinge. Apply a proper lubricant to the hinge pin (wipe away excess to protect paintwork and carpets), then move the door to work it in. If it still squeals, tighten the hinge screws with a screwdriver or replace any stripped ones to stop movement and noise.
Identify The Squeak Source
Before you reach for oil or WD‑40, pin down exactly where the squeak’s coming from so you don’t treat the wrong spot. Start with slow, short swings of the door while you listen closely. Put one hand lightly on each hinge knuckle in turn; if you feel vibration, you’ve likely found the squeak source. Next, check the latch: open the door and press the handle down, then release—if it chirps, the mechanism, not the hinge, is noisy. Inspect the strike plate on the frame for rub marks, and look for paint build-up on hinge leaves. For noise identification, slip a bit of card between door and frame at suspect points; if the sound stops, you’ve located the contact area.
Apply Lubricant Correctly
Once you’ve pinpointed the noisy hinge, apply lubricant sparingly and directly to the moving parts so it soaks into the pin rather than coating the door. Protect paintwork with a bit of kitchen roll, then crack the door open to expose the knuckle gaps. For lubricant types, use a silicone spray for clean indoor jobs, white lithium grease for longer-lasting results, or a drop of light machine oil if that’s what you’ve got in the shed. Avoid heavy cooking oils—they gum up.
For application techniques, aim the straw nozzle into the hinge barrels, give a short burst or two, then swing the door back and forth 10–15 times to work it in. Wipe off any drips and re-test.
Tighten Or Replace Screws
Still squeaking after lubrication? Check the hinge screws: loose fixings let the leaves rub and creak. Use the right driver for the head—Pozidriv is common in UK doors—so you don’t chew it up. As screwdriver tips go, press firmly, keep the bit square, and turn slowly to avoid cam-out. Tighten all screws evenly, top to bottom. If a screw spins, it’s stripped; remove it and replace with a longer one that bites into the stud, or plug the hole with matchsticks and wood glue, then refit. Consider screw types: woodscrews for timber frames, machine screws for threaded hinges. Replace rusted screws too; they’ll never hold reliably long-term.
Clear a Clogged Sink Drain (and When to Check the P-Trap)
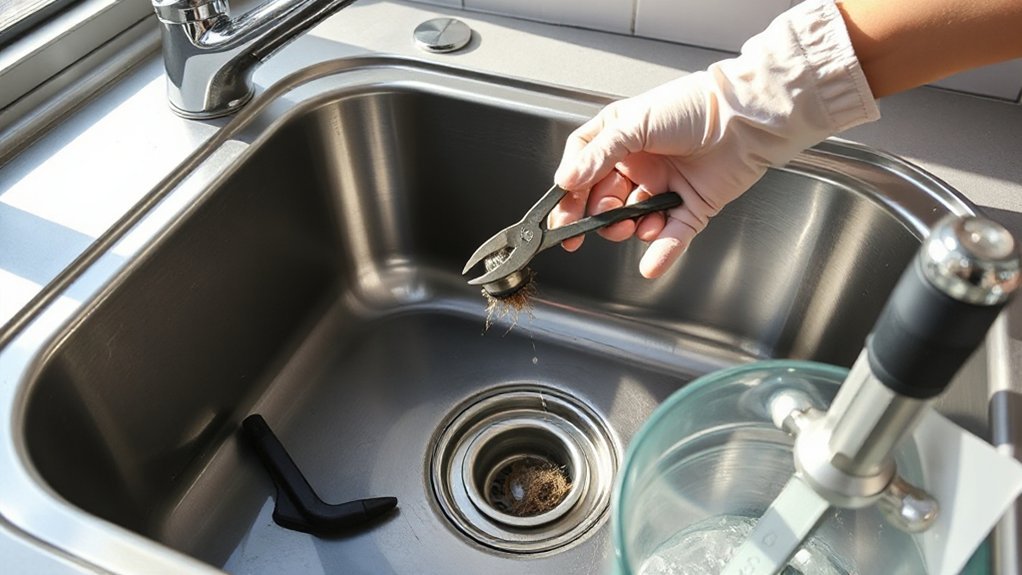
When your sink starts draining slowly or backs up, you can usually clear the blockage with a few basic checks and tools rather than calling a plumber. Start with a quick plumbing inspection: lift out the plug, remove visible debris, and flush with a kettle of hot (not boiling) water. Add washing-up liquid first for greasy clogs. If it’s still slow, use a plunger with the overflow blocked by a damp cloth, then rinse again.
For ongoing drain maintenance, fit a strainer and avoid tipping fat or coffee grounds down the basin. If plunging doesn’t shift it, check the P-trap: put a bowl underneath, loosen the slip nuts by hand, and clear the gunk. Refit, hand-tighten, and run water to check for leaks.
Tighten Loose Cabinet Handles so They Stay Put
Loose cabinet handles can feel like a minor nuisance after dealing with a blocked sink, but left alone they’ll quickly wallow out the screw holes and start pulling on the door or drawer front. First, open the door or drawer and hold the handle steady. Use a screwdriver (usually Pozidriv) and tighten the fixing screws from inside; don’t overdo it or you’ll strip the thread. If the screws keep spinning, remove the handle, check you’ve got the right length bolts, then refit with a dab of medium-strength threadlocker. For worn holes, add a thin washer under the screw head to spread load. Finish by aligning the handle square before final tightening. This quick Cabinet hardware fix is simple Handle maintenance you can do in minutes.
Patch Small Wall Dings With Spackle in One Pass
After you’ve noticed a scuff or small ding, you can make it disappear in a single pass with ready-mixed spackle (filler). For quick Wall repair, wipe the area clean, then lightly scrape away any loose paint with a filling knife. If the surface is glossy, scuff it with fine sandpaper so the filler grips. Load a small amount of spackle and press it firmly into the ding, then pull the knife flat to feather the edges; you’re aiming for flush, not proud. That’s one of the simplest Spackle techniques and it prevents extra sanding. Let it dry fully (check the tub for times), then sand lightly, dust off, and touch up with matching emulsion using a small roller or brush.
Outlet Not Working? Quick Household Fixes You Can Do Safely
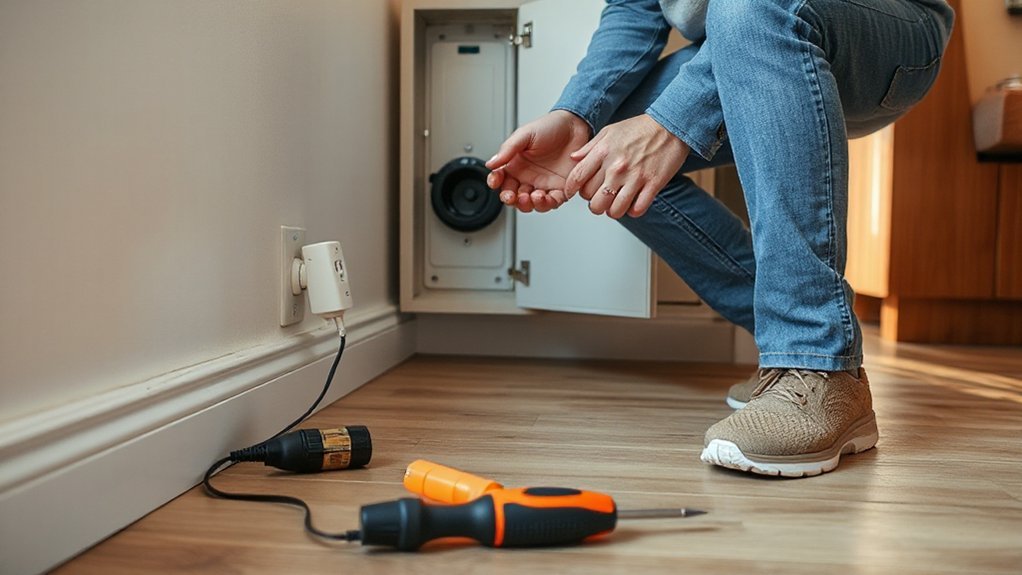
Although a dead socket can feel like a bigger electrical fault, you can often pinpoint a simple cause in minutes without taking anything apart. Start with Electrical safety: unplug the appliance and keep hands dry. Test the device in another socket to rule out a faulty plug or lead. Next, check your consumer unit: a tripped MCB or RCD will kill one circuit; reset it firmly once. If it trips again, stop. For Outlet troubleshooting, try another item in the dead socket, then check nearby sockets in the same room—one may be controlling the circuit. If it’s a switched socket, confirm the switch is on. Finally, press the plug fully home; loose pins can fail to make contact.
When Quick Household Fixes Aren’t Enough: Call a Pro
Even if you’ve worked through the basic checks, you should stop and call a qualified tradesperson when the fault keeps coming back or anything looks unsafe. If you smell burning, see scorch marks, hear buzzing, or the RCD trips repeatedly, don’t keep testing. Turn off the circuit at the consumer unit and leave it off.
For gas, water, and electrics, know the limits of DIY safety. In the UK, electrical work in kitchens, bathrooms, and outdoors can fall under Part P; a registered electrician can certify it. For boilers and gas fires, use a Gas Safe engineer. Persistent leaks, low pressure that returns, or damp spreading through walls needs a plumber before repairs escalate. Good home maintenance includes recognising when to hand over.
Frequently Asked Questions
How Do I Stop a Running Toilet Without Replacing Internal Parts?
Shut off the isolating valve, then lift the lid and check the flapper seals. Do a Toilet tank flush, clean the seat, and try water level adjustment on the float so it stops trickling.
What’s the Quickest Way to Remove Scuff Marks From Painted Walls?
Use a damp melamine sponge for quick Wall cleaning: rub scuffs lightly, then wipe with clean water and dry. Test first. If marks persist or paint lifts, you’ll need Paint touch up.
How Can I Fix a Stuck Window That Won’T Open or Close Smoothly?
You’ll often find, coincidentally, it sticks right before rain—clean the tracks, then apply window lubrication (silicone). Tighten loose screws and do a hinge adjustment. Check for paint build-up, swollen timber, or warped uPVC.
Why Is My Smoke Detector Chirping Even After Changing the Battery?
Your smoke detector chirps because you’ve fitted the wrong battery, left the drawer loose, or it’s reached end-of-life. Try battery replacement tips: use alkaline, reseat firmly, hold test. Do fire alarm maintenance: vacuum, replace unit.
How Do I Temporarily Fix a Loose Floorboard That Creaks When Walked On?
Of course your loose floorboard creaks when you tiptoe—so screw it down: locate joist, drill pilot, drive wood screws. For temporary floorboard repair and creak prevention, dust talc in gaps, or wedge a shim underneath.
Conclusion
Funny how the “little” jobs you’ve been ignoring often take five minutes and one screwdriver. You’ve tightened the drip, silenced the hinge, cleared the trap-bound gunk, and stopped handles wobbling like they’re on strike. You’ve even made wall dings vanish with a swipe of spackle, and checked a dead socket without playing hero. When the fix stops being quick—leaks, smells, sparks—switch off, step back, and call a pro.