You can make your home look better by Sunday night if you pick a couple of easy weekend projects that fits your time and budget, then add 10% for surprises. Start by deep-cleaning the room you use most, then touch up scuffs on walls and trim for instant polish. Swap a light fitting safely, replace tired cabinet knobs, and re-caulk around sinks and tubs. Brighten grout with cleaner or a pen, add hooks and labelled bins, then reset your kerb appeal in two hours. Keep going for extra quick wins.
Key Takeaways
- Pick a high-impact project that fits your available hours and budget, adding 10% extra for unexpected costs.
- Deep clean your most-used room by decluttering surfaces, wiping skirting boards, switches, and windows, and vacuuming upholstery.
- Touch up walls and trim by filling dents, sanding smooth, and feathering matching paint for a fast, polished finish.
- Replace cabinet pulls and knobs using existing hole centres to modernize kitchens or bathrooms in under an hour.
- Refresh bathrooms by re-caulking gaps and cleaning or recolouring grout to instantly brighten and seal wet areas.
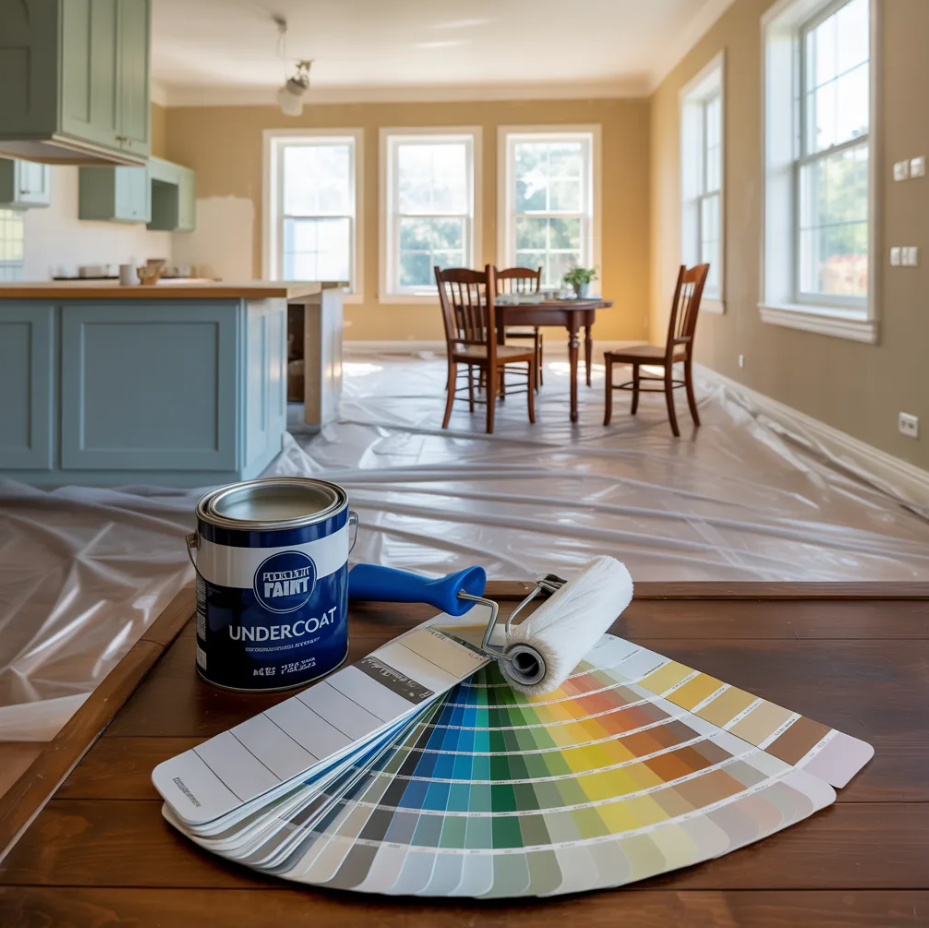
Choose a Weekend Project by Time and Budget
Whether you’ve got a free afternoon or a full weekend, start by matching your project to the time and money you can realistically spare. Do quick Budget planning: set a firm ceiling for materials, delivery, and any tool hire, then add 10% for surprises. Next, use Time management to map tasks against your diary—measure, shop, prep, fit, tidy—so you don’t lose Saturday to “just popping to B&Q”. If you’ve only got half a day, pick high-impact, low-risk jobs like swapping handles, sealing gaps, or touching up skirting. With a full weekend, choose upgrades you can finish without trades, such as fitting shelves or repainting a small room. Buy supplies early, and keep receipts organised.
Deep Clean the One Room You Use Most
If you want the biggest “new home” impact for the least effort, deep clean the one room you use most—usually the kitchen or living room—and you’ll feel the difference immediately. Start by clearing surfaces into three piles: keep, relocate, recycle. Then vacuum sofas, wipe skirting boards, clean light switches, and tackle windows and mirrors with a microfibre cloth. In the kitchen, degrease the hob, wipe cupboard fronts, and empty the fridge, binning out-of-dates. Use organisational strategies like labelled tubs for snacks, chargers, or post, so clutter doesn’t creep back. Finish with a quick furniture arrangement tweak: pull seating into a tighter conversation zone, straighten rugs, and free up walkways. Light a candle and you’re done.
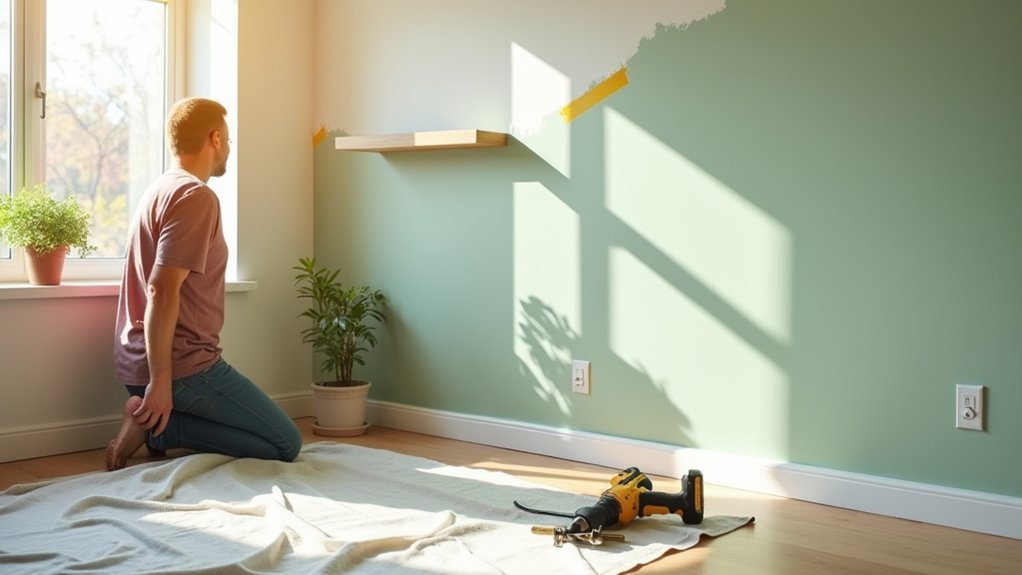
Touch Up Walls and Trim for Instant Polish
Because scuffs and chips catch the light more than you realise, a quick touch-up on walls and trim can make your whole place look freshly finished in under an hour. Start with Wall repair: fill dents with ready-mix filler, let it dry, then sand smooth. Wipe dust, then dab matching emulsion using a small roller to feather edges. For trim painting, key glossy woodwork with fine sandpaper, spot-prime bare patches, then use a 2-inch angled brush for crisp lines. Keep a damp cloth handy for quick wipe-ups. You’ll feel:
- relief when marks vanish
- pride in sharp skirting boards
- calm from cleaner sightlines
- confidence before guests arrive
- satisfaction finishing a tiny job well
Use tester pots if you’re unsure of colour.
Swap a Light Fixture (Simple, Safe Steps)
Next up, you’ll swap a light fixture the safe way by turning off the power at the consumer unit and double-checking the circuit is dead. You’ll remove the old fitting carefully, noting how the wires are connected before you disconnect them. Then you’ll mount the new fixture, match live, neutral and earth correctly, and secure everything before restoring power.
Turn Off Power Safely
- You’ll feel calmer knowing nothing’s live.
- You’ll protect your hands from a nasty shock.
- You’ll spare your home an avoidable electrical fire.
- You’ll keep kids and pets safe from curiosity.
- You’ll work with confidence, not crossed fingers.
Remove Old, Install New
Once you’ve confirmed the circuit is dead, you can swap a light fitting without drama. Remove the shade and bulbs, then support the fitting with one hand while you loosen the screws on the ceiling rose or mounting plate. Photograph the wiring before you touch anything.
With Old fixtures, you’ll often find loop-in wiring: keep the permanent live wires together in their connector and only move the switched live, neutral, and earth for the lamp. Undo the terminal screws, release the conductors, and cap any spare earths in a separate block. Fit the New fixtures bracket securely into joist or proper plugs, then connect earth (green/yellow), neutral (blue), and switched live (brown) to matching terminals. Tuck wires neatly, refit cover, restore power, and test.
Replace Cabinet Pulls and Knobs in Minutes
If your kitchen or bathroom cabinets look tired but still work perfectly, swapping the pulls and knobs is one of the quickest upgrades you can make. Choose Decorative hardware that suits your style—brushed brass, matte black, or classic chrome—and you’ll instantly modernise the room without touching paint or tiles. It’s one of the most Budget friendly upgrades: a screwdriver, a tape measure, and 30 minutes can transform the space.
- You’ll feel proud every time you open a door.
- You’ll make guests think you’ve renovated.
- You’ll enjoy a smoother, more solid grip.
- You’ll add polish that lifts the whole room.
- You’ll get a fresh look without the stress.
Match existing hole centres, or use backplates to cover marks.
Install a Peel-and-Stick Backsplash (Renter-Friendly)
You can upgrade your kitchen fast with a peel-and-stick backsplash that you can remove when you move. Choose tiles that suit your space and can handle heat and splash zones, then prep the wall so they’ll actually stick. Apply each sheet carefully and seal the edges for a neat finish that won’t lift with steam.
Choose The Right Tiles
Although peel-and-stick tiles look similar online, the right choice comes down to how they’ll cope with your kitchen’s heat, moisture, and daily wipe-downs. In UK rentals, choose options rated for splash zones and hob-adjacent areas, and prioritise material durability over bargain shine. Test how tile patterns read in your actual lighting: glossy white can glare under LEDs, while darker grout lines hide tea splashes.
- You’ll feel calmer knowing steam won’t curl the edges.
- You’ll enjoy a finish that looks “proper fitted”, not flimsy.
- You’ll smile when crumbs wipe off in one pass.
- You’ll love how the pattern makes a small kitchen feel bigger.
- You’ll relax, because removal later won’t be a nightmare.
Prep Walls For Adhesion
Before a single tile comes off its backing, get the wall clean, flat, and dry so the adhesive can grip properly in a steamy UK kitchen. Start with Wall preparation: degrease splash zones with sugar soap, then wipe with clean water and dry with a lint-free cloth. If you’ve got fresh paint, wait at least 14 days to cure; on older satin or gloss, lightly abrade with fine sandpaper to key the surface. Fill dents and open joints with a quick-dry filler, then sand flush so tiles won’t bridge bumps. Remove loose caulk, flaking paint, and any wallpaper seams. For Adhesion boosting, wipe with isopropyl alcohol before you begin, and keep the room warm and well ventilated. Mask sockets and switches first.
Apply And Seal Edges
Once the wall’s properly keyed and dry, start applying tiles from the most visible edge and work outwards, pressing firmly with a wallpaper smoother to chase out air as you go. Trim end pieces with a sharp snap-off knife and a steel rule, then focus on edge finishing: add matching trim strips or a neat bead of clear silicone where the tile meets cupboards, worktops, and corners.
Use sealing techniques that suit a UK kitchen’s steam and splashes: run sanitary silicone along the bottom edge and around sockets (power off), then smooth with a wet finger or profiling tool. Wipe excess immediately.
- You’ll see the whole space look “done”
- You’ll stop water creeping behind tiles
- You’ll feel proud of crisp lines
- You’ll avoid peeling, curling corners
- You’ll enjoy an easy future removal
Re-Caulk Tubs and Sinks to Look Brand-New
If your bathroom’s starting to look tired around the edges, re-caulking the bath and sink is one of the quickest weekend fixes you can tackle. Start by cutting out the old bead with a sharp scraper, then clean and dry the joint fully so new sealant bonds properly. Mask either side with painter’s tape for crisp lines and a neater finish.
Choose a quality sanitary silicone, ideally mould-resistant, and load it into a sealant gun. For smooth caulk application, keep steady pressure and run one continuous bead along the gap. Tool it straight away with a profiling tool or damp finger, then pull the tape before it skins. Proper tub sealing stops leaks, protects plasterboard, and makes everything look freshly fitted. Let it cure overnight before using the bathroom.
Refresh Grout Fast With Cleaner or Pen
Where grout lines have dulled or picked up stains, you can brighten them in under an hour with either a strong cleaner or a grout pen. Start with Grout cleaning: spray an alkaline bathroom cleaner, let it dwell for five minutes, then scrub with a stiff brush and rinse. Dry thoroughly with a microfibre cloth. If marks linger or colour’s uneven, switch to a Pen touch up: run the pen steadily along the lines, wipe any slip from tiles, and leave it to cure with good ventilation. You’ll feel the difference straight away:
- Relief when the floor looks cared-for again
- Pride as the tiles read crisp and fresh
- Calm from a cleaner-looking bathroom
- Confidence guests won’t notice stains
- Satisfaction from a quick, tidy win
Add Storage With Hooks, Bins, and Shelves
After you’ve freshened up the grout, reclaim the rest of the space by adding storage that doesn’t eat into the room. Fix adhesive hooks behind doors for towels, cleaning sprays, or hair tools, and mount a slim rail on studs if you can drill. Add stackable, lidded bins on the floor of a cupboard to corral spare loo rolls and toiletries, then label them so everyone puts things back.
For tight corners, fit a narrow floating shelf above the cistern or washing machine for baskets and plants. In the hall, copy Garage organization tricks: pegboard for keys, dog leads, and chargers. In bedrooms, steal closet solutions: over-rail hooks, shelf dividers, and under-bed boxes to stop piles spreading. You’ll clear surfaces fast.
Boost Curb Appeal With a 2-Hour Exterior Reset
Give your home an instant lift in just two hours by tidying entryway details—clear the path, straighten pots, and wipe down the door furniture. Refresh the front door with a quick clean and a touch-up of paint or polish so it looks sharp from the pavement. Finish by cleaning and brightening the exterior: sweep the step, wash the windows, and rinse off dirt on brick, render, or cladding.
Tidy Entryway Details
Even if you’ve only got a spare couple of hours, you can sharpen your home’s first impression by tidying the entryway details that buyers and neighbours notice most. Start with entryway organization: clear the hallway, corral post, and give the threshold a quick sweep and wipe.
- Put a slim shoe storage rack by the mat so boots don’t sprawl.
- Hang coats and dog leads on sturdy hooks for instant calm.
- Swap cluttered bowls for one tray to catch keys and coins.
- Straighten the doormat and shake it out for a welcoming feel.
- Clean the glazed panel and door furniture so it gleams at dusk.
Finish by emptying the porch light’s dead bugs and binning leaf litter. You’ll feel organised before you even step inside.
Refresh Front Door
When your front door looks sharp, the whole house instantly feels better looked after, and you can manage a noticeable curb-appeal lift in about two hours. Start by choosing a door colour that suits your brickwork and windows; test a swatch in daylight. Key the surface with fine sandpaper, wipe with a damp cloth, then tape the edges for crisp lines. Use an exterior primer if needed, and roll on two thin coats for a smooth finish. While paint dries, upgrade your door hardware: swap the knocker, handle, letter plate, and escutcheon for matching finishes. Tighten hinges, adjust the latch, and fit a new draught excluder to stop rattles. Finish by oiling the lock and checking keys turn cleanly.
Clean And Brighten Exterior
Want the quickest way to make your place look cared for before you’ve even stepped inside? Give the exterior a two-hour reset: sweep, wash, and tidy. Start with a quick rinse of brick, render, and paving (a hose and stiff brush work fine), then clear cobwebs from soffits and frames. Finish by binning clutter and straightening what you’ve already got. You’ll feel the difference instantly.
- You’ll see cleaner lines on paths and steps
- You’ll smell fresher air after clearing leaves and bins
- You’ll feel proud when windows sparkle at dusk
- You’ll calm the chaos with simple landscaping enhancements
- You’ll welcome guests with warm, reliable outdoor lighting
Check for slippery algae, and don’t blast pointing with a pressure washer.
Frequently Asked Questions
What Permits Are Required for Quick Weekend Home Upgrades?
You’ll usually need planning permission for exterior changes and Building Regulations approval for structural, electrical, or plumbing work. Check your council’s permit process, prioritise DIY safety, and use Part P electricians. When unsure, get pre-application advice.
How Do I Estimate Resale Value Impact From Small DIY Projects?
Price projects precisely: compare local sold listings, note similar finishes, and ask two agents for tweaks. Estimate Home value uplift via cost-versus-comps; use UK renovation ROI guides, then sanity-check with surveyor or valuation.
Which Projects Are Safest for Homes With Lead Paint or Asbestos?
Choose non-invasive jobs: repaint over intact surfaces using Lead safety practices, fit new blinds, swap handles, add draught excluders, and deep-clean. Don’t sand, drill, or scrape. Leave Asbestos removal to licensed UK contractors.
What Tools Should I Rent Instead of Buy for Weekend Renovations?
You’ll rent the big, occasional kit—floor sanders, SDS drills, wallpaper steamers, tile cutters, pressure washers, mitre saws—coincidentally saving money and storage. Use Tool rental for Budget planning, and you’ll finish faster.
How Can I Schedule Projects to Minimize Disruption for Kids and Pets?
Schedule noisy, dusty jobs during school runs or pet walks, then finish before bedtime. Use zones and baby gates, plan one room at a time, apply Child proofing strategies, and choose Pet safe materials.
Conclusion
You’ve probably heard the theory that small, visible upgrades beat big renovations for boosting day-to-day happiness. It holds up: when you tackle the room you use most, sharpen edges with paint and fresh caulk, and modernise hardware or lighting, you notice the lift immediately. Spend one weekend, keep it safe, and stick to your time and budget. In the UK, even a quick kerb-appeal reset can make your home feel newer.