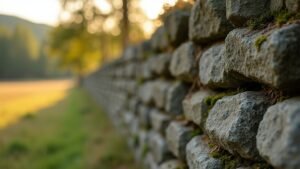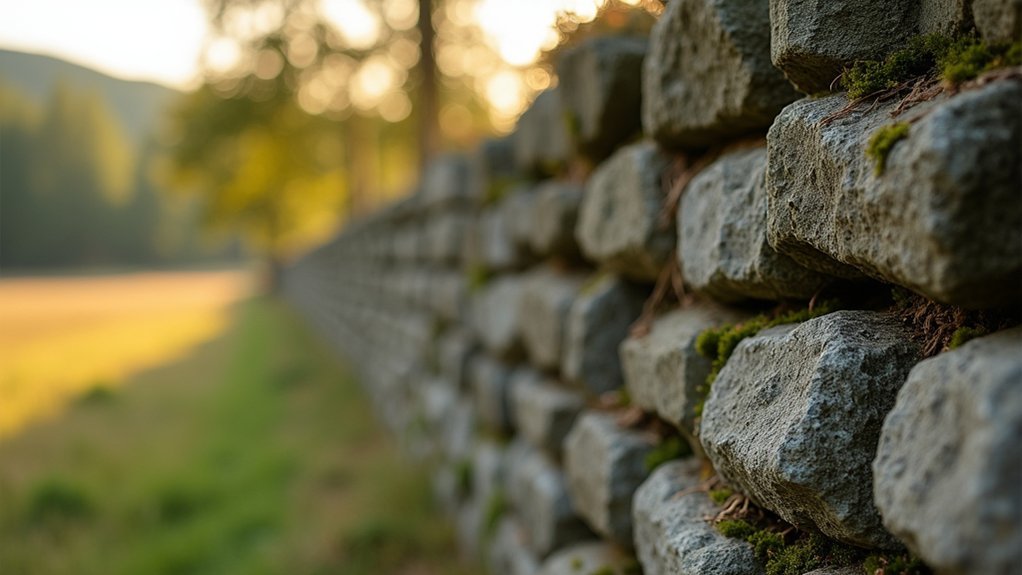
You’ll add natural depth fast by placing a stone wall at a grade break, along a planting bed, or as a front border that creates a crisp plane change and anchors layered planting. Choose retaining construction if the grade change exceeds 12–18 inches, and plan batter plus free-draining backfill with geotextile, weep paths, and a wrapped 4-inch perforated drain. Set a compacted 4–6 inch crushed-stone base below frost depth. Keep going for style, stone, and build details.
Key Takeaways
- Place a stone wall along grade breaks or behind planting beds to add layered depth and stabilize soil.
- Match stone color undertones to your home and nearby plants, using daylight samples for cohesive natural contrast.
- Use gentle curves and staggered joints to create visual rhythm and a stronger, more organic-looking boundary.
- Build on a compacted, well-graded crushed-stone base below frost depth, with slight batter for long-term stability.
- Add drainage with free-draining backfill, geotextile, and weep paths so the wall stays crisp and doesn’t heave.
What Your Stone Wall Needs to Do
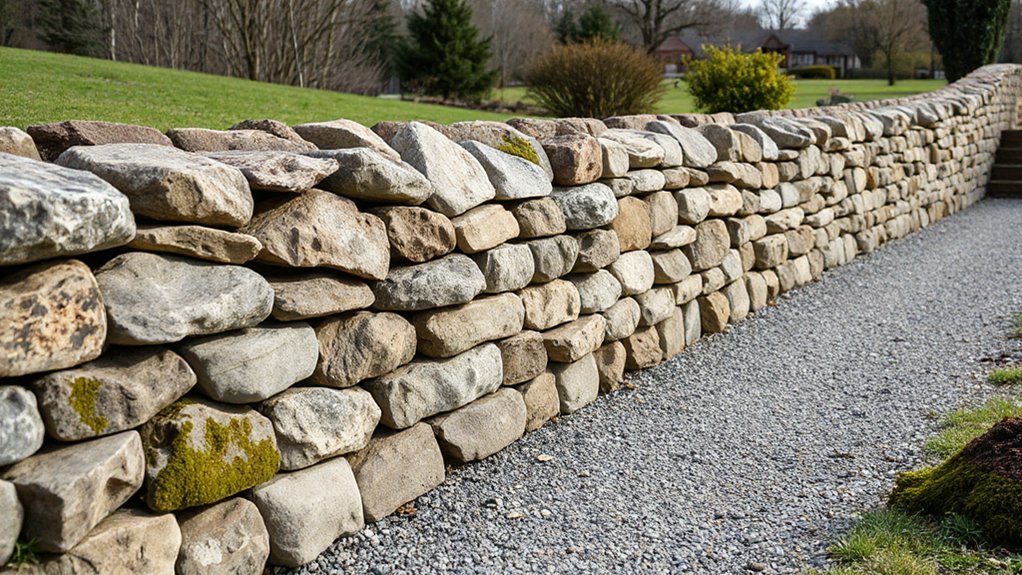
Whether you’re building a freestanding feature wall or a retaining edge, your stone wall has to do more than look good—it must manage loads, water, and movement without failing. You’ll start with a stable footing below frost depth, compacted base, and well-graded aggregate to prevent settlement. You’ll batter the face or use geogrid where lateral pressure demands it, and you’ll lock units with proper bond, through-stones, or pins. You’ll control water with free-draining backfill, filter fabric, and weep paths so hydrostatic pressure can’t build. You’ll plan joints and cap details to shed water and limit freeze–thaw spalls. Done right, you honor historical stone walls while updating performance; stone wall symbolism then feels earned, not staged.
Best Spots to Add a Stone Wall
You’ll get the most visual payoff when you place a stone wall where it defines circulation and sightlines, like front yard borders that sharpen curb appeal and guide entry. Use it as a patio or garden backdrop to anchor seating zones, add contrast for planting layers, and create a clean vertical plane for up-lighting and modern hardscape lines. On sloped terrain, position it as a retaining wall along grade breaks to control runoff, stabilize soil, and carve usable terraces without sacrificing a natural look.
Front Yard Borders
Where should a stone wall go first if you want maximum curb appeal with minimal disruption? Start along your front yard borders, especially where turf meets sidewalk or driveway, because you can grade and compact without disturbing utilities near the foundation. Keep the wall 12–24 inches high for sightlines, then set it on 6 inches of compacted base plus 1 inch of leveling sand, or specify a concrete footing in freeze-thaw zones. Follow gentle curves to match today’s soft-edged planting designs and to reduce noticeable joints. Capstones should overhang slightly to shed water. Integrate Garden art in recessed pockets or on pilasters so it reads intentional. Add low-voltage Landscape lighting under caps to graze texture and improve nighttime wayfinding.
Patio And Garden Backdrops
Because patios and primary garden beds already act as “outdoor rooms,” a low stone wall placed just behind seating zones or along the back edge of a planting bed delivers the biggest visual payoff with the least rework. You’ll gain instant Garden aesthetics by creating a clean horizon line, anchoring furniture, and framing specimen plants without blocking views or airflow. Keep heights at 18–30 inches and match stone color to hardscape tones for a modern, cohesive look. Dry-stack joints and varied stone sizes read current, while gaps support drainage and a Wildlife habitat for beneficial insects.
- Set the wall 12–24 inches behind chairs to protect circulation.
- Run it parallel to bed lines for crisp geometry.
- Terminate with capstones for a finished edge.
- Integrate subtle niche pockets for herbs or lighting.
Sloped Terrain Retaining Walls
Although a slope can feel like a grading problem, it’s also one of the most strategic places to add a stone retaining wall for instant structure and usable space. You’ll stabilize soil, control runoff, and carve flat terraces for planting or seating. Set wall height to match the grade change, then specify a compacted gravel base and perforated drainpipe behind the stones to relieve hydrostatic pressure. Use battered courses or geogrid reinforcement where loads increase near paths or driveways. Trend-forward designs blend mixed stone sizes with tight joints and integrated caps that double as benches. Add Garden sculptures on upper landings to create focal points, and tuck lighting accents into cap joints for safe night circulation and shadowed texture.
Retaining vs. Freestanding: Choose the Right Build
Use these checks to choose fast:
- Measure grade change; over 12–18 inches usually signals retaining needs.
- Confirm water path; saturated backfill demands drain rock and outlets.
- Set wall height; taller builds trigger engineering and permit thresholds.
- Define function; traffic-side safety favors freestanding, slope stabilization favors retaining.
Choose a Stone Wall Style (Dry Stack or Mortared)
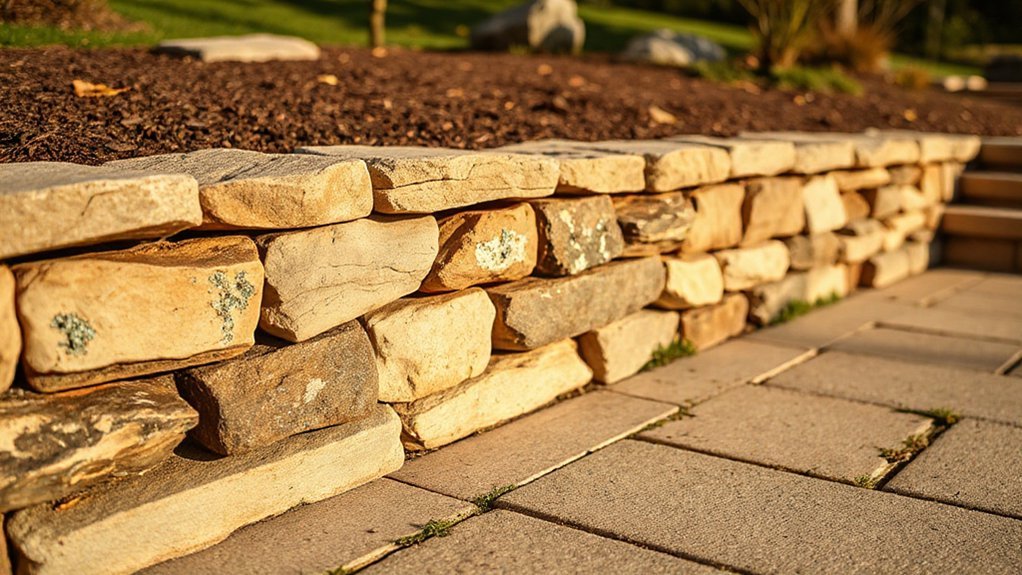
Once you’ve decided on retaining vs. freestanding, you’ll lock in performance and aesthetics by choosing dry stack or mortared stone. Dry stack walls rely on tight stone-to-stone contact, proper batter, and granular backfill for drainage, giving you a flexible, low-profile look that’s trending in naturalistic landscapes. Mortared walls deliver higher rigidity, cleaner lines, and better joint control for formal designs, so you’ll pick the right style by matching your site’s movement, moisture load, and the finish you want.
Dry Stack Characteristics
Because dry stack walls rely on gravity and friction instead of mortar, you’ll notice crisp shadow lines, visible joints, and a more sculptural, layered profile that reads as “natural” rather than engineered. You’ll tune stone selection and face orientation to control Stone aesthetics, while the method’s historical significance shows in time-tested coursing and hand-fit joints.
- Specify well-graded base rock and compacted lift thickness to limit settlement.
- Use through-stones or tie-stones to lock wythes and reduce bulging.
- Batter the wall (slight inward lean) and step back courses for stability.
- Add capstones with consistent bearing, tight shims, and drainage voids.
You’ll also plan for weep paths and a granular backfill so hydrostatic pressure doesn’t build, preserving crisp lines over seasons.
Mortared Wall Benefits
Although a mortared stone wall reads less “hand-stacked” than dry stack, you gain tighter tolerances, higher compressive continuity, and cleaner control over line, plumb, and pattern—advantages that matter for tall runs, load-adjacent edges, and contemporary hardscape detailing. Mortar lets you lock irregular units into a monolithic mass, reducing racking under lateral soil pressure and improving bearing at caps, corners, and returns. You can specify joint profiles, pigments, and tooling to tune shadow lines for today’s crisp, architectural look, while also sealing voids that would otherwise channel washout. With proper weeps and a reinforced footing, you’ll limit freeze-thaw displacement and simplify maintenance. You can also echo Historical significance and Cultural symbolism through coursing, keystones, and regional mortars that reference local craft traditions.
Choosing The Right Style
Mortar gives you precision and continuity, but it isn’t the default for every site or aesthetic—your next call is whether the wall should read as dry stack or mortared. Dry stack suits permeable, rustic builds: you rely on stone-to-stone bearing, tight faces, and a stable batter, letting micro-gaps drain freeze-thaw water. Mortared walls fit crisp lines and taller lifts, especially when you need shear resistance, cap integrity, and cleaner joints that frame garden art.
Use these checks before you commit:
- Soil + drainage: wet sites favor dry stack.
- Height/load: retaining needs mortar or engineering.
- Visual trend: dry stack reads organic; mortar reads modern.
- Maintenance: mortar needs repointing; dry stack needs restacking.
Either way, you’re building an outdoor feature with depth.
Pick the Right Stone for Texture and Durability
When you pick stone for a wall, you’re balancing tactile texture with long-term durability under your site’s specific conditions. Start with stone selection based on finish: split-face and cleft surfaces read more natural and hide chips, while sawn stone looks crisp but shows wear. Check durability factors like freeze–thaw rating, water absorption, and compressive strength; denser stones (granite, basalt) typically outperform porous limestone in wet climates. Inspect bedding planes and veining so you don’t stack along weak layers. For dry-stack trends, choose flatter, consistent thickness to minimize shimming and speed installs. For mortared walls, match hardness so softer units don’t crumble at joints. Order extra for cuts and future repairs too.
Match Stone Color to Your Home and Plants
Match your stone wall’s color to your home’s exterior palette by sampling against siding, brick, stucco, and trim under the same daylight your yard gets. You’ll get the cleanest look when you echo existing undertones—warm beiges with tan mortar, cool grays with charcoal accents—so the wall reads intentional, not added on. Then tune the mix to nearby plant tones by pairing stone with foliage greens and seasonal blooms, using lighter stones to lift shaded beds and darker stones to ground high-contrast plantings.
Coordinate With Home Exterior
Although a stone wall can stand on its own, it looks most intentional when you coordinate its color temperature and texture with your home’s exterior palette and the surrounding plantings. Start by sampling your siding, trim, roofing, and hardscape undertones, then choose stone with matching chroma so the wall reads like integrated architecture, not an add-on.
- Match undertone: pair warm limestone with beige stucco; pair cool bluestone with gray fiber-cement.
- Echo texture: smooth-cut stone complements modern panels; split-face fits shingles and brick.
- Control contrast: keep LRV within ~10–15 points of siding for cohesive garden aesthetics.
- Respect precedent: let historical uses guide bond patterns and cap profiles for authenticity.
Complement Nearby Plant Tones
Because your wall sits in the same visual field as foliage and blooms, you’ll get the most natural depth by tuning stone color to the dominant plant tones as carefully as you tune it to siding and trim. Start by mapping your planting palette: evergreen blues and silvers (juniper, blue fescue) read crisp against cool gray granite or bluestone, while warm greens and bronze leaves (boxwood, heuchera) sharpen against buff limestone and tan sandstone. For Plant pairing, match stone undertones to flower peaks: lavender and salvia prefer blue-gray, while coneflower and rudbeckia pop with honey or rust notes. Maintain color harmony by keeping contrast controlled—aim for one dominant value, one accent. Test wet and dry samples; stone shifts.
Size Your Stone Wall: Height, Length, Curves
Before you order stone or start digging, lock in your wall’s proportions—height sets structural demands, length drives material takeoff and labor time, and curves affect both stability and layout precision. Keep height conservative unless you’ve engineered the base; taller runs need wider footings, better drainage, and tighter stone selection. Longer walls magnify small layout errors, so establish control lines, verify square, and calculate waste for cuts. Curves look current, but you’ll need flexible stringlines, shorter units, and more frequent batter checks to prevent bulges. Coordinate fixtures early so garden lighting and landscape lighting conduit doesn’t conflict with base prep or capstones. Use this checklist:
- Set finished grade and top-of-wall elevation.
- Mark length with stakes every 4–6 feet.
- Radius curves with a center stake and tape.
- Add 10–15% material overage for cuts.
Terrace a Slope With a Stone Retaining Wall
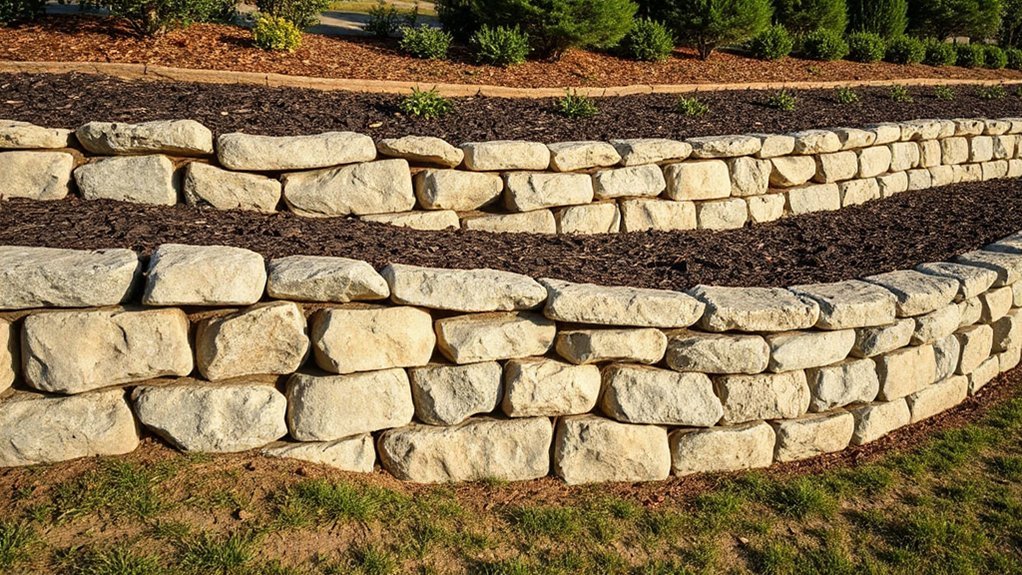
Now that you’ve locked in height, length, and any curves, use those proportions to cut a slope into stable, buildable steps with a stone retaining wall. Lay out terrace risers on contour so each lift is level, then excavate into the hill to create a compacted base: 6–8 inches of crushed stone, topped with 1 inch of stone dust. Set the first course slightly buried and pitched 1 inch per foot into the slope for gravity lock. Add a 4-inch perforated drain behind the wall, wrap it in fabric, and backfill with clean gravel to the top course. Step the wall back 1 inch per course. Tie terraces into Garden pathways and reserve flat pads for Outdoor seating.
Edge Garden Beds With a Low Stone Wall
Once you’ve defined the bed line, set a low stone wall as a crisp edging that locks mulch in place, keeps soil from slumping onto paths, and adds a clean architectural reveal. Keep it 6–10 inches high so plants read as the feature, while the stone gives modern, tailored definition.
- Excavate a 4–6 inch trench, compact subgrade, and add 3 inches of crushed gravel for drainage.
- Dry-stack flat stones, battering slightly inward; pin caps with construction adhesive if traffic’s heavy.
- Backfill with soil, then top-dress with mulch flush to the cap to prevent spillover.
- Finish with Stone cleaning using a nylon brush and pH-neutral wash; add discreet Garden art on the cap for a curated look.
Use a Stone Wall as a Subtle Boundary
Where do you draw the line between “open” and “organized” without installing a fence? Set a low, dry-stacked stone wall to signal boundaries: lawn to patio, public front to private side yard, path to planting zone. Keep it 12–18 inches high so sightlines stay airy, yet guests read the edge instantly. Use consistent stone size and a level cap course to maintain a clean, modern profile that fits today’s naturalistic layouts. Angle the wall to block direct views from the street for Garden privacy while avoiding a closed-in feel. Leave small gaps and shaded pockets behind stones; you’ll support Wildlife habitats for beetles, lizards, and overwintering pollinators. Place the wall just inside drip lines to reduce mowing conflicts.
Build Smooth Curves Without Weak Spots
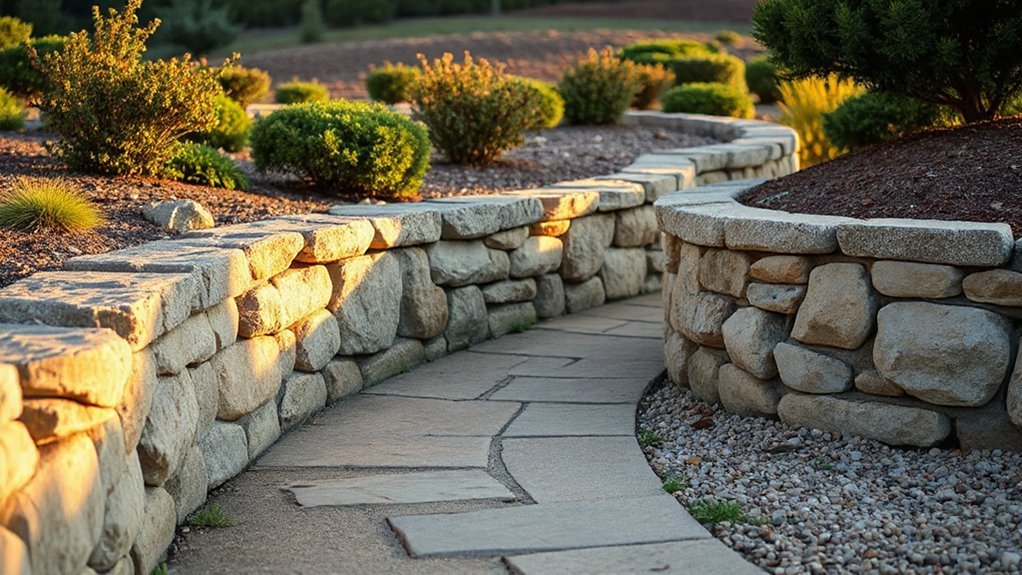
You’ll get clean, modern curves by staking a consistent radius and dry-laying a test course to lock in the layout before you commit. You then interlock each stone—stagger vertical joints, alternate long/short faces, and use smaller “key” stones on the inside of the curve so the wall won’t hinge. Finish by compacting a well-graded base and packing backfill in lifts behind each course to keep the arc tight and stable.
Plan Radius And Layout
If you sketch the curve before you move a single stone, you’ll prevent the two failures that show up most on rounded walls: flat spots that read as “kinks” and weak joints that unzip under load. Establish your radius with stakes and a string, then paint or hose a guide line so your layout stays consistent as you dig and set base prep. For Garden integration and Landscape flow, align the arc to sightlines from patios, entries, and focal plantings, not just property lines. Keep the radius generous; tight curves force abrupt face angles and look dated next to today’s clean, organic hardscape trends.
- Set two control points and measure the chord.
- Use equal offsets to plot the arc.
- Mark batter and wall thickness on the ground.
- Dry-place a few stones to validate the curve.
Interlock Stones For Strength
With the curve plotted and your base lines locked in, strength now comes from how each stone keys into the next across that arc. Stagger vertical joints so you never stack seams; aim for a running bond that shifts at least a third of a stone each course. Select occasional long “through” stones to bridge deeper into the wall thickness, tying the face to the core and resisting shear. On tight radii, split or dress stones so beds stay level while faces track the curve, avoiding wedge-shaped gaps that create point loads. Check contact: every stone should bear on two below, not teeter on high spots. This interlock echoes historical architecture and supports today’s Garden aesthetics-driven, clean, continuous curves.
Pack Base And Backfill
After the stones lock into a stable running bond, pack the base and staged backfill to keep the curve tight and eliminate future settlement. You’re not just filling space—you’re engineering confinement so the wall reads as a clean arc, supports garden privacy, and stays safe through freeze-thaw.
- Compact the leveling pad with a hand tamper in 2–3 inch lifts; don’t trap loose fines.
- Shovel angular 3/4-inch minus behind the wall, then broom it into joints to “key” stones.
- Add backfill in 6-inch lifts, compacting each pass while maintaining consistent batter.
- Finish with free-draining soil and a geotextile strip to keep silt out and protect wildlife habitats.
Keep moisture moderate; saturation kills compaction and invites bulges.
Prep the Base and Drainage to Prevent Settling
Because stone walls shift when moisture and soil pressure change, you’ll get a longer-lasting build by engineering the base and drainage before the first course goes down. Excavate to undisturbed subsoil, removing organics and soft pockets that telegraph settlement. Cut a trench below local frost depth when required, then compact in lifts so the subgrade doesn’t pump water.
Lay 4–6 inches of well-graded crushed stone (¾-inch minus) and compact it to refusal; avoid pea gravel, which migrates. Add a slight batter to the cut and slope the base 1–2% to daylight. Install a geotextile separator and a 4-inch perforated drainpipe at the heel, wrapped in fabric and surrounded with clean drain rock. This preserves garden aesthetics and supports wildlife habitat.
How to Stack a Dry Stone Wall
- Set corner stones first; they’re your gauges.
- Lay two faces, fill the core, tamp.
- Pinch and rotate stones until they seat.
- Step back, sight the wall, adjust immediately.
How to Mortar a Stone Wall for Clean Lines
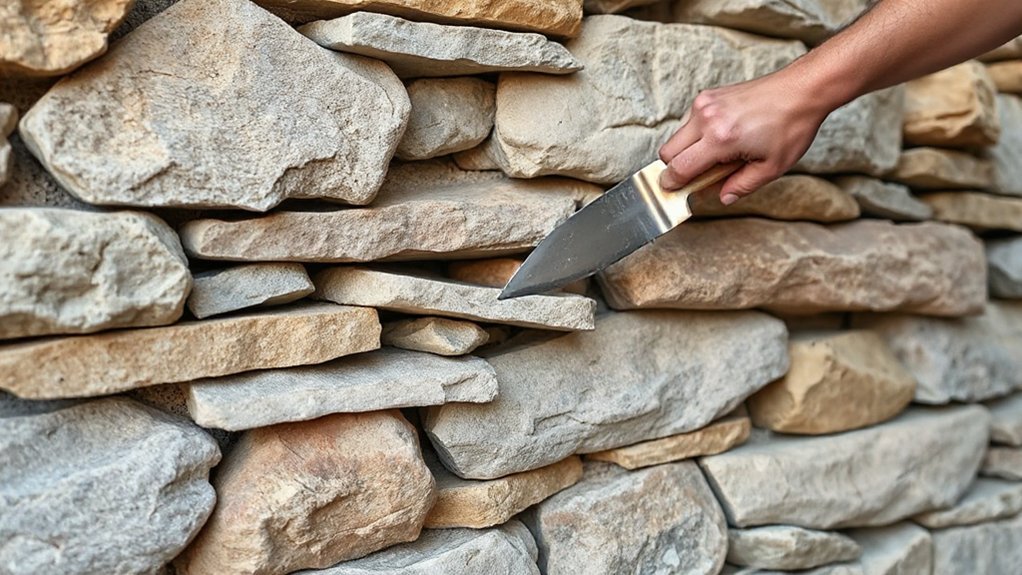
While dry-stacking relies on gravity and friction, mortaring locks your layout in place and gives you crisp, intentional joints—if you control the mix and the bead. Start with Stone selection: choose flatter faces for the reveal, and sort by thickness so courses stay level and joints read consistent. For Mortar mixing, aim for a peanut-butter slump; it should hold a ridge on your trowel without crumbling. Dampen stone and substrate so they don’t wick water and flash-set the bed. Butter each stone, then press and wiggle to collapse voids. Strike joints as the mortar thumbs firm: use a jointer for a modern, tight profile or a tuck-point finish for sharper shadow lines. Brush lightly to expose edges, not smear faces.
Stone Wall Cost + Mistakes That Ruin Stability
Clean joints look sharp, but the wall only earns that “built-in” feel when your budget covers the hidden structure and you avoid the stability killers. Cost isn’t just stone and mortar; you’re paying for base excavation, geotextile, compacted gravel, drainage, and cap details that mimic historical stone structures. Don’t buy into stone wall myths like “heavy stone won’t move” or “more mortar fixes everything.” Price swings with site access, wall height, stone type, and whether you need engineering for surcharge loads. Protect stability by avoiding these common failures:
- Skipping a frost-depth footing or compacted base
- No weep path or drain rock behind the wall
- Vertical joints lining up (no bond)
- No batter, tie stones, or proper cap locking
Frequently Asked Questions
What Permits or HOA Approvals Are Needed Before Building a Stone Wall?
You’ll typically need Building permits for height, setbacks, drainage, and retaining-wall engineering, plus HOA approval for materials, color, and placement. Check zoning overlays, utility easements, and stormwater rules, then submit stamped plans before construction.
How Do I Keep Weeds or Moss From Growing Between Wall Stones?
You’ll prevent growth by installing geotextile, compacted gravel, and polymeric sand; keep joints tight and drain well. For weed prevention and moss control, apply pre-emergent, spot-treat with vinegar or iron sulfate, then re-sand annually.
Can Stone Walls Attract Pests Like Snakes, Rodents, or Insects?
Yes—stone walls can attract pests; in one study, up to 30% of field edges hosted rodents that draw snakes. You’ll keep Pest prevention tight by sealing gaps, controlling mulch. Stone wall benefits remain strong.
How Do I Repair Loose Stones or Cracks After Winter Freeze-Thaw Cycles?
Reset loose stones by removing failed joints, cleaning to sound substrate, and checking stone selection for frost durability. Control moisture, then do mortar mixing to match strength and color. Repoint cracks, tool joints, cure slowly.
Will a Stone Wall Affect Yard Drainage Patterns or Neighboring Properties?
Yes—your wall can shift flow; the theory that “stone always drains” fails unless you engineer it. You’ll create drainage impact via runoff diversion; verify property boundaries, add weep holes, gravel backfill, and swales.
Conclusion
When you add a stone wall, you’re not just edging a bed—you’re engineering instant, canyon-like depth. Site it where it controls grade, frames sightlines, and manages runoff, then choose retaining or freestanding so load paths stay honest. Dry stack delivers hyper-textured, on-trend naturalism; mortar gives razor-straight joints. Match stone hardness to climate, overbuild the base, and nail drainage, or settling will swallow your lines like quicksand. Stack tight, cap smart, and it’ll look immovable.