Check your boards can take a full cut, measure thickness at thresholds/vents, and punch nails 2–3mm down. Clear the room, control dust with good extraction on a 13A circuit, and wipe contaminants; degrease with white spirit if needed. Start with 24–40 grit for heavy coatings, then 60–80, finishing 100–120, vacuuming between grits. Edge with matching grits, hand-sand corners, and fix chatter by dropping back a grit. Continue for defect fixes and sealing prep.
Key Takeaways
- Inspect floor condition, thickness, and existing finish; punch nails 2–3mm down and refix loose or springy boards first.
- Clean and degrease with minimal moisture; remove debris and let boards fully dry before sanding.
- Choose the right sander and grits; test a patch, then progress 24/36→40→60→80→100/120 as needed.
- Sand in straight, overlapped passes; start diagonally for first cut, then finish with the grain and vacuum between grits.
- Edge-sand and hand-sand corners with matching grits, feather into the field, then inspect under raking light and rework defects.
Is Your Floor Suitable for DIY Sanding?
Before you hire a sander, you need to confirm your floorboards can actually take a full cut without exposing nails, weakening the boards, or breaching modern finishes. Start by identifying what you’ve got: traditional softwood boards in Victorian terraces behave differently to parquet blocks or engineered planks common in newer UK builds. Check access and containment too—DIY sanding needs clear rooms, sealed doorways, and dust extraction that won’t overload domestic circuits (typically 13A). Consider your Flooring history: if the boards were previously painted, tarred, stained, or reclaimed, you may face hidden residues that clog abrasives and raise disposal requirements. Weigh environmental impact by choosing repair over replacement, hiring low-emission extraction, and planning to capture and bag dust for proper local authority disposal.
Inspect Boards, Finish Type, and Thickness
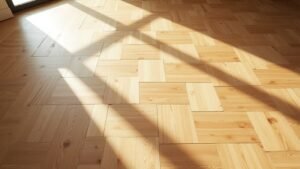
Although you’re keen to get sanding, inspect each board properly first: look for cupping, splits, bounce, loose tongues/grooves and protruding nail heads, then identify the existing finish (wax, oil, varnish/polyurethane, paint/bitumen) because it dictates abrasive choice and clogging risk. Do thorough board inspection along the full run, especially near radiators, external walls, and bay windows where moisture movement is common. Punch nails and screws 2–3mm below the surface and refix any springy boards before you touch abrasives. For finish selection, test a small patch with white spirit or methylated spirits: wax/oil will soften, whereas cured varnish won’t. Finally, confirm thickness: measure at a threshold or floor vent; if you’ve only got a few millimetres above the tongue, you must sand minimally.
Choose a Drum, Belt, or Orbital Sander
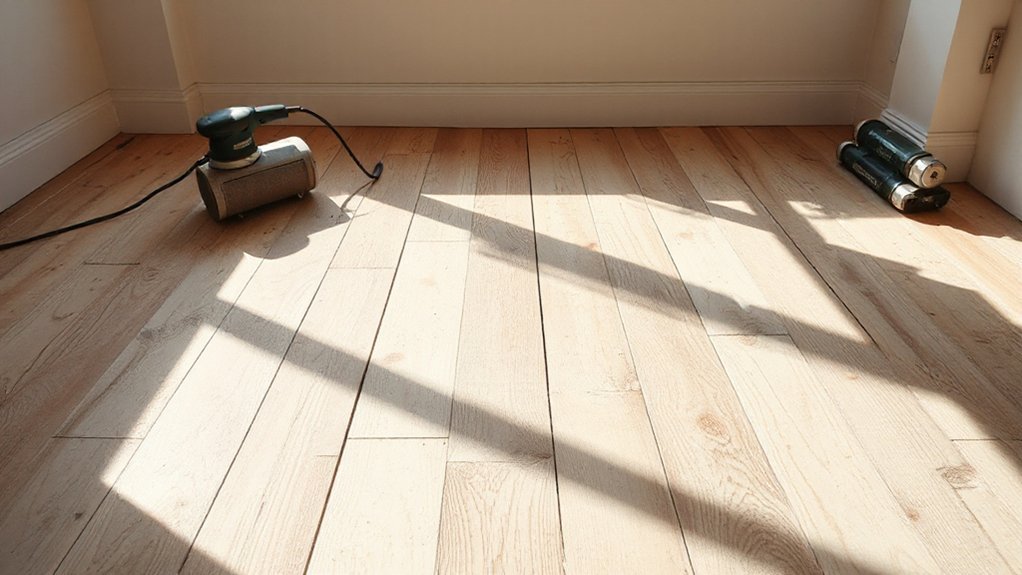
Once you’ve confirmed the boards are sound and you’ve got enough thickness to work with, pick a sander that matches the job. A drum sander gives the fastest stock removal on larger, open rooms, but it’s less forgiving and will leave stop-start marks if your Sanding techniques aren’t controlled. A belt sander is slightly gentler, tracks well, and suits most DIY hires from UK tool centres. Choose an orbital (random-orbit) for small rooms, patch repairs, or finishing passes where you need better control around pipes and thresholds.
Check the machine’s weight, drum/belt width (typically 200mm), and dust extraction port compatibility with common UK vacs. Do basic Sander maintenance: inspect drive belts, tracking, and bearings before you start.
Get Abrasives, Filler, and Safety Gear
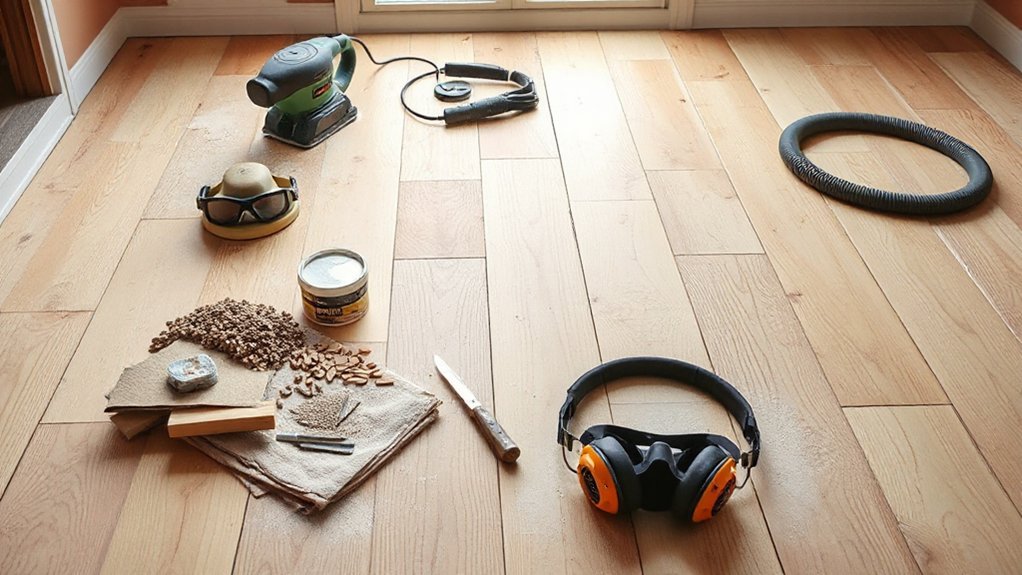
Before you switch the sander on, you’ll need the right abrasive sequence: start with 24–40 grit to cut back coatings, move through 60–80 grit, and finish on 100–120 grit to prep for sealing. You should also pick a floorboard-compatible wood filler (solvent- or water-based to suit your finish) and have a filling knife ready for gaps, nail holes, and splits. For PPE, you can’t skip a P3-rated dust mask or respirator, safety goggles, ear defenders, and knee pads, as sanding generates fine dust and high noise levels.
Choose Correct Sandpaper Grits
To get a flat, clean finish without tearing up the boards, you need to match your sandpaper grits to the floor’s condition and the machine you’re using. On most UK softwood floors, start at 24–36 grit only if there’s heavy paint, cupping, or deep scratches; otherwise begin at 40. Keep your sanding techniques consistent with the sander type: belt/drum for levelling, edging for perimeters, and a finishing sander for blend.
Follow a strict grit progression to remove previous scratches: 40 → 60 → 80, then 100–120 if you’re oiling or using a clear lacquer. For hard oak or beech, you’ll often start finer (40–60) to reduce chatter. Change abrasives as soon as cutting slows or clogging appears.
Gather Filler And PPE
Although the sanding machines do the heavy work, you’ll get a cleaner result (and fewer delays) if you kit up with the right abrasives, a compatible floor filler, and proper PPE from the start. Stock belts and discs to suit your kit (drum, edging, detail), keeping spare 40/60/80/120 grit on hand for pitchy boards and faster changes.
Choose a solvent-free, stainable resin filler or a mix-and-fill system that uses fine sanding dust; it’ll blend better on pine and softwood typical in UK terraces. For filler application, carry a flexible stainless filling knife, mixing board, and masking tape for gaps near skirtings. Your personal protective equipment should include FFP3 dust masks, sealed goggles, ear defenders, and kneepads; add nitrile gloves when handling filler and solvents.
Prep the Room and Set Up Dust Control
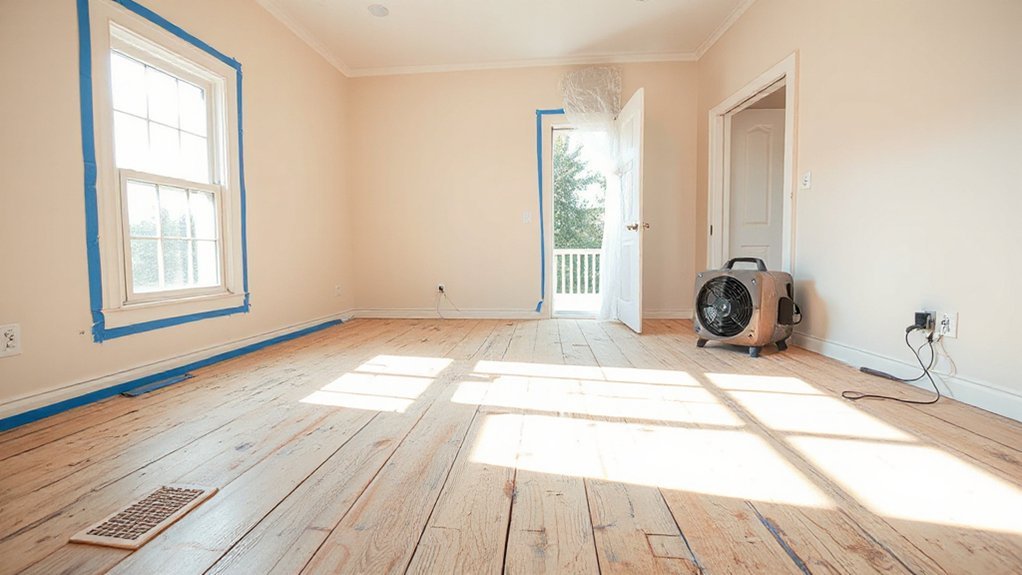
Before you switch on the sander, you’ll clear the room completely, lift curtains and rugs, and protect skirting boards, sockets, and radiators with taped-on polythene and hardboard where needed. You’ll seal doorways, air bricks, and service penetrations with sheeting and low-tack tape to stop dust migrating through the house. You’ll then set controlled ventilation by cracking a window and running an extractor or fan to the outside, keeping internal doors shut to maintain negative airflow.
Clear And Protect Space
Once you’ve moved on from planning, clear the room completely and set up dust control so sanding debris doesn’t migrate through the house. Start with Furniture removal: take out rugs, curtains, pictures, and soft furnishings that trap fine dust. Lift lightweight items, but use sliders or a dolly for heavier pieces to avoid gouging boards. Bag loose textiles in rubble sacks and tape them shut. Remove doors if they’ll obstruct the sander’s swing.
Protect what can’t shift. Cover radiators, built-ins, and fireplaces with 500-gauge polythene and low-tack tape. Lay a sacrificial hardboard path from the room to your exit point. Keep Room ventilation practical at this stage: ensure you can open a window for comfort while you’re working, without creating a strong draught.
Seal Openings And Ventilate
Where will the dust try to escape? Check door gaps, skirting-board voids, fireplaces, loft hatches, and airbricks. Fit a zip-door to the main access and tape the edges with 50 mm cloth gaffer. Use sealing materials: low-tack masking tape on painted trims, polythene sheeting over openings, and draught-excluder foam along thresholds. Cap unused sockets with blanking plates, and cover vents you can isolate, but don’t block combustion appliances.
Then control airflow. Choose ventilation techniques that create negative pressure: place an extractor fan in a window, blowing out, and crack a window in an adjacent room for make-up air. Keep internal doors shut. Add an M-class dust extractor to the sander and empty it outside.
Punch Nails Down and Secure Loose Boards
Because protruding fixings can shred sanding belts and leave gouges, you’ll need to punch every nail head at least 2–3mm below the surface and secure any movement in the boards before you switch the sander on. Work methodically along each run of boards, using a nail punch and light hammer taps so you don’t bruise the timber. Any board that creaks or flexes must be stabilised now; otherwise the sander will chatter and dish the grain.
- Drive down proud cut nails, lost heads, and tacks; mark missed ones with chalk.
- Carry out nail replacement where shanks are loose, corroded, or snapping.
- Do loose board repair with countersunk screws into joists, avoiding pipes and cables.
- Re-check with a straightedge and your boot: no movement, no metal proud.
Choose Your Grit Sequence (Coarse to Fine)
Choose your grit sequence based on the floor’s condition: start with a coarse grit (typically 24–40) to strip old finish and level cupping, but don’t go coarser than you need or you’ll cut deep scratches. You then work up through intermediate papers (60–80) to remove the coarse marks, keeping the same sanding direction and overlapping passes for an even cut. Finish on a fine grit (100–120) to prep the boards for sealing, and vacuum thoroughly between each change to stop grit contamination.
Select Starting Coarse Grit
Start your sanding sequence by picking the coarsest grit that will remove the existing finish and level high spots without gouging the boards: as a rule of thumb, use 24–36 grit for heavy paint, thick varnish or pronounced cupping, 40 grit for average-worn boards with an intact finish, and 60 grit if you’re only keying a thin coating or dealing with light scuffs. In UK properties, Floorboard history matters: softer Victorian pine marks faster than oak, so choose conservatively. Use modern sanding techniques to confirm your starting grit before committing:
- Scrape a 50p-sized test patch; check finish thickness and colour transfer.
- Run the drum/belt sander moving; never drop it stationary.
- Watch for chatter marks; they signal too coarse or poor levelling.
- Vacuum and inspect under raking light to verify you’re cutting evenly.
Progress Through Fine Grits
Once you’ve established your starting grit, work through a stepped sequence that removes the previous scratch pattern without skipping too far ahead, or you’ll leave visible tramlines under finish. A typical grit progression for softwood boards is 24/36 → 40 → 60 → 80 → 100/120, depending on damage and coating type. Keep the sanding sequence consistent across the room: cut with the belt sander on the diagonal for early passes, then square up with the grain as you reach 80+. Use an edging sander at the same grits as the main machine, feathering into the field to avoid picture-framing. Vacuum between grits and inspect under raking light; if you still see cross-grain marks, don’t move up—repeat the current grit.
Do the First Pass (Coarse Grit)
- Choose grit and machine
- Check PPE and electrics
- Control dust at source
- Sand in straight, overlapped passes
Make Second and Third Passes (Medium/Fine)
Switch to a medium grit (typically 60–80) and make a full second pass with the floor sander, keeping your overlap consistent and tracking with the grain to remove coarse scratches. Vacuum thoroughly, then run the edging sander on the same grit so the perimeter matches the field. Finish with a fine grit (100–120) for the third pass to smooth the boards ready for sealing, checking for swirl marks under raking light and correcting them before you move on.
Refine With Medium Grit
After your coarse-grit pass has flattened the boards and stripped the old finish, move straight to a medium grit (typically 60–80) to remove the deep scratch pattern and refine the surface without reintroducing chatter. Use consistent Sanding techniques matched to Floorboard materials: softwood pine needs lighter pressure; hardwood oak tolerates a steadier feed rate. Work with the grain using a drum sander, then edge-sand to the same grit so the field and perimeter blend.
- Set the drum down while moving, then lift before stopping to avoid troughs.
- Overlap each run by a third, keeping a constant walking pace.
- Vacuum between passes and check raking light for remaining cross-scratches.
- If resin or paint clogs belts, swap immediately to maintain cut and heat control.
Smooth With Fine Grit
Once the medium-grit pass has erased the worst of the coarse scratches, run a second pass at 80–100 grit and a third at 120 grit to bring the floorboards to a uniform, finish-ready smoothness. Work in the Wood grain direction, keeping the drum or belt moving to avoid heat marks and chatter. Overlap each run by a third, then edge-sand with the same grit sequence so the perimeter matches the field. Between passes, vacuum thoroughly and check under raking light; any remaining cross-grain lines will telegraph through varnish. Monitor Floorboard thickness, especially on older Victorian boards, and stop if tongues or nail heads begin to show. Finish with a light hand-sand using 120–150 on a cork block to blend corners.
Sand Edges With an Edger (Without Swirls)
Although your drum or belt sander will get the main field flat, you’ll still need an edge sander (edger) to take the sanding right up to skirting boards, door linings and radiator pipes without leaving crescent-shaped swirls. Use disciplined Edger techniques and prioritise swirl prevention: keep the machine moving, run the same grit sequence as the main area, and don’t tilt onto the disc edge.
- Fit 40–60 grit to cut coatings, then 80 and 120 to blend with your last pass.
- Hold the edger flat; feather pressure as you approach the wall so you don’t dig a dish.
- Work in short, overlapping arcs with the grain direction, lifting before you stop.
- Vacuum between grits and check with a raking light for halos.
Hand-Sand Corners, Stairs, and Tight Spots
Because the edger and main sander can’t physically reach into inside corners, around newel posts, or onto stair treads and risers, you’ll need to hand-sand these tight spots to the same grit standard so the finish reads as one continuous floor. Use a sharp cabinet scraper first to knock back paint nibs and hardened adhesive, then switch to a sanding block with the same grit sequence you’ve used on the field (typically 40/60/80, finishing at 100–120 for most sealers). Work with the grain, keep your block flat, and feather into the machine-sanded area to avoid a visible step. For corner detailing, wrap abrasive around a firm offcut to reach right into the arris. For stair finishing, sand treads, risers, and nosings evenly, vacuuming between grits.
Spot Problems: Chatter, Waves, and Scratches
If you spot ripples, repeating ridges, or harsh lines after a pass, stop sanding and identify the defect before you move up a grit. Chatter usually comes from a vibrating drum or edge sander; waves point to uneven pressure or pausing at the end of a run; scratches often mean clogged abrasive or sanding against the wood grain. Use a low-angle work light and inspect across boards, not along them, so the profile shows clearly.
- Check abrasive fit: loose belts/discs cause rhythmic ridges.
- Review gait: keep moving, overlap by a third, don’t dwell.
- Assess machine setup: confirm drum/roller balance and flatness.
- Clean extraction: full bags and blocked hoses starve sanding tools and score the surface.
Fix Sanding Marks and Blend Patchy Areas
Once you’ve identified the defect, correct it straight away so you don’t lock sanding marks in under finer grits. Drop back one grit and rework the area using slow, overlapping passes, keeping the drum or belt moving to avoid troughs. Feather the edges by extending 200–300mm beyond the mark so the cut blends into the surrounding field. For edge sander swirls, change direction slightly and finish with a multi-disc buffer (120–150 grit) to unify the scratch pattern. If you’ve got patchy colour from uneven abrasion, check your surface preparation: remove glazing, old finish remnants, and proud filler, then re-sand with consistent pressure. Vacuum between grits and inspect under raking light before stepping up.
Final Clean-Up Before Stain or Sealer
Before you crack open a tin of stain or sealer, get the floor surgically clean so you don’t trap dust, grit, or loose fibres under the finish. Ignore flooring myths and sanding myths that say “a quick sweep is enough” or “tack cloth fixes everything”; you need controlled, repeatable prep.
- Vacuum slowly with a brush head, then swap to a crevice tool for gaps, skirting edges, and nail holes.
- Wipe with a barely damp microfibre cloth (clean water), rinsing often; don’t flood boards or raise grain.
- Degrease contamination (old polish, hand oils) using white spirit on a lint-free rag; ventilate well.
- Finish with a final inspection under raking light and a clean, dry pass to confirm zero residue.
Frequently Asked Questions
How Long Should I Wait Before Walking on the Floor After Sealing?
You should wait 24 hours before light foot traffic and 72 hours before heavy use. Sealing drying varies by product and humidity; check the tin. Maintain a Walking delay, ventilate well, avoid rugs.
Can I Sand Floorboards if There Is Old Adhesive or Bitumen Residue?
You can, but you shouldn’t sand until you’ve done proper Adhesive removal and Residue cleaning; bitumen gums abrasives and overheats machines. Use a scraper, solvent/gel, then degrease, dry fully, and test-sand.
What’s the Best Way to Sand Around Radiators and Fixed Pipework?
Work tight, work slow, work safe: you’ll use an edging sander plus detail sander for Radiator clearance. For Pipework access, hand-sand with a scraper and flexible pads, then vacuum and spot-seal exposed edges.
Will Sanding Remove Pet Urine Stains or Deep Water Marks Completely?
Sanding won’t always remove pet urine stains or deep water marks completely; if they’ve penetrated, you’ll expose discolouration again. You’ll need Pet stain removal with oxalic acid, and Water mark elimination via bleaching or board replacement.
How Can I Reduce Noise and Vibration When Using a Floor Sander?
Want less racket? You’ll cut vibration by levelling drums, tightening fasteners, and using fresh abrasive; fit rubber isolation pads, keep steady passes, and manage Dust control. For Noise reduction, close doors, seal gaps, and wear defenders.
Conclusion
Once you’ve worked through the grits, treated chatter and waves, and vacuumed to bare timber, you’re ready for finish. It’s like setting a yacht’s hull: one missed scratch telegraphs through the varnish. On my last Victorian pine job, a single P80 swirl showed up under satin seal just 24 hours later, glowing under the hall downlights. You’ll avoid that by tack-clothing, edge-checking, and keeping dust control tight before you stain or seal.