When you inspect a home, you can’t rely on surface appearance; you need a repeatable method and a few essential tools. You’ll scan for moisture signatures—staining, elevated humidity, musty odor, microbial growth—then confirm with a moisture meter or infrared light. You’ll correlate crack patterns, floor slope, and door bind with potential foundation movement. You’ll also verify roof flashing, attic ventilation, and unsafe electrical or plumbing modifications—but the quickest indicators often show up where you least expect them.
Key Takeaways
- Carry essential tools: high-lumen flashlight, receptacle tester, non-contact voltage tester, tape measure, and magnetic stud finder for quick defect checks.
- Spot moisture problems by checking stains, blistered paint, efflorescence, warped trim, musty odors, and confirm with a pin moisture meter.
- Watch for foundation movement: sticking doors, widening gaps, downhill floors, and cracks that lengthen after seasonal rains.
- Inspect roof and attic for shingle wear, flashing failures, sheathing stains, corrosion, blocked ventilation paths, and uneven or damp insulation.
- Flag electrical and plumbing hazards: double-tapped breakers, aluminum wiring, missing GFCI/bonding, corroded supply lines, leaks, and amateur modifications.
Property Inspection Toolkit: 7 Quick Essentials
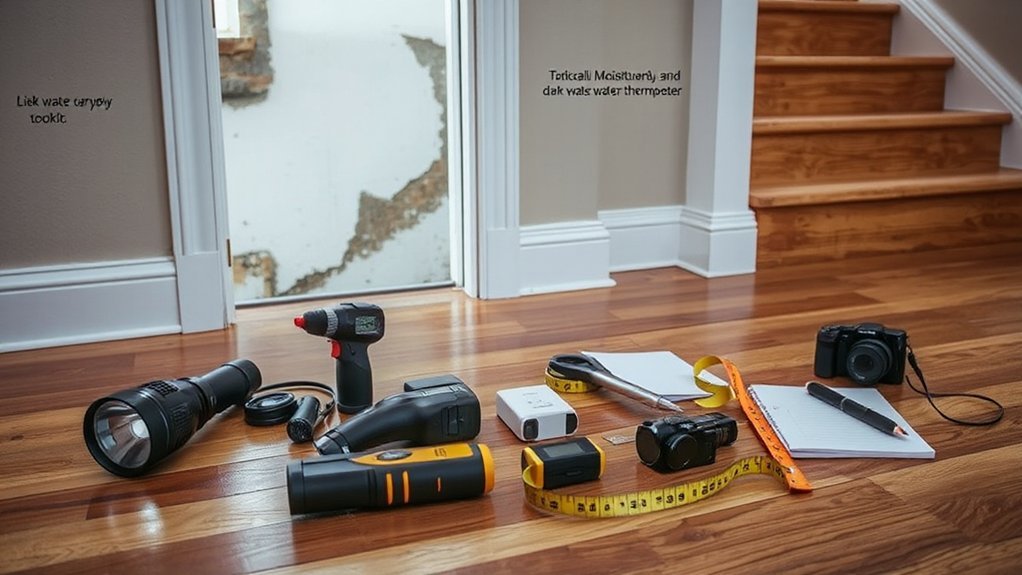
Although you can identify many common defects with a careful visual survey, a compact inspection toolkit helps you verify conditions quickly and document them accurately. Carry seven essentials.
First, a high-lumen flashlight reveals attic framing, panel labeling, and concealed fasteners.
Second, a plug-in receptacle tester flags open grounds and reversed polarity—common home safety hazards.
Third, a non-contact voltage tester confirms de-energized conductors before you touch covers.
Fourth, a 25-foot tape measure validates stair geometry, guard height, and egress widths.
Fifth, a torpedo level checks settlement indicators at sills, floors, and door headers.
Sixth, a magnetic stud finder locates framing for safe fastening and evaluates wall construction.
Seventh, a camera or phone with timestamped notes supports your property inspection checklist and defect reporting.
Property Inspection Moisture Clues (Stains, Smells, Mold)
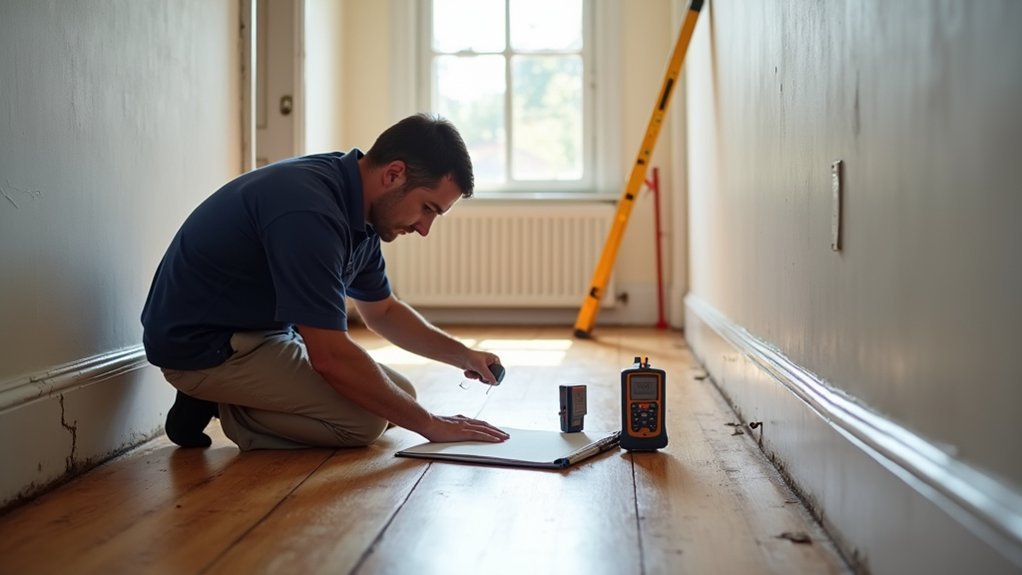
Moisture intrusion causes a high share of hidden damage, and your toolkit helps you confirm it quickly once you spot the clues. You should scan ceilings, window heads, and plumbing chases for yellow-brown stains, blistered paint, and efflorescence.
You’ll use a flashlight to catch surface sheen and warped trim; then verify with a pin moisture meter on drywall, baseboards, and subfloor edges. Your nose matters: persistent musty odor suggests elevated relative humidity or intermittent leaks, even when surfaces look dry.
You must inspect under sinks, behind toilets, and at HVAC condensate lines for microbial colonization. If you see fuzzy discoloration, speckled spotting, or blackened caulk, treat it as potential mold growth and document location, extent, and moisture source.
Foundation Movement: Cracks, Slopes, Sticking Doors
- You’ll feel uneasy when a door won’t close cleanly.
- You’ll worry seeing cracks lengthen after seasonal rain.
- You’ll dread floors that subtly pull you downhill.
- You’ll regret ignoring gaps that keep widening.
Roof & Attic Check: Shingles, Flashing, Ventilation
Once you’ve noted any foundation movement, shift your attention upward to the roof and attic, where water intrusion and heat buildup often start.
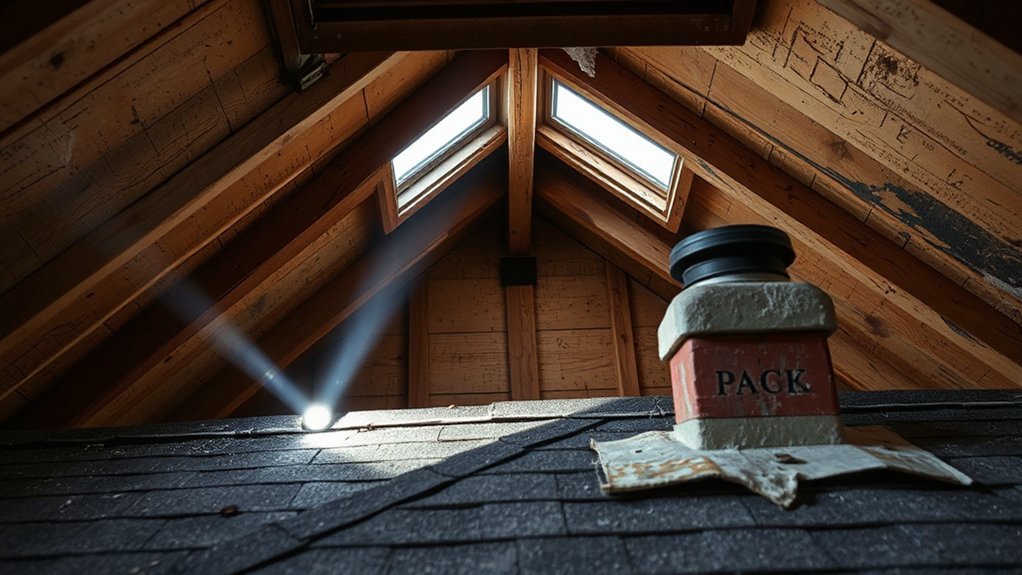
From the ground, scan roof planes for shingle deterioration: curling tabs, granule loss, exposed fiberglass, or uneven color indicating prior patching. Check valleys, step flashing, and counterflashing at chimneys and wall intersections; you’re looking for lifted edges, sealant failure, rust, or missing kickout flashing.
In the attic, inspect sheathing for dark staining, microbial growth, or fastener corrosion that confirms chronic leaks. Verify ventilation balance: clear soffit intakes, unobstructed baffles, and functional ridge or gable exhaust.
Make sure attic insulation remains dry, evenly distributed, and not blocking airflow paths.
Electrical & Plumbing Red Flags (Plus Bad DIY)
After you’ve assessed the roof and attic, evaluate electrical and plumbing systems for safety hazards, latent leaks, and unpermitted DIY work. Open the panel cover only if you’re qualified; otherwise, observe from the exterior. You’re looking for Electrical hazards like double-tapped breakers, aluminum branch wiring, scorched bus bars, and missing bonding or GFCI protection.
In plumbing, verify shutoff valves, confirm proper trap arms and venting, and inspect supply lines and drain connections for Plumbing leaks, corrosion, or backflow risks. Treat amateur modifications as evidence of hidden defects and future liability.
- You smell hot insulation and realize a fire could start tonight.
- You see damp cabinetry and fear mold behind the wall.
- You find taped splices and feel your stomach drop.
- You notice mismatched materials and dread the repair bill.
Frequently Asked Questions
How Much Does a Professional Home Inspection Typically Cost in My Area?
You’ll typically pay $350–$600 locally, depending on square footage, age, and add-ons. Review pricing trends and confirm inspection essentials: structural, electrical, HVAC, plumbing, roof, attic, and moisture diagnostics, with a written report.
Should I Attend the Inspection, and What Should I Ask On-Site?
Like a diagnostic scan, you should attend; inspection attendance lets you observe defects directly. Ask on site questions about moisture intrusion, electrical load, HVAC performance, roof drainage, foundation settlement, safety hazards, and prioritized remediation costs.
What Defects Are Usually Deal-Breakers Versus Normal Maintenance Issues?
You should treat foundation issues, active pest infestations, major structural movement, chronic water intrusion, severe electrical hazards, failing roofing, and uninsurable systems as deal-breakers. You can handle minor leaks, worn finishes, aging HVAC, routine servicing.
How Can I Negotiate Repairs or Credits After Receiving the Inspection Report?
Like a calibrated wrench, you tighten terms by prioritizing safety/structural findings, citing inspector language, and obtaining contractor estimates. Submit written repair negotiations and credit requests with deadlines, escrow options, reinspection rights, and lender/insurer requirements.
How Long Does a Home Inspection Take for Different Home Sizes?
You’ll typically spend 2–4 hours: 1,000 sq ft takes ~2 hours, 2,000 sq ft ~3 hours, 3,000+ sq ft 4+ hours. Foundation issues and pest infestations increase diagnostic time and documentation.
Conclusion
Use Mike’s checklist to spot defects before they become structural or safety failures. You’ll confirm moisture intrusion through staining, odor, and microbial growth, then verify with a moisture meter or infrared flashlight. You’ll correlate foundation movement with crack patterns, floor slope, and door binding, and you’ll validate roof performance via shingle wear, flashing integrity, and attic ventilation. Importantly, water damage accounts for roughly 24% of homeowner insurance claims, so early detection materially reduces risk.