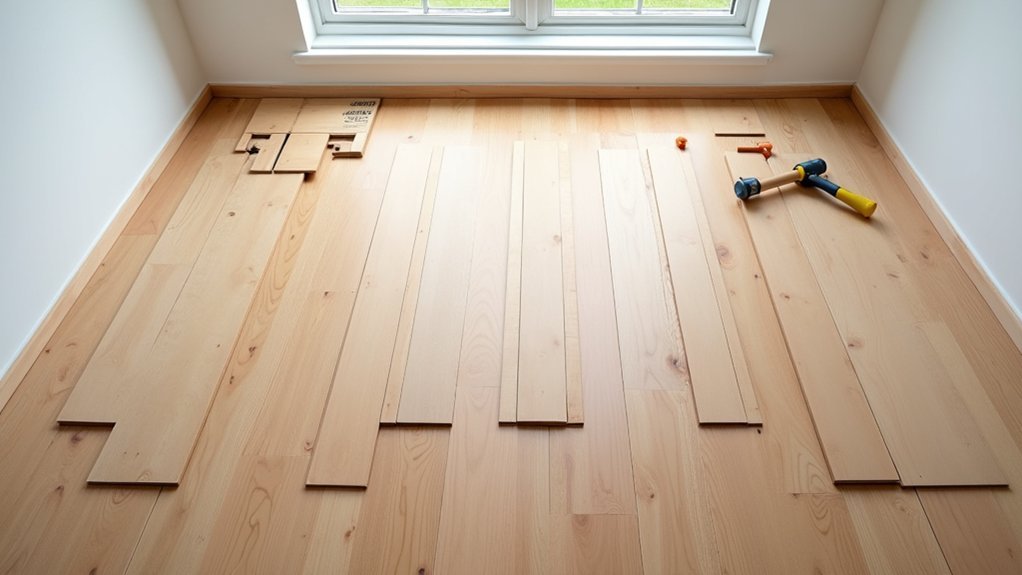
Staggering laminate flooring means you offset each row’s end joints so the floor looks natural and your click-lock seams stay strong. In the UK, aim for at least a 200mm stagger, but follow your manufacturer’s guidance as 300mm is common, and keep end pieces 150–200mm long. Dry-fit your first three rows, mix boards from different packs, and reuse 300mm+ offcuts to avoid H-joints, repeats, and weak spots. Next you’ll see simple layout rules for tricky areas.
Key Takeaways
- Stagger laminate end joints to improve realism and strength, avoiding a noticeable “brick wall” look and reducing stress on click-lock seams.
- Keep end joints offset at least 200mm; many manufacturers recommend 300mm, and 300–400mm suits wider or longer planks.
- Ensure first and last pieces in each row are at least 150–200mm long to prevent weak joints and obvious pattern repeats.
- Dry-fit the first 2–3 rows, use spacers and a guide line, and mix boards from multiple packs to avoid repetitive patterns.
- Prevent H-joints by keeping neighbouring row joints 300mm apart, and use offcuts 300mm+ to create a natural random stagger.
What Does Staggering Laminate Flooring Mean?
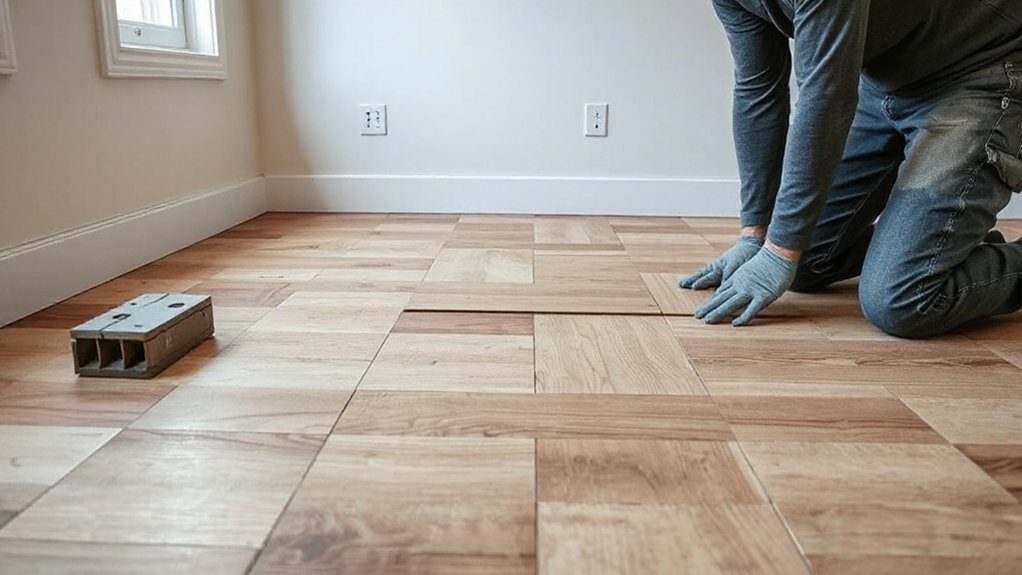
In laminate flooring, staggering means you offset the end joints (the short-edge seams) from one row to the next instead of lining them up in straight lines. You create a more natural, plank-like look and avoid a “brick wall” effect that can draw the eye in UK rooms with strong daylight.
You’ll plan each new row by starting with a different length plank, so the joints land in different places and the floor reads as one continuous surface. Staggering also supports better load distribution across the click system during everyday foot traffic.
For Color coordination, you should check how joint lines interact with grain patterns and room layout before you commit. For maintenance tips, you’ll keep joints clean, wipe spills fast, and use felt pads to prevent edge chipping.
Minimum Stagger Distance for Laminate Planks
Once you’ve decided to stagger your end joints, you need to keep a minimum offset between neighbouring rows so the click system stays supported and the seams don’t end up looking repetitive. As a rule, aim for at least 200mm between end joints; many UK manufacturers specify 300mm, so check the pack or fitting guide first. If you’re using long, wide planks, push towards 300–400mm to keep Design aesthetics balanced across the room. Don’t start a row with a tiny offcut: keep your first and last pieces no shorter than 150–200mm, or you’ll create awkward-looking repeats. For Material compatibility, follow any underlay and board-thickness requirements that affect the stated minimum stagger. Mark a quick guide line on your first few rows.
Why Laminate Staggering Strengthens Click-Lock Seams
Because click-lock laminate relies on continuous support along each joint, staggering your plank ends stops loads from concentrating on a single seam. When foot traffic and furniture weight hit a straight line of end joints, the locks can flex, open, and eventually chip. By offsetting joints, you spread force across multiple boards, so each click profile shares the work and stays tight longer.
You’ll also reduce the chance of joints telegraphing through the surface if the Underlying subfloor has minor highs, lows, or bounce. Staggering limits repeated stress at the same points, which helps prevent squeaks and edge lift. It even supports Color matching across the floor, because tight, stable seams keep shadow lines consistent and stop gaps drawing the eye in bright UK daylight.
Pick a Natural-Looking Laminate Stagger Pattern
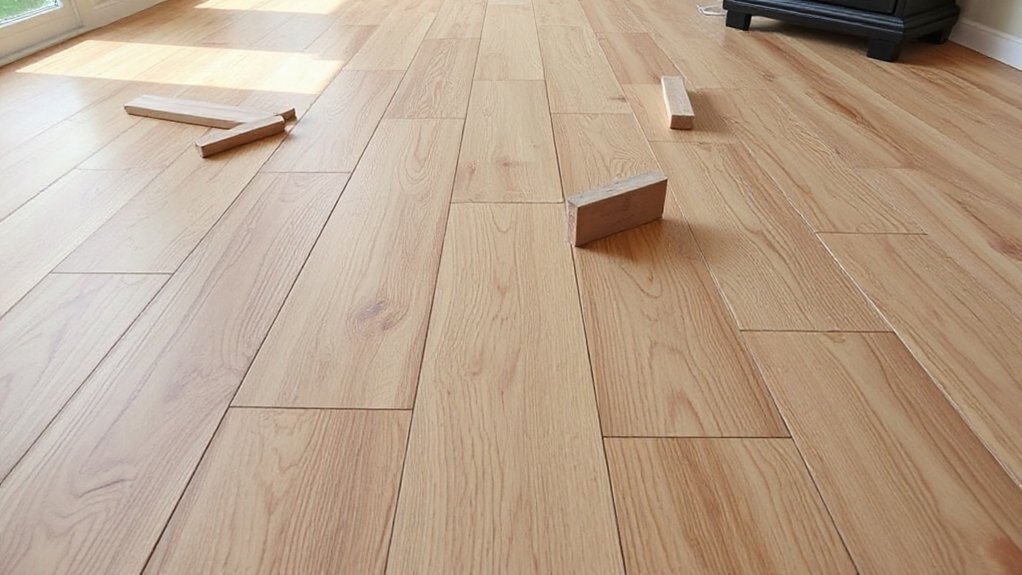
Staggering keeps click-lock seams tight, but the pattern you choose also decides whether the floor looks convincingly “real” or obviously manufactured. Aim for Pattern variation that mimics timber boards, not a repeating brickwork look that shouts laminate.
Use random-length staggering: keep end joints at least 300mm apart (check your UK manufacturer’s guide) and mix short, medium, and long offsets across the room. Avoid a fixed “every third plank” rhythm, because your eye will spot it down hallways and in open-plan spaces. If your boards have a strong Natural texture or pronounced bevels, randomness matters even more, as identical joins will stand out under raking light from windows. Step back regularly and scan for diagonal lines or clusters of small pieces.
Plan Your First Three Rows (Easy Layout Method)
Before you click a single plank together, lay out and dry-fit the first three rows to lock in your starting line, your end-joint offsets, and your cut lengths. Snap a chalk line parallel to the longest wall, allowing for the expansion gap, then set spacers and build three loose rows along that line. Check you haven’t created obvious “step” repeats and that every end joint clears the minimum offset your manufacturer specifies. Measure the last plank in each row so you avoid skinny slivers at the far wall; adjust the first-row start length instead. Use this dry run for Color coordination, blending boards from different packs. Confirm material compatibility: underlay thickness, door thresholds, and skirting clearance. Mark cuts and stack rows in order.
How to Stagger Laminate Flooring With Random Cuts
Once your starting rows are mapped out, you can stagger laminate with random cuts by reusing offcuts to create a natural pattern while still hitting the manufacturer’s minimum end-joint offset (often 200–300mm). Keep a tape measure handy and cut the first plank of each new row to a different length, then lock it in and check the end joint lands beyond the minimum distance from the previous row’s joint.
Save usable offcuts (typically 300mm+) and drop them in as starters when they fit the offset rule; bin anything too short or damaged. Mix lengths on purpose to build Creative design and aesthetic variation, but stay consistent with expansion gaps at the walls using 10–12mm spacers. Always square your cuts and keep edges clean.
How to Avoid H-Joints and Repeating Patterns
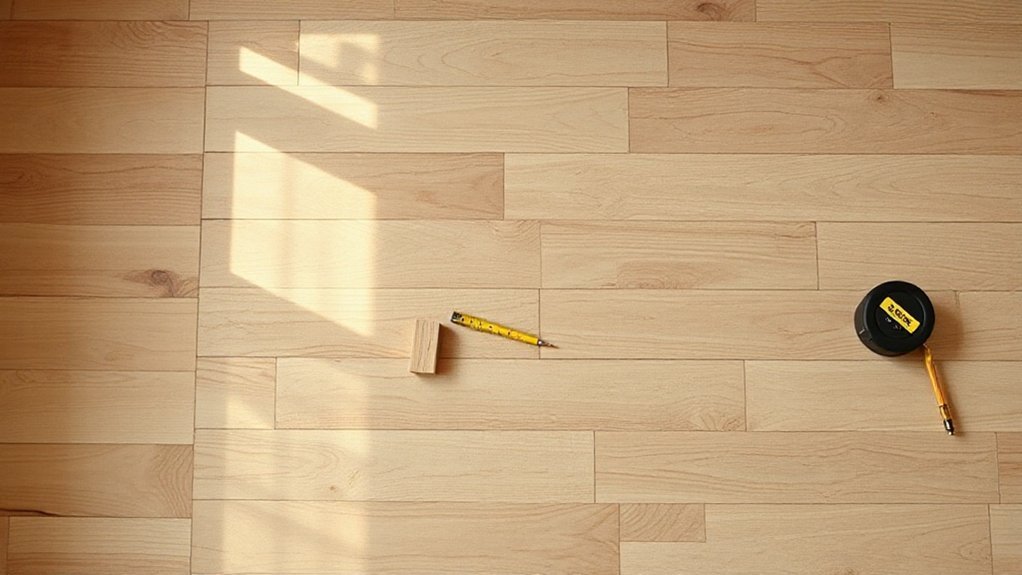
Random cut staggering gives you variety, but you still need to watch for H-joints and obvious repeats that make a laminate floor look grid-like. Avoid H-joints by keeping end joints at least 300mm apart in neighbouring rows, or follow the pack’s minimum if it’s greater. When you dry-lay a few rows, scan for three joints lining up over two courses and reshuffle your offcuts.
Control pattern repetition by mixing boards from different packs and rotating planks so identical knots or grain marks don’t march across the room. Don’t rely on “random” alone; set aside a couple of lookalike boards and drop them in later. For Colour matching, step back under your actual lighting and spread similar tones apart to prevent striping.
Stagger Laminate Flooring in Small Rooms and Hallways
Even if you’re working with a tight hallway or box room, you can’t just shorten your stagger to make the cuts easier because the end joints will start to bunch up and the floor will read as a set of “steps”. Keep your minimum offset consistent (often 200–300mm, or per manufacturer), and plan rows before you click anything together. In narrow spaces, dry-lay two or three courses to check the pattern doesn’t repeat, then adjust starting lengths with offcuts.
Run planks along the longest line to draw the eye through the space, and use color coordination to soften seams where light rakes across the boards. If you’re adding Decorative borders, treat them as a separate field and maintain the same stagger rules inside the border.
How to Stagger Laminate Flooring Around Doorways
Small rooms and hallways force you to plan your stagger, but doorways will test it because you’ve got a fixed opening and trim that can’t move. Treat each opening like a checkpoint: you’re aiming for a clean Doorway passage and consistent Threshold alignment from one room to the next.
- Dry-lay two rows up to the jamb to see where joints land
- Keep end joints at least 300mm apart, even through the opening
- Centre a full board or balanced cuts under the doorway for neat symmetry
- Undercut architrave and linings so boards slide under, leaving a 10mm expansion gap
- Use the threshold strip only to cover the gap, not to hide poor planning
Fix Bad Laminate Staggering Without Redoing Everything
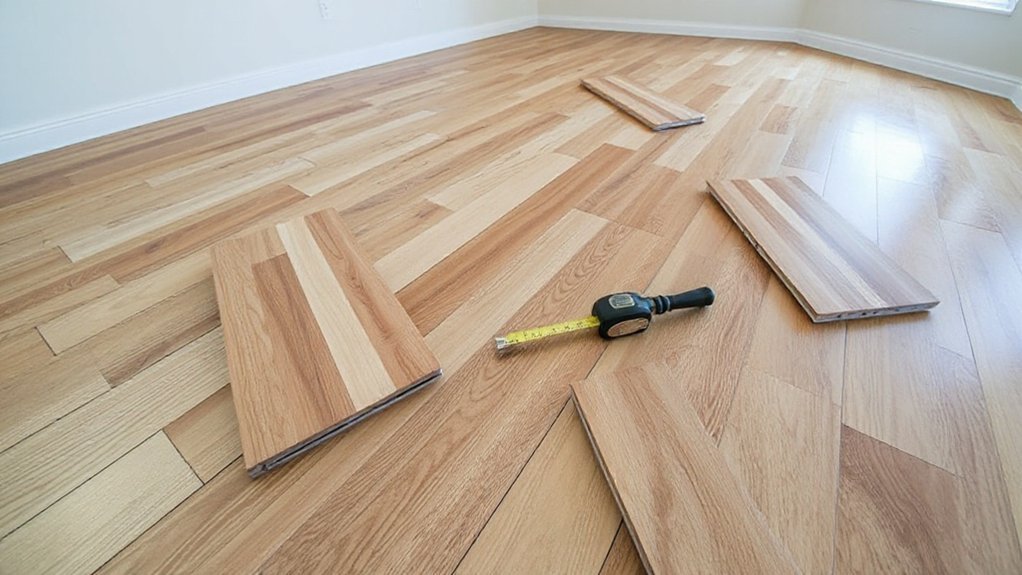
If your laminate stagger’s gone wrong and you’ve ended up with repeating joints or tight clusters, you don’t need to rip the whole floor out to put it right. Start at the nearest wall and lift back only to the problem run, using a pull bar and tapping block to release the click joints without snapping tongues. Recut a few starter boards to vary lengths, keeping end joints at least 300mm apart, then relay that section. If gaps show, check the subfloor’s flat and reinsert spacers for a proper expansion gap. Replace any damaged planks with spares; most UK packs include a few extra. These laminate installation tips prevent patterns returning. Finish by vacuuming grit and fitting scotia neatly—simple flooring maintenance techniques that stop movement.
Frequently Asked Questions
What Underlayment Works Best When Staggering Laminate Flooring?
You’ll get best results with a quality foam or fibreboard underlayment with built‑in DPM, matched to your subfloor. Choose Underlayment types offering Soundproofing solutions, especially acoustic rubber, to meet UK flat noise expectations.
Can I Stagger Laminate Planks Without Removing Baseboards or Trim?
Yes, you can—if you leave the skirting on and use scotia beading, you’ll maintain expansion gaps. Test-fit for pattern matching and colour coordination so stagger lines don’t highlight seams. Don’t trap boards.
Should Laminate Flooring Staggering Change Direction Between Connected Rooms?
You shouldn’t change staggering direction between connected rooms; keep Floor pattern alignment for Visual consistency. Only switch at a doorway with a threshold if subfloors differ or movement gaps demand it, per UK fitting practices.
How Do I Stagger Laminate on Stairs or Landings?
Stagger stair planks by cutting each tread’s starter board so end joints don’t align; keep 150–200mm minimum offset. On landings, continue that rhythm for Pattern continuity, and manage Color matching by mixing packs.
What Tools Make Cutting Staggered Laminate Planks Faster and Cleaner?
Speedy, sharp saws streamline staggered cuts: you’ll use a mitre saw with fine-tooth blade for cutting precision, plus a jigsaw for notches. Add a speed square, spacer blocks for edge alignment.
Conclusion
Staggering laminate flooring isn’t just for looks — it locks your floor together properly. Keep your end joints at least 200–300mm apart (or follow the manufacturer’s spec), plan your first three rows, and vary cuts so patterns don’t repeat. In tight hallways and doorways, dry-lay first and adjust plank lengths to avoid H-joints. If you’ve made mistakes, you can often lift a few rows and reset them — no need to throw the baby out with the bathwater.