
You probably don’t know that your best early upgrades aren’t the visible ones—they’re the fixes that keep surveys clean and lenders calm. Start by sorting safety and compliance: smoke alarms, RCD/GFCI protection, leaks, and any electrical oddities. Then you’ll cut bills fast with draught-proofing, attic insulation, and a smart thermostat before you touch the kitchen. After that, you can choose the cosmetic wins that buyers notice first…
Key Takeaways
- Fix safety and compliance issues first: smoke alarms, RCD/GFCI protection, leaks, and get required electrical and gas certificates.
- Refresh walls with neutral paint after proper prep, and keep trims consistent to make rooms feel clean, bright, and cohesive.
- Upgrade lighting to warm or neutral LED bulbs and replace tired fittings to improve comfort, efficiency, and perceived space.
- Improve energy efficiency cheaply: service the boiler, add smart controls, draft-proof doors/windows, and top up loft insulation.
- Boost curb appeal fast: tidy and edge the front garden, jet-wash paths, add mulch and hardy plants, and update house numbers/door hardware.
Pick First-Time Buyer Upgrades: Cost, ROI, DIY vs Pro
While it’s tempting to spend first and ask questions later, you’ll get a better result if you pick upgrades that suit your home’s condition, your budget, and what UK buyers and lenders actually value.
Start with high-visibility, low-disruption wins: repaint in neutral tones, refresh flooring, modernise light fittings, and tidy the garden for instant kerb appeal.
If you’ve got more headroom, a modest kitchen facelift (new doors, handles, worktop) often beats a full refit on ROI.
Build in Budget considerations: price materials, skips, and time off work, then keep a 10–15% contingency.
For professional versus DIY, DIY painting and flat-pack fit-outs can save cash, but use accredited trades for plumbing moves, plastering, and bespoke joinery to avoid costly rework and surveyor pushback later.
Fix Safety and Code Issues First (Smoke, GFCI, Leaks)
Before you put money into cosmetic upgrades, sort any safety and compliance issues that could stall a mortgage, spook a surveyor, or create real risk in day-to-day use. Use your home inspection report as a punch list and fix the obvious fails first.
Fit interlinked smoke alarms on each storey and a heat alarm in the kitchen, to current UK guidance.
Add RCD protection and GFCI-style socket protection where needed, especially kitchens, bathrooms, and outdoor points; get a qualified electrician to certify changes.
Stop active leaks fast: repair dripping valves, failed silicone, and any staining around ceilings, then check for hidden damp.
Confirm handrails, glazing, and extractor vents meet safety compliance basics.
Keep receipts and certificates ready for your solicitor and lender. It speeds completion.
Cut Energy Bills Fast: HVAC Tune-Up, Smart Thermostat
Once the basics are safe and compliant, you can usually cut running costs quickly by tuning your heating system and taking control of the schedule. Book a Gas Safe engineer to service your boiler, balance radiators, and check controls; a clean burner and correct flow temperatures save energy without sacrificing comfort.
Add a smart thermostat and you’ll stop heating empty rooms, using geofencing, zoning, and rapid schedules as part of simple Home automation.
- Picture the engineer measuring flue gases and tweaking combustion
- Feel evenly warmed radiators after bleeding and balancing
- Watch your app trim setpoints while you’re at work
- See a weekly report flag spikes to guide energy auditing
If you’ve got a heat pump, ask for a system check, filter clean, and weather-compensated settings for UK winters.
Stop Drafts: Weatherstripping, Caulk, Attic Insulation

Next, stop heat loss by tackling the draughts you can feel around doors and windows with proper weatherstripping. Seal the hidden air leaks with caulk—think skirting boards, pipe penetrations, and gaps around frames—so your heating stays where you pay for it.
Then check your loft and top up attic insulation to UK-recommended levels, because that’s often the biggest, quickest comfort win for first-time buyers.
Weatherstripping Doors And Windows
Even if your boiler’s efficient, you’ll still waste heat if cold air leaks in around doors and windows, so tackling drafts should sit high on your first improvement list.
Start with Weatherproofing: fit new brush strips or rubber seals to external doors, and add compression seals to uPVC or timber frames. You’ll feel the benefit immediately, and your heating won’t cycle as often.
For draft prevention, pick products rated for UK gaps and damp, and replace worn strips rather than layering.
- A steady curtain of cold air at the letterbox disappears
- The hallway stops feeling like a wind tunnel
- Window frames stop whistling on blustery nights
- The lounge holds warmth long after the heating clicks off
Check hinges and latches too, so the seals actually meet.
Caulking Key Air Gaps
Weatherstripping tackles the moving parts, but you’ll also lose heat through the fixed gaps where frames meet plaster, skirting meets floor, and pipework or cables pass through walls.
For effective air sealing, run a bead of decorators’ caulk along internal joints, then tool it smooth with a damp finger or profiling tool for a neat paintable finish.
Use silicone or sanitary sealant in kitchens and bathrooms, and an intumescent sealant where gaps breach fire-compartment lines (check doors, service penetrations, and flats).
Good caulking techniques start with clean, dry surfaces: cut the nozzle small, keep steady pressure, and stop-start cleanly.
Backer rod helps in wide gaps so you don’t waste sealant or crack later.
Allow curing before painting.
Boosting Attic Insulation
Where does all that hard‑won warmth go once it rises? Straight into your loft if insulation’s thin or patchy. In most UK homes, topping up to current guidance cuts bills fast, but you must keep Attic ventilation clear to avoid damp and timber rot.
Measure what you’ve got, then add the right Insulation materials (mineral wool rolls are common; boards suit tight eaves). Don’t block eaves vents, and insulate the loft hatch too.
- A crisp quilt of mineral wool laid between joists
- A second layer cross‑laid like a warm duvet
- Clear soffit gaps letting air whisper through
- A sealed, insulated hatch stopping heat escape
Update Lighting and Outlets for Safer Daily Living
Once you’ve tightened up drafts, turn to electrics: good lighting and safe sockets make day-to-day living in your first home more secure.
Swap tired fittings and bulbs for LED lighting, and you’ll cut energy use while improving brightness where you need it.
Add RCD-protected/GFCI-style protection in kitchens, bathrooms, and outdoor points.
Consider AFCI protection for older circuits to reduce fire risk from faulty wiring.
Upgrade To LED Lighting
Although it’s often seen as a cosmetic tweak, upgrading to LED lighting is one of the quickest ways you can make a first home safer, brighter, and cheaper to run. Swap tired halogens for quality LED lamps and you’ll cut heat build-up, reduce call-outs, and lower bills—handy with UK energy costs.
Choose warm-white (2700–3000K) for living spaces and neutral-white for kitchens and bathrooms, and you’ll avoid that harsh “office” glare.
- A soft hallway glow that stops you fumbling for keys
- Crisp task light over the hob for safer cooking
- Dimmable downlights that add instant aesthetic enhancements
- App-controlled bulbs and timers using Smart technology for occupied-home realism
Stick to reputable brands, check fittings’ IP ratings in damp areas, and keep light levels consistent room to room.
Add GFCI And AFCI Outlets
A simple swap to modern RCD-protected (GFCI-style) and arc-fault protection (AFCI) outlets can make your first home noticeably safer day to day, especially in kitchens, bathrooms, utility rooms, and older properties with tired wiring. You’ll cut shock risk near water and reduce fire risk from damaged cords or loose connections.
In the UK, you’ll normally achieve this via RCD/RCBO protection at the consumer unit, but you can also add RCD socket outlets where rewiring isn’t planned. Ask a registered electrician to test the circuits, confirm earthing, and label protection.
Plan outlet placement so you’re not relying on extension leads behind sofas or under rugs. Add sockets where you actually charge devices, run appliances, and use power tools. That’s practical Electrical safety you’ll feel daily.
Paint Prep and Low-Cost Flooring Refreshes That Sell
Before you spend on anything flashy, get the basics right: solid paint prep and a simple flooring refresh can make a first-home feel cleaner, brighter, and better cared for—exactly what helps it show well in the UK market. Start by washing walls, filling cracks, sanding gloss, and spot-priming stains so your topcoat looks crisp under viewings.
Use Color theory: warm off-whites in north-facing rooms, cooler whites in south-facing spaces, and consistent trims to unify the flow.
For floors, prioritise flooring durability over trend—buyers notice scuffs and spongy underlay. You don’t need new boards; you need smart refreshes:
- fresh white skirting against newly painted walls
- revived timber with a light sand and satin seal
- clean, neutral carpet with regripped edges
- click LVT over levelled subfloor for hallways
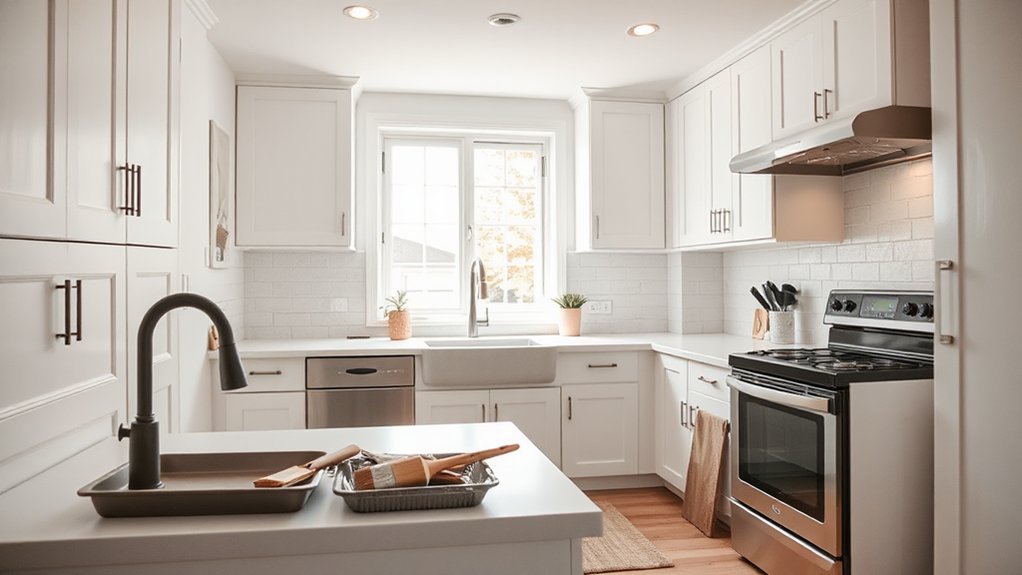
Kitchen Upgrades Without a Remodel (Hardware, Faucet, Fixtures)
Once the paint and floors look sharp, you can lift a tired kitchen fast by swapping the small-touch items buyers handle: cabinet hardware, the tap, and key light fittings.
Start with hardware updates: match finishes across knobs, pulls, and hinges (brushed nickel or matte black sell well), and measure hole centres before you buy to avoid filler work.
Next, tackle faucet replacements; choose a WRAS-approved mixer with a decent spout height for pans, and check your existing pipe tails and hole size to keep it a DIY job.
Finally, modernise lighting: replace dated pendants with simple LED fittings, add under-cabinet strips, and fit warm-white bulbs (2700–3000K) for a clean, inviting look. Keep it cohesive.
Budget Bathroom Upgrades (Caulk, Vanity Lights, Showerhead)
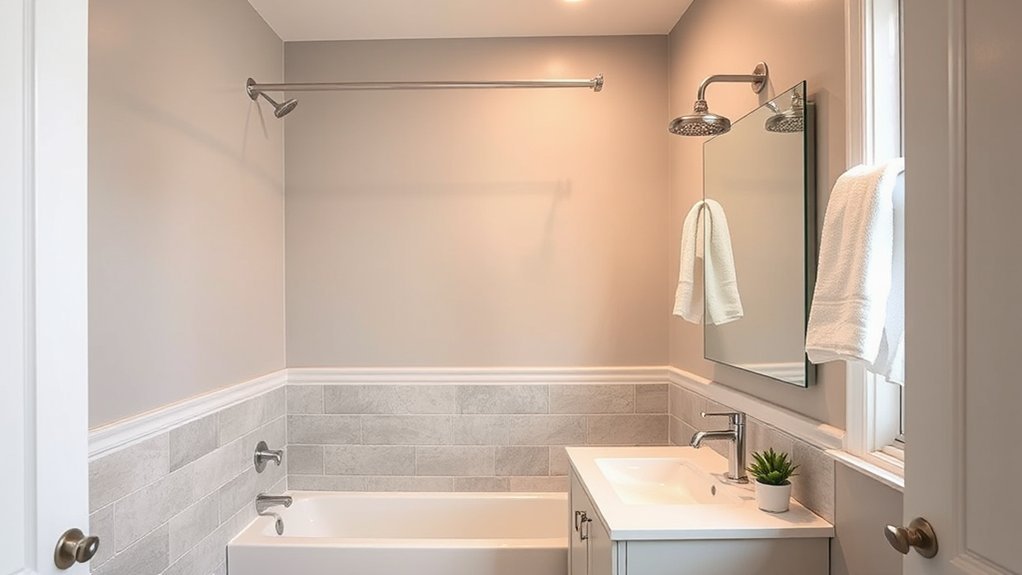
Where do buyers spot “neglect” fastest? In the bathroom. A few low-cost tweaks can make it feel hygienic, brighter, and more modern without touching the layout.
Start with Caulk maintenance: strip tired, mouldy silicone around the bath and basin, dry the area, then re-seal with bathroom-grade mould-resistant silicone for crisp lines.
Next, upgrade vanity lighting; choose IP-rated fittings, warm-white LEDs (around 3000K), and place light evenly either side of the mirror to reduce shadows.
Finish with a new showerhead: a quality thermostatic-compatible head improves pressure feel and reduces limescale hassle.
- Fresh white silicone framing the bath edge
- Clean chrome showerhead with a firm spray
- Soft, even vanity lighting across your face
- A spotless mirror and grout that looks cared-for
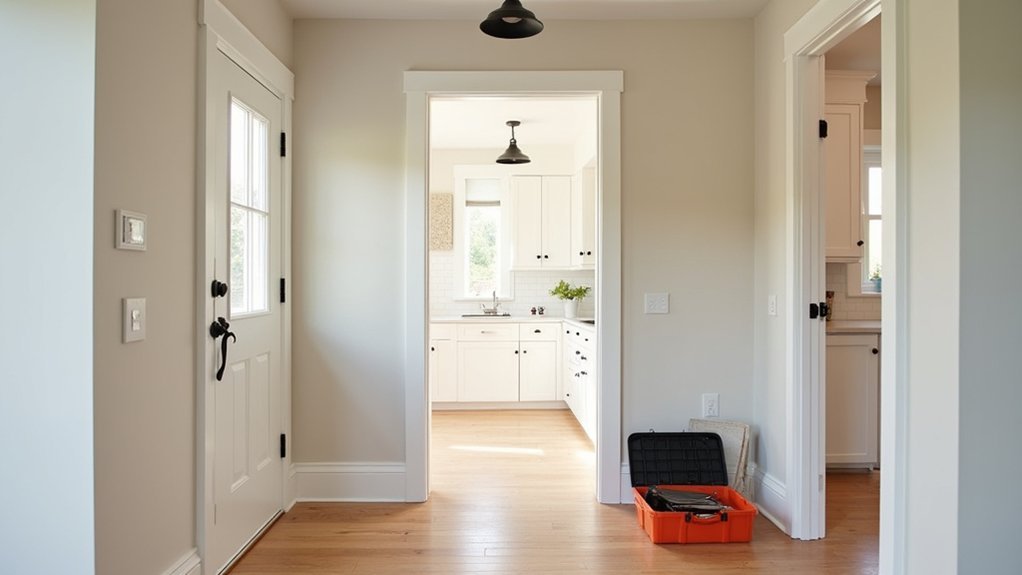
Weekend Curb Appeal: Cleanup, Mulch, Numbers, Front Door
You can lift your home’s first impression in a single weekend with a quick yard tidy—clear leaves, edge the path, and jet-wash the drive if you’ve got one.
Add fresh mulch and sharpen up borders with a few hardy plants to make the frontage look cared-for without big spend.
Finish by fitting crisp, easy-to-read house numbers and giving the front door a clean and repaint (or new hardware) so the entrance looks smart and secure.
Quick Yard Cleanup
How much difference can a couple of hours in the front garden make? A lot—especially when you’re a first-time buyer aiming to boost kerb appeal fast.
Start with a brisk clear-out: bin windblown litter, sweep paths, and edge the lawn so lines look crisp. Then wash down the front step and wipe the door and letterbox; buyers notice grime.
- A swept path with sharp edging and no weeds
- A tidy porch: clean glass, polished handles, uncluttered mat
- Garden furniture stacked neatly or stored, not scattered on the drive
- Outdoor lighting checked and working, with warm bulbs for dusk viewings
Finish by emptying the wheelie bins area and straightening the house number. Keep it simple and fresh.
Mulch And Plant Borders
Once the front’s clear, a fresh layer of mulch and a few well-chosen plants can make the whole elevation look cared-for and higher value.
Start by edging your garden borders with a half-moon spade so lines look crisp and mowing’s easier.
Lay weed-suppressing membrane only where you can’t reliably hand-weed; otherwise, use cardboard under mulch to let water through.
Apply 5–7cm of bark or composted woodchip, keeping it 5cm off stems and brickwork to avoid rot and damp.
Choose hardy, UK-friendly plants: lavender, heuchera, dwarf grasses, or evergreen shrubs for year-round structure.
Follow good planting techniques: soak pots, tease roots, plant level with soil, firm in, then water deeply and mulch again.
Update Numbers And Door
Fresh mulch and tidy borders set the scene; now finish the kerb appeal with two high-impact swaps: clear, modern house numbers and a front door that looks maintained.
Choose numbers that read from the pavement (100–150mm), in matt black or brushed steel, fixed level and lit if your path’s dark.
Then focus on door aesthetics: clean, sand, and repaint in a confident heritage colour, or refresh uPVC with specialist paint.
Don’t forget to update hardware—new letterbox, knocker, handle, and a smart-looking escutcheon instantly lift first impressions and help viewings feel “cared for”.
Aim for weatherproof finishes that suit UK rain and salt air.
Picture:
- Crisp digits centred on a smooth render panel
- Satin nickel handle catching daylight
- Freshly painted door against clean frames
- Warm porch bulb highlighting the entrance
Resale-Proof Your Improvements: Permits, Receipts, Before/After
Even if you plan to stay put for years, treat every upgrade like a future sale will scrutinise it. Check permits needed before you touch electrics, boilers, structural walls, windows, or conversions; buyers’ solicitors will ask for Building Regulations sign-off, Gas Safe certificates, and Electrical Installation Condition Reports.
If you’re in a flat or a conservation area, confirm freeholder consent and planning constraints.
Lean into documentation importance: keep quotes, invoices, guarantees, and product datasheets in one folder, plus photos of work in progress. Take clear before/after shots with dates, and note who did the work and when. Label paint colours and flooring references so replacements match.
When you sell, you’ll answer enquiries fast, reduce renegotiation, and signal the home’s been cared for properly.
Frequently Asked Questions
What Improvements Can Reduce Homeowners Insurance Premiums After Closing?
You can cut premiums by upgrading Home security (BSI alarms, smart locks, CCTV), improving Roof maintenance (new tiles, fixes), fitting smoke/heat alarms, updating electrics, and adding flood gates; you’ll often earn insurer discounts post-closing.
How Do I Prioritize Projects if I Plan to Refinance in Two Years?
Like sorting tools in a shed, you’ll prioritise safety, compliance, and value-adding upgrades first. Use budget planning to tackle boilers, insulation, and electrics, then kitchens/bathrooms. Build a renovation timeline delivering finished, survey-ready work pre-refinance.
Which Upgrades Help Most When Living With Pets or Small Children?
You’ll get the most benefit from Pet proofing and Child friendly upgrades: lay durable LVT flooring, fit washable paint, add stair gates and window restrictors, secure cupboards, use rounded furniture edges, and upgrade garden fencing.
How Should I Handle Renovations in an HOA or Condo Association?
Check your leasehold/HOA covenants first, then get written permission before ordering works. Use approved contractors and submit specs. Focus on Interior decor enhancements inside; reserve Landscaping upgrades for communal rules and neighbour consultation.
What Should I Avoid Upgrading if I Might Sell Within One Year?
Avoid pricey upgrades that won’t pay back quickly: bespoke Kitchen upgrades, luxury Bathroom renovations, and niche finishes. If you’re selling within a year, keep changes light—paint, lighting, and snag fixes—so buyers see a clean slate.
Conclusion
You’ve got the keys; now make the place feel like home and sellable later. Start with safety and code checks—smoke alarms, GFCIs, leaks—so your foundations are solid. Trim bills with a serviced boiler, smart thermostat, and insulation to seal out Britain’s chill. Then add light-touch wins: fresh paint, updated hardware, tidy kitchen and bath fixes, and quick kerb appeal. Keep permits, receipts, and photos—your paper trail is your compass.


