
You can spend thousands replacing cabinets, or spend a weekend making them look new. Start by checking your budget, timeline, and whether your cabinet boxes are solid and square, because that determines if paint, refacing, or replacement makes sense. Then plan the prep work—degreasing, sanding, and priming or applying veneer—before you touch doors or hardware. If you get these early calls right, the rest goes smoothly, and the next step decides your finish.
Key Takeaways
- Choose between painting, refacing, or replacing cabinets based on budget, timeline, and the condition of existing cabinet boxes.
- Prep properly for paint: degrease, remove and label doors, sand to a matte finish, then apply bonding primer and thin coats.
- Reface for a bigger change: order new doors and apply matching veneer, dry-fit first, then trim and seal edges for a factory look.
- Upgrade function fast with new pulls, correct hinge types, and soft-close hardware, then adjust hinges for even gaps and smooth operation.
- Add under-cabinet LED lighting and smart organizers like pull-outs and dividers, measuring carefully and following electrical code for safe installation.
Choose to Paint, Reface, or Replace Cabinets
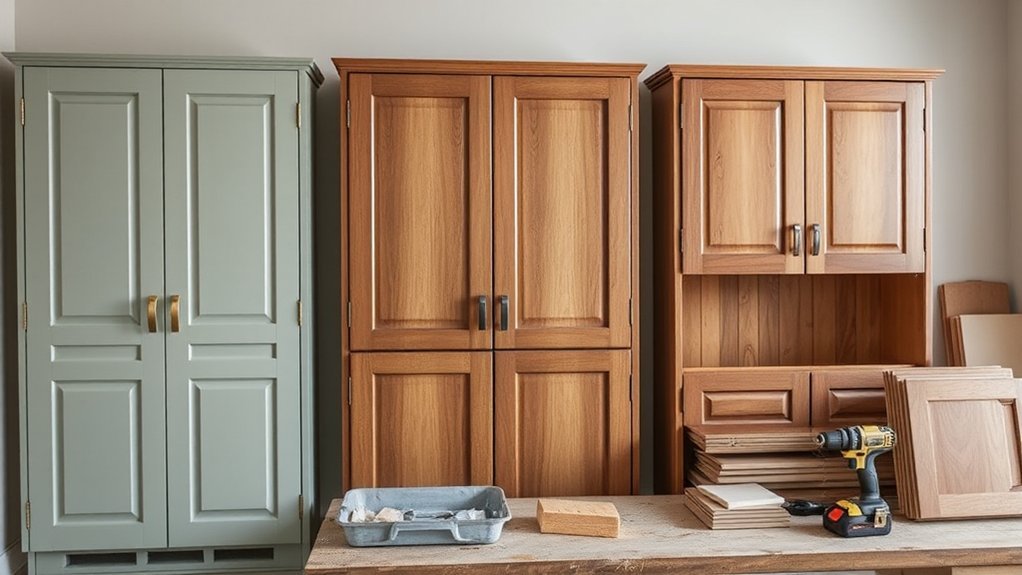
Before you buy new boxes, decide whether painting, refacing, or replacing your cabinets fits your budget, timeline, and the condition of what you already have.
If your boxes are solid, doors align, and you want the lowest disruption, painting gives a cosmetic change with minimal carpentry.
If boxes are sound but doors look dated or you want a different profile, refacing updates doors, drawer fronts, and veneer while preserving layout.
Replace cabinets when boxes are warped, storage needs change, or you’re reworking plumbing or appliance locations.
Run budget considerations with line-item quotes, including hardware, crown, fillers, and labor.
For material selection, compare MDF vs solid wood doors, plywood vs particleboard boxes, and durable finishes that match how hard you cook and clean.
Repaint Kitchen Cabinets With Pro-Level Prep
If you want a factory-smooth finish when you repaint your kitchen cabinets, you can’t skip prep. You’ll clean and degrease every surface, then sand evenly so the paint grips instead of peels.
Next, you’ll apply the right primer to lock down stains and create a uniform base before your final coats.
Clean And Degrease Thoroughly
Even though cabinets can look clean at a glance, they often hold a thin film of cooking oils and silicone-based residues that will wreck paint adhesion. Treat it as surface contamination, not “dirt,” and clean like a finisher.
Remove doors, drawers, and hardware, then label everything so you don’t reintroduce grime during reassembly.
Vacuum seams and profiles first, then wash with a degreaser (TSP substitute or a dedicated cabinet cleaner) using warm water and a non-shedding pad. Keep your solution fresh; dirty water just smears oils.
Rinse with clean water, then wipe with a lint-free cloth.
Follow with denatured alcohol on a rag to cut remaining residues, especially near pulls and cooktops.
Let everything dry completely before priming.
Sand For Smooth Adhesion
Once the cabinets are clean and fully dry, sanding gives your primer something reliable to bite into instead of skating over glossy factory finishes.
For solid wood, scuff-sand with 120–150 grit to level nibs and dull the sheen. For veneer or laminate, use 180–220 grit and a light touch to avoid cutting through. This surface preparation should leave an even, matte look, not bare spots.
Use a sanding sponge on profiles and edges, and a random-orbit sander on flat panels to keep pressure consistent.
Vacuum dust, then wipe with a lint-free cloth or tack cloth so you don’t grind residue into the grain.
Check material compatibility: different substrates scratch differently, so adjust grit and pressure accordingly.
Prime Before Final Coats
After you’ve sanded to a consistent, matte surface, apply a bonding primer so your topcoats lock on and cure hard instead of peeling at edges and high-touch areas. Choose a stain-blocking, adhesion-rated formula for cabinets, and tint it toward your finish color for better coverage.
Use disciplined priming techniques: cut in corners with a quality angled brush, then roll flat areas with a 1/4-inch microfiber or foam roller to minimize stipple. Keep coats thin, and maintain a wet edge so you don’t build ridges at stile-and-rail joints.
Let the primer dry fully, then scuff-sand with 220 grit to knock down dust nibs. Vacuum and tack again before your first finish coating. You’ll get smoother flow, fewer holidays, and longer-lasting durability overall.
Reface Kitchen Cabinets by Updating Doors and Veneer
If you want a bigger visual upgrade than paint alone, reface your cabinets by swapping in new door styles that match your kitchen’s layout and budget.
Apply matching veneer skins to the exposed cabinet boxes so the new fronts and existing frames read as one cohesive finish.
Then upgrade hinges and hardware to modernize function and alignment, ensuring every door closes cleanly and pulls feel solid in your hand.
Choose New Door Styles
Because cabinet doors dominate what you see and touch every day, choosing the right door style is the most important decision in a refacing project. Start by matching your home’s architecture: shaker fits transitional spaces, slab suits modern rooms, and raised-panel complements traditional kitchens.
Check proportions—wide stiles look heavy on small uppers, while narrow frames can feel flimsy on tall pantry doors. Decide how much detail you want: Decorative paneling adds depth, while a flat center panel keeps things calm.
Coordinate edges and profiles with cabinet molding so everything reads as one system. Finally, choose practical features like soft-close hinges, easy-clean finishes, and consistent knob placement, then order samples to confirm color and sheen under your lighting at home.
Apply Matching Veneer Skins
While new doors grab the attention, matching veneer skins make the upgrade look factory-finished by wrapping every exposed cabinet face in the same material. Measure stiles, rails, and cabinet ends, then order veneer sheets or rigid skins that match your door species and sheen for true matching finishes.
Remove doors and drawers, label everything, and clean all surfaces with a degreaser so adhesives bond. Lightly scuff glossy areas, fill dents, and sand flush.
Dry-fit each piece, then cut oversize and trim after it’s stuck. For veneer application, spread adhesive evenly, align from one edge, and press with a J-roller to push out air. Use a sharp flush-trim bit for edges and seal cut lines.
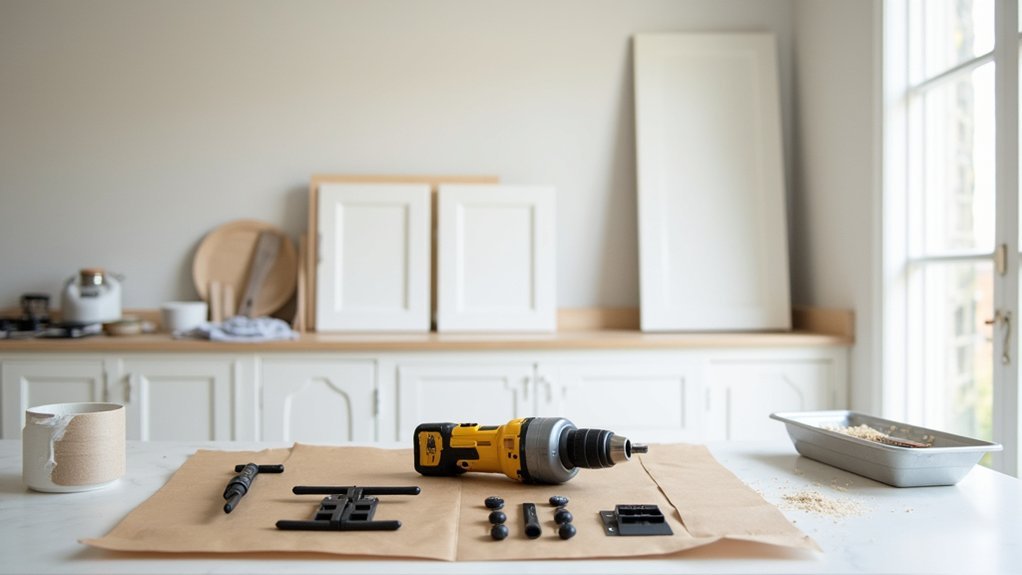
Upgrade Hinges And Hardware
With the veneer skins in place and every exposed face now matching, upgrade your hinges and hardware to make the refaced cabinets feel as good as they look. Start by confirming your cabinet material (plywood, MDF, or particleboard) so you choose screws that bite securely and won’t strip.
Then pick hinge types that match your doors: face-frame vs. frameless, inset vs. overlay, and soft-close if you want quieter operation. Replace pulls and knobs with a consistent finish and size, and use a drilling template so everything aligns.
- Match hinge cup depth and overlay to your door style
- Use soft-close hinges or add-on dampers
- Upgrade to heavier-gauge hinges for tall doors
- Standardize pull centers to simplify drilling
- Recheck reveals, then tighten and test every door twice
Upgrade Kitchen Cabinet Hardware and Adjust Hinges
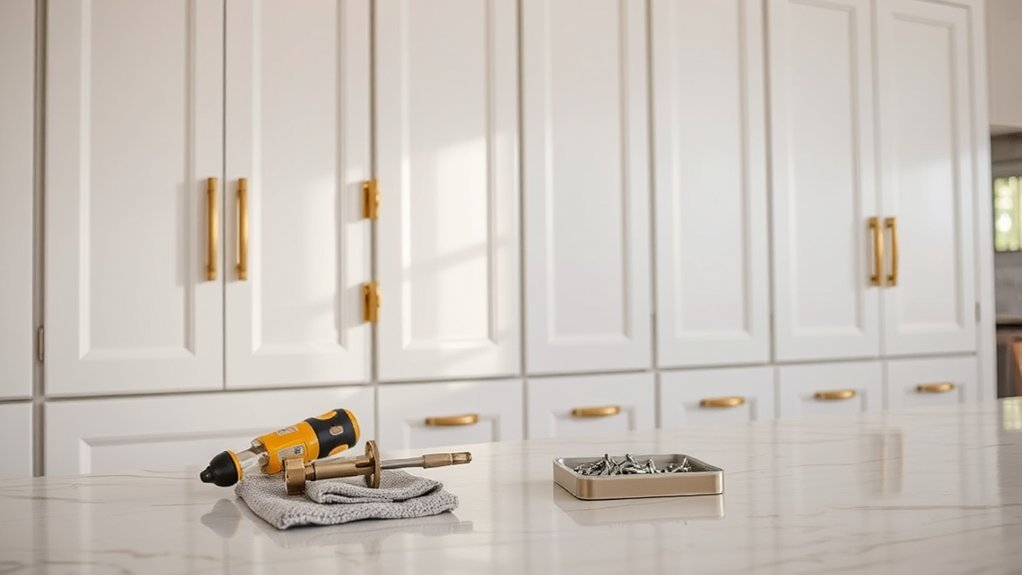
Once you’ve refreshed cabinet surfaces, upgrade the hardware and tune the hinges to make every door and drawer feel solid and precise. Replace mismatched knobs and pulls with a consistent finish and size, and measure hole-to-hole spacing before you buy. If you’re switching styles, use a drill guide to keep new holes straight, and fill old ones with wood filler for a clean reset. Choose cabinet hardware that fits your grip and daily use, not just the photo.
Next, do a careful hinge adjustment: tighten mounting screws first, then use the hinge’s side, depth, and height screws to align reveals. Aim for even gaps, flush faces, and doors that don’t rub or spring open. Recheck after a day of use.
Add Under-Cabinet Lighting for Polished Cabinets
After you’ve dialed in the doors and hardware, install under-cabinet lighting to sharpen the look of your cabinets and make countertops safer and easier to work on. Good Lighting design hides fixtures, eliminates shadows, and keeps color consistent across runs.
- Choose LED tape or low-profile bars (90+ CRI, 2700–3000K)
- Plan switching: wall switch, dimmer, or smart control
- Mount toward the front rail to push light onto the work surface
- Use a listed driver and proper connectors; avoid exposed splices
- Follow code for electrical wiring: GFCI, strain relief, and box access
Dry-fit first, then secure channels, route wires cleanly, and label leads. Test on a dimmer before final fastening so you catch flicker or buzzing early.
Add Kitchen Cabinet Organizers to Maximize Storage
Good under-cabinet lighting makes your counters easier to work on; smart cabinet organizers make everything under them easier to reach.
Start by measuring each cabinet’s width, depth, and door swing, then choose solutions that match how you cook.
Add pull-out shelves for pots and small appliances, and a two-tier lazy Susan for corners so you don’t lose items in back.
Install vertical tray dividers near the oven for sheets and cutting boards.
Use Drawer dividers to separate utensils, prep tools, and wraps so you stop digging.
For Pantry organization, add clear bins, can risers, and labeled zones for baking, snacks, and spices.
Prioritize adjustable systems, mount hardware into solid panels, and leave clearance for hinges and soft-close slides.
Frequently Asked Questions
Do I Need a Permit to Change Kitchen Cabinets in My Area?
You usually don’t need a permit to swap cabinets, but you must check local Building codes. If you move plumbing, wiring, or walls, you’ll need Homeowner permits. Call your city’s inspection office.
How Long Will My Kitchen Be Unusable During a Cabinet Upgrade?
Expect your kitchen unusable 3–10 days—here’s the catch: cabinet painting adds drying time. Hardware replacement keeps disruption minimal. Plan for 1–2 days for tear-out, 2–5 for install, plus touch-ups.
What Cabinet Upgrades Add the Most Resale Value to My Home?
You’ll add the most resale value with durable Cabinet paint in neutral tones, plus modern hardware upgrades like pulls and soft-close hinges. You’ll also boost value by improving storage with pull-outs and quality drawer slides.
How Can I Match New Cabinets to Existing Countertops and Flooring?
Start by letting your finishes “have a quiet conversation”: pull undertones from flooring and matching countertop patterns. You’ll nail Cabinet color coordination by sampling door swatches in daylight, then choosing complementary, not identical, hues.
What Are Eco-Friendly Options for Upgrading Cabinets With Minimal Waste?
Choose refacing, repainting with low-VOC finishes, and hardware swaps to cut waste. Use Sustainable materials like FSC plywood or bamboo. Donate old boxes, and use Recycling options for metal, glass, and laminate through local centers.
Conclusion
Step back and picture your kitchen: cabinets that look crisp, doors that shut with a soft click, and hardware that feels solid in your hand. You’ve weighed paint, refacing, or replacement, then prepped like a pro—cleaned, sanded, and primed for lasting adhesion. You’ve aligned hinges, swapped pulls, and tucked lighting beneath to wash counters in an even glow. Finish by adding organizers so every pan slides out smoothly.


