
Owning a flint cottage is like holding a weathered mosaic together with patience and restraint. You start by checking the walls, joints, and openings for hairline cracks, loose knapped faces, salts, and damp staining, then you trace the cause from ground levels to gutters. You don’t rush to cement or sealants; you choose breathable lime and like-for-like flint to keep moisture moving out. The first decisions you make here determine everything that follows…
Key Takeaways
- Document existing cracks, bulges, damp stains, and past repairs with photos and notes before any work begins.
- Keep water away: maintain gutters, downpipes, flashing, gullies, and ground levels so walls can dry properly.
- Use breathable, flexible lime mortars and limewash; avoid cement pointing, tanking, and impermeable paints that trap moisture.
- Repoint gently: rake only failed mortar, protect flint edges, pack in thin lifts, recess joints slightly, and cure slowly under hessian.
- Replace flints only when necessary, matching local stone size, colour, and knap pattern to preserve historic character.
Start Here: Assess Your Flint Cottage Safely
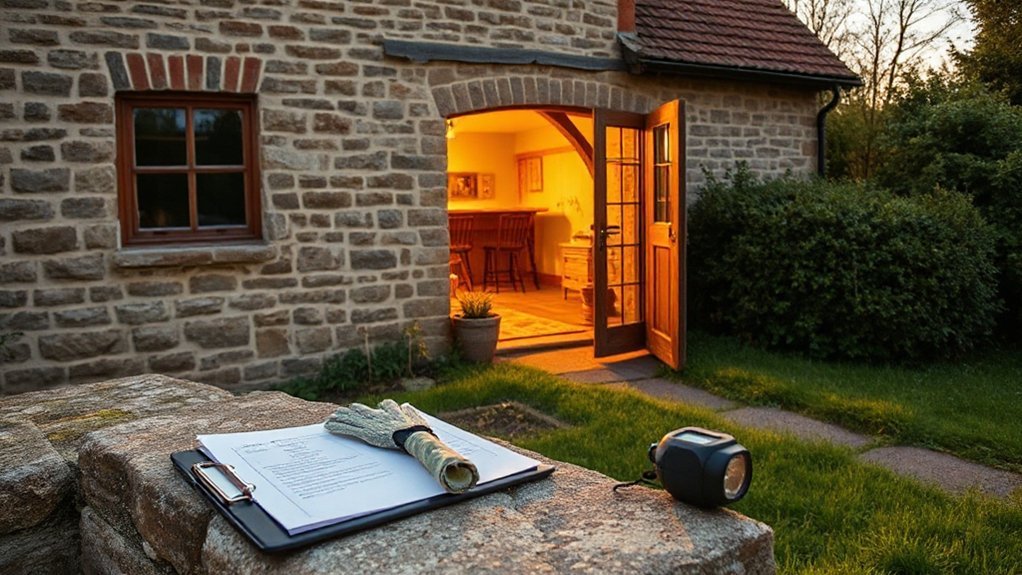
Before you plan any repairs, assess your flint cottage methodically and safely so you don’t damage historic fabric—or put yourself at risk. Start with a desktop review: list past repairs, note damp complaints, and check any planning or conservation constraints for Historical preservation.
Then walk the exterior in dry weather: photograph every elevation, mark cracks, bulges, open joints, and failing pointing on a sketch, and look for displaced stones around openings.
Inspect drainage next: gutters, downpipes, splashback, and ground levels, keeping soil below internal floors.
Inside, record musty odours, staining, salts, and soft plaster, and measure humidity to spot trends.
Use ladders properly, wear eye protection, and don’t probe deeply—call a conservation surveyor before Modern adaptations.
Understand How Flint Cottage Walls Are Built
To understand your flint cottage wall, you’ve got to start with the flints themselves: you select sound stones and nap them to expose a clean face that beds tightly.
Then you rely on traditional lime mortar to bond and cushion the flints, allowing slight movement and letting moisture escape rather than trapping it.
If you can read these two fundamentals in your wall, you’ll make repair choices that match its original build and avoid hard, damaging mixes.
Flint Napping And Selection
Although flint looks like a simple rubble material, a sound cottage wall depends on careful selection and skilled knapping to create stable, weathering faces.
Start with flint selection: choose hard, dense nodules with minimal cracks, avoid frost-shattered pieces, and sort by size so you can build consistent courses.
Wash off clay and salts, then dry the stones so you can spot hairline faults.
For Flint napping, you’ll strike the nodule to expose a fresh, flat “show” face that sheds rain and beds securely.
Use a knapping hammer or billet, support the stone on sand or a leather pad, and take controlled blows at the arris.
Keep faces square, reject overly conchoidal shards, and reserve awkward shapes for internal packing.
Traditional Lime Mortar Bonding
How does a flint cottage wall stay tight and weatherproof when the stones themselves don’t naturally bed like brick? You rely on traditional lime mortar bonding: a flexible, breathable matrix that grips knapped faces, packs voids, and sheds water without trapping it.
Mix lime putty with sharp, well-graded sand; avoid cement, which locks moisture in and forces flint to spall. Dampen the work, then butter each stone, press it home, and fully fill the hearting so there’s no hollow drumming.
Keep joints slightly recessed and finish with a brushed or lightly compacted face for grip. Cure slowly: protect from sun, wind, and frost for at least a week.
That’s Historical preservation with real Cultural significance.
Spot Early Flint Cottage Warning Signs
Start by inspecting the mortar joints: if you can rub out grit with a fingertip, see gaps, or spot powdery lime and loose flint edges, the bedding’s failing.
Next, track moisture—look for damp patches, salt crystals, algae, or peeling finishes—and trace the source to gutters, ground levels, and blocked air paths.
Finally, map any cracking; note step cracks, widened joints, or movement around openings so you can act before the wall loses stability.
Identify Mortar Deterioration
When mortar begins to fail on a flint cottage, the wall often gives you early, visible clues if you know where to look. Check bed joints for thinning, uneven recession, or joints that sit proud where patching has been smeared over old work. Look for open pinholes, granular “sugaring,” and friable edges that crumble under light finger pressure.
Inspect for incompatible repairs: hard, grey ribbons, sharp arrises, or glossy finishes that don’t match the surrounding texture. Compare colour, aggregate size, and binder character to judge Mortar composition and maintain historical accuracy.
Probe gently with a wooden pick; sound mortar resists and powders lightly, while failing mortar disintegrates or detaches as a skin. Note hollow-sounding joint sections, too.
Detect Moisture And Cracking
A flint cottage telegraphs moisture trouble early, and you can spot it by tracking a few consistent patterns before cracks widen or stones loosen. Start outside: look for darkened flint, algae bands, and white salts, all signs of Moisture intrusion. Check rainwater goods, splashback at the plinth, and failed pointing around openings where water concentrates.
Indoors, scan for tide marks, peeling limewash, musty corners, and soft skirting ends. Then map Cracking patterns: hairlines radiating from window corners suggest movement; stepped cracks through mortar joints indicate settlement; horizontal cracks near floor level can flag trapped moisture and frost. Measure widths with a gauge, date photos, and recheck monthly.
If cracks grow or damp persists after drainage fixes, call a conservation surveyor.
Solve Damp First: Drainage, Gutters, Ventilation
Because flint cottages rely on breathable walls and lime-based finishes, you must tackle damp at its source before any cosmetic work: manage water outside first, then air movement inside.
Start with drainage: clear gullies, check that paths fall away from walls, and keep soil and mulch below internal floor level to reduce splashback. Fix gutters and downpipes so they discharge into sound drains, not onto flint or footing; add simple extensions where needed. Repair slipped tiles and flashing to stop wind-driven rain tracking behind masonry.
For Damp prevention, keep external walls free of dense coatings and vegetation that holds moisture.
Then apply Ventilation solutions: open chimneys or add discreet air vents, run extract fans in kitchen and bath, and avoid blocking underfloor vents. Monitor humidity seasonally.
Avoid These Common Flint Cottage Repair Mistakes
Although flint cottages look robust, they fail quickly if you “modernise” them with the wrong materials or shortcuts, so avoid the usual traps: don’t repoint with hard cement (it traps moisture and blows faces off flint), don’t seal walls with impermeable paints or tanking (it forces damp to migrate elsewhere), don’t swap lime plaster for gypsum in damp-prone rooms (it salts and crumbles), and don’t close up vents or cap chimneys without providing alternative airflow.
Don’t chase “flat” walls by over-rendering; you’ll bury flint faces and weaken the bond. Don’t pressure-wash or grit-blast; you’ll erode joints and open capillaries. Don’t inject chemical DPCs as a default; diagnose sources first.
Use compatible timber repairs, not plastic trims that trap water. Specify repairs that respect Historical preservation while meeting Modern renovation standards: document changes, retain detailing, and test small areas before committing.
Match Lime Mortar: Type, Mix, and Sand
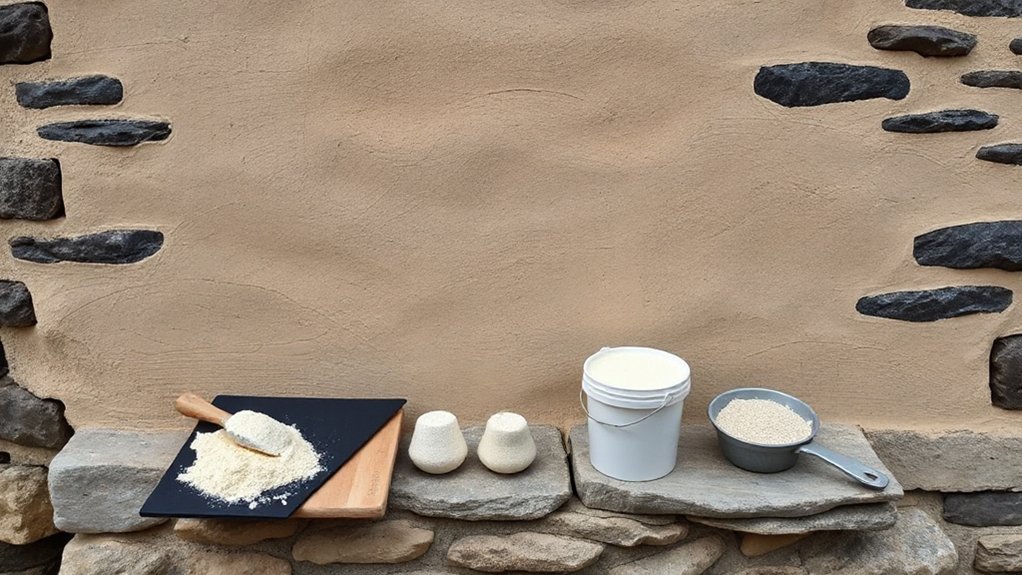
To keep your flint cottage sound and authentic, you’ve got to match the original lime mortar, starting with the right lime type (non-hydraulic or NHL) for your wall’s exposure and breathability.
You’ll then set mortar mix ratios to mirror the existing strength and workability, because an over-strong mix can damage flint and trap moisture.
Finally, you’ll choose sand that matches the original in colour, grading, and texture, since the aggregate controls both the finish and how well the repair visually disappears.
Choosing The Right Lime
How do you choose the right lime when you’re trying to match an existing mortar in a traditional flint cottage? Start by identifying what’s already there: look for softness, colour, and how easily it powders when you rub a dry sample.
For lime preservation and Flint craftsmanship, you need a binder that stays vapour-open and sacrificial, not one that traps moisture.
If the original mortar feels very soft and chalky, you’ll usually suit a non-hydraulic lime putty. If it’s firmer, slightly water-resistant, and sets in damp conditions, you may need a feebly to moderately hydraulic lime.
Check local exposure: wind-driven rain can justify more hydraulicity, but don’t over-strengthen. Always source consistent, reputable lime and match its set and texture to the existing work.
Mortar Mix Ratios
Once you’ve chosen a lime that matches the existing binder’s softness and set, the mix ratio and sand selection decide whether the new mortar will blend in or stand out.
For most flint cottages, you’ll start with a conservative Lime mortar gauge: 1 part lime to 2.5–3 parts aggregate by volume, adjusting only after trial panels cure. Keep water minimal; aim for a cohesive, buttery mix that holds a ridge on the trowel without slumping.
Over-rich mixes shrink and craze; over-lean mixes crumble and shed from flints. Mix thoroughly, rest (fatten) 20–30 minutes, then remix to rework the putty.
During Flint napping, keep the joint stiff enough to support knapped faces without smearing, yet plastic enough to compact firmly.
Selecting Matching Sand
Although the lime binder drives strength and flexibility, sand ultimately controls whether your new pointing disappears into the flintwork or telegraphs as a fresh, wrong-coloured stripe. For Cottage preservation, treat sand selection as a site investigation, not a guess. Take a clean sample of existing mortar, crush it dry, and compare grains under daylight. Match colour, grading, and sparkle; flint cottages often used local, slightly iron-stained pit sands with varied particle sizes. Avoid bright builders’ sand that washes joints yellow.
- Tip a handful wet: note the “muddy” tone versus warm buff.
- Rub it between fingers: feel sharpness and fines content.
- Sieve small batches: aim for a similar range, not uniform grains.
Test panels, let them carbonate, then decide.
Repoint Flint Walls Without Loosening the Knapped Stone
Because knapped flint faces rely on the surrounding mortar for stability, you’ve got to repoint with a light touch that renews the joint without disturbing the stone.
Rake out only failed mortar to a consistent depth, using hand tools and a narrow chisel; keep blades off flint edges so you don’t lever stones loose.
Mist the wall, then pack in a compatible lime mortar in thin lifts, compressing firmly to bond without smearing across faces.
Strike joints slightly recessed to showcase Flint knapping, and brush back as it firms up.
Protect from sun, wind, and frost with hessian, and cure slowly.
This Sustainable restoration keeps moisture moving through the wall, prevents rattling, and preserves crisp flint lines.
Replace Damaged Flint “Like-for-Like” (And When Not To)
Sound repointing will often steady a flint wall, but you’ll still find individual stones that have spalled, fractured, or lost their bedding and need replacement. Match size, colour, and knap pattern so repairs disappear at arm’s length, and bed each stone on compatible lime mortar, not hard cement.
Source flint carefully: local Flint quarrying usually yields the right hue and cortex, and it respects the wall’s historical significance.
Replace like-for-like when the original fabric can’t carry load or shed water, but don’t swap out sound, weathered flints just for uniformity. Avoid “improvements” that change the wall’s character or moisture behaviour.
- A grey-blue knapped face catching low sun
- Honeyed cortex edges tucked into lime
- Tight joints that read as one surface
Repair Windows, Doors, and Draughts Without Trapping Moisture
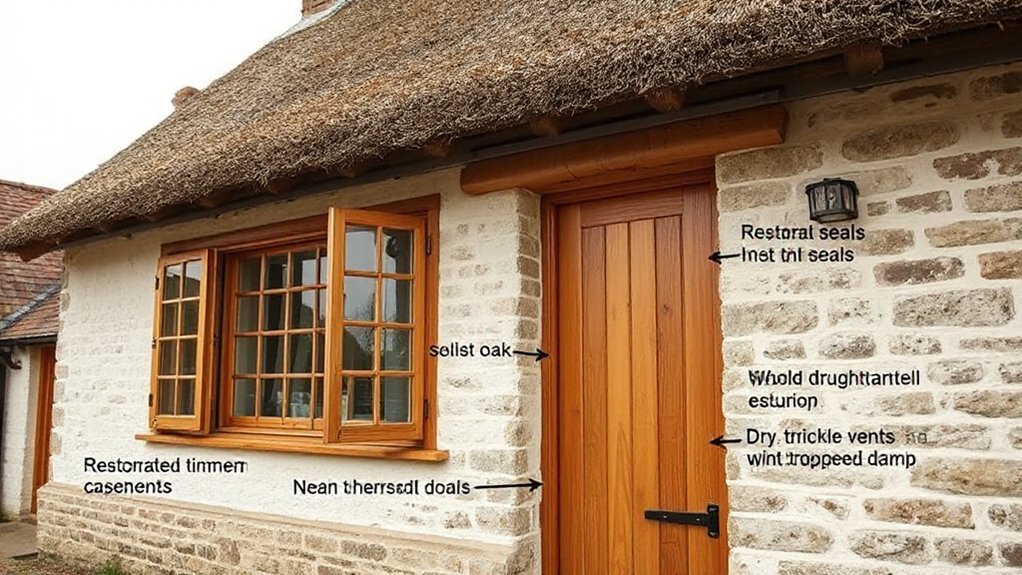
When you tighten up a flint cottage’s windows and doors to stop draughts, you need to do it in a way that still lets the building breathe. Start by repairing, not replacing: splice rotten timber, ease sashes, and fit brush piles or staff beads so frames close firmly without forcing.
Keep Window aesthetics by retaining glazing bars and using linseed-oil putty; avoid impermeable mastics that trap moisture at the rebates.
For doors, respect Door craftsmanship: tighten joints, refit hinges, and add a compressible seal to the stop, plus a traditional brush letterplate.
Treat gaps at thresholds with a well-fitted timber weatherboard and a discreet drop seal.
Finally, keep trickle ventilation or reopen existing vents so warm, moist air can escape.
Get Permissions: and Find a Flint Specialist
Although you can tackle minor maintenance yourself, you should get the right permissions in place before any external repairs or alterations. You’ll save money by bringing in a flint specialist early. Check whether your cottage is listed or in a conservation area, then speak to the local planning officer before you touch mortar, knapped faces, or limewash. Build in historical preservation and community consultation from day one, so approvals don’t stall your schedule.
- Photograph every elevation, including close-ups of proud flints and eroded joints.
- Ask for sample panels showing lime mix, aggregate, and flush or recessed pointing.
- Walk the wall line with your specialist, flagging bulges, salt bloom, and failed galleting.
You’ll avoid cement fixes, match local stone, and keep repairs reversible and breathable.
Frequently Asked Questions
How Do I Insure a Flint Cottage for Full Rebuild Value?
You insure a flint cottage for full rebuild value by commissioning a specialist rebuild valuation, then choosing Insurance options with guaranteed reinstatement. Review Rebuilding costs for flint, lime mortar, heritage labour, and add debris removal annually.
What Are the Best Paint Colours for a Traditional Flint Cottage Exterior?
Pick soft limewash whites, warm creams, muted ochres, and slate greys—think vinyl record crackle. You’ll honor Historical color palettes, then apply Modern paint techniques: breathable mineral paint, matte finishes, and crisp off-white trims, sparingly.
Can I Install Solar Panels Without Spoiling a Flint Cottage’s Character?
Yes, you can, if you site panels discreetly and match roof lines. Use panel integration with in-roof systems, keep fixings reversible, avoid flint walls, and upgrade modern insulation to cut panel size.
How Much Does It Cost to Buy and Maintain a Flint Cottage Annually?
You’ll typically pay £300k–£800k to buy, then £3k–£10k yearly to maintain. Budget for Flint wall restoration using Historic flint techniques, plus lime mortar repairs, damp control, insurance, and inspections.
Do Flint Cottages Typically Have Hidden History Worth Researching?
Yes, you’ll often find hidden history worth researching—who wouldn’t want that? You should inspect for hidden architectural features, then cross-check deeds, maps, and parish notes in local historical records to confirm changes.
Conclusion
Preserve your flint cottage by acting early, working gently, and choosing compatible materials. Check the walls, trace the damp, clear the gutters; then ventilate, drain, and dry—before you repoint. Use breathable lime, match local flint, and repair what’s sound instead of replacing what’s old. Don’t trap moisture with cement, don’t force hard fixes onto soft fabric, don’t guess when consent matters. Consult a flint specialist and protect its character for generations.


