

You don’t need a full gut job to make your place feel new. Start by picking one weekend upgrade that matches your time and budget: fresh emulsion on a tired wall, swapping cupboard handles using the same holes, or fitting plug-in lights and stick-on LED strips for better ambience. Keep it simple with a £50–£200 cap, basic tools, and safe prep. The tricky bit is knowing which jobs look easy but aren’t…
Key Takeaways
- Repaint key rooms in a weekend: clean with sugar soap, fill, sand, cut in, then roll in a W pattern for even coverage.
- Refresh kitchens and bathrooms by swapping cupboard handles and knobs; measure existing hole centres (often 96mm or 128mm) to reuse holes.
- Upgrade lighting without rewiring using smart bulbs, new shades, LED filament bulbs, or plug-in wall lights; check fitting type and wattage limits.
- Add instant storage with wall shelves, hooks by the door, adhesive rail hooks inside cupboards, pull-out organizers, and under-bed boxes.
- Boost curb appeal fast by decluttering the porch, cleaning the front door, adding a bold house number and doormat, and fitting solar/PIR porch lights.
9 Weekend DIY Renovation Ideas (Pick 1–2)
If you’ve only got a weekend, you can still make a noticeable difference by tackling one high-impact job like repainting a room or upgrading your light fittings.
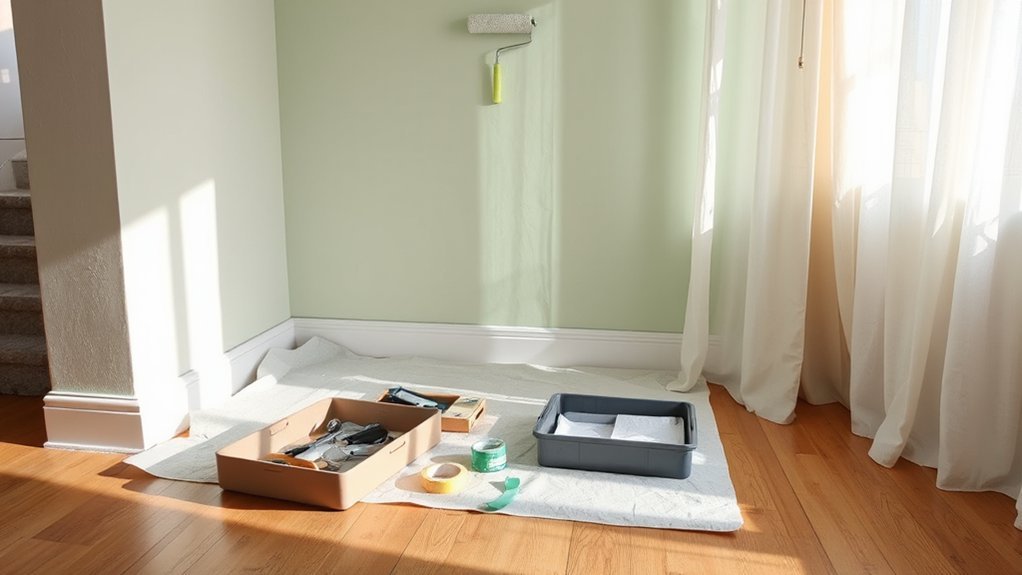
For DIY painting, pick a durable matt emulsion for walls and a hardwearing satinwood for skirting. Wash down with sugar soap, fill dings, then sand smooth. Mask sockets, cut in with a 2-inch brush, and roll in a W pattern for even coverage. Let coats dry fully, especially in older, colder UK houses.
For quick hardware upgrades, swap cupboard handles, door knobs, and hinges for matching finishes (brushed nickel or black). Measure centres, reuse existing holes where possible, and keep a magnetic tray for screws.
Turn power off at the consumer unit before touching fittings.
Choose a Project by Time, Cost, and Skill
Before you start, size up how much time you’ve actually got—an evening, a weekend, or a few spare hours after work—so you pick a job you can finish.
Set a realistic budget that covers materials, delivery, and a bit extra for surprises, and price it against what you’ll find at places like B&Q or Wickes.
Then match your skills to the scope, keeping electrics and plumbing for a qualified tradesperson if you’re not trained.
Assess Available Time
How much time can you realistically ring-fence for this renovation—an hour on a weeknight, a full Saturday, or a few weekends on the bounce? Start with honest Time management: note school runs, shifts, and when you can make noise without annoying the neighbours (think 9–5 on Saturdays, not late evenings). Good renovation planning means you match the job to your available blocks, not your optimism.
If you’ve only got short slots, choose prep-heavy tasks you can pause safely: filling nail holes, sanding a door, or painting a single wall with low-odour emulsion.
For a day, tackle a flat-pack unit, swap a light fitting (with power off), or regrout a splashback.
For multi-weekends, plan drying times, tool hire windows, and cleanup.
Set A Realistic Budget
Although you might feel tempted to start with the biggest visual win, you’ll get a smoother (and cheaper) result by setting a firm budget first and choosing a project that fits your time, cost, and skill level.
Start with Budget planning: list materials, tool hire, delivery, and waste disposal (skip hire or tip fees). Add labour quotes if you’re bringing in a tradesperson, and include VAT where applicable. Build in a 10–15% contingency for surprises like damp, cracked plaster, or missing fixings.
Use Financial tips that keep you on track: compare prices at Wickes, B&Q, Screwfix, and local builders’ merchants; check returns policies; and buy in phases, not all at once. If the numbers don’t fit, scale down.
Match Skills To Scope
Where should you start so you don’t bite off more than you can chew? Do a quick Skill assessment: can you measure accurately, cut straight, and follow manufacturer instructions? If you’ve only done flat-pack furniture, pick low-risk jobs like swapping door handles, sealing gaps, or painting a small room.
Next, nail your Scope definition. Write what you’ll change, what stays, and your finish standard (e.g., “one wall repainted, satinwood skirting touched up, no rewiring”). Then match it to time and cost. A weekend job should allow for prep, drying times, and a B&Q run.
Budget for tools you don’t own, plus 10% for extras. If electrics or gas are involved, use a registered UK tradesperson.
Set a Beginner Budget (Under $50/$200)
Set your total spend limit upfront—£50 for a quick refresh or £200 for a small upgrade—and stick to it.
Put your money into high-impact updates first, like fresh paint, new handles, or better lighting, before any “nice-to-haves”.
Track every cost and keep receipts (paper or a notes app) so you don’t drift over budget and you can return anything you don’t use.
Define Total Spend Limit
Two clear budget caps—under £50 for quick wins or under £200 for a small weekend refresh—keep your first renovation on track before you buy a single tin of paint. Decide your cap now and treat it as non-negotiable.
Do quick cost estimation by listing every item you’ll need, including brushes, filler, sandpaper, dust sheets, and a takeaway contingency. Check UK prices at B&Q, Wickes, Screwfix, and Facebook Marketplace, then total them in Notes or a spreadsheet.
Build spending strategies that stop creep: pay cash or use a separate card, set a 10% buffer inside the cap (not on top), and pause purchases for 24 hours. If a must-have breaks the cap, swap it or wait.
Keep receipts.
Prioritize High-Impact Updates
Even if you’ve only got a £50 or £200 cap, you can make your place feel noticeably fresher by prioritising updates that change what you see and touch every day. Start with Budget planning: split your limit into “materials” and a small contingency, then rank jobs by visible impact per pound.
Do a quick Skill assessment before you buy anything. If you’re confident with a screwdriver, swap cupboard handles, fit a new toilet seat, replace a tired shower head, and refresh silicone around the bath.
If you can cut in neatly, spend £20–£40 on a tester pot and repaint a feature wall, skirting, or internal doors.
With £200, upgrade lighting: a new pendant shade, warm LED bulbs, and matching switches/plates can modernise a room fast without major tools.
Track Costs And Receipts
One simple habit keeps your £50 or £200 renovation budget from disappearing: track every spend and keep the receipts. Do cost tracking from day one: note what you bought, where (B&Q, Wickes, Screwfix), and whether it’s paint, fixings, or tools. Use your phone’s Notes or a spreadsheet, and update it before you leave the car park.
Good receipt management means you can return unopened items, claim refunds, and prove warranty if a drill dies. Set a “misc” buffer of £5–£20, then stop spending when it’s gone.
- Photograph receipts straight away and file by room
- Log delivery fees, not just sticker prices
- Compare unit costs (per litre/metre) before buying
- Review totals weekly and adjust your shopping list
Before You Start: Tools, Materials, Safety
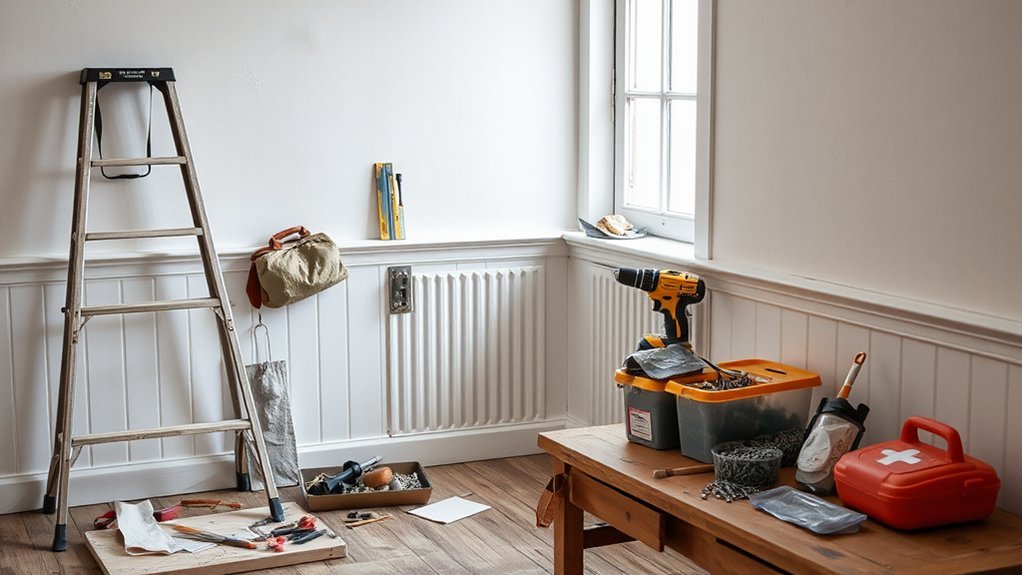
Before you pick up a brush or drill, take five minutes to line up the right tools, materials, and safety kit so you don’t stall halfway through. Make a shortlist: tape measure, spirit level, utility knife, cordless drill, driver bits, filler knife, sandpaper, dust sheets, and a decent vacuum.
Check Tool safety: inspect leads, charge batteries, fit guards, and keep a clear work area.
For Material selection, match products to the room and substrate. In UK homes, plaster can be crumbly and skirting boards may hide uneven floors, so buy flexible caulk, appropriate wall filler, and decent fixings (rawlplugs for masonry, screws for timber).
Keep PPE handy: safety specs, ear defenders, gloves, and an FFP2 mask for sanding.
Finally, isolate electrics at the consumer unit before drilling near cables.
Paint vs. Peel-and-Stick for Fast Walls
Because you can transform a tired room in a weekend, it’s worth choosing between traditional paint and peel-and-stick panels/wallpaper based on your wall condition, budget, and how long you need the finish to last.
Paint suits sound plaster and lets you tune paint finishes: matt hides flaws, eggshell wipes clean, and satin shows every lump.
Peel-and-stick works best on smooth, sealed walls; it won’t forgive heavy wall textures, flaking emulsion, or dusty surfaces.
In UK rentals, it’s handy, but test a small patch so it doesn’t pull paint when you remove it.
- Fill dents, sand ridges, and wipe with sugar soap
- Prime stained or powdery walls before either option
- Use a lining paper if walls are uneven
- Budget for a quality roller or squeegee to avoid bubbles
Upgrade Cabinets With Hardware (And When to Add Hinges)
Even if you don’t touch the cabinet boxes, swapping knobs and pulls can make a kitchen or bathroom look newer in an afternoon. Measure your existing hole spacing (often 96mm or 128mm in the UK) so new cabinet hardware fits without filling and drilling. Use a bradawl to mark centres, drill straight with a sharp bit, and tighten by hand to avoid stripping MDF.
For mixed finishes, match taps or towel rails, not appliances.
Add hinges when doors sag, bind, or you’re converting from old surface-mounted to concealed types. For hinge installation, check door thickness and overlay, then buy the correct cup hinges (usually 35mm). Use a simple jig, keep reveals even, and adjust the hinge screws for alignment rather than re-drilling.
Easy Lighting Swaps (No Rewiring Required)
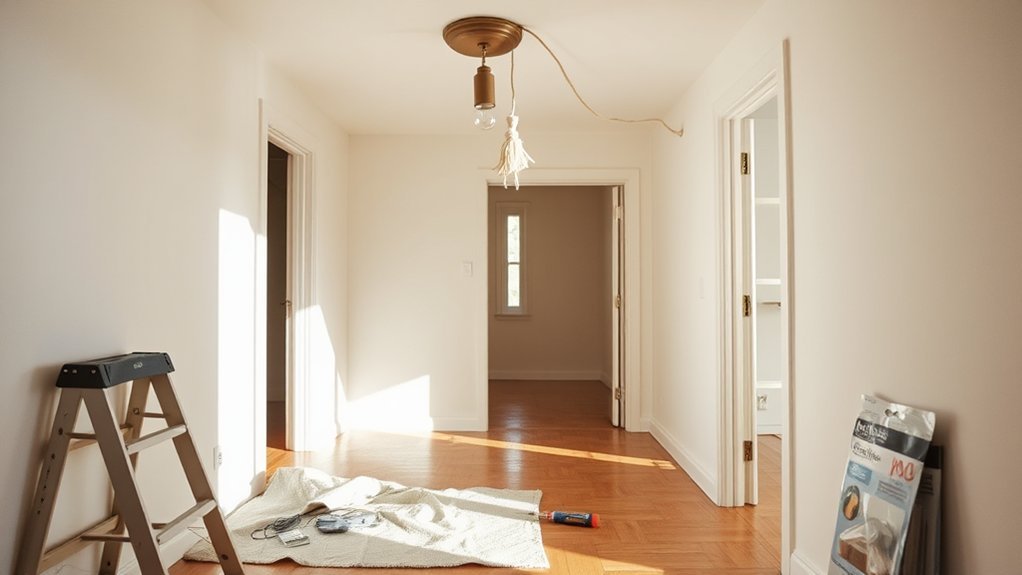
When you want a noticeable upgrade without calling an electrician, swap in plug-in and like-for-like fittings that use the same connections. Stick to changes you can do with the power off at the consumer unit, and keep the old parts until you’re happy.
- Fit Smart bulbs (E27/B22) for dimming and warm-to-cool tones via an app.
- Replace tired shades with new pendant lighting shades that reuse the existing lampholder.
- Swap a table lamp’s plug-in bulb for an LED filament to cut running costs.
- Add a plug-in wall light with a lead and switch for instant bedside glow.
Check IP ratings in bathrooms, measure shade rings, and match wattage limits. Choose UKCA-marked kit from reputable retailers.
Add Storage Fast With Shelves, Hooks, Organizers
After you’ve made lighting feel fresher, tackle the everyday clutter that still makes a room look scruffy by adding storage you can fit in an hour.
Start with one wall shelf: mark studs with a finder, level it, then use proper wall plugs for plasterboard or masonry. Add a row of hooks by the door for coats, dog leads, and tote bags; you’ll stop dumping stuff on chairs.
In kitchens, fit adhesive rail hooks inside cupboard doors for tea towels and measuring spoons, or slot in a pull-out organiser for cleaning sprays.
For bedrooms, use under-bed boxes and a hanging wardrobe organiser for jumpers and shoes.
These Storage solutions and organization hacks cost little, suit rentals, and make tidying faster daily.
Curb-Appeal Upgrades + Beginner Mistakes to Avoid
Before you spend money indoors, boost your home’s curb appeal with a few quick wins that make the place look cared for: clean the front door and frame, swap a tired number for a bold, easy-to-read one, add a bright doormat, and fit a solar or PIR porch light for safer, clearer arrivals. Then pick one weekend job and finish it properly.
- Tidy borders: edging, fresh bark, and low-maintenance landscaping enhancements (gravel, hardy shrubs).
- Refresh tired masonry with exterior paint options made for UK weather; check render/brick compatibility.
- Fix first impressions: rehang a wonky gate, oil hinges, and repair loose paving slabs.
- Avoid rookie errors: skipping prep, painting over damp, and buying cheap brushes that shed.
Keep colours simple, match neighbouring tones, and bin clutter from the porch.
Frequently Asked Questions
How Do I Find Reliable Contractors for Tasks Beyond My Skill Level?
You’ll find trustworthy trades by using contractor vetting: check Checkatrade/TrustMark, confirm insurance, and verify NICEIC/Gas Safe. Get three quotes, ask for reliable references, view recent local jobs, insist on a written contract and staged payments.
Do I Need Permits for Small Home Renovation Projects?
Yes, you might need them. Check your council’s Permit requirements and Small renovation guidelines, especially for structural work, electrics, plumbing, or listed buildings. When unsure, ask Building Control or use the Planning Portal before starting.
How Can I Renovate if I Live in a Rental?
Like giving your space a fresh coat of courage, you can renovate by choosing reversible upgrades: get landlord consent, use Decorative wallpaper, lay temporary flooring, swap fittings, and keep receipts for reinstating when you move out.
What Renovations Add the Most Resale Value for Beginners?
You’ll add most resale value with a refreshed kitchen, modern bathroom, and better kerb appeal. Prioritise Budget friendly upgrades: swap taps, handles, lighting. Use DIY painting tips with durable matt. Improve EPC with insulation.
How Do I Handle Hidden Issues Like Mold or Outdated Wiring?
Start with a Mold inspection and an EICR, then budget 10–20% contingency. You’ll isolate affected areas, fix leaks, and use certified remediation. For outdated electrics, hire an NICEIC electrician for wiring upgrades.
Conclusion
You don’t need a full refurb to feel a real change—just one or two smart weekend wins. Pick a job that fits your time and budget, keep it under £50/£200, and gather basics like a roller, screwdriver, rawlplugs, and a voltage tester. Paint for lasting results, peel-and-stick for speed, swap handles using existing holes, and choose plug-in lighting. Small fixes, big lift: you refresh the house, and the house refreshes you.


