Start by confirming planning and heritage restrictions, since a rustic guesthouse use may trigger change-of-use, parking, septic, or access requirements, and get a full fabric survey for damp, timber decay, chimney stability, and insect attack. Plan guest flow from arrival to kitchen, lounge, bedrooms, and baths, and box-in new services through existing voids with access panels. Insulate with breathable woodfibre or wool, draughtproof gaps, and add secondary glazing. Restore stone, beams, and hearths with lime and minimal fixings—next you’ll see how to finish it beautifully.
Key Takeaways
- Confirm planning and heritage requirements early, including change-of-use, access, parking, septic compliance, and restrictions on windows, roofs, and masonry.
- Commission a full building survey to identify damp, timber decay, chimney stability, roof defects, and insect attack before finalizing the scope.
- Restore original stone, timber beams, and fireplaces using lime mortars, gentle cleaning, reversible methods, and authentic salvage to preserve historic character.
- Plan the layout around guest flow, separating bedrooms from social spaces, adding an efficient entry zone, and orienting seating and dining toward key views.
- Conceal modern services through existing voids and matching joinery, while upgrading comfort with insulation, draughtproofing, quality bedding, and safe bathroom fittings.
Check Planning Rules and Lodge Condition First
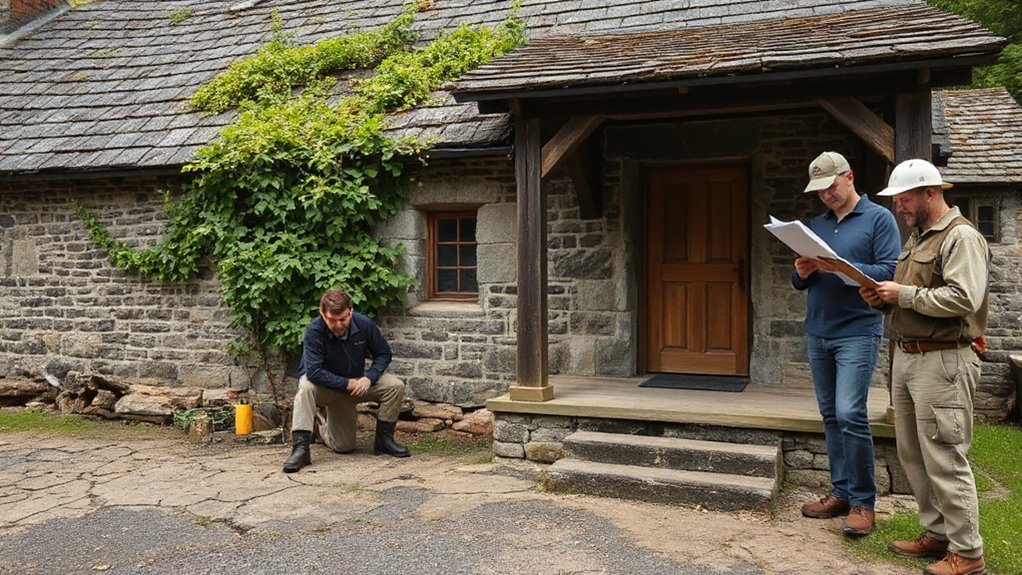
Before you sketch layouts or book trades, confirm what you’re allowed to change and what you’re starting with: check local planning restrictions (especially if the lodge sits on agricultural, forestry, listed, or conservation land) and verify whether “guesthouse” use triggers a change-of-use application, parking requirements, or septic and access standards.
Review Zoning regulations for setbacks, curtilage limits, external lighting, and signage, and ask the planner what conditions attach to any prior consents.
If heritage restrictions apply, get written guidance on windows, roofing, flues, and masonry repairs before ordering materials.
Then survey the building: check roof lines, damp sources, timber decay, chimney stability, and insect attack.
Confirm utilities capacity, drainage routes, and water quality.
Document defects and costs so your scope stays realistic.
Plan the Gamekeeper’s Lodge Layout for Guests
Once you know the lodge’s permissions and problem areas, plan the layout around how guests actually move through the space—arrival, storage, cooking, relaxing, sleeping, and washing—so every square metre works hard.
Set a clear entry drop zone with hooks, boot tray, and bench, then route straight to the kitchen without crossing lounge seating.
Define guest activity zones: a compact dining table near the stove, a quiet reading corner, and a mudroom-style area for wet gear.
Put the best view at the best seat; position the lounge and breakfast spot toward windows for wildlife observation.
Separate bedrooms from social areas to reduce noise, and guarantee each bed has a bedside shelf, charging shelf, and blackout control.
Keep sightlines simple for easy wayfinding.
Hide Modern Plumbing, Electrics, and Heating
You’ll keep the lodge’s rustic character intact by routing new pipework through existing voids, boxing-in runs with timber that matches original joinery, and placing access panels where guests won’t notice them.
You’ll hide electrics by using floor and ceiling cavities, chasing only in sacrificial plaster, and positioning outlets and switches in consistent, logical lines.
You’ll keep heating discreet with low-profile radiators, underfloor zones where floors are being lifted anyway, and neatly concealed manifolds and controls in cupboards or utility spaces.
Concealed Pipework Strategies
Although a gamekeeper’s lodge can’t function as a guesthouse without modern plumbing, electrics, and heating, you don’t have to let new services ruin the rustic lines. Plan your hidden pipework early, before finishes go on, and you’ll avoid awkward boxing later.
Run new supply and waste lines through existing voids: under stairs, inside redundant chimney breasts, behind built-in cupboards, and within floor zones between joists. Keep runs short and accessible by grouping wet rooms back-to-back and stacking fixtures vertically.
For plumbing concealment in solid walls, use surface-mounted timber trunking shaped like historic skirting or dado, then paint or wax it to match. Add removable access panels under sinks, behind bath aprons, and at junctions so you can service valves without ripping out plaster.
Discreet Wiring And Heating
Because surface cables and radiators instantly date a rustic room, route electrics and heating as if they’ve always belonged: drop wiring through ceiling voids and stud pockets, chase only where plaster will be renewed, and use shallow back boxes with period-appropriate plates to keep outlets tight to the wall.
Keep junctions accessible in cupboards, not sealed behind lime plaster.
Specify slimline LED downlights in secondary spaces and use wall lights on switched spurs to preserve beams.
For heat, favor underfloor where floors are lifted, or fit low-profile cast-iron-style rads with pipework run in skirtings.
Add smart home zoning with wireless stats and hidden actuators so you don’t scar stone.
Insulate pipe runs and balance circuits to improve energy efficiency without visible upgrades.
Insulate and Draughtproof Without Losing Character
Where does the warmth really disappear in a gamekeeper’s lodge—through the walls, the floor, or the countless small gaps you can’t see? Start by testing for draughts on a windy day with a smoke pencil or incense stick, then seal leaks at skirtings, floorboard joints, loft hatches, and service penetrations using lime-compatible mortar, hemp fibre, or discreet brush seals.
Choose sustainable insulation that respects historic authenticity: woodfibre boards, sheep’s wool, or hemp batts buffer moisture and reduce condensation risk. Insulate the roof first, then suspended floors with breathable membranes, keeping ventilation paths clear. Avoid foil-backed boards and cementitious fillers that trap damp.
Fit secondary glazing film or magnetic panels internally to cut heat loss without altering external joinery. Finally, balance everything with controlled background ventilation.
Restore Original Lodge Features Worth Keeping
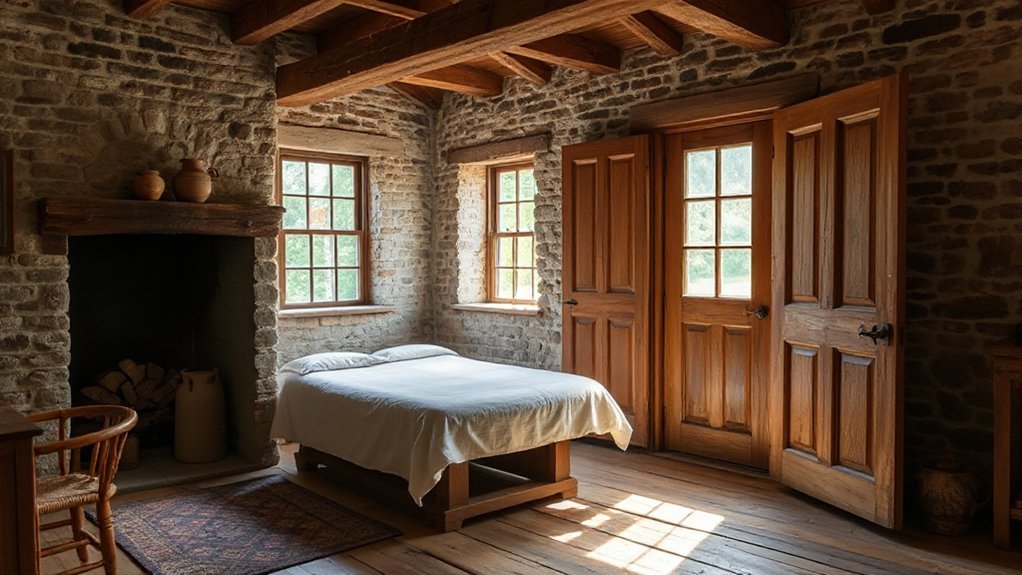
Start by preserving the lodge’s original stonework: clean it gently, repoint with lime mortar, and match existing joints so repairs disappear.
Inspect historic wood beams for rot and beetle damage, then splice or sister only where needed and keep tool marks and patina intact.
Restore period fireplaces by checking the lintel and flue, rebuilding the hearth with like-for-like materials, and fitting a compliant liner without altering the original opening.
Preserve Original Stonework
Even if you’re updating the lodge for modern comfort, keep the original stonework intact—it’s the feature that gives the building its authority and sense of place. Treat stone preservation as a priority, not an aesthetic option, and you’ll protect both durability and historical accuracy.
- Survey first: map cracks, spalls, and loose joints; photograph every elevation for a baseline.
- Clean gently: use soft brushing and low-pressure water; avoid acids and aggressive blasting that erases tooling.
- Repoint correctly: match lime content, aggregate size, and joint profile; keep mortar softer than the stone.
- Manage moisture: fix drainage, redirect runoff, and ventilate interiors so salts don’t crystallize in the face.
Repair Historic Wood Beams
Before you box in ceilings or add insulation, inspect and repair the lodge’s historic wood beams—they carry the structure’s load and much of its character. Probe for rot with an awl, check for insect frass, and map deflection with a laser level so you don’t hide movement.
For Historic preservation, keep as much original timber as possible: clean gently, treat active insects with borate, and dry the assembly before sealing. When damage is localized, scarf in matching seasoned wood rather than replacing the whole member.
Add structural reinforcement discreetly—sister beams, steel plates, or concealed flitch beams—sized by an engineer and bolted through sound fibers. Tighten connections, replace corroded fasteners, and maintain ventilation to prevent future decay.
Then document everything for permits and longevity.
Restore Period Fireplaces
Where else does a lodge earn its soul faster than at the hearth? When you restore period fireplaces, you’re preserving function and narrative. Start by documenting every surround, lintel, and tile pattern before you touch mortar.
Then sweep and camera-scope the flue; soot, birds’ nests, or cracked liners can turn charm into hazard. Use lime-based mortar and breathable finishes so the masonry dries naturally, and repair rather than replace original cast-iron inserts.
If you must add efficiency, fit a reversible stove or firebasket that doesn’t scar the opening or alter proportions. Let your work honor historic hearths by following these priorities:
- Safety first: liner, ventilation, alarms.
- Authentic materials: stone, lime, salvage.
- Reversibility: minimal fixings, no cement.
- Patina: clean gently, don’t over-restore.
Pick Rustic Finishes That Patina Beautifully
Specify limewash or mineral paint on plaster; it breathes, hides marks, and can be refreshed with a single coat.
For timber, use hardwax oil on floors and stair treads so scratches blend and spot repairs don’t telegraph.
Pick smoked or reclaimed oak where you can, and let knots and checks stay visible.
For metals, go with blackened steel, unlacquered brass, or aged iron; they darken naturally and don’t show fingerprints.
Seal stone with a penetrating, matte sealer to resist spills while keeping character.
Create Guest-Ready Bedrooms and Bathrooms
Rustic finishes earn their keep when the rooms still feel clean, quiet, and effortless to use, so set up bedrooms and bathrooms with guest comfort as the priority. Keep sightlines calm and storage generous, so guests unpack without clutter and you reset fast between stays. Preserve aesthetic harmony by repeating materials—oiled oak, matte black iron, stone-look tile—across both spaces.
- Beds: Choose a firm mattress, two pillow types, blackout lining, and a reading light per side.
- Sound: Add door sweeps, heavy curtains, and soft rugs to cut echoes.
- Bath: Install a thermostatic mixer, bright mirror lighting, and non-slip flooring.
- Details: Provide hooks, a luggage rack, charging by the bed, and clearly labeled toiletries.
Boost Curb Appeal With Outdoor Lodge Details
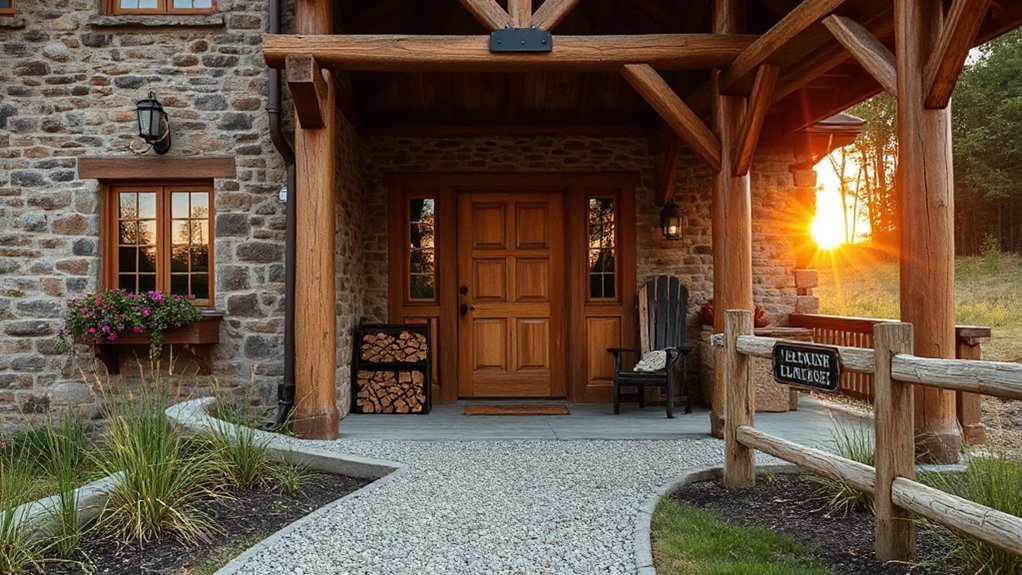
Even if the interior’s immaculate, guests decide how the stay will feel the moment they pull up, so treat the lodge exterior like a clear, welcoming signpost. Clear the drive, edge paths, and repaint the front door in a heritage color. Fix gutters, align downpipes, and replace cracked panes so the building reads cared-for, not “quaintly neglected.”
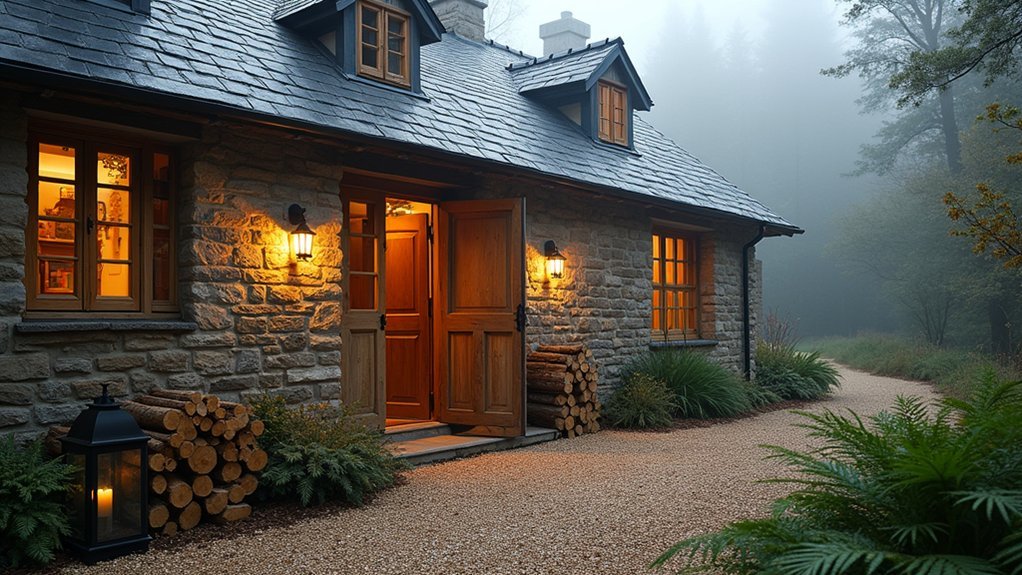
Add garden lighting: low bollards along the path, a warm porch sconce, and motion lights at parking for safety. Keep beams and trim stained, not peeling. Define an arrival zone with a gravel pad, boot scraper, and a lidded bin for wet gear.
Place outdoor furniture where it earns its keep: a bench by the door, two chairs facing the view, and a small table for mugs.
Frequently Asked Questions
What Insurance Cover Do You Need for a Guesthouse in a Converted Lodge?
You’ll need liability insurance for guest injuries and claims, plus property coverage for buildings, contents, and loss of income after damage. Add employers’ liability if you hire staff, and consider business interruption and public liability extensions.
Do You Need a Food Hygiene Rating if Offering Breakfast to Guests?
Yes—you’ll usually need to register and receive a food hygiene rating if you serve breakfast, even as a small B&B. Keep Food safety tight: follow Hygiene standards, document controls, and contact your local authority.
How Do You Set Competitive Nightly Rates for a Rural Rustic Guesthouse?
Set competitive nightly rates by building a pricing strategy: run market comparison on nearby stays, match amenities, and adjust for seasonality, occupancy, and length-of-stay. Track bookings weekly, test small changes, and enforce minimums.
What Booking System Works Best for Managing Direct Reservations and Channels?
Choose a cloud-based PMS with Online booking plus Channel management; it syncs calendars, rates, and messaging. Like a harbor master, you’ll direct every ship: connect Airbnb/Booking.com, enable Stripe payments, automate confirmations, and reduce double-bookings.
How Can You Market the Guesthouse Effectively Outside Peak Season?
You’ll market effectively off-peak by running Seasonal promotions for midweek and longer stays, building local partnerships with tour operators and restaurants, targeting email and social ads, and optimizing Google Business listings for winter search terms.
Conclusion
Before you welcome guests, you’ve got to treat your gamekeeper’s lodge like a good map: follow the rules, respect the terrain, and it’ll lead you home. Confirm permissions, fix the fabric, and keep the layout simple and intuitive. Bury services neatly, then insulate and draughtproof with breathable methods. Restore what’s original, choose finishes that age well, and deliver crisp bedrooms and watertight bathrooms. Finish outside with lighting, paths, and planting.