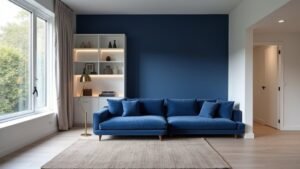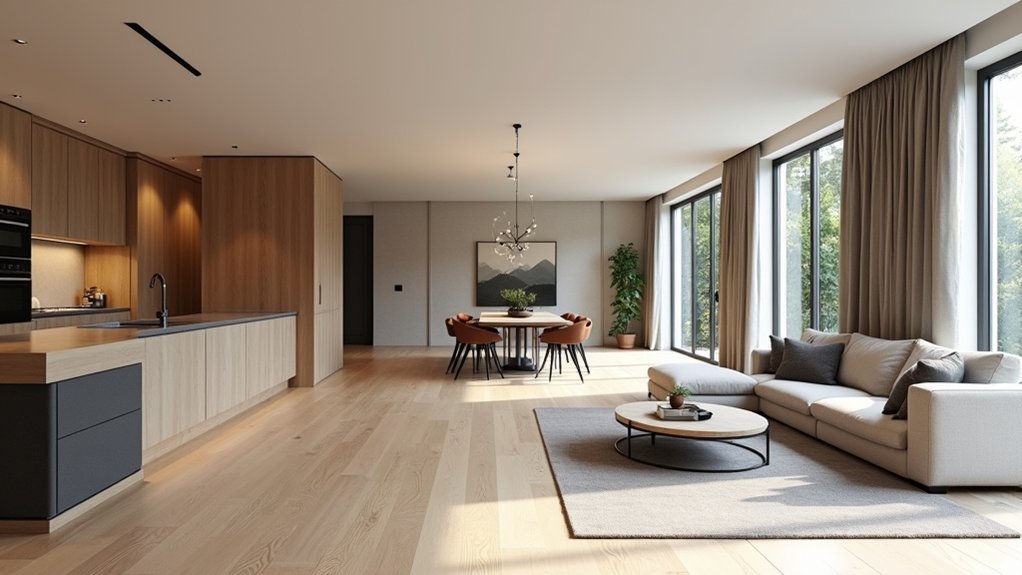
You create flow between rooms by deciding the sequence you want—arrival, pause, socialising, retreat—then mapping real traffic routes and fixing pinch points. Keep main walkways 900mm wide (1,000–1,100mm in open-plan) and leave 600–700mm beside sofas and beds. Position one clear “hero” per room on key sightlines, and place furniture to support straight paths. Use consistent colours, flooring, layered lighting, and smart storage to keep movement effortless, with more to follow.
Key Takeaways
- Map real traffic routes between rooms, then place furniture to keep main walkways 900–1,100mm wide and unobstructed.
- Define a clear sequence—arrival, pause, socialising, retreat—so each space has a role and privacy level that connects logically.
- Create strong sightlines by positioning one focal “hero” per room on view from doorways and keeping tall pieces off key axes.
- Use a consistent design language across rooms by repeating materials, colour temperature, and lighting style, with tonal shifts for gentle transitions.
- Align shapes and edges—rugs, sofa backs, consoles, joinery—with architectural lines and openings to guide the eye and movement forward.
Define the “Flow” You Want Between Rooms
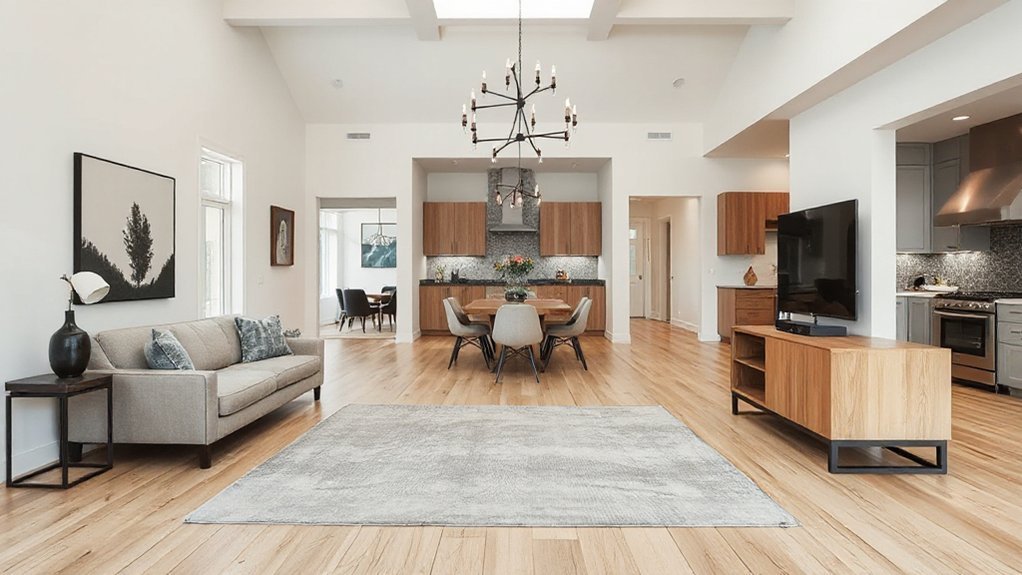
Before you start moving furniture or picking paint, decide how you want people to travel through your home and what each room should feel like on that journey. Define “flow” as a deliberate sequence: arrival, pause, socialising, retreat. You’ll get better room connectivity when every space has a clear role and a consistent level of openness. In UK homes, where hallways and box rooms are common, choose whether you want connected sightlines (calm, expansive) or stronger thresholds (cosy, defined). Set a shared design language across rooms—repeat one or two materials, a colour temperature, and a lighting style—to create spatial harmony without making everything match. Finally, agree your non-negotiables: privacy for bedrooms, practicality for kitchens, and quiet zones for working.
Map Traffic Patterns and Pinch Points First
Once you’ve decided the kind of flow you want, map how people actually move through the house day to day. Do a quick Traffic analysis: note routes from front door to kitchen, stairs, and garden access, plus school-run drop zones like the hall. Mark where you pause—by the shoe cupboard, under-stairs storage, or at the kitchen island—and where doors clash or corners feel tight.
Next, test those paths at peak times: mornings, laundry runs, and when guests arrive. Use masking tape on the floor or a simple sketch plan to record turning points and ‘bottleneck’ moments around radiators, bay windows, or awkward chimney breasts common in UK homes. This evidence-led approach makes space optimization decisions obvious before you move furniture or commit to joinery changes.
Keep Walkways Clear (and the Right Width)
Keep your main walkways at least 900mm wide so you can move comfortably between rooms, especially in typical UK terraces and flats. Position furniture to the sides and keep high-traffic routes free of trip hazards like plant pots, floor lamps, and trailing leads. If a piece consistently narrows the path, shift it or swap it for a slimmer option so circulation stays smooth.
Maintain Minimum Path Width
Although colour and lighting help guide the eye, nothing improves flow like giving people enough room to move comfortably. In UK homes, aim for a clear circulation route of at least 900mm through main walkways; 1,000–1,100mm feels better in open-plan spaces or where two people pass. Keep 600–700mm beside sofas and beds for easy access, and allow 1,200mm around dining tables so chairs pull out without squeezing the route. Plan widths alongside Natural lighting: don’t narrow paths near windows where you’ll naturally gravitate. Pair this with acoustic planning by keeping generous routes between noisy zones and quieter seating, so movement doesn’t force people close to speakers or hard surfaces. Measure, tape it out, then adjust furniture spacing.
Remove Obstacles From Routes
If your walkways meet the recommended widths but still feel awkward, obstacles are usually the culprit. Start with Obstruction removal: shift bins, plant stands, and occasional chairs off the main route, and keep radiators, skirting edges, and door swings in mind. In UK homes, narrow halls and under-stair corners invite clutter, so give shoes and post a defined drop zone away from the path.
Then do Path optimization: align furniture so you can walk in a straight line between key points—front door to kitchen, sofa to dining, bed to wardrobe—without side-stepping. Keep cables tight to walls, use wall lights instead of floor lamps, and choose slim consoles rather than deep sideboards. Finally, check corners: nothing should pinch turning space by doors.
Arrange Furniture to Support Natural Movement
Set out clear walking paths first, so you can move between rooms without weaving around corners or squeezing past chair arms. Then float key pieces—like your sofa or sideboard—away from the walls where it helps the route feel direct and balanced in a typical UK-sized room. Finally, align seating with doorways to reinforce the natural line of travel and make each progression feel effortless.
Define Clear Walking Paths
When you map how you actually move through your home, clear walking paths become the backbone of a layout that feels calm and connected. Start by tracing routes from the front door to the kitchen, lounge, and stairs, then keep those lines open and obvious. Aim for roughly 90cm clearance in main routes, and don’t pinch doorways or radiator edges, which are common in UK homes.
Use furniture placement to guide movement: align sofas and sideboards so you can pass without turning sideways, and keep coffee tables centred with enough knee and step space. Reinforce routes with lighting schemes: place floor lamps to mark corners, use warm wall lights along halls, and avoid glare that makes thresholds feel cramped.
Float Furniture For Flow
Although pushing everything against the walls can seem like the “safe” option, you’ll usually get better flow by floating key pieces to shape natural routes through the room. With floating furniture, you create a flow focused layout that guides people without bottlenecks, especially in UK terraces and open-plan new builds. Pull seating off the wall to form a conversational zone, then leave a clear run around it. Anchor the arrangement with a rug so it feels intentional, not adrift. Keep proportions tight; bulky pieces in narrow rooms kill movement fast.
- A sofa hovering on the rug, 20–30cm off the wall
- Two armchairs angled inward, not blocking circulation
- A slim console behind the sofa to define a walkway
- A coffee table centred, with knee space all round
- A floor lamp tucked to the side, not in the route
Align Seating With Doorways
Because doorways dictate how people naturally enter and cross a room, you’ll get smoother flow by lining up your main seating layout with those routes instead of fighting them. Start by noting door placement and the clear “desire line” between openings, then keep that path unobstructed. Position your sofa parallel to the travel line or slightly offset, so walkers pass behind it, not through your conversation zone.
Use seating alignment to create a calm visual axis: aim chairs toward the doorway you use most, but angle them inward for comfort. In typical UK lounges, leave 800–900mm for circulation, especially near radiators and bay windows. If a door swings into the room, shift side tables and floor lamps outside the arc. You’ll feel the difference immediately.
Right-Size Furniture So Rooms Don’t Feel Blocked
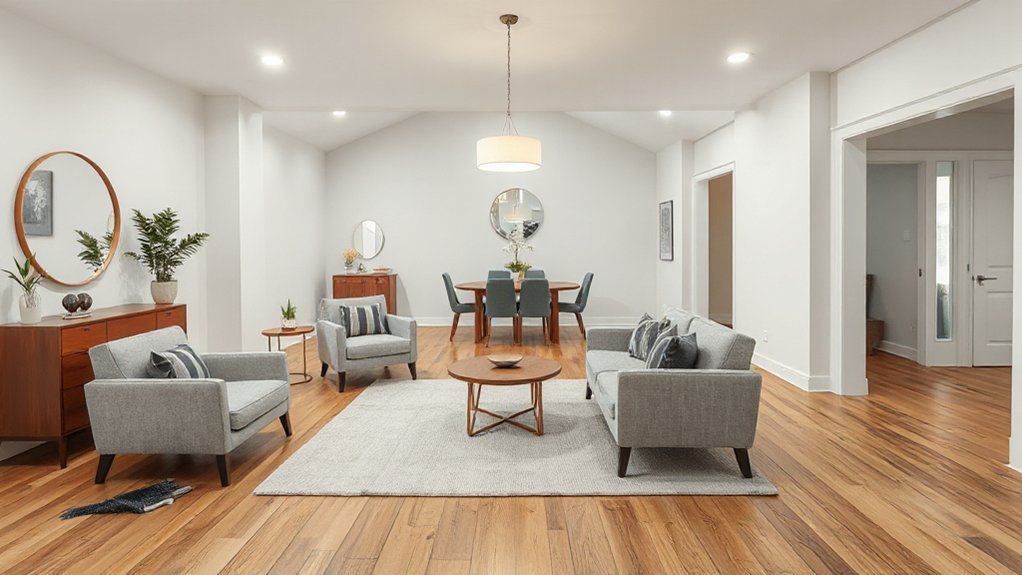
Even in a well-planned layout, oversized furniture can choke the route between rooms and make a home feel awkwardly segmented. You’ll get better flow when you right-size pieces to your UK room proportions and keep walkways clear. Prioritise furniture placement that supports everyday routes, and treat space optimization as a measurable target: aim for 75–90cm circulation paths (up to 100cm in busy family areas).
- Swap deep sofas for slimmer, apartment-scale models
- Choose armless dining chairs that tuck fully under the table
- Use nesting tables instead of bulky coffee tables
- Pick low, shallow storage (30–40cm deep) in hall-to-lounge sightlines
- Float seating slightly off walls only if it doesn’t pinch door swings
Measure first, then buy; returns are hassle-free if you plan ahead.
Anchor Each Room With One Clear Focal Point
Choose one clear “hero” for each room—like the fireplace, a statement sofa, or a large piece of art—so the space instantly makes sense. Then arrange furniture and lighting to support it, keeping routes to doors and throughways clear in typical UK room proportions. Align your sightlines from the hall and adjoining rooms so that focal point pulls you forward and the whole layout feels connected.
Define The Room’s Hero
When you want rooms to flow naturally, you need to give each one a clear “hero” that draws the eye and sets the hierarchy. Start with focal point selection: pick one dominant feature per room, then arrange everything else to support it. Keep color consistency across adjoining spaces—repeat a paint tone, timber finish, or metal accent—so the hero feels intentional, not random. In UK homes, where rooms can be compact, scale matters: choose a statement that fits without crowding circulation.
- A fireplace with a simple mantel and paired lamps
- A sofa facing a bold artwork in a muted palette
- A dining table centred under a pendant, chairs aligned
- A bed with an upholstered headboard and crisp linen
- A console with a mirror, tray, and warm wall light
Strengthen Sightline Alignment
Although each room needs its own hero, you’ll only get real flow if that focal point sits on a clear sightline from the doorway or the main route through the house. Stand in the hall, landing, or open-plan threshold and note what your eye hits first—then place the hero there on purpose.
Use focal point alignment to link spaces: a fireplace centred to the door, a statement pendant over the dining table, or artwork framed at the end of a corridor. Keep tall furniture off the main visual sightline, especially in UK terraces and semis where hallways run narrow. Align rugs, sofa backs, and console tables to guide the gaze forward. If you can’t centre, cheat with lighting and symmetry so the target still reads instantly.
Use Open Sightlines to Connect Adjacent Spaces
Even if your rooms serve different purposes, open sightlines can make the whole home feel calmer and easier to navigate. You’ll improve visual sightlines by reducing blockers between key zones and respecting room adjacency, so each space still feels defined. In many UK homes, that means working with narrow halls, bay windows, and open-plan kitchen-diners without losing privacy.
- Keep doorways clear of tall bookcases and coat stands
- Choose low-backed sofas so views pass through to the next room
- Use glazed internal doors to borrow light while controlling noise
- Position dining tables parallel to openings to maintain a clear path
- Create a “view anchor” (art, plant, lamp) visible from both rooms
You don’t need major building work; small layout tweaks usually deliver the biggest gains.
Repeat Shapes and Lines for Visual Continuity
If you repeat key shapes and lines from one room to the next, you’ll create a sense of flow without knocking through walls. Start by spotting the dominant geometry in each space: arched doorways, rectangular windows, or a long run of skirting. Echo it elsewhere with mirror shapes, shelving proportions, or rug outlines so your eye keeps moving naturally.
Use Repeating patterns in joinery details, tile grids, or slatted fronts, and keep the spacing consistent to build visual harmony. Align furniture edges with architectural lines: run a sofa back parallel to a fireplace breast, or match dining chair rails to dado height. In UK homes, carry the same profile of coving, architrave, or shaker-style door across rooms, even if you refresh the finishes later.
Link Rooms With a Simple, Consistent Color Plan
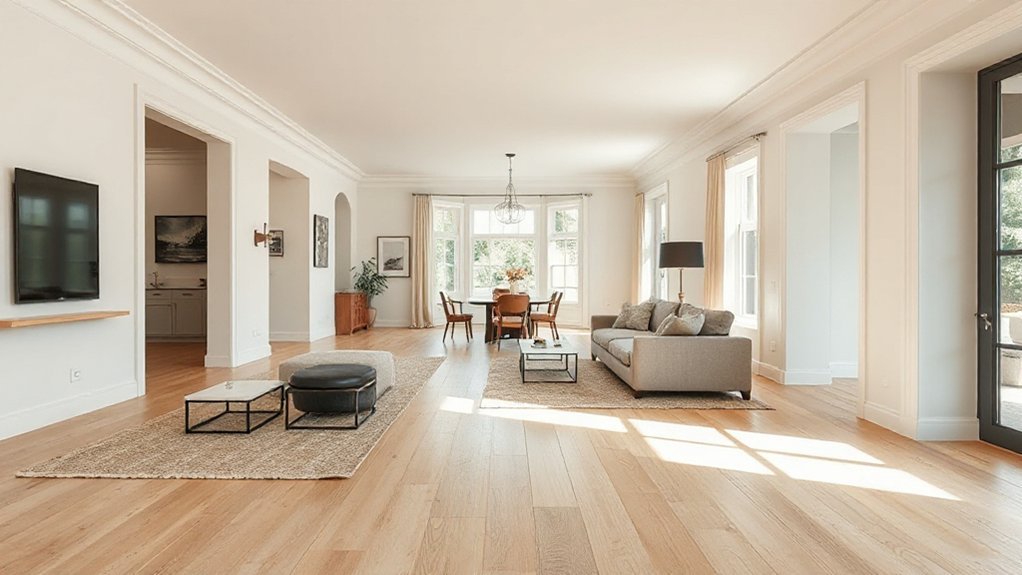
Once you’ve echoed shapes and lines across spaces, lock that sense of connection in with a simple, consistent colour plan. You’ll get better flow when your palette stays tight and repeats in sightlines, especially in UK open-plan terraces and hallway-led semis where rooms reveal themselves in sequence. Aim for Color harmony by choosing one main wall colour, one supporting neutral, and one accent you reuse.
- Paint the hall and landing in the same shade to bridge every doorway.
- Keep ceilings one consistent white to stop visual “breaks”.
- Repeat a single accent (ink blue, olive, clay) in each room.
- Use a tonal shift (one shade lighter/darker) between adjoining spaces.
- Maintain paint continuity on skirting, architraves, and internal doors throughout.
Carry Key Materials and Finishes Room to Room
To create flow, you should repeat one or two signature materials—like oak, terrazzo, or brushed brass—across adjoining rooms so the whole home reads as one scheme. Echo finishes and textures in small, intentional touches, such as matching door furniture to light fittings or carrying the same worktop edge detail into a utility shelf. In typical UK layouts with narrower hallways and open-plan zones, these repeats stitch sightlines together without making every room feel identical.
Repeat Signature Materials
Although each room can have its own character, repeating a few signature materials across your home is what makes the layout feel intentional rather than stitched together. Choose two or three Signature materials and commit to Material repetition in small, consistent doses, so spaces relate without looking matchy. In UK homes with tight hallways and open-plan kitchen-diners, this approach helps your eye travel smoothly from front door to garden. Keep changes to colour and pattern, not core materials, and you’ll get continuity even when rooms serve different functions.
- Oak or ash flooring carried through the hall and living room
- The same painted timber skirting profile throughout
- One worktop stone repeated on a console or shelf
- Matching internal door style, handles, and hinges
- A consistent stair balustrade material echoed in shelving
Echo Finishes And Textures
Signature materials set the backbone; now you’ll get even smoother flow by echoing finishes and textures as you move from room to room. Echo finishes by repeating the same metal tone on handles, taps, and lighting—brushed brass or blackened steel works well in many UK homes. Keep timber consistent: match oak shelving in the lounge to an oak vanity or hallway bench, even if the forms differ. Carry one paint sheen level through connected spaces; a soft eggshell on skirting and doors avoids jarring shifts under British daylight. Use Textural contrasts deliberately: pair matte walls with a honed stone worktop, or linen curtains with glazed tiles. Limit each zone to two dominant textures, then bridge with one shared accent.
Use Rugs to Zone Spaces Without Chopping Flow
Where does one room end and the next begin in an open-plan layout? You can answer that with area rugs and smart visual zoning, not extra walls. Pick rugs that anchor furniture, guide circulation, and keep sightlines open. In UK homes, consider standard sofa sizes, narrow terraces, and muddy footwear; choose durable weaves and easy-clean piles.
- Place the front legs of your sofa and armchairs on one rug to define the lounge.
- Slide a flatter weave under the dining table, sized so chairs stay on it when pulled out.
- Run a narrow runner to suggest a walkway through the space without blocking routes.
- Repeat one colour across rugs to link zones.
- Keep a small border of floor showing around each rug for breathing space.
Choose Flooring Transitions That Feel Seamless
One well-chosen flooring change can make an open-plan space feel intentional rather than patchworked. Keep changes logical: use one primary floor through circulation routes, then switch only where function changes, like kitchen to dining. In UK homes, aim for flush thresholds to avoid trip points and meet accessibility needs; ask your fitter about feathering subfloors and using slim trim. Match undertones so boards, tiles, and vinyl sit within your colour schemes, even if materials differ. If you must contrast, repeat the second finish elsewhere so it looks planned. Align plank direction with movement between rooms to guide you forward. Finally, choose transitions that suit your furniture styles: brass for contemporary, oak for traditional, black for industrial, and keep widths consistent throughout.
Layer Lighting to “Pull” You Through the Home
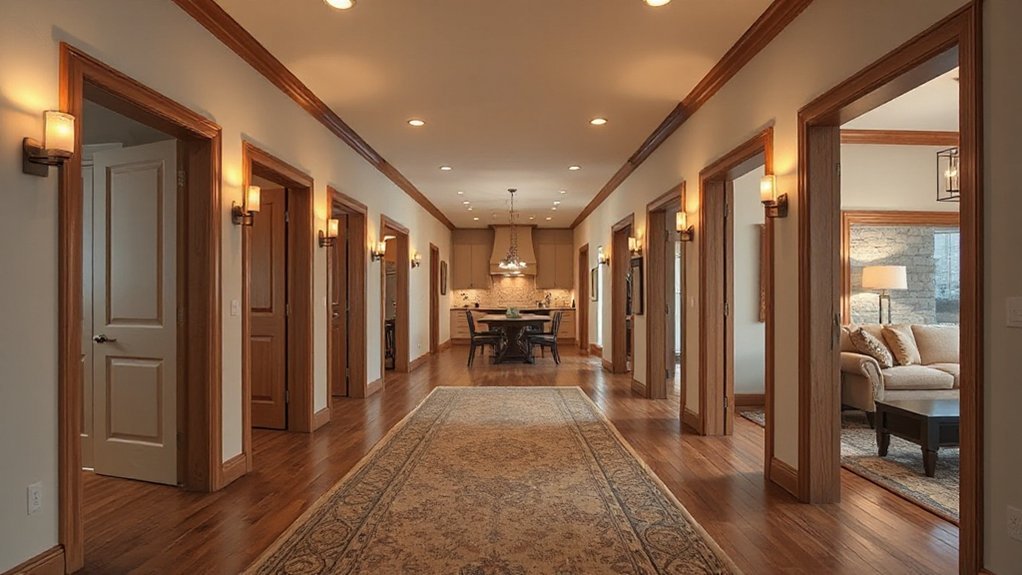
Seamless flooring helps your layout read as a single plan; now use light to guide the eye and your feet from room to room. Layer lighting so each space hands you on, rather than stopping you with a harsh change in brightness. In UK homes, corridors and open-plan kitchen-diners often feel flat; fix that by setting a clear “route” of illumination and softer mood lighting at the edges.
- Put warm, dimmable downlights in thresholds to mark passages without glare.
- Add wall lights along hallways to create a gentle runway at eye level.
- Hang a pendant over the dining area as a visual destination point.
- Use under-cabinet LEDs to lead you through the kitchen zone.
- Place table lamps in the lounge to pull you towards seating.
Add Smart Storage to Eliminate Visual Clutter
Even if your flooring and lighting flow perfectly, visual clutter will still break the journey between rooms, so build in smart storage that keeps everyday bits out of sight. Start by auditing what migrates: shoes, post, chargers, kids’ stuff. Give each item a home within arm’s reach of where you drop it, using slim console drawers, lidded baskets, or a built-in bench with lift-up storage. In UK homes, make the most of alcoves and chimney breasts with fitted cupboards, and use under-stairs joinery for coats and vacuum cleaners. Keep surfaces clear by specifying wall-mounted units and closed-front cabinetry in open-plan zones. Label internal sections, add a catch-all tray, and schedule a weekly five-minute reset to prevent visual clutter returning.
Fix Common Awkward Layouts (Doors, Halls, Dead Ends)
Clear surfaces help, but you’ll still lose flow if the route between rooms forces you into tight turns, door clashes, or gloomy dead ends. Audit your awkward hallway from the front door to the kitchen and fix the pinch points first. Start with door placement: rehang to open against a wall, swap to pocket or sliding doors where Building Regs allow, and keep clear sightlines through key thresholds. Brighten narrow halls with consistent flooring, strong ceiling lighting, and a pale, hard-wearing paint suited to UK terraces and semis.
- A door that opens into furniture, blocking the walkway
- Two doors colliding at a landing or WC
- A hall ending at a blank wall with no focal point
- A tight corner softened with a curved console or mirror
- A dead end turned into storage with a lit niche
Frequently Asked Questions
What’s the Typical Budget for Improving Flow Between Rooms?
You’ll typically budget £1,000–£5,000 for small tweaks, £5,000–£15,000 for internal layout changes, and £15,000–£40,000+ for structural work in the UK. Use Budget planning to manage renovation costs, quotes.
Do I Need a Designer or Can I DIY Room-To-Room Flow?
Measure twice, cut once: You can DIY room-to-room flow if you handle furniture arrangement and protect visual pathways; hire a designer for knock-throughs or rewiring. In the UK, check building regs and party wall rules.
How Long Does a Full-Home Flow Redesign Usually Take?
You’ll usually need 2–6 weeks for a full-home flow redesign, depending on survey, Furniture arrangement, and traffic patterns. If you’re ordering joinery or waiting trades in the UK, allow 8–12 weeks overall.
Which Software or Apps Help Plan Layouts and Traffic Flow?
Use SketchUp, RoomSketcher, or Planner 5D—they’re your compass through a design maze. You’ll test Virtual tours, measure Space optimization, and map routes. For UK projects, check Rightmove floorplans and comply with Building Regulations.
How Can I Improve Flow in a Rental Without Permanent Changes?
Improve flow by optimising furniture arrangement to clear walkways and create zones. Use lighting placement—floor lamps, plug-in wall lights, warm bulbs—to guide movement. Add rugs, mirrors, and removable hooks; follow UK tenancy rules.
Conclusion
When you plan for flow, you’re really designing how you’ll move, live, and feel from room to room. Start with clear routes, then position furniture to guide you naturally—never forcing you to sidestep like you’re dodging a medieval jouster. Keep walkways generous (about 90cm; aim for 1m in busy UK family homes), simplify flooring passages, and use layered lighting to draw you onward. Tackle clutter with smart storage, and awkward corners stop being problems.