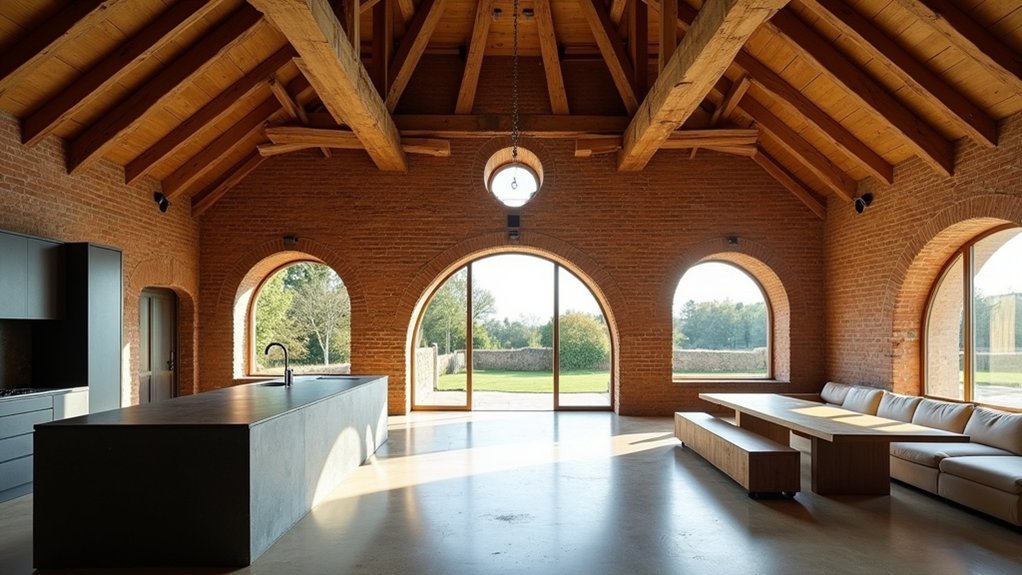
You’ll get a dramatic open-plan oast house by mapping kiln roundels, stowage bays, and load paths before you remove anything. Keep ring walls, chimneys, and rafter feet intact unless an engineer specifies steel or glulam support. Zone the curved volume with circular rugs, pendants, and banquettes, and protect sightlines with a lightweight mezzanine. Boost daylight with slim-frame glazing and rooflights, then control echo, privacy, and stack effect using acoustic linings, heat zoning, and high/low vents. Next, you’ll see how each move locks together.
Key Takeaways
- Map kiln roundels, stowage ranges, and load paths to define open-plan zones without compromising the historic shell.
- Remove only verified non-loadbearing partitions; use engineered steel or glulam supports where openings affect structural walls.
- Use circular zoning cues—rugs, banquettes, pendant lights, and floor geometry—to make circulation intuitive within curved spaces.
- Maximize drama with rooflights and slim glazing, while keeping original brick, timber, and metal details as primary finishes.
- Control comfort in tall volumes with acoustic linings, vertical heat zoning, and stack-effect ventilation using high-level exhaust and low-level inlets.
Check If an Oast House Suits Open-Plan Living
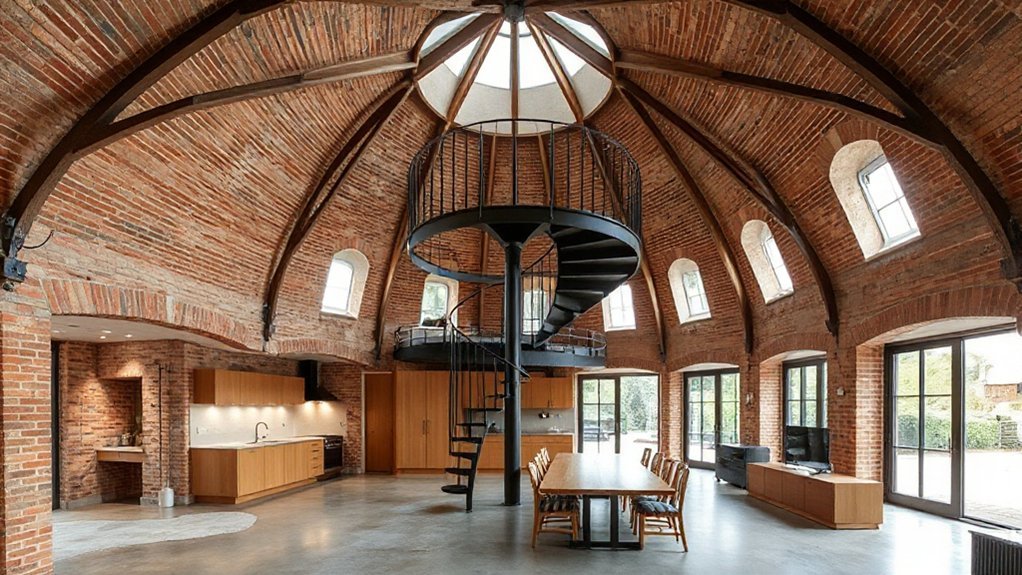
Before you commit to knocking through walls, assess whether the oast house’s original geometry and structure can actually support open-plan living. You’re working with a plan driven by oast house history: round kilns, tapering roofs, and a rectilinear stowage range that rarely align to a single expansive room.
Map how you’ll stitch volumes together without fighting local architecture. Identify which spaces already read as continuous—linked kiln bases, wide bays, or double-height voids—then test sightlines, daylight paths, and circulation.
Check where curves meet straight runs, because junctions dictate furniture layouts, acoustic behavior, and service routes. Consider how open-plan use will handle stacked levels, mezzanines, and roof cones so the interior feels intentional, not compromised.
Know Your Oast House Constraints: Structure, Consent, Budget
Before you sketch an open plan, you’ll map the oast house’s structural limits and loadpaths, because curved walls, ring beams, and existing floor joists dictate what you can remove and what you must support.
You’ll also confirm planning consent requirements—especially if it’s listed or in a conservation area—since glazing changes, new openings, and internal alterations can trigger conditions and specialist reports.
Finally, you’ll align the design with budget realities, factoring in engineering, approvals, and build complexity so costs don’t escalate mid-project.
Structural Limits And Loadpaths
Although an oast house looks deceptively simple, its structure works as a tightly balanced system of loadpaths—roof and floor loads transfer through the round masonry shell, any internal timber frame, and the junctions where kiln cones meet the main body.
So cutting openings or stripping partitions can trigger local cracking, ring-beam failure, or uneven settlement. You’ll need Load bearing considerations mapped before you touch masonry or remove joists, and you must confirm Foundation stability where thrusts concentrate at cone springings and floor bearings.
Visualise the loadpath as:
- a compression hoop around the curved brickwork
- radial rafters pushing to a ring beam
- timber posts stitching floors to shell
- lintels bridging new apertures without point loads
- footings spreading forces into firm subsoil
You should sequence temporary propping, then permanent steel, to keep deflections within tolerance.
Planning Consent And Costs
Once you’ve traced the loadpaths and fixed the structural strategy, you need to pin down what you’re actually allowed to build—and what it’ll cost—because oast houses often sit under tighter planning controls than standard conversions.
Check listing status, conservation-area policies, and any Article 4 directions, then align openings, glazing ratios, rooflights, and external materials with Historic preservation requirements.
You’ll speed approvals if you run early pre-app advice and document significance, method statements, and reversible interventions.
Build in community consultation: neighbours often scrutinise parking, light spill, and heritage impact, and their comments can shape conditions.
Cost-wise, budget for surveys (heritage, bat, asbestos), specialist drawings, planning fees, and contingency for conditions like archaeological watching briefs.
Allow time for iterative revisions and supply-chain lead times on bespoke joinery.
Work With Roundels: Zoning the Open-Plan Layout
Because an oast house’s geometry naturally pulls the eye into a continuous sweep, you’ll need zoning cues that don’t rely on straight walls. Work with roundels—layered circles that set boundaries through light, furniture, and floor geometry—so circulation stays intuitive and sightlines remain dramatic.
Use roundel lighting to pin key functions under the roof cone, then echo those radii with circular furniture to keep proportions calm and centered.
- A pendant halo over the dining round, dimmed to 2700K for warmth
- A circular rug that clips the lounge zone without blocking paths
- A curved banquette that “backs” the kitchen while keeping it open
- A radial floor inlay marking entry-to-living flow lines
- A low, round table aligning seating arcs and view corridors
Open Up Safely: What Walls You Can Remove
If you want a truly open-plan oast house, start by mapping the structural load paths so you only remove partitions that don’t stabilise the roundel shell. Assume external masonry and any internal ring walls act as primary diaphragms; treat them as untouchable until an engineer verifies otherwise.
You can often take out later studwork, redundant infill between roundels, and non-loadbearing corridor walls, but confirm by opening up and checking joist bearings, lintels, and wall thickness changes.
Don’t cut through chimney flues, tie beams, or rafter feet without a designed substitute. Where you must remove a bearing wall, specify steel or glulam with spreader plates and restraint straps, and document it for historic preservation and cultural significance compliance.
Engage building control early.
Add Daylight: Glazing, Rooflights, and Views
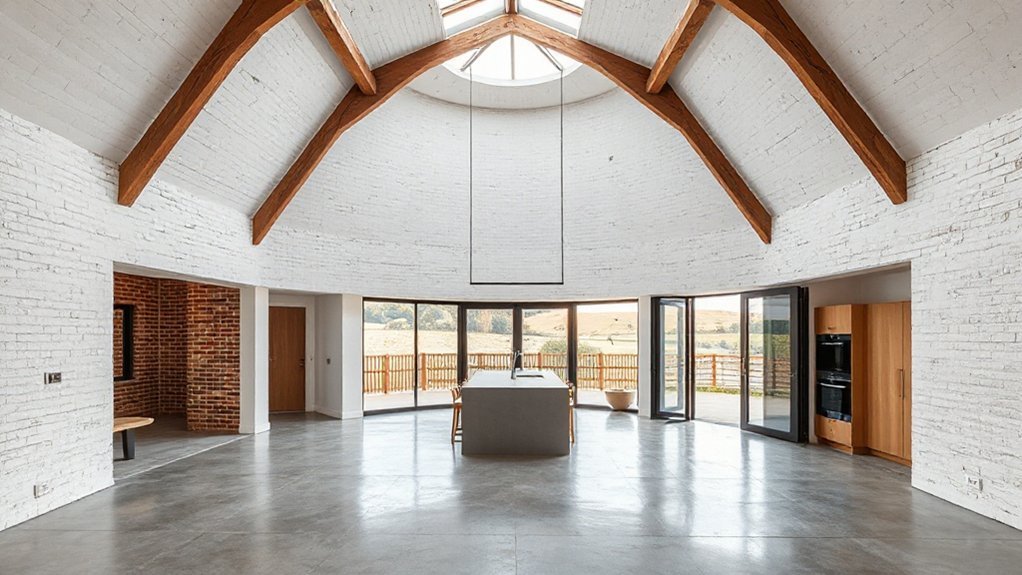
With the load-bearing shell and ring walls protected, you can focus on bringing daylight deep into the open plan without undermining the oast house’s structure or character. Prioritise high-performance glazing and carefully placed rooflights to pull Natural light across curved volumes and improve interior aesthetics.
Specify slimline frames, low‑e coatings, and warm-edge spacers to cut heat loss while keeping sightlines clean. Use structural openings only where engineers confirm ring-beam continuity, then align new glazing with key vistas to anchor the layout.
- A tall, arched window framing orchard rows
- A flush rooflight washing the stair void
- Corner glazing catching sunrise over fields
- A glazed link revealing the kiln silhouette
- A deep sill creating a seat with sky views
Control glare with external shading and solar-control glass.
Keep Character: Exposed Brick, Timber, and Metalwork
Although you’re opening up the plan and sharpening the detailing, you should keep the oast house’s identity legible by treating its original brickwork, timber members, and metal fittings as primary finishes rather than background fabric.
Rake out failing mortar, repoint with lime, and leave brick faces breathable; avoid cement sealers that trap moisture and salt.
Clean timber with low-abrasion methods, then consolidate checks with resin only where structurally necessary, keeping tool marks visible.
Retain iron straps, hinges, and kiln hardware; de-rust mechanically, passivate, and wax or blacken for a stable patina.
Use junction details—shadow gaps, recessed skirting, and concealed fixings—to frame these elements.
This approach supports Historical preservation while anchoring interior decor in authentic texture and proportion.
Add a Mezzanine Without Crowding the Volume
Because the oast house’s drama comes from its uninterrupted height and tapering geometry, you should treat a mezzanine as a lightweight insertion that preserves clear sightlines across the central void.
Start with Mezzanine placement: tuck it into the widest ring, float it off the masonry, and keep the edge set back from the curve so the cone still reads.
Then resolve Load bearing considerations early—span between new steel ribs or a discreet central column, and verify lateral restraint at the wall line to avoid cracking historic brickwork.
Keep the build visually thin:
- slim steel C-channel rim
- open riser stair, tight to wall
- timber treads, pale oiled finish
- glass balustrade, minimal posts
- concealed LED strip under nosings
Tame Echo and Privacy in an Open Oast House
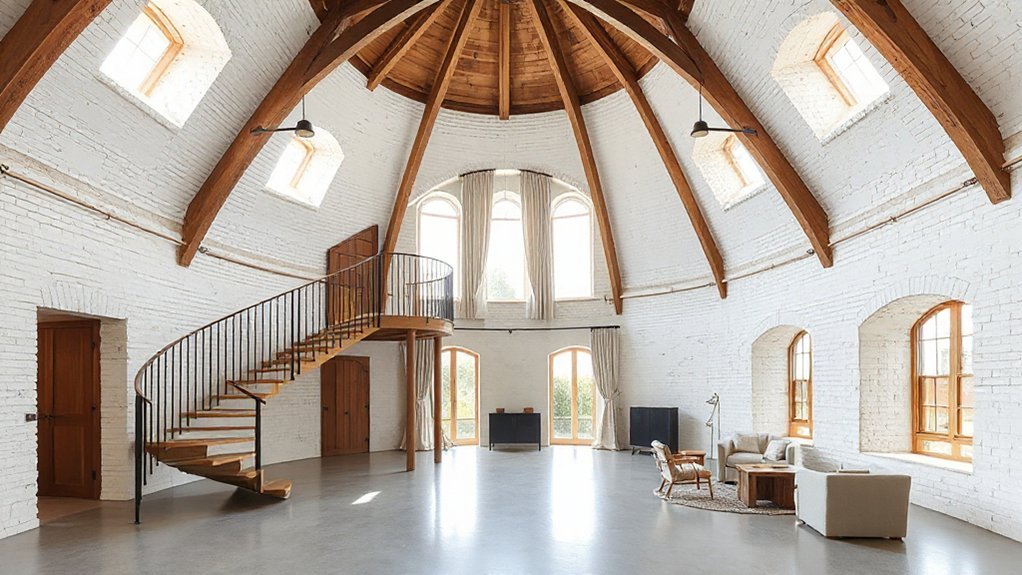
If you open up an oast house into a single tall volume, you’ll also amplify two things fast: reverberation and sightline exposure. You can control both without killing the drama.
Start with Soundproofing techniques that add absorption where sound collects: dense wool rugs, acoustic plaster, and timber slat panels with mineral-wool backing on the curved walls.
Break up flutter echo by staggering bookcases, lining the stair soffit, and specifying perforated balustrade infill.
Treat floors and mezzanine decks with resilient underlay to cut impact noise, and seal junctions to stop flanking paths.
For privacy, use privacy window solutions like reeded or etched glazing at eye level, paired with high-level clear panes for daylight.
Add motorized sheer blinds for adjustable screening.
Heat a Tall Oast House: Zoning and Ventilation
In a tall oast house, you’ll get better comfort and lower running costs if you set up vertical heat zoning so you’re not overheating the upper volume.
You can also harness (or tame) the stack effect with controlled high-level exhaust and low-level make-up air to keep temperature stratification and humidity in check.
Tie it together with smart thermostat controls that coordinate zone valves, fans, and schedules based on real-time temperatures at multiple heights.
Vertical Heat Zoning
- Warm toes at the slab from underfloor loops
- A temperate mezzanine held by a dedicated stat
- Cooler, sleeping-level air behind insulated linings
- Radiant panels aimed downward, not across voids
- Discrete sensors on balustrades, tracking gradients
Stack Effect Ventilation
Why does a tall oast house feel stuffy at the mezzanine while the slab stays cool? You’re seeing stack effect: warm air rises through the open plan, pools at the cone, and pulls cooler replacement air across the floor.
To improve airflow efficiency, you’ll control the vertical pathway instead of fighting it with more heat. Add a high-level exhaust point at the roof lantern or apex, then pair it with a low-level inlet on the shaded side to drive a predictable convective loop.
Use dampers or door undercuts to balance room-to-room transfer, and keep return paths unobstructed behind joinery.
In winter, crack high vents briefly to purge stratified air; in summer, night-flush to reset thermal mass for steadier temperature regulation.
Smart Thermostat Controls
Once you’ve shaped a reliable convective loop with high exhaust and low inlets, smart thermostat controls let you stop heating the cone and start conditioning the zones you actually occupy. You’ll map the oast’s vertical gradient into schedules, setpoints, and demand-based airflow, so heat follows people, not volume.
Use room sensors to anticipate stratification, then drive valves and fans to trim overshoot and stabilize radiant asymmetry, improving user comfort while delivering energy savings.
- A stairwell sensor acting like a “smoke test” for temperature lift
- Motorized zone valves snapping shut below the gallery
- A supply fan ramping with CO₂, not guesswork
- Floor-level probes protecting ankles from cold downdrafts
- A master setpoint that learns sunny afternoons and windy nights
Fit a Kitchen to Curved Oast Walls (and Choose Finishes)
Although the oast’s circular footprint looks sculptural on paper, it forces you to treat the kitchen as a piece of fitted joinery rather than a standard run of units. You’ll template the radius off the masonry, scribe end panels, and specify flexible carcase tolerances so doors don’t bind as walls drift.
Keep services in a straight “spine” zone to avoid chasing historic brickwork; that supports historical preservation and simplifies ventilation runs.
Choose a curved island instead of a wall-hugging peninsula to preserve circulation.
For finishes, use matt lacquer or stained oak to soften the geometry, and a thin-profile stone or sintered worktop for tight radii.
Coordinate plinth lines with Oast house landscaping sightlines through glazing, so materials read continuous.
Frequently Asked Questions
How Do You Insure an Oast House During Major Renovation Works?
You insure it by arranging specialist building renovation coverage, disclosing works, heritage features, and rebuild cost. Confirm Insurance considerations: contractor liability, public liability, and materials-on-site. Require evidence of contractors’ policies, warranties, and compliance.
What Are Typical Resale Values After Converting an Oast House to Open Plan?
Like a kiln reborn as a beacon, you’ll typically see 10–40% uplifts versus unconverted stock, often £700k–£2m+. You’ll maximise value by Historic preservation and tight Architectural integration, ensuring planning compliance and premium finishes.
Can You Add Smart Home Wiring Without Damaging Historic Fabric?
Yes—you can add smart home wiring without harming historic fabric if you plan routes carefully. You’ll prioritize Wireless integration, use Hidden wiring in existing voids, surface raceways, and reversible fixings, and document everything.
How Do You Manage Drainage and Wastewater Upgrades in Rural Oast Locations?
You won’t ruin the site: you manage upgrades by commissioning percolation tests, mapping outfalls, and selecting a compliant Septic system. You’ll specify sealed tanks, pumped lifts, and gravity falls, plus filter drains and Drainage solutions.
What Are Common Pest or Damp Issues Unique to Converted Oast Houses?
You’ll commonly face rodent and bat ingress via roof voids, and woodworm in historic timbers. Damp arises from curved masonry, poor ventilation, and failed lime pointing. Prioritise Pest prevention, then Damp mitigation using breathable finishes.
Conclusion
You’ll get the best open-plan result when you respect the oast house’s geometry and performance limits, then design around them. Keep structural interventions targeted, zone roundels with furniture and lighting, and protect daylight paths with well-placed glazing. Add a mezzanine only where headroom and sightlines stay generous, and specify acoustic absorption early. For comfort, remember that warm air stratifies: in tall volumes, ceiling temperatures can run up to 10°C higher than at floor level without zoning and ventilation.