You can refresh a tired room cheaply by using tester pots to paint one feature wall, then prep properly: degrease with sugar soap, sand to 180 grit, and prime so paint or vinyl won’t peel in damp UK homes. Make a safe picture ledge from timber offcuts fixed into studs, or wrap shelves with adhesive vinyl and iron-on veneer edging. Upgrade storage with labelled jam jars, and add no-sew fabric scrap art or a knotted garland. Keep going to pick up smarter sourcing, finish tricks, and easy placement rules.
Key Takeaways
- Paint a single accent wall using tester pots, blending shades while wet for depth without buying full tins.
- Build simple picture ledges from timber offcuts, fixing into studs for safety and a clean, modular display.
- Upcycle thrifted frames by stripping, priming, spray-painting matte, then backing with wallpaper, maps, or textured linen scraps.
- Create no-sew fabric art or garlands using scraps, twine, and double-sided tape, then hang with removable hooks.
- Prep surfaces cheaply: sugar-soap degrease, sand 120–180 grit, and use water-based primer so paint, vinyl, and adhesives don’t peel.
Easy Cheap DIY Decor Projects to Start Today
If you want to refresh a room without rinsing your bank account, start with small DIY upgrades that rely on low-cost materials you can pick up from places like B&Q, Wilko alternatives, The Range, Dunelm, or Facebook Marketplace. Paint one wall with tester pots for a controlled colour change and minimal waste. Wrap tired shelves with adhesive vinyl, then edge them with iron-on veneer for a cleaner finish.
Make a simple picture ledge from planed timber offcuts, fixed into studs for load safety. Upgrade lampshades using fabric remnants and spray adhesive, keeping heat clearance in mind. Choose Eco friendly materials like water-based paint and reclaimed wood. For Vintage decor tips, swap in brass pulls, refinish frames, and group mismatched ceramics as a deliberate set.
DIY Decor Tools You Actually Need
Small DIY upgrades like tester-pot feature walls and vinyl-wrapped shelves go faster and look cleaner when you’ve got a tight, sensible tool kit. Start with a 5m tape, a decent spirit level, a snap-off knife with spare blades, and a metal straightedge for clean trims. Add a set of screwdrivers, an adjustable spanner, a claw hammer, and a compact drill/driver with mixed bits and wall plugs suited to plasterboard and brick. For prep, you’ll use filler knife, sanding block, and dust sheets; for finishing, a quality brush, 4-inch mini-roller, and low-tack masking tape. Prioritise decor safety: wear goggles, nitrile gloves, and a P2 dust mask when sanding. Keep costs down with tool maintenance—clean rollers, oil hinges, and store blades safely.
Cheap Materials for DIY Decor (Where to Find Them)
Although flashy finishes grab attention, you’ll stretch your budget further by sourcing plain, durable materials from the right places. Start with timber offcuts, MDF, and plywood from local timber yards’ clearance racks, or ask for “end-of-line” sheets to cut down yourself. For fabric, check charity shops, car-boot sales, and deadstock at market stalls; you’ll get usable metres for pennies. Visit reclamation yards for tiles, hooks, brass screws, and picture frames, and inspect for cracks and corrosion before you buy. For plastics and acrylic, try sign-makers’ offcuts and packaging wholesalers. Use recycling craft supplies by stripping old blinds, pallets, and jars for components. Plan trips around budget friendly shopping: compare unit prices, buy in bulk, and avoid branded hobby packs.
Paint and Finish Tricks for High-End DIY Decor
When you treat paint like a system rather than a colour choice, you can make bargain materials look bespoke without paying for designer finishes. Start with prep: de-grease, sand to 180 grit, then apply a £10-£15 water-based primer for MDF, pine, or laminate. Use a mini foam roller for flat panels and a quality synthetic brush to lay off edges, reducing brush marks.
For depth, use Color blending: tint one base emulsion with a small amount of tester pot, then feather between tones while wet for a soft gradient. Seal it with Finish techniques: matte varnish for modern, satin for wipeable utility, or wax over chalk paint for a mellow sheen. Finish by burnishing high points lightly with 400 grit for convincing wear.
Cardboard DIY Wall Art That Looks Expensive
If you treat cardboard like a lightweight structural core rather than “craft material”, you can build wall art that reads like high-end relief sculpture for under a tenner. Use double-wall packing card, laminate with PVA, and clamp flat overnight to prevent warp; that gives you rigidity like thin MDF but lighter and cheaper at any UK supermarket.
- Plan a 3–5 layer stack and offset edges for shadow lines.
- Cut with a fresh snap-off blade; bevel for crisp highlights.
- Skin seams with filler or paper tape, then sand to 240 grit.
- Finish with primer plus a matte topcoat to mimic plaster.
You’ll end up with convincing cardboard sculptures or modular textured wall panels that look bespoke, yet weigh almost nothing and hang with Command strips.
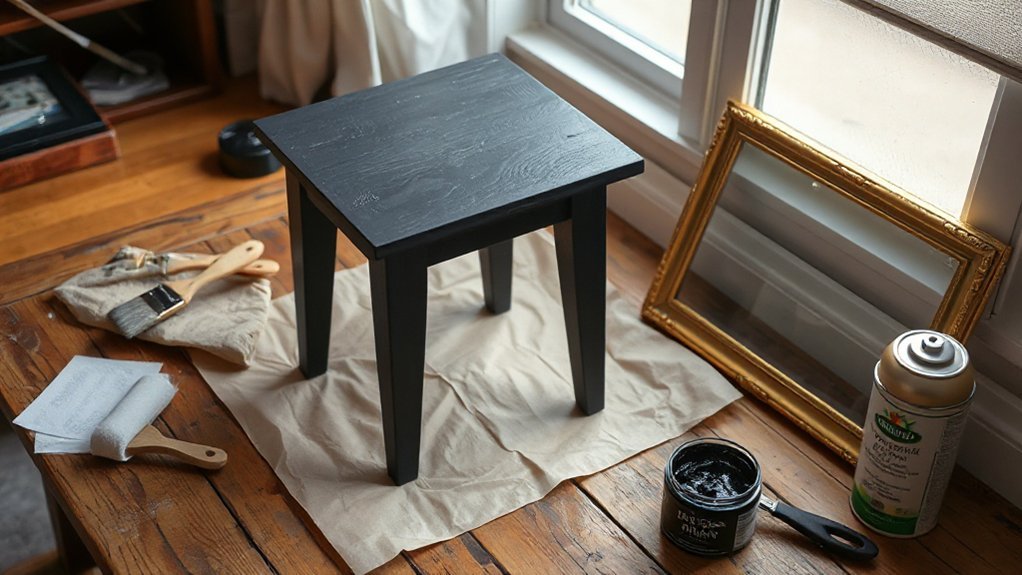
DIY Decor With Thrifted Frames (3 Upgrades)
Because thrifted frames already give you rigid geometry and ready-made hangers, you can upgrade them into polished decor with minimal spend and basic tools. First, strip loose paint, key the surface with 240-grit, then prime and spray in a matt black or heritage green; it reads designer and costs under £6 per frame. Second, convert to Framed art: mount free wallpaper samples or map offcuts on 1mm card, tape-hinge the backing, and seal with the existing glass for a clean edge. Third, modernise Vintage frames by swapping the backboard for 3mm MDF and stapling stretched linen or hessian; you’ve got a textured panel that hides blemishes and damp marks. Use D-rings and picture wire if hangers are missing.
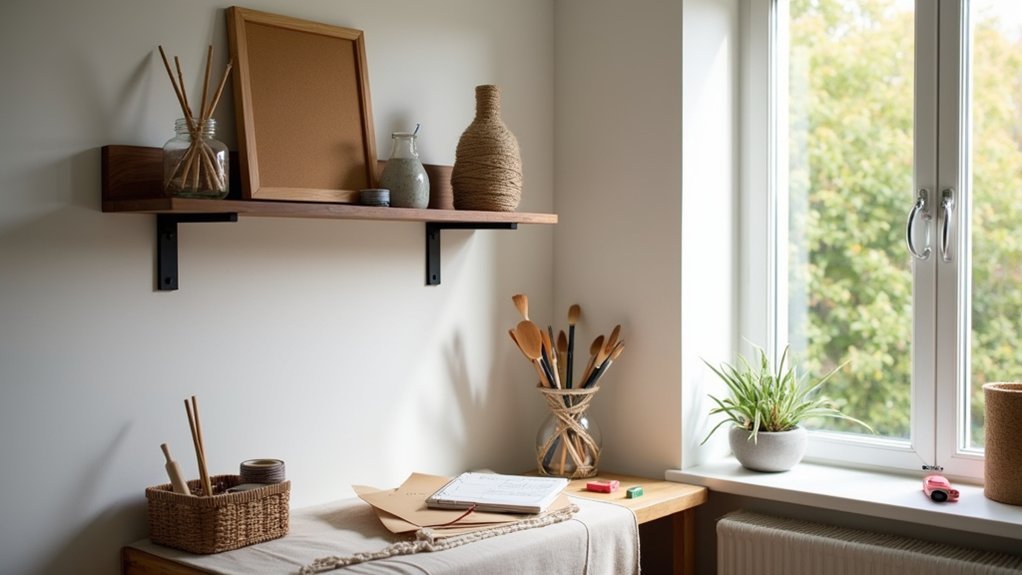
Glass Jar DIY Decor for Shelves and Desks
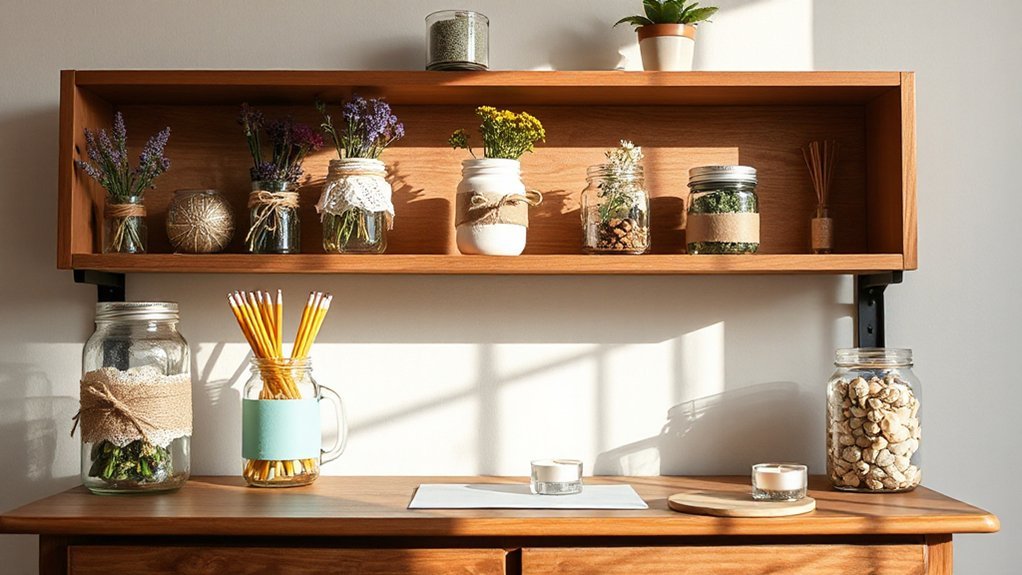
Although they look basic, glass jars give you a cheap, modular way to organise and style shelves or a desk without buying new storage. You’ll get consistent dimensions, easy cleaning, and visibility, which improves Shelf organization when you’re sorting screws, pens, tea bags, or cables. Use salvaged jam jars, pasta sauce jars, and spice jars; in the UK they’re effectively free once you’ve reused the contents.
- Degrease lids with hot water and washing-up liquid, then dry fully to prevent rust.
- Label with masking tape or a paint marker; add unit notes (mm, ml) for quick picking.
- Add felt dots underneath to stop slipping and protect laminate.
- Standardise by height and cluster by use-zone: admin, tools, charging, stationery.
Keep lids matched; stack only if rims align.
No-Sew Fabric Scrap Decor Accents
You can turn leftover fabric scraps into precise decor accents without stitching, keeping costs low and waste minimal. For framed fabric scrap art, you’ll cut pieces to size, mount them with double-sided tape on backing board, and use an inexpensive A4 frame that fits standard UK sizes. For a no-sew scrap garland, you’ll rotary-cut strips and knot them onto twine or jute, then space them evenly for a clean, repeatable finish.
Framed Fabric Scrap Art
With a handful of fabric offcuts and a basic photo frame, you can build a clean, modern wall accent without touching a needle. You’ll get strong Fabric texture and controlled Scrap patterns for pennies, ideal if you shop Wilko-style bargains, charity shops, or raid the remnants box at a local haberdashery.
- Choose a backing: use mount board, cereal box card, or leftover wallpaper; cut to frame size.
- Plan the layout: dry-fit strips, squares, or diagonals; alternate matte and woven textures for contrast.
- Fix without sew: use double-sided tape or PVA thinned 1:1; press flat with a book to prevent bubbles.
- Seal and frame: add a thin paper overlay or acetate sheet, then close the frame tight to stop fraying.
No-Sew Scrap Garland
Finished framing your scraps and still have a pile left over? Turn them into a no-sew scrap garland that costs pennies and adds instant colour. Cut fabric into 2–3 cm strips; mix widths to vary fabric texture. Use strong cotton twine or leftover curtain cord, and space knots every 10–15 cm for even drape. Fold each strip over the line and tie a lark’s head knot; pull tight so it won’t slip. Alternate light and dark pieces to sharpen color contrast, and insert occasional metallic ribbon for bounce. Hang across a mantel, headboard, or shelf edge using removable hooks. If you’re draughty, keep it short so it doesn’t tangle. Offcuts vanish, decor appears.
Peel-and-Stick Renter-Friendly DIY Decor Ideas
Although most landlords won’t thank you for a drill, peel-and-stick materials let you upgrade a rental quickly, cheaply, and without leaving fixings behind. You can shift Wall textures and unify Color schemes with removable vinyl, tiles, and film—ideal for UK flats with strict tenancy clauses. Aim for wipe-clean finishes and measure in millimetres to reduce waste and cost per square metre.
- Use peel-and-stick wallpaper panels to create a headboard zone; align to a plumb line for crisp seams.
- Add faux subway tile sheets to a kitchen splashback; choose heat-resistant PVC and seal edges with clear trim.
- Apply frosted window film for privacy; squeegee out bubbles using a bank card and microfibre cloth.
- Refresh furniture with vinyl wrap; cut relief slits on corners to avoid creasing.
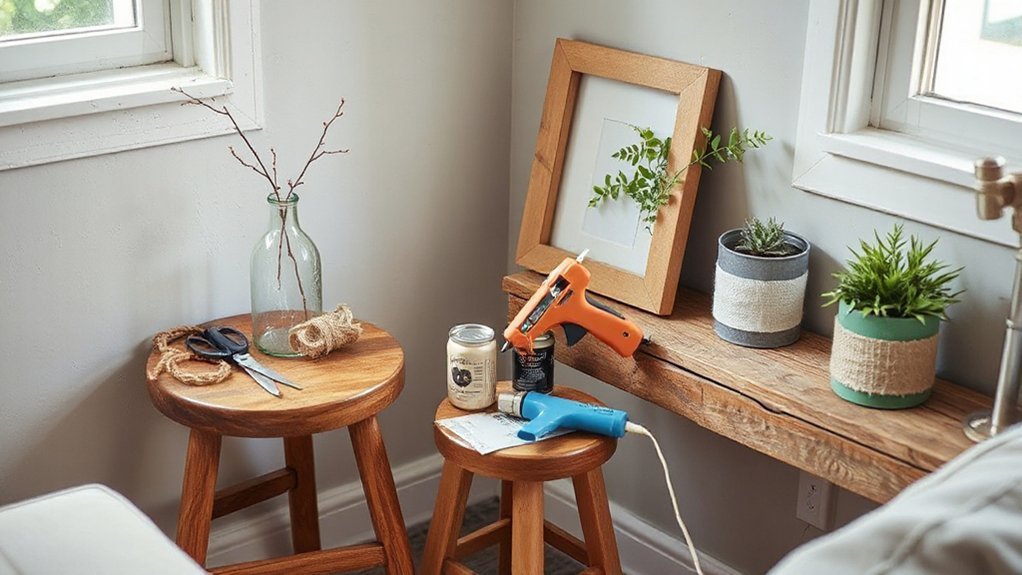
Cheap DIY Decor Mistakes (and Easy Fixes)
If you skip surface prep, your budget paint, vinyl, or adhesive strips won’t key properly and you’ll waste materials redoing the job. If you overuse hot glue, you’ll get visible blobs, heat-warped plastics, and weak bonds on the wrong substrates, so you’re better off matching the adhesive to the finish and temperature. If you ignore scale and proportion, even cheap upgrades look “off” in a typical UK room, so measure, mock up with masking tape, and size pieces to the wall and furniture before you buy.
Skipping Surface Prep
Why does your “cheap” paint job peel, chip, or look patchy within weeks? You’ve likely skipped Surface preparation, so the coating can’t key properly. In the UK’s damp swings, grease, dust, and glossy finishes repel paint and trap moisture, making even decent tins fail.
- Degrease with sugar soap, then rinse and dry fully.
- De-gloss: sand 120–180 grit, vacuum, wipe with a tack cloth.
- Prime smart: stain-block for tannins, adhesion primer for laminate, MDF sealer for cut edges.
- Match paint selection to the room: kitchen/bath scrubbable acrylic; radiators need heat-resistant enamel.
Do this once, and you’ll spend less on touch-ups, extra coats, and wasted rollers. Your finish lasts longer, too.
Overusing Hot Glue
When you reach for the hot glue gun on every join, you trade a quick fix for a brittle bond that softens near radiators, fails in humid UK kitchens and bathrooms, and leaves lumpy beads that telegraph through paint. Hot glue hazards also include stringing, burns, and heat damage on foamboard, vinyl, and some finishes.
For overuse prevention, choose adhesives by substrate: PVA for porous wood and paper, contact adhesive for laminates, and a small tube of grab adhesive for heavier items. If you must use hot glue, roughen the surface, use short dots not continuous lines, and clamp for 60 seconds. Trim squeeze-out with a craft knife, then sand lightly before priming to keep edges crisp and cheap.
Ignoring Scale And Proportion
Although a bargain mirror or print looks spot-on on the shelf, ignoring scale and proportion makes a room feel off and instantly “cheap”. You’ll notice scale confusion when wall art floats too high, rugs stop short of furniture, or tiny lamps sit on bulky sideboards. The fix doesn’t cost much; it’s measurement and placement, not spending. Prevent proportion imbalance by using repeatable rules and a tape measure before you drill.
- Hang frames so the centre sits ~145 cm from the floor (UK standard sightline).
- Choose a rug that reaches under front sofa legs; 160×230 cm suits many flats.
- Match lamp height to eye level when seated; shade base just below.
- Group small decor in threes on a tray to read as one larger unit.
Frequently Asked Questions
How Do I Calculate a Realistic Budget for a DIY Decor Project?
Start with Budget planning: list every task, then do Material estimation per item using UK unit prices. Add tool hire, delivery, and disposal. Include 10–20% contingency, compare quotes, and track actual spend.
What’s the Best Way to Seal Decor Pieces for Humid Rooms?
Use moisture-resistant finishes: acrylic polyurethane, marine varnish, or exterior-grade paint; for porous items, apply shellac or epoxy first. You’ll boost humidity protection by sanding, priming, sealing edges, and choosing low-VOC sealant options from UK DIY stores.
How Can I Keep DIY Wall Decor From Damaging Painted Surfaces?
Like a gentle handshake, you’ll prevent paint damage by using wall protection: apply removable adhesives (Command-style) rated for your decor’s weight, clean the surface with isopropyl alcohol, and avoid nails; they’re cheaper.
Which Adhesives Are Safest for Kids and Pets Around the Home?
Choose water-based, solvent-free PVA and low-odour hot-melt sticks; they’re reliable Child safe glues. For Pet friendly adhesives, use acrylic foam tape or removable putty. You’ll save money buying UK multipacks; ventilate well.
How Do I Store Leftover Materials so They Don’T Warp or Mold?
Stack sheets like dry biscuits in airtight tubs; add silica packs, keep off damp floors, and label dates. For Material preservation, store wood flat, paint sealed. Choose budget Storage solutions: lidded crates, ventilated cupboards, dehumidifier.
Conclusion
You’ve just built “high-end” decor from cardboard, jam jars, offcuts, and peel-and-stick—because apparently the posh look was hiding in the recycling bin all along. You didn’t need a van, a workshop, or a £300 haul; you needed a Stanley knife, a tester pot, and a bit of patience with prep. Keep costs down by measuring twice, sealing edges, and patching mistakes fast. The irony? It looks dearer the less you spend.