You don’t need a border on herringbone flooring, but you should add one if you want a cleaner perimeter, sharper sightlines, and simpler edge cuts. A border helps you control layout, hide tapered cuts, and create crisp thresholds—especially in formal rooms or open-plan spaces where zoning matters. Skip it if you’re after a seamless minimalist look or you want a small room to feel larger. Up next, you’ll see style options, costs, and install basics.
Key Takeaways
- A border gives herringbone a clean, framed perimeter, hiding tapered edge cuts and delivering a sharper, more finished look.
- Use a border to zone open-plan spaces, emphasize symmetry in formal rooms, and define thresholds or correct awkward wall angles.
- Skip a border for modern minimalist designs, small rooms needing a larger feel, or when tight, consistent edge cuts and flush trim are achievable.
- Borders add material, labor, and layout cost, and can make errors more noticeable, though they can standardize edges and reduce labor variability.
- Plan border width, corner miters, and a consistent 1/4–1/2 inch expansion gap before cutting to ensure a crisp, durable installation.
Do You Need a Herringbone Border?
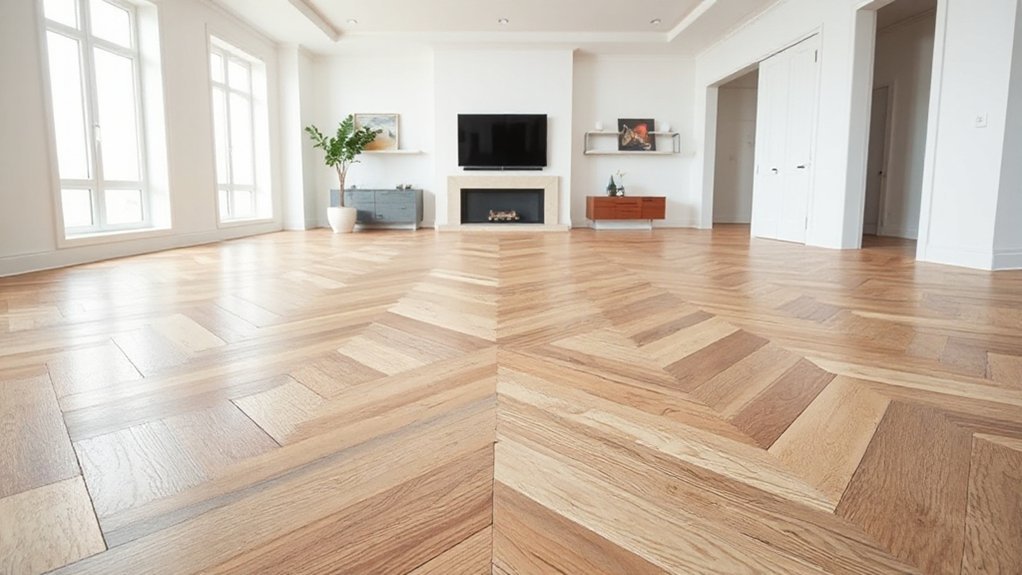
While a herringbone border isn’t strictly necessary, you’ll want one if you’re aiming for a cleaner perimeter, tighter layout control, and a more intentional finish. Without a border, you’ll expose more cut ends at walls and thresholds, and small out-of-square conditions will read louder in a zigzag field. A perimeter frame lets you square the room visually, hide tapered cuts, and land connections exactly where you need them—especially at doorways and built-ins. You’ll also sharpen Color coordination by choosing a contrasting or tone-on-tone band that reinforces the room’s palette rather than competing with it. Prioritize Material compatibility: match thickness, wear layer, sheen, and movement behavior so the frame and field expand together and finish uniformly.
Herringbone Border Pros and Cons (Quick Checklist)
A herringbone border can clean up your perimeter and lock in a sharper layout, but it isn’t a free upgrade—so it pays to weigh the trade-offs before you commit.
Pros: You’ll get crisper sightlines, especially along imperfect walls. The border can simplify cuts, hide slight pattern drift, and add a tailored, designer finish. It also supports color coordination—you can frame the field with a matching tone for calm, or a contrast for punch. You’ll tap historical influence, echoing parquet traditions that feel elevated yet current.
Cons: You’ll spend more on material, labor, and layout time. You’ll lose a bit of field area, and mistakes show faster at the frame. You’ll also limit future refinishing or plank replacement options.
When a Herringbone Border Looks Best
If you want the herringbone field to read intentional—not busy—the border looks best when you can “frame” a clearly defined room: open-plan spaces that need visual zoning, long hallways that benefit from straighter sightlines, and formal rooms where symmetry matters. You’ll get the strongest result when the border width matches the plank scale and room size, so it reads like architecture, not trim. Prioritize Color coordination: echo your cabinetry, stair parts, or window grids, and keep contrast controlled (1–2 shades) for a current, tailored look. Use a border to correct awkward wall angles and to create clean thresholds at doorways. For durability, specify harder species on the perimeter and follow maintenance tips: felt pads, entry mats, and consistent humidity year-round.
When Herringbone Flooring Looks Better Without a Border
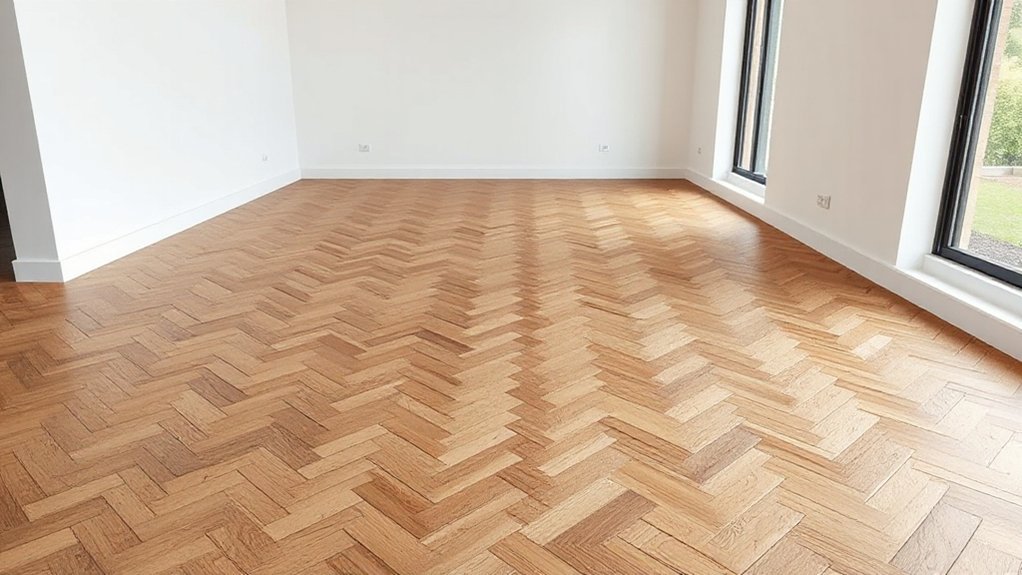
Skip the border when you’re targeting seamless modern minimalism, because uninterrupted herringbone reads cleaner and more architectural. You’ll also make a small room feel larger by letting the pattern run wall-to-wall, eliminating the visual frame that chops up floor area. If you keep edge cuts tight and consistent, you’ll get a crisp, contemporary finish that aligns with current minimalist design trends.
Seamless Modern Minimalism
Modern minimalist interiors often look sharper when herringbone runs wall-to-wall with no border, letting the pattern read as one continuous plane rather than a framed feature. You get cleaner sightlines, fewer visual breaks, and a more architectural finish that aligns with today’s restraint-forward design.
Keep your color palette tight—think oak-on-oak, pale ash, or inky stained tones—so the geometry whispers instead of shouts. With no border to hide connection points, you’ll want precise layout and consistent plank grading. Prioritize material durability, too: harder species, quality engineered cores, and matte finishes handle traffic without spotlighting wear.
- You’ll feel calm as the floor settles the room.
- You’ll sense confidence in the uninterrupted craft.
- You’ll enjoy luxury that doesn’t beg for attention.
Small Room Space Maximization
In small rooms, removing the herringbone border instantly makes the floor read larger because your eye tracks the zigzag all the way to the walls without a visual “stop” line. You’ll get a cleaner perimeter, fewer cuts, and less pattern interruption, which matters in tight baths, hallways, and compact kitchens.
Skip the border when baseboards are slim, door casings are minimal, or you’re using flush transitions; a framed edge can crowd the footprint. Prioritize Color coordination by matching the floor tone to adjacent walls or cabinetry so contrast doesn’t chop up the space. Check Material compatibility at thresholds: align wood, tile, or LVP heights and sheen so the continuous herringbone feels intentional, not unfinished. For extra stretch, run the pattern toward the longest sightline.
Borders in Open-Plan Herringbone Layouts
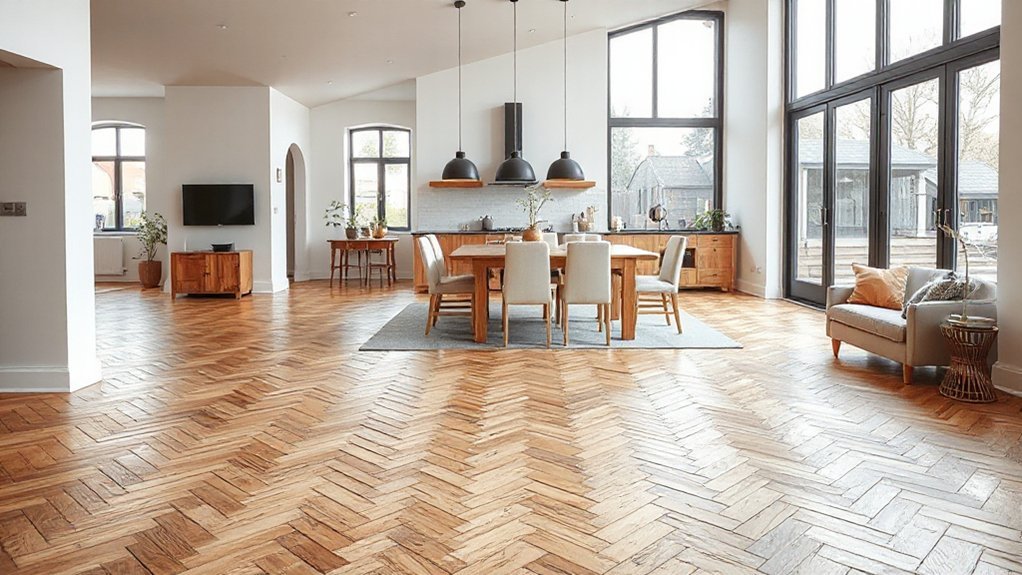
When you run herringbone through an open-plan space, a well-placed border gives the pattern a clean stop point and prevents the layout from feeling like it drifts from zone to zone. You’ll define kitchen, dining, and lounge areas without adding visual clutter, keeping sightlines modern and intentional. Specify a border that matches plank thickness, species, and sheen so progression read premium, not patched.
In lofts and renovations, borders also support Historic preservation and nod to Cultural influences, echoing classic parquet framing while staying on-trend with wider blocks and matte finishes. You’ll feel the difference immediately:
- A calmer, more grounded flow underfoot
- A confident “finished” edge that reduces decision fatigue
- A subtle sense of craft that makes guests linger
How a Herringbone Border Changes Room Shape
How does a border flip the way your room reads at a glance? It acts like a visual frame, tightening or stretching proportions before you notice the herringbone itself. Run a border parallel to the longest walls and you’ll lengthen the footprint; wrap it closer to the center and you’ll make the room feel cozier and more contained. A thicker border increases that “boxed-in” effect, while a slim band keeps the field dominant and modern. If you rotate the border against the herringbone’s direction, you’ll amplify movement and sharpen shifts in Artistic patterns. Your Material choices matter too: high-contrast timber or stone outlines edges, while tone-on-tone softens corners and disguises odd angles in challenging rooms.
Matching a Herringbone Border to Skirting and Trim
Although the herringbone border sits underfoot, it has to “talk” to your skirting and trim or the whole perimeter can look visually clipped. Start with color coordination: pull a tone from your baseboards (warm white, greige, or deep lacquer) and echo it in the border’s stain, not the field. Then check material compatibility—engineered oak against MDF skirting needs a softer sheen match, while solid timber trim can handle richer oils.
- You’ll feel calmer when the border reads as one clean, continuous frame.
- You’ll avoid that jarring “cut-off” line that makes walls look shorter.
- You’ll get a tailored, high-end finish that photographs beautifully.
Keep expansion gaps consistent, and align the border’s grain direction with door casings for a deliberate, modern edge.
Popular Herringbone Border Styles (Picture-Frame, Double, Contrast)
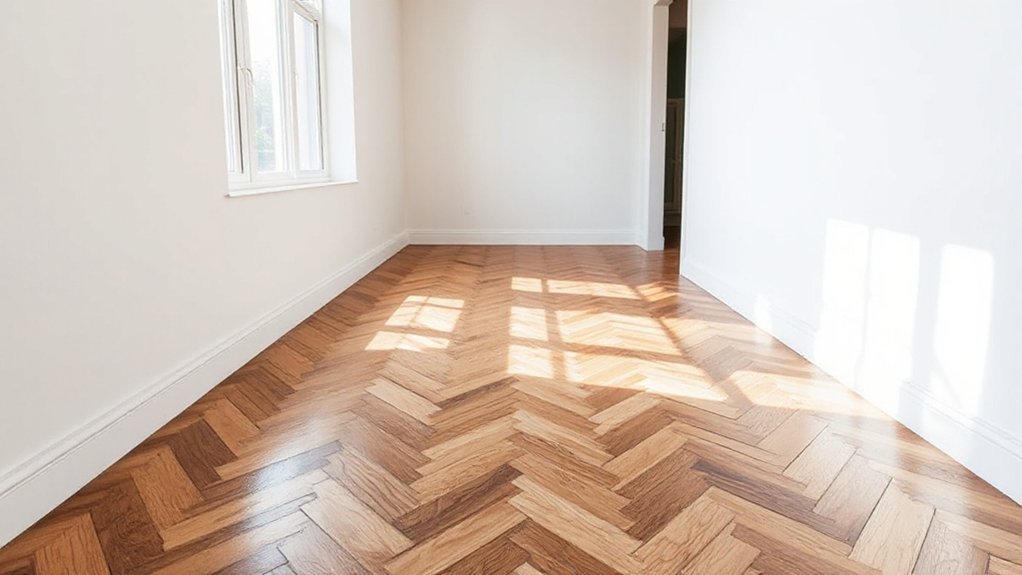
Once your border tone and sheen line up with the skirting and trim, the next decision is the profile itself—because the border’s geometry sets the room’s visual “frame.” Picture-frame borders stay clean and architectural with a single run that outlines the herringbone field; double borders stack a slim inner and wider outer band for a more tailored, parquet-ateliers look; contrast borders swap species, stain, or finish to draw a deliberate outline that reads bold and modern. Choose a picture-frame if you want minimal sightlines and easy alignment with door thresholds. Pick a double border to echo period joinery and add Vintage charm without looking fussy. Go contrast when you need zoning—around an island or seating bay—or when you want rustic appeal via smoked oak against pale ash.
Border vs No Border: Cost, Labor, and Waste
Whether you add a border or run the herringbone tight to the walls, you’re really choosing where to spend money: on extra material and layout time now, or on more intricate perimeter cuts and higher scrap risk later. A border typically raises upfront costs by adding linear footage and more milling, but it can lower labor volatility because you standardize the edge condition. Going borderless can look ultra-minimal and on-trend, yet it often increases offcut waste around out-of-square rooms.
- You’ll feel calmer when the budget stays predictable.
- You’ll avoid the sting of tossing expensive scraps.
- You’ll protect your investment with smarter durability considerations.
If you want Eco friendly options, a border can help you plan tighter quantities, reduce waste, and choose reclaimed or FSC-certified trims without overbuying.
Herringbone Border Installation Basics (Layout, Cuts, Expansion Gaps)
You’ll start by locking in a border layout plan—reference lines, border width, and corner treatment—so the herringbone field lands cleanly and stays visually balanced. You’ll then execute precision cuts and tight miters at shifts and corners, because even a slight angle error telegraphs across the pattern. Finally, you’ll maintain consistent expansion gaps and spacing at all perimeters and fixed objects so the border doesn’t pinch, buckle, or open up seasonally.
Border Layout Planning
Before you cut a single border piece, lock in the herringbone field’s centerline and the border’s finished width so the perimeter lands cleanly and stays symmetrical. Snap parallel chalk lines, then dry-lay a few rows to confirm the cadence at doorways and focal walls. Plan consistent expansion gaps at all fixed verticals; you’ll hide them with base and shoe without pinching seasonal movement. Your border layout should also respect Color coordination and Material compatibility so the frame looks intentional, not like an afterthought. Modern installs favor calm, architectural borders that emphasize geometry and keep transitions crisp.
- You’ll feel confident when sightlines stay balanced in every room.
- You’ll feel relief when thresholds don’t force awkward slivers.
- You’ll feel pride when the border reads like custom millwork.
Precision Cuts And Miters
Once the field layout is locked, precision cuts and tight miters decide whether your border reads crisp and architectural or wavy and improvised. Snap control lines for the border width, then dry-lay a full run to confirm the herringbone points land cleanly at the perimeter. Cut border pieces on a calibrated miter saw; verify the fence is square, and sneak up on final length with test cuts. For corners, you’ll get the sharpest look by pairing mirrored 45° miters and keeping grain direction consistent. Use a shooting board or track-saw guide to correct micro-gaps before fastening. Color coordination matters: sample stain or finish against the field under your actual lighting. Your material options—contrasting oak, walnut, or metal inlays—demand matching thickness for a flush, modern edge.
Expansion Gaps And Spacing
Tight miters and clean border lines only hold up if you respect wood movement, so set your expansion gaps and spacing with the same precision as your cuts. Leave a consistent perimeter gap (typically 1/4–1/2 inch) and never pin the border under baseboards or heavy built-ins. In herringbone, keep joints uniform so the border doesn’t telegraph seasonal shifts; use spacers, snap lines, and check every few rows.
- You’ll feel confident when the pattern stays flat through humid summers.
- You’ll avoid that sinking panic of buckling at the border.
- You’ll love how Color coordination reads intentional, not “patched.”
Choose stable species and adhesives for material durability, and acclimate planks to site conditions before installation.
Pick a Border Style That Fits Your Home’s Look
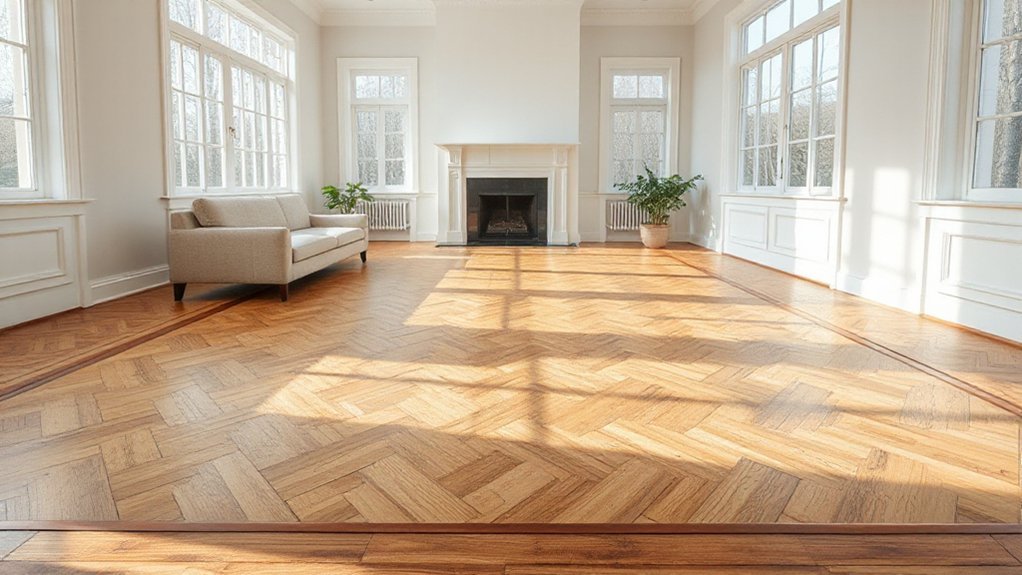
How do you choose a herringbone border that looks intentional—not tacked on? Start by matching your home’s architecture and sightlines. In a period property, a slim picture-frame border in a slightly darker tone adds Vintage charm without overpowering the pattern. For modern interiors, keep it crisp: a wide perimeter band in the same species, rift/quarter-sawn, reads tailored and minimizes visual noise. If your rooms are small, skip high-contrast outlines; they’ll shrink the footprint.
Then decide on material and finish. You can echo your sustainability goals with Eco friendly materials like FSC-certified oak, reclaimed blocks, or low-VOC oils. Finally, align border thickness with plank scale and door thresholds so transitions look planned, not improvised.
Frequently Asked Questions
Can You Add a Border to Existing Herringbone Flooring After Installation?
Yes, you can add a border after installation, but you’ll need precise cuts and matching expansion gaps. Use Decorative inlays for a tailored look, and leverage color contrast to modernize the herringbone perimeter.
What Border Width Works Best for Narrow Herringbone Planks?
Like a picture frame, you’ll get the best look with a 3–5 inch border for narrow herringbone planks. You’ll balance design symmetry considerations, and you’ll refine border color options: matching for calm, contrasting for edge.
Do Herringbone Borders Affect Underfloor Heating Performance or Expansion?
Borders barely affect underfloor heating if you match thickness and thermal resistance; they can, however, constrain expansion if you lock patterns too tightly. Focus on Material considerations, leave perimeter gaps, and weigh aesthetic impact with trend-led framing.
Will a Border Make Herringbone Floors Harder to Refinish or Sand Later?
Yes, a border can make sanding a touch more delicate, not impossible. You’ll need extra care at the Decorative accent seam to avoid dish-out. Done right, it won’t compromise Floor durability or refinishing results.
How Do You Transition a Bordered Herringbone Floor Into Adjacent Rooms?
You shift a bordered herringbone by aligning the border with door centers, then using a flush reducer or T-molding into adjacent rooms. Match decorative patterns and manage color coordination via species, stain, and sheen continuity.
Conclusion
You don’t *need* a border, but you should choose one when you want the herringbone to feel tailored and intentional. A picture-frame border can make the pattern read like built-in millwork, while borderless layouts look cleaner and more modern—especially in open plans. Here’s the visual kicker: if you lay 400 sq ft of herringbone, you’ll set roughly 2,000 individual pieces, so edges matter. Pick the detail that matches your home’s vibe.