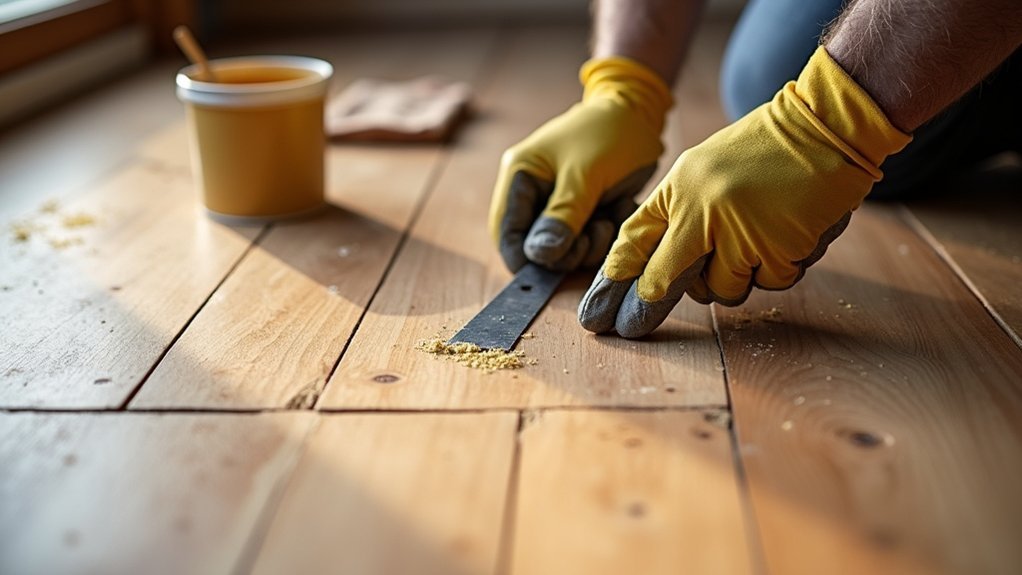
Start by vacuuming the joints and measuring the widest gaps with a steel rule or feeler gauges, then note if they change with humidity. Fix any loose or squeaky boards with screws into joists and let the room stabilise. For 0–2mm gaps, apply a flexible acrylic/timber filler. For 2–5mm, pack draught-proofing rope or foam backer, then top with filler. For 5–10mm, glue in matching timber splines and trim flush; there’s more to get right.
Key Takeaways
- Measure and log gap widths after vacuuming joints, noting humidity and season to understand whether movement is temporary or worsening.
- Clean and degrease boards, remove debris, fix damp causes, and screw down loose or squeaky boards before any filling.
- For 0–2mm gaps, apply flexible acrylic/wood filler and tool smooth, avoiding rigid products that crack with seasonal movement.
- For 2–5mm gaps, insert foam backer or draught-proofing rope, then cap with flexible filler slightly below the surface.
- For 5–10mm gaps, glue in matching timber slivers or splines, trim flush after curing, then sand and refinish the whole floor evenly.
What Causes Gaps Between Floorboards?
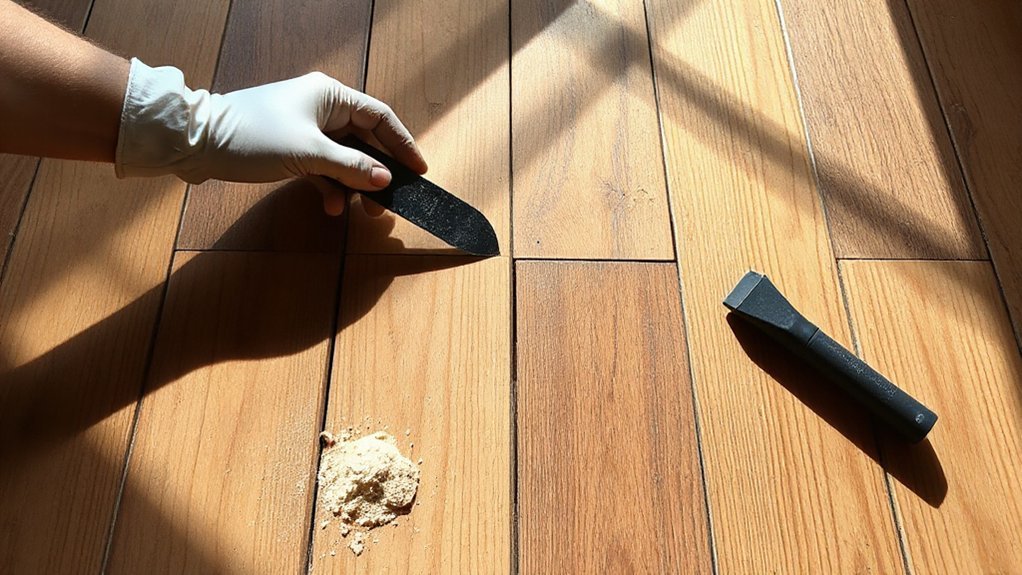
Why do floorboards suddenly show gaps? You’ll usually find the cause in movement, fixing failure, or subfloor issues rather than surface wear. First, check indoor humidity changes: timber shrinks in dry, heated months and swells with moisture; repeated floorboard expansion and contraction can slowly widen joints. Next, look for loose fixings: nails can back out as boards flex, letting edges lift and separate; plan for nail tightening or refixing where you spot movement or squeaks. Then inspect for uneven joists or deflection: a bowed joist or springy span forces boards to rub and creep apart. Finally, consider prior poor installation: boards laid too wet, mis-matched widths, or inadequate acclimatisation can leave permanent gaps.
Measure Gap Width and Seasonal Movement
Before you choose any filler, measure the gaps and confirm whether they’re seasonal. Start by vacuuming the joints so you can see true edges. Use a steel rule or feeler gauges to measure the widest point of each gap, then note the location. Repeat the measurements in a different season, or after a spell of damp or dry weather, to track seasonal expansion. Record results so you don’t rely on guesswork, and check for changes that could hint at movement affecting structural stability. Focus on consistent data, not one-off readings:
- Measure at several points along each board
- Log width in millimetres with dates
- Note room humidity and heating use
- Mark gaps that open and close
- Flag gaps that steadily worsen
Choose the Right Fix by Gap Size
So, how wide is the gap once you’ve measured it properly? Use the size to pick a fix that’ll move with the boards and stay tidy.
1) Hairline to 2mm: run a flexible timber filler or colour-matched acrylic along the gap, then tool it smooth. This suits modern boards and many Alternative flooring materials like engineered timber.
2) 2–5mm: press in draught-proofing rope or foam backer, then cap with flexible filler; you’ll reduce draughts without locking boards.
3) 5–10mm: fit timber slivers (matching species) glued to one edge only, then trim flush; you’re bridging, not sealing rigidly.
4) Over 10mm or uneven gaps: consider re-laying or board replacement; follow historical gap maintenance on period floors.
Prep the Floor So Filler Won’t Fail
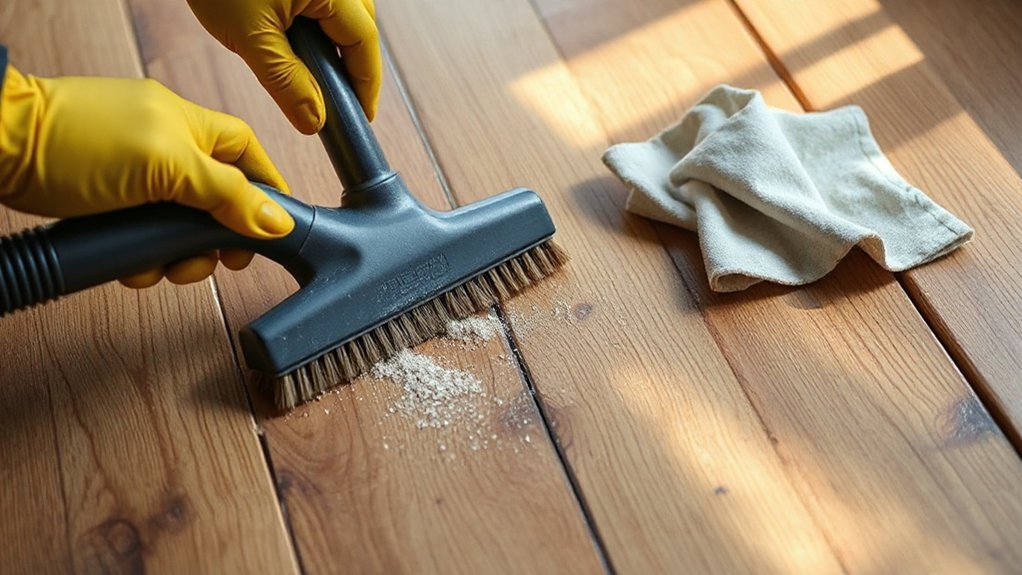
First, clean and degrease the boards, then vacuum out every trace of loose debris from the gaps. Next, check for damp and fix the source so the timber’s dry before you apply any filler. Finally, reduce movement by securing squeaky boards and keeping indoor humidity steady, or the filler won’t hold.
Clean And Degrease Boards
A clean, grease-free surface gives your filler something solid to key into, so start by vacuuming the boards and gaps thoroughly, then wipe the area down with a degreasing cleaner (such as sugar soap) and a lint-free cloth, working along the grain. For reliable floorboard cleaning, rinse with clean water, then dry the timber fully before you fill.
Use these degreasing techniques to stop adhesion problems:
- Change cloths often so you don’t smear residue back on
- Don’t flood the boards; use a wrung-out cloth
- Scrub high-traffic lanes where polish builds up
- Pay attention around radiators and kitchen thresholds
- Finish with a final dry wipe to remove moisture
Let the room ventilate and keep foot traffic off until the surface feels bone-dry to the touch.
Remove Loose Debris
Once the boards are dry, clear every gap of anything that could stop the filler bonding. Start by running a vacuum nozzle along each joint, then use a stiff brush to lift grit from corners. Scrape stubborn fragments with a narrow scraper or an old chisel held flat so you don’t gouge the timber edges. If you’ve got Floorboard insulation below, avoid pushing debris down; pull it up and bin it. Next, pass a thin blade or craft knife through the gap to break loose paint flakes, then vacuum again. Check around thresholds and any Decorative inlays, where sanding dust packs tightly. Finish by wiping the gaps with a dry microfibre cloth to remove the last fines before you fill.
Control Moisture And Movement
With the gaps clean, stabilise the floor before you introduce any filler. First, measure moisture; if boards are damp, you’ll trap water and the filler will crack. Aim for steady indoor humidity, then give the room time to acclimatise after heating changes. Next, stop movement: re-fix loose boards to joists with appropriate screws, keeping fixings neat for floorboard aesthetics. In historical flooring, work gently to avoid splitting thin, dry timber.
- Check room RH and temperature for a week
- Run ventilation or a dehumidifier as needed
- Replace missing nails; add discreet screws into joists
- Pack squeaky joints with talc or tighten fixings
- Leave expansion at perimeters; don’t over-tighten
Once boards feel stable underfoot, you’re ready to fill gaps.
Fill Small Floorboard Gaps With Flexible Filler
If the gaps are narrow and don’t need structural repair, flexible filler gives you a quick, tidy finish that still moves with the boards. Choose an acrylic or polyurethane flexible filler rated for timber floors; it copes with floor expansion and improves filler durability.
1) Vacuum the gap thoroughly, then wipe with a barely damp cloth and let it dry.
2) Mask both edges with low-tack tape to keep the finish sharp.
3) Cut the nozzle small and run a continuous bead along the gap.
4) Tool it flush with a filling knife, working with the grain.
5) Remove tape immediately, before a skin forms.
6) Let it cure fully; don’t wash or sand early.
7) Touch up with stain or varnish if needed.
Pack Hairline Gaps With Rope or Foam
First, choose rope for irregular, traditional gaps and foam backer rod for consistent, narrow seams that need a neat finish. Next, measure the hairline gap width with a ruler or feeler gauge so you can match the rope or foam diameter for a snug fit. Then pack it in firmly with a filling knife, trim it flush, and finish with a light top skim of flexible filler if needed.
Choosing Rope Vs Foam
Although both materials can pack hairline gaps before you seal them, you’ll get the best result by matching the filler to the gap’s shape and how much movement the boards have. Start by checking whether the gap runs straight or meanders, then choose your packing.
- Pick rope when edges are ragged and you need Rope durability under light footfall.
- Pick foam when boards flex seasonally and you need Foam elasticity to compress and rebound.
- Use rope for older pine where gaps vary along the run.
- Use foam for tighter, uniform gaps where you want consistent depth.
- Avoid overpacking either; you want a firm bed, not a bulge.
Next, press the filler in with a blunt scraper, keep it slightly below the surface, and stop once it sits evenly.
Measuring Hairline Gap Width
Before you pick rope or foam, measure the hairline gap so the filler grips without forcing the boards apart. First, vacuum the joint and scrape out loose debris so you’re measuring timber-to-timber, not dust. Next, check the gap at three points along its length using feeler gauges; if you haven’t got them, use a vernier calliper across the opening. Record the smallest and largest readings in millimetres. Then, repeat the measurement in a few rooms, because Floorboard expansion varies with humidity and heating. If you’re measuring during winter, allow for Hardwood contraction to reverse in summer, so don’t size the filler to the tightest winter reading. Finally, note any tapering gaps; you’ll match filler diameter to the widest section.
Packing And Finishing Technique
Once you’ve sized the joint, choose a braided cotton rope or closed-cell foam backer slightly wider than the gap, then press it down with a blunt filling knife so it sits just below the floor surface without distorting the boards. This packing stops draughts and supports your finish, especially on Historical flooring where movement is normal. Next, seal the top with a flexible gap filler or tinted wax, then wipe clean and let it cure before light foot traffic.
- Vacuum the gap to remove grit
- Cut rope/foam to length, no stretching
- Pack evenly, maintaining consistent depth
- Apply finish in thin passes, not blobs
- Sand very lightly, then re-oil or varnish
Choose Eco friendly materials where possible, and match colour to your boards for a discreet repair.
Close Wide Gaps With Wood Slivers (Splines)
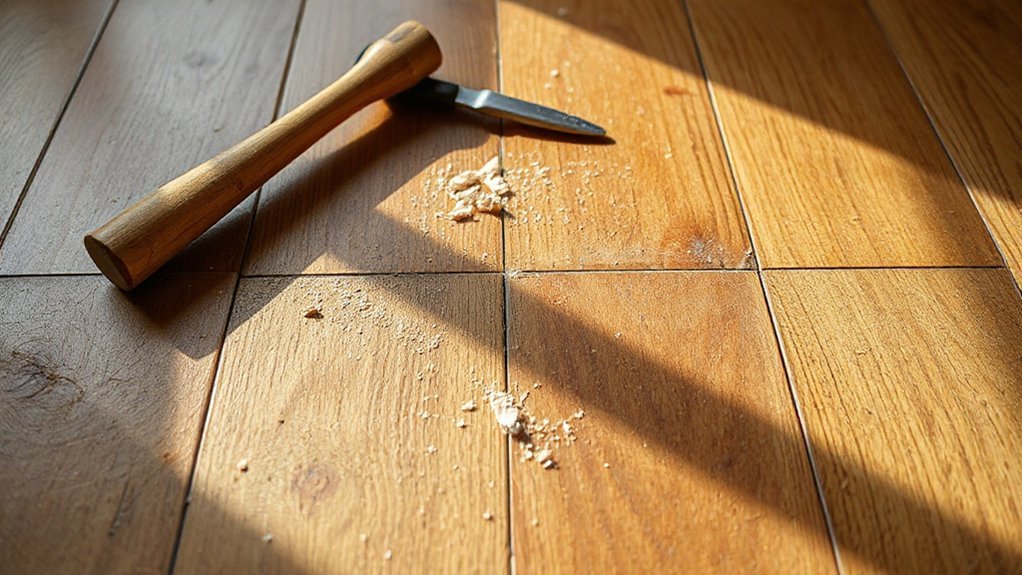
If your floorboards have gaps too wide for filler to hold, close them with wood slivers (splines) that bond to the board edges and move with the timber. This method tolerates Wood expansion and Seasonal contraction better than brittle fillers. First, measure the widest part of the gap and rip matching timber into tapered slivers, aligning the grain lengthways. Next, vacuum thoroughly and dry-fit each spline so it sits proud. Apply a thin bead of flexible wood adhesive to the board edges, not the bottom of the gap, then tap the spline in using a block to protect the surface. Wipe squeeze-out immediately. Once cured, pare the spline flush with a sharp chisel or block plane, working with the grain. Replace any loose boards before you spline gaps.
Seal, Sand, and Refinish Without Visible Lines
Although well-fitted splines and filler fix the gaps, you’ll still see repair lines unless you level and seal the whole floor as one surface. Start by scraping proud filler and trimming splines flush. Vacuum thoroughly, then tack-cloth to remove fine dust that can telegraph lines. Sand the entire room, not just patches, so the sheen matches across different flooring materials and your aesthetic considerations stay consistent. Edge-sand corners, then feather into the field with the same grit sequence. Finally, seal and refinish in continuous passes, keeping a wet edge.
- Scraper and sharp chisel for high spots
- Drum/orbital sander, graded abrasives
- Edge sander for skirtings and corners
- Vacuum plus tack cloths between grits
- Compatible sealer and topcoat, good applicator
Stop Floorboard Gaps From Returning (and Common Mistakes)
Because timber moves with seasonal humidity, you’ll only keep floorboard gaps closed by tackling the cause as well as the repair. First, stabilise conditions: keep indoor RH around 45–60%, use a dehumidifier in summer and gentle heating in winter, and improve subfloor ventilation. Next, stop movement: refix loose boards with lost-head nails or screws into joists, and secure squeaky edges with adhesive where appropriate. Then choose the right product: for Historical flooring, use flexible, reversible methods (pine slivers or rope) rather than rigid fillers; where suitable, pick Eco friendly fillers that remain slightly elastic. Avoid common mistakes: filling in mid-winter, over-sanding edges, bridging gaps across board ends, and sealing only the top face.
Frequently Asked Questions
Can I Fix Floorboard Gaps Without Sanding or Refinishing the Entire Floor?
Yes, you can. For DIY repair, try these quick fixes: 1) vacuum gaps; 2) tap in matching slivers; 3) apply flexible wood filler; 4) wipe clean; 5) seal locally. You’ll avoid full sanding.
Which Fillers Are Safe for Floors With Radiant Heating or Underfloor Heating?
You can’t ignore this—radiant heat wreaks havoc! 1) Choose flexible polyurethane or MS polymer; avoid rigid latex. 2) Allow for thermal expansion. 3) Check filler durability on heated cycles. 4) Use manufacturer-rated products.
How Do I Match Filler Color to Stained or Aged Wood Floorboards?
Test colour matching on offcuts: mix pigments or buy tinted filler. Check stain compatibility by applying your stain over a cured sample. Match to the floor’s darker tones, then seal. Adjust with glaze if needed.
Will Gap Repairs Affect Floor Squeaks or Creaking Noises?
Yes, they can, but only if you repair correctly. 1) Check floor expansion and moisture effects first. 2) Secure loose boards. 3) Use flexible filler. 4) Avoid rigid glue. 5) Test walking over repairs.
Is It Better to Hire a Professional for Antique or Historic Wood Floors?
Yes—you’re better hiring a professional; 70% of historic-floor damage comes from poor DIY. First, assess; second, specify restoration techniques; third, insist on historical accuracy; fourth, document finishes; fifth, schedule careful acclimatisation and sanding.
Conclusion
Measure the gaps and note any seasonal movement, then choose your fix: flexible filler for small gaps, rope or foam for hairlines, and wood splines for wider openings. Prep properly—clean, dry, and de-grease—so nothing pulls loose later. Pack and smooth the repair, let it cure, then sand and refinish to blend. Finally, control humidity and avoid rigid fillers; ignore movement and you’ll be chasing gaps like a dog after its tail.