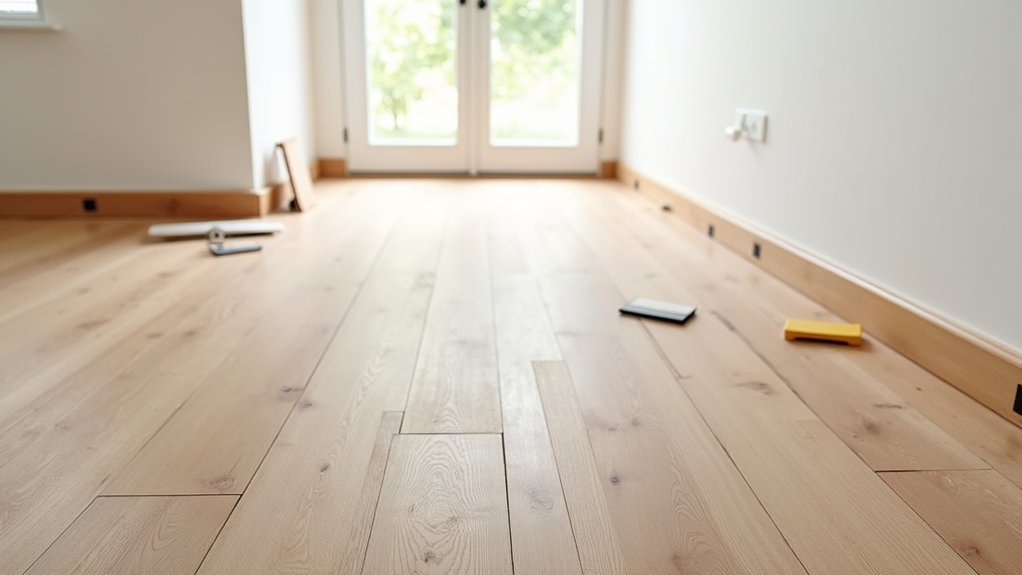
Yes—you should stagger laminate flooring end joints on every row. You’ll spread loads across the floating floor, keep click-lock seams engaged, and reduce stress that can cause squeaks, micro-gaps, and edge lift. If you line up seams, you create a continuous weak line and a repetitive, artificial pattern. Follow your manufacturer’s minimum offset (often 6–8 inches), and use a one-third or randomized starter cycle to avoid “H” joints. Next, you’ll see how to plan tight spaces and connections.
Key Takeaways
- Yes—staggering laminate increases overall floor stability by distributing loads and reducing stress along any single seam line.
- Lining up end seams creates a continuous weak line, raising risks of ridges, squeaks, edge lift, and gapping.
- Follow the manufacturer’s minimum end-joint offset for warranty; commonly keep end joints at least 6–8 inches apart.
- Use a one-third offset or a randomized stagger to avoid “H-joints” and prevent obvious repeating patterns.
- Plan the first three rows and dry-lay them to confirm joint spacing, straightness, and a natural-looking layout.
Should You Stagger Laminate Flooring? (Usually, Yes.)
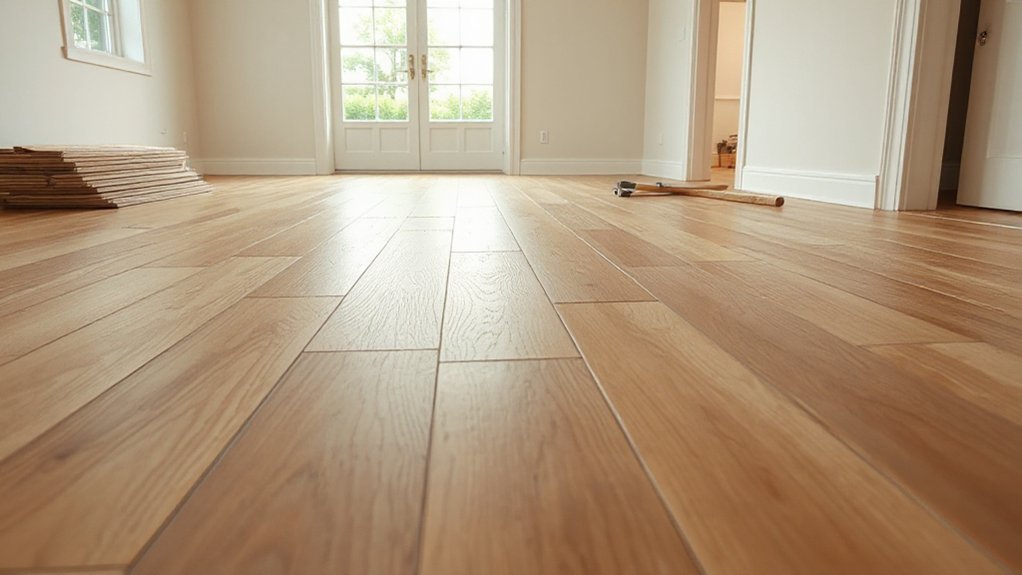
Although you can technically lay laminate planks in a straight “brick wall” pattern, you should stagger the end joints in most installations because it increases stability and improves the finished look. You’ll reduce concentrated stress at a single seam line, help the click-lock joints stay engaged, and distribute loads more evenly across the floating floor. Follow the manufacturer’s minimum offset (commonly 6–12 inches) and vary your cut lengths so end joints don’t repeat in a predictable grid. Plan ahead for laminate color variations by mixing cartons and pulling planks from multiple stacks as you work, not row by row. With the right installation tools—tapping block, pull bar, spacers, and a sharp saw—you’ll keep joints tight while maintaining expansion gaps at walls.
What Goes Wrong When Laminate Seams Line Up?
When you ignore that recommended offset and let end seams line up from row to row, you create a continuous weak line across the floor. Under foot traffic, that line concentrates movement, so boards can shift together and telegraph a visible ridge or dip. You’ll also see larger, repeating patterns that defeat Color matching; planks with similar grain and sheen stack in columns, making the layout look artificial.
Aligned seams are harder to keep straight during tapping and pulling. Even with proper installation tools, small gaps can cascade because you’re correcting multiple joints at once instead of distributing error. If moisture causes slight expansion, those aligned ends can pinch, creating squeaks, edge lift, or micro-gapping along the same corridor.
Does Staggering Make Click-Lock Joints Stronger?
Staggering doesn’t increase the raw locking strength of a click-lock profile, but it does change how loads move through the floor. When you offset end joints, you spread point loads across multiple seams instead of concentrating stress in one continuous line. That distribution improves joint stability under foot traffic, rolling loads, and slight subfloor movement, reducing the chance of peaking or separation.
Load Distribution Across Seams
Because a floating laminate floor spreads weight through interlocked panels, joint placement directly affects how loads travel across seams. When you stagger end joints, you prevent multiple seams from lining up, so footfall and rolling loads transfer through a wider network of boards instead of concentrating along one crosswise line. That distribution reduces localized deflection at the seam plane and keeps the click profile working within its intended shear path. You’ll also improve flooring durability by limiting repeated load cycling on the same joint locations. From an installation techniques standpoint, aim for varied end-joint offsets that avoid creating continuous “hinge lines” across the room, especially in traffic corridors. In practice, you’re not making one joint inherently stronger; you’re ensuring the system shares load more evenly throughout the layout.
Joint Stability Under Stress
How much stronger does a click-lock joint get if you stagger the end seams? Not stronger in the joint itself—the profile and core density set peak strength. But staggering makes the system resist failure better by improving stress distribution and limiting concentrated bending at any single end joint. You reduce the chance that repeated footfall or rolling loads will pry a short plank end upward and unzip the lock.
- Lower peak shear at end seams: You spread loads across adjacent rows instead of stacking joints.
- Better joint flexibility management: Offset seams let the floor flex as a panel without hinging at one line.
- Reduced crack propagation: If a lock starts to gap, the offset interrupts a continuous failure path, slowing separation and squeaks.
What’s the Minimum Stagger (End-Joint Offset)?
You’ll set your minimum end-joint offset by the manufacturer’s spec first, because that’s what governs warranty and click-lock performance. If the manual doesn’t state it, you typically keep end joints at least 6–8 inches apart (or about 1/3 of a plank length) to distribute load and avoid weak seam patterns. When you’re working with short planks, you can’t just follow a fixed number—adjust the layout so you still avoid repeating joints and leaving tiny starter pieces.
Manufacturer Minimum Offset
Although “random” staggering looks best, you still have to meet the manufacturer’s minimum end-joint offset to keep the click-lock joints stable and the floor covered under warranty. Check your carton insert or installation PDF; the stated minimum is a structural requirement, not a style choice. If you ignore it, you increase the risk of end-gapping, peaked seams, and broken tongues under traffic and seasonal movement. Minimum offset also affects Color coordination and Surface texture: too-tight repeats can telegraph patterns and make embossed grain look artificially aligned.
- Verify the exact minimum offset for your product line (often listed in inches or mm).
- Measure from end-joint to end-joint along adjacent rows before you lock the plank.
- Reject starter cuts that force joints closer than allowed; recut and re-sequence planks.
Typical Stagger Guidelines
Because laminate planks rely on tight end joints to distribute loads across the click-lock profile, most manufacturers specify a minimum end-joint offset—typically 6–8 in. (150–200 mm), with some lines allowing as little as 4 in. (100 mm). Treat that number as your hard floor; then stagger joints farther when you can to reduce visual “laddering” and joint clustering that can concentrate stress.
Aim for a repeating, random look: vary each row’s start length, keep adjacent end joints well separated, and avoid aligning joints within a few rows of each other. Snap a chalk reference so your stagger doesn’t drift. For color coordination, mix planks from multiple cartons to prevent shade bands that highlight joint lines. Plan furniture placement so heavy loads don’t sit over tight joint clusters.
Short Plank Considerations
Random staggering works best when you’ve got full-length boards to play with, but short planks narrow your options and make end-joint spacing harder to maintain. With shorter stock, treat the manufacturer’s minimum end-joint offset as a hard limit; if it’s not stated, don’t go below 6 inches, and never align joints in adjacent rows. Keep your starter and end cuts long enough to preserve lock strength and reduce peaking.
- Rotate through at least three plank lengths so joints don’t repeat in a visible ladder.
- Dry-lay two rows to verify Color coordination and joint distribution under your lighting.
- Reject tiny offcuts; they compromise engagement, raise failure risk, and complicate Flooring maintenance later.
How Much Offset Looks Best (Not Repetitive)?

To keep laminate flooring from looking repetitive, you need an offset pattern that breaks up end joints without drifting into a predictable “brick” layout. Aim for a variable offset that lands end joints at noticeably different positions from row to row, while still keeping every joint beyond the manufacturer’s minimum separation. As a visual rule, avoid repeating the same offset for more than two rows, and don’t let joints line up in diagonal “stair-step” runs. Maintain consistent Color matching by mixing planks from multiple cartons so pattern repeats don’t cluster at joints. Your Underlayment choices matter too: a firmer underlayment reduces flex that can telegraph end-joint lines, letting subtle offsets read as intentional rather than wavy. Dry-lay several rows, then adjust offsets before locking them in.
Best Stagger Patterns for Common Plank Lengths
Match your stagger to the plank length so you keep joints strong and the layout visually balanced. For most common lengths, you can run a one-third offset as a reliable baseline, or use randomized stagger spacing if you control the minimum end-joint separation. When you’re working with shorter planks, follow short plank joint rules strictly—keep end joints well apart, avoid repeating seams, and trim starter pieces to maintain the required offset.
One-Third Offset Pattern
Although a simple half-lap stagger works in many rooms, the one-third offset pattern often gives you a cleaner, more stable layout on common plank lengths because it spreads end joints evenly and avoids repetitive “H-joint” stacks. You’ll start each new row with a cutoff that’s roughly 1/3 of a plank, then repeat with 2/3 and full-length starters to keep seams separated. This pattern locks the floating floor together without creating weak, aligned butt joints.
- Cut to a true third using a tape, not “eyeballing,” so seams stay consistent.
- Maintain the manufacturer’s minimum end-joint spacing (often 6–8 inches).
- Plan Color options around seam visibility, and follow maintenance tips: felt pads, dry sweeping, and damp-mop sparingly.
Randomized Stagger Spacing
When you want a natural look without sacrificing strength, randomized stagger spacing lets you vary each row’s starter length while still keeping end joints properly separated. Instead of repeating a fixed offset, you’ll pull from several starter cuts so seams don’t “telegraph” across the room.
For 48-inch planks, cycle starters around 10–18 inches, then 20–28 inches, then 30–38 inches, and keep rotating based on your offcuts. For 36-inch planks, use roughly 8–14, 16–22, and 24–30 inches. This approach breaks up visible linework, especially with high color contrast and pronounced material texture. You’ll also reduce patterning at doorways and long hallways by avoiding predictable seam ladders. Always dry-lay a few rows to confirm the visual randomness.
Short Plank Joint Rules
Because shorter laminate planks pack more end joints into the same square footage, you’ve got to enforce minimum joint offsets to prevent weak “zipper” seams and visible stair-stepping. Use these practical stagger patterns by plank length, and keep joints off high-traffic lines and doorway centers.
- 24–36 in. planks: Offset end joints at least 8 in.; use a 1/3-step pattern (8–12 in.) to balance strength and layout speed.
- 36–48 in. planks: Hold 10–12 in. minimum; alternate 1/4 and 1/2 offsets to break repetition while protecting click-lock ends.
- 48–60+ in. planks: Maintain 12–16 in.; go randomized, but cap repeats to avoid visual banding.
Verify Color coordination and Texture contrast across rows so the stagger looks intentional, not accidental.
Random vs. Stair-Step Stagger: Which Looks Better?
Before you start snapping planks together, decide whether you’ll use a random stagger or a stair-step pattern, since that choice sets the floor’s visual rhythm and can even influence how forgiving the installation looks. A random stagger breaks up repeating end joints, so your eye reads the surface as more natural, especially when you’ve got strong grain prints, Color coordination, or deliberate texture contrast between planks. It also hides slight plank-to-plank variation and minor alignment drift.
A stair-step stagger creates predictable “ladder” lines. It can look crisp in modern rooms with straight sightlines, but it also telegraphs any spacing or squareness error. If you choose it, keep your layout lines tight, maintain consistent row starts, and dry-fit a few rows to confirm the pattern complements the room’s proportions.
Can You Do a 50/50 Stagger on Laminate?
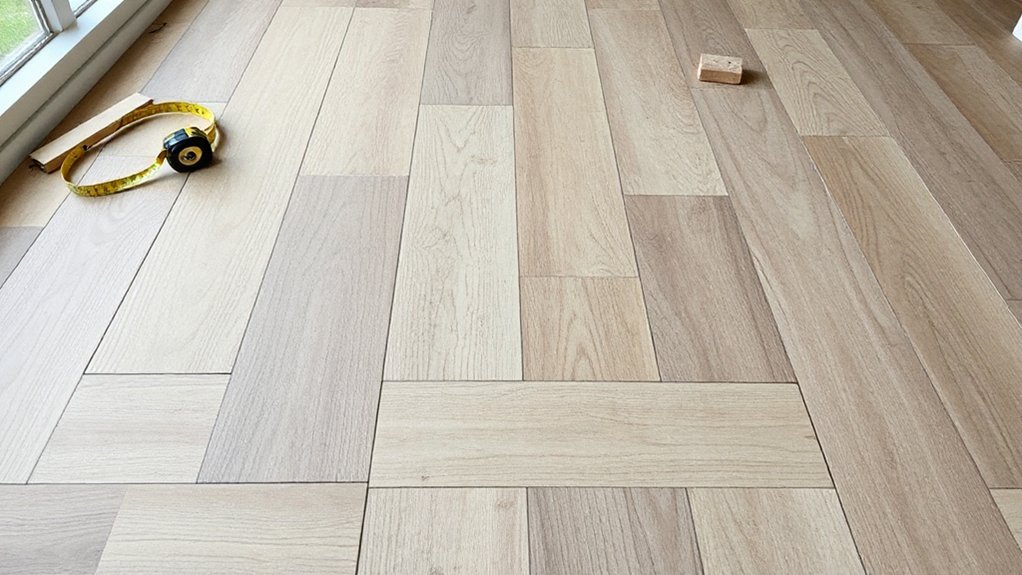
You can run a 50/50 stagger on laminate, but you’re locking every end joint into the same repeating pattern. That consistency can speed layout and reduce waste, yet it often telegraphs a “brick” look and may concentrate stresses if the manufacturer requires varied offsets. You’ll get better results by using a random stagger or a controlled 1/3 offset that still meets the minimum end-joint spacing spec.
Pros And Cons
While a 50/50 stagger (each row starting halfway down the previous plank) can look clean and make layouts easy to plan, it isn’t always a good match for laminate. It can create repeating “H-joints” that concentrate stress at end seams, especially over minor subfloor deflection. You’ll also highlight pattern repeats, so Color matching between planks becomes more noticeable in long sightlines. On the plus side, it speeds layout decisions and reduces offcut waste when your room dimensions cooperate.
- Pros: Fast measuring, predictable cuts, efficient use of installation tools like a miter saw and tapping block.
- Cons: Higher risk of weak seam alignment and visible repetition.
- Best use: Small rooms with stable, flat subfloors and tight locking tolerances.
Better Stagger Alternatives
A 50/50 stagger can work on laminate, but it often isn’t the strongest or best-looking layout once you factor in end-joint stress and pattern repetition. When end joints line up every other row, you concentrate load transfer in predictable lines, and you’ll see repeating “ladder” visuals, especially on planks with printed grain.
Instead, run a random stagger: vary end joints by at least 8–12 inches (or per the manufacturer), and don’t repeat a cut length within three rows. A 1/3 stagger can also help, but only if your plank length supports it without creating short end pieces. Use decorative borders to control sightlines in long rooms, and rely on color matching between planks to hide unavoidable joint variation.
How to Start the First 3 Rows Correctly
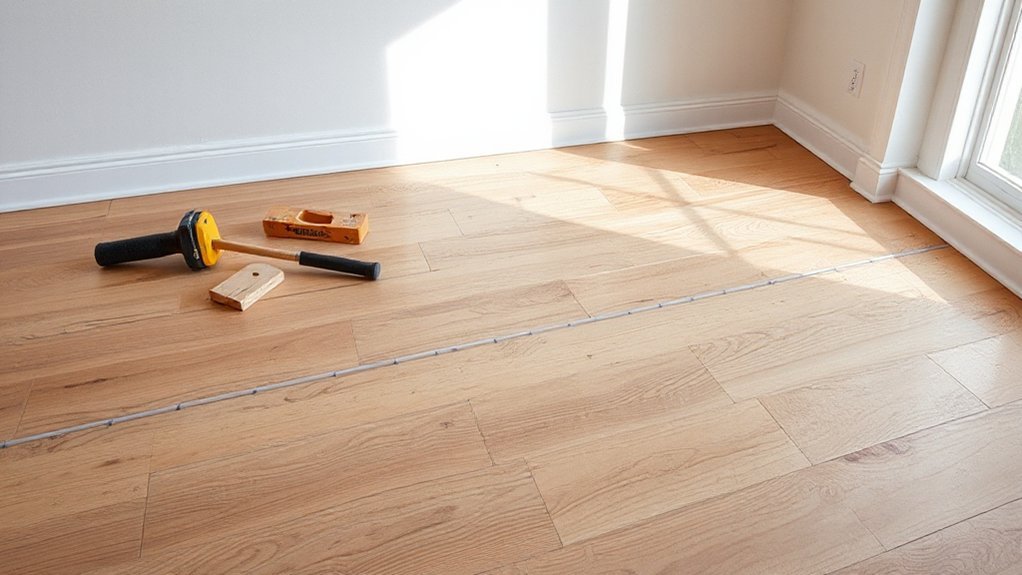
Before any planks click together, lock in a stagger plan for the first three rows so the pattern stays stable and looks intentional across the entire floor. Dry-lay these starter rows to verify end-joint spacing, square alignment, and how color contrast reads under your room’s lighting, since flooring patterns can shift visually once the floor expands across the space. Keep your expansion gap consistent and set your first row dead-straight; every row keys off it.
- Row 1: Use a full plank, then cut the last plank to fit, saving the offcut.
- Row 2: Start with a cut piece that maintains your required minimum end-joint offset.
- Row 3: Start with another cut length, re-checking straightness with a chalk line.
How to Avoid Repeating Plank Patterns
Once your first three rows are locked straight and staggered correctly, focus on keeping the rest of the floor from falling into a predictable “ladder” look. Don’t repeat the same starting cut every other row; rotate through at least three different starter lengths and keep end joints a minimum of 6–8 inches apart from adjacent rows (or per your manufacturer). Pull planks from multiple cartons at once to randomize Color variation and prevent visible bands. Before clicking a board in, dry-lay two to three planks ahead and scan for identical knots, grain, or printed marks lining up. If you spot repeats, swap boards or flip orientation when allowed. Maintain consistent Texture alignment by keeping embossing direction uniform while still mixing prints. Keep notes on starter lengths.
How to Stagger Laminate at Doorways and Transitions
When you reach a doorway or changeover strip, plan the stagger around that break so the end joints don’t land directly under the casing or line up on both sides of the opening. Treat the transition as a reset point: you’ll get cleaner sightlines and better joint strength while preserving expansion gaps.
- Dry-fit three rows up to the jamb, then cut the last plank so the end joint stops 6–8 inches from the threshold; start the next room with a different-length starter.
- Install the T-molding or reducer on the subfloor, not the laminate, and keep undercut trim clear so boards float.
- Choose Underlayment options that match thickness across rooms, and confirm Color matching between planks at the break to avoid a visible “step.”
How to Stagger Laminate in Narrow Hallways
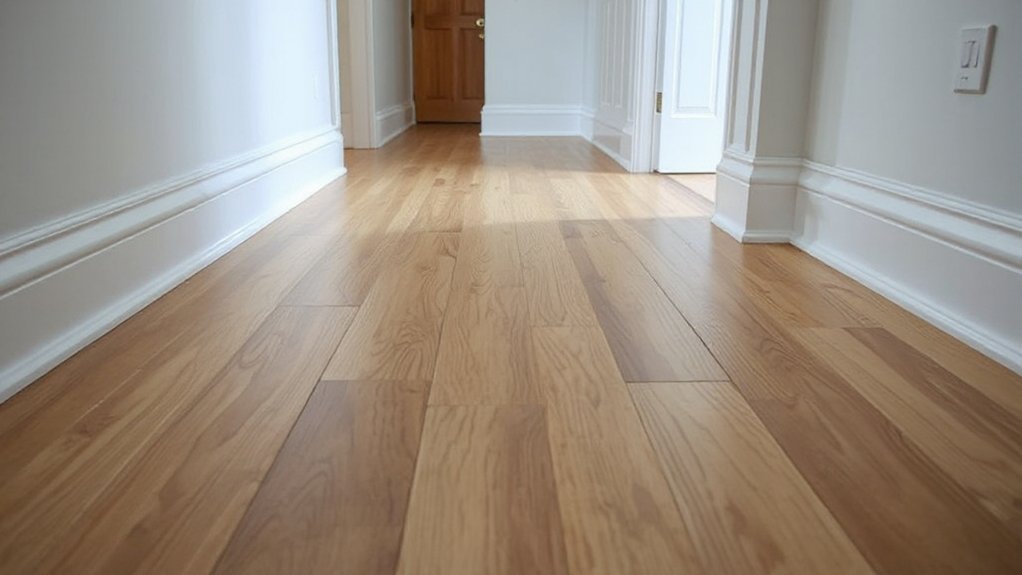
Although a narrow hallway looks simple, it magnifies alignment errors, so you need a stagger pattern that controls both joint spacing and sightlines down the length of the run. Run planks parallel to the hallway’s long axis to minimize cross-joints and reduce visual choppiness. Maintain a consistent minimum end-joint offset—typically 8–12 inches or per manufacturer—then cycle three or four starter lengths to avoid repeated “H” patterns. Dry-lay two rows to verify joint distribution before you lock in clicks. Keep expansion gaps uniform along both walls; use spacers and check straightness with a string line. Prioritize Underlayment choices that resist compression to prevent joint peaking in tight traffic lanes. Finish with Color coordination so plank variation looks intentional, not striped.
What If Your Room Won’t Allow Much Stagger?
- Prioritize minimum offset: keep adjacent end joints separated as far as practical, even if the repeat tightens.
- Use planned starter cuts: pre-cut a small set of starter lengths so you can alternate offsets without waste.
- Manage visuals: shuffle cartons for Color matching and check boards under light for finish consistency.
Mark shifts deliberately so the layout looks intentional.
Staggering Mistakes That Cause Gaps and Lifting
Even with a tight room that limits how far you can stagger, you still need to avoid joint patterns that overload the locking system. Don’t run H-joints or stair-step repeats; they concentrate movement and let ends shear open. Keep end joints offset per the manufacturer minimum, and don’t force short end pieces that can’t fully engage the tongue.
You’ll also cause lifting if you rack boards into place at an angle that crushes the profile, or if you tap on the wrong edge and micro-fracture the lock. Leave correct expansion gaps at walls and fixed objects; pinched floors tent. Your color options don’t change physics, so choose looks last. Follow maintenance tips: control moisture, use felt pads, and clean grit that grinds joints loose.
Staggering With Mixed-Box Planks and Leftovers
Where do mixed-box planks and leftover cuts actually help your stagger pattern? They’re most useful when you’re controlling joint spacing while keeping visual variation consistent across rows. Open multiple cartons and pull planks in rotation, so you don’t create shade bands; that’s practical Color coordination, not guesswork. Then treat leftovers as engineered starters, not random scraps, and keep end joints at least 8–12 inches apart (or per your manufacturer’s spec).
- Mix at least 3 boxes and stage lengths by the saw to maintain repeatable offsets.
- Use leftovers only if the locking edge is undamaged and the starter meets your minimum cut length.
- Follow Tool recommendations: miter saw or laminate cutter, pull bar, tapping block, spacers, and a square for quick checks.
Frequently Asked Questions
Will Staggering Affect Laminate Flooring Warranty Coverage?
Staggering can affect your laminate warranty if you ignore the manufacturer’s pattern specs. You should document your layout for Color consistency and Moisture resistance, or they’ll deny claims for joint failure. Always follow written instructions.
Do I Need to Stagger Laminate Over Radiant Heated Subfloors?
Yes—you should stagger laminate over radiant heated subfloors, like bricks in a wall. You’ll reduce joint stress and gapping. Follow manufacturer Installation techniques, maintain expansion gaps, and confirm Color matching across batches for consistency.
Can I Stagger Laminate Differently When Installing on Stairs?
Yes—you can stagger laminate differently on stairs. You’ll align seams to tread depth, land joints under nosings, and keep consistent offsets. Prioritize color matching and pattern variation per step, but don’t stack end joints.
How Does Staggering Change Waste and Total Plank Requirements?
Like a slide rule, staggering increases waste when offcuts can’t re-start rows; you’ll buy more planks. Better Color coordination and Pattern consistency let you reuse cuts, keeping waste near 5–10%, otherwise 10–15%.
Should I Stagger Differently When Laying Laminate in Herringbone Patterns?
Yes—don’t use random stagger; follow the herringbone module. You’ll maintain Pattern alignment by mirroring each V and locking endpoints. Manage Color consistency by dry-laying cartons, rotating planks, and rejecting obvious tone repeats.
Conclusion
Yes—you should stagger laminate flooring in most installs to boost stability, reduce stress at end joints, and avoid visible “zipper” seam lines. Keep at least a 6–8 inch end-joint offset (or follow your manufacturer’s spec), and vary your pattern so repeats don’t telegraph across the room. In tight halls, plan your cuts to maintain offset without creating short end pieces. Done right, your floor locks together like bricks in a wall.