You can upgrade your home in a weekend using only basic tools by starting with high-impact swaps and tight, clean finishes. Replace cabinet pulls and door handles by matching hole spacing and using a simple template. Re-caulk sinks and tubs with paintable acrylic latex, cut a small nozzle opening, and tool a smooth bead. Patch nail holes with lightweight spackle, sand 180–220 grit, then touch up with matching semi-gloss. Next, align doors and drawers and refine trim. Keep going to pick the best first projects.
Key Takeaways
- Start with weekend wins: swap cabinet pulls, door handles, and light fixtures for fast, high-impact visual upgrades.
- Use basic measuring tools to align hinges, level hardware, and keep even gaps for a clean, professional finish.
- Refresh surfaces by patching holes with spackle, sanding 180–220 grit, then touch up trim with matching semi-gloss paint.
- Re-caulk sinks, tubs, and trim joints using paintable acrylic latex caulk, tooling the bead smooth for crisp, neat lines.
- Boost curb appeal with simple yard work: edge beds, refresh mulch, prune shrubs, and add well-spaced solar path lighting aimed away from windows.
Weekend DIY Home Upgrades You Can Do First
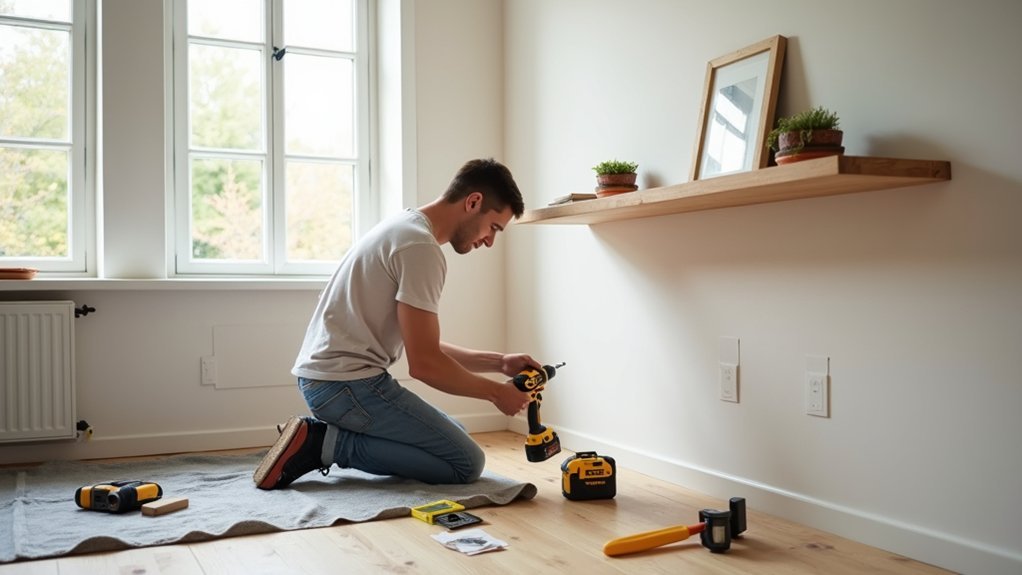
If you want quick wins without a full remodel, start with weekend upgrades that improve function and finish using only basic tools. Swap cabinet pulls and door handles, then align hinges so reveals stay even and latches close cleanly. Re-caulk sinks and tubs: remove loose bead, clean, dry, tape edges, and tool a smooth, continuous line. Patch nail holes, sand flush, and touch up trim with matching semi-gloss for a consistent sheen. Replace switch plates and outlet covers, keeping them square and snug, not over-tightened. For curb appeal, do light garden landscaping: edge beds, refresh mulch, and prune to maintain clearance from siding. Add outdoor lighting by installing solar path lights in straight spacing and aiming fixtures away from neighbors’ windows.
Stock a Basic Tool Kit to Upgrade Your Home
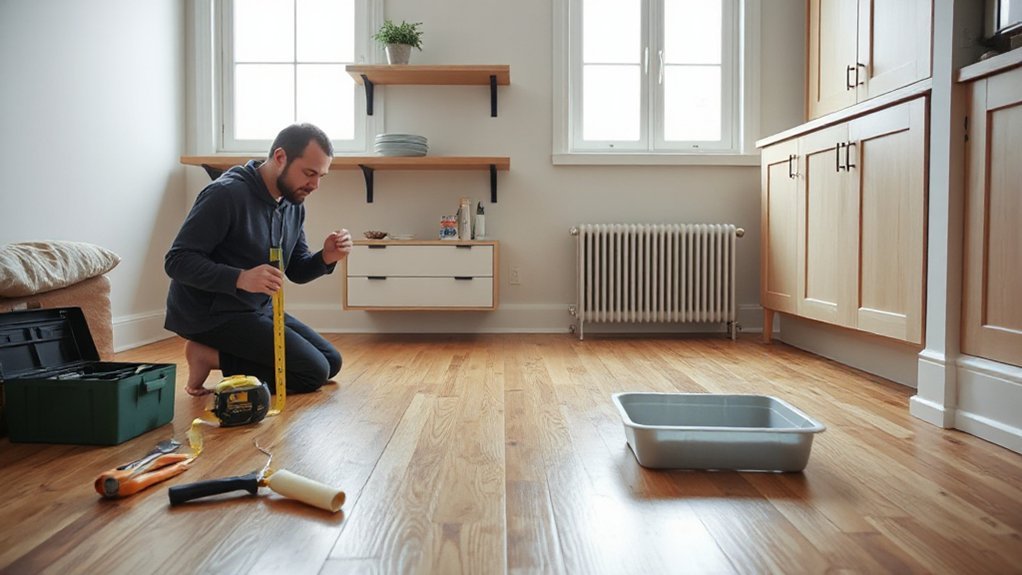
Before you tackle bigger upgrades, stock a basic tool kit that lets you measure accurately, fasten cleanly, and make repairs that meet common fit-and-finish standards. Start with a 25-foot tape measure, torpedo level, combination square, and stud finder so alignments and clearances stay consistent. Add a 16-ounce claw hammer, adjustable wrench, locking pliers, and a quality screwdriver set plus bits to prevent stripped fasteners. Include a utility knife, putty knife, and caulk gun for clean edges and sealed gaps. For Home safety, keep safety glasses, cut-resistant gloves, a dust mask, and a non-contact voltage tester. Round it out with a small drill/driver, spare batteries, and a bit index. Prioritize Tool maintenance: clean, oil, and store tools dry.
Swap Easy Fixtures: Pulls, Lights, Faucets
You can modernize a room fast by swapping cabinet pulls, updating a light fixture, and installing a new faucet, all with basic tools. You’ll get the best results when you match hole spacing on pulls, verify fixture ratings and box compatibility for lights, and confirm faucet hole count and supply line sizes before you buy. You can finish each upgrade to a clean standard by shutting off power or water, using the right driver or wrench, and checking for level alignment and leaks.
Choose Updated Hardware Pulls
How quickly can a kitchen or bath feel brand-new? Swap dated pulls for modern hardware and you’ll see it immediately. Start by measuring your current hole spacing (center-to-center) so replacements fit without drilling. If you’re changing sizes, use a simple drilling template and painter’s tape to protect the finish. Choose finishes that match nearby metals, or intentionally contrast—just keep it consistent across the room. For durability, look for solid brass, stainless steel, or zinc with a quality coating; avoid thin plated pieces that pit. If you want sustainable materials, consider reclaimed metal, FSC-certified wood pulls, or recycled-content hardware. Install with a screwdriver, tighten snug, and check alignment on every door and drawer.`
Replace Lights For Impact
Fresh hardware updates the feel at arm’s length; new lighting changes the whole room in one switch-flip. Start with fixture selection: match size to the space, and confirm the mounting type (ceiling box, wall box, or plug-in). For lighting design, choose a color temperature that fits the room—2700–3000K for warm living areas, 3500–4000K for task zones. Shut off power at the breaker, verify with a non-contact tester, then remove the old canopy. Photograph wire connections, swap matching conductors, and cap with approved wire nuts. Tighten the mounting strap, level the fixture, and keep all splices inside the box. Install LED bulbs with the right base and wattage rating. Restore power, test, and check for flicker.
Install A New Faucet
Why wrestle with a dated, leaky faucet when a swap delivers better function and a cleaner look in under an hour? Start by shutting off both supply valves, then open the tap to relieve pressure. Place a towel in the cabinet, and disconnect the hot and cold lines with an adjustable wrench. Remove mounting nuts with a basin wrench, lift the old faucet, and scrape away putty or mineral buildup for solid sealing. Dry-fit the new faucet, apply the manufacturer-required gasket or plumber’s putty, and tighten evenly to spec—don’t overtighten. Reconnect lines, confirm washers are seated, and turn water on slowly. Do Faucet troubleshooting: check for drips at connections and the spout base. Finish with Plumbing maintenance: flush the aerator and verify full flow.
Fix Doors, Drawers, and Cabinets Fast
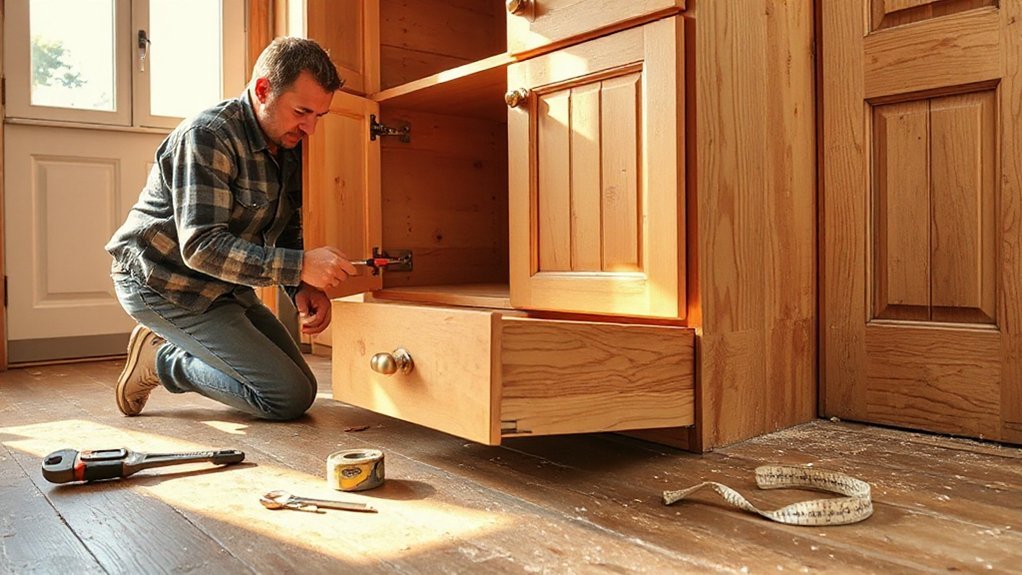
Now you’ll fix doors, drawers, and cabinets fast by tightening every hinge and screw until it’s snug and secure. You’ll align doors and drawers so reveals are even, gaps are consistent, and nothing rubs or binds. Then you’ll adjust cabinet latches in minutes so doors close cleanly and stay shut without slamming.
Tighten Hinges And Screws
If a door starts rubbing the frame or a drawer sags and won’t glide smoothly, loose hinge and hardware screws are usually the culprit. Grab a correctly sized screwdriver and tighten every screw by hand, turning until snug, not stripped. If a screw spins, do screw removal, insert a wood toothpick or matchstick with glue, snap flush, then re-drive the screw. For cabinet pulls and drawer slides, hold the hardware aligned and tighten evenly so parts seat flat against the surface. Check for cracked wood around fasteners and replace damaged screws with the same diameter, longer if needed for solid bite. Finish with hinge lubrication: wipe grit, then add a tiny drop of light oil to the pivot only. Cycle the door to distribute.
Align Doors And Drawers
After you’ve tightened the hardware, adjust the door or drawer so the gaps read even and the face sits flush with its neighbors. For Hinge alignment, loosen the mounting screws slightly, shift the hinge plate to center the reveal, then retighten while holding position. Use a straightedge across adjacent fronts to confirm they’re co-planar. If a door rubs, correct the sag by moving the lower hinge inward or the upper hinge outward in small increments.
For drawers, pull the box out and inspect slides for racking. Re-seat the drawer on both rails, then check that the front sits square to the cabinet opening. Add Drawer lubrication with a dry silicone or paraffin on slide contact points, then cycle the drawer to verify smooth travel and consistent spacing.
Adjust Cabinet Latches Quickly
When a cabinet door won’t stay shut or a drawer pops open, a quick latch adjustment restores clean alignment and consistent closing force without replacing parts. Open the door, locate the cabinet latch, and check for slop or uneven contact marks. With a Phillips screwdriver, loosen the strike plate screws one turn, shift the plate toward the wear mark, then retighten firmly. If you’ve got a roller catch, turn the tension screw 1/4 turn at a time until it clicks closed without slamming. For magnetic catches, square the magnet to the plate and confirm full contact. Finish by testing ten open-close cycles and rechecking screw torque.
- You’ll feel relief when the door stays shut.
- You’ll hear a quiet, confident click.
- You’ll see gaps disappear.
Patch Nail Holes and Scuffs, Then Touch Up Paint
Before you grab a paintbrush, take five minutes to patch every nail hole and scuff so the finish doesn’t telegraph imperfections. Use a putty knife and lightweight spackle for small dings; press it in, then scrape flush. For deeper dents, apply two thin layers, letting each dry fully. After wallpaper removal, wash residue and let the wall dry before you patch, or you’ll trap moisture and get bubbles later. Sand with 180–220 grit until the surface feels flat under your fingertips, then vacuum dust. Spot-prime patches so sheen matches. For touch-ups, stir paint, don’t shake, and use a small angled brush or mini roller. Feather edges and keep a wet edge. During furniture assembly, protect walls with cardboard to avoid repeat repairs.
Add Trim and Caulk for a Clean Finished Look
Even if your paint looks perfect, trim and caulk are what make the room read “finished” by hiding small gaps, framing edges, and creating crisp shifts. For trim installation, measure twice, cut square, and dry-fit every piece. Tack it with finish nails, then set the heads slightly below the surface. Fill holes, sand flush, and spot-prime so your final paint doesn’t flash. For caulk application, choose paintable acrylic latex, cut a small nozzle opening, and run a steady bead along joints. Tool it with a damp finger or caulk tool, wiping often, and stop before it smears.
- You’ll stop noticing sloppy gaps.
- You’ll feel proud of straight lines.
- You’ll walk in and think, “Yes—done.”
Frequently Asked Questions
Do I Need Permits for Small Home Upgrades Like Replacing Light Fixtures?
You often don’t need permits for like-for-like light fixture swaps, but you must follow local electrical code and HOA rules. If you add wiring or circuits, pull permits. Choose decorating trends and eco friendly upgrades.
How Can I Find Hidden Pipes and Wires Before Drilling Into Walls?
Why risk a surprise? Use a stud finder with wire/pipe scan for Pipe detection, then confirm with outlet/circuit maps and plumbing runs. For Electrical safety, shut power, drill pilot holes, and inspect with a borescope.
What Basic Tools Are Safest for Beginners to Use Without Injuries?
You’ll stay safest using a tape measure, level, utility knife with retractable blade, screwdriver set, adjustable wrench, and hammer. Prioritize Power tool safety: skip powered saws. Practice Hand tool handling: clamp work, cut away.
How Do I Estimate Costs and Set a Realistic DIY Upgrade Budget?
You don’t need perfect numbers: start Budget planning with a scope list, then do Cost estimation using three price quotes, add 10–20% contingency, track permits, tools, and waste, and cap spending weekly.
When Should I Stop DIY and Call a Licensed Professional Instead?
Stop DIY and call a licensed pro when work affects structural, electrical, gas, or plumbing systems; permits apply; you can’t guarantee Safety precautions; or skill assessment shows gaps. If you can’t meet code, stop.
Conclusion
With just a tape measure, screwdriver, utility knife, and caulk gun, you’ll turn “good enough” into clean and correct. One loose pull becomes a crisp line of aligned hardware; one dim fixture becomes bright, even light. A sticking door turns into a smooth close with a tightened hinge and a shim. Scuffed walls shift from patchy to uniform with spackle and matched paint. Simple tools, higher standards—weekend effort, lasting finish.