
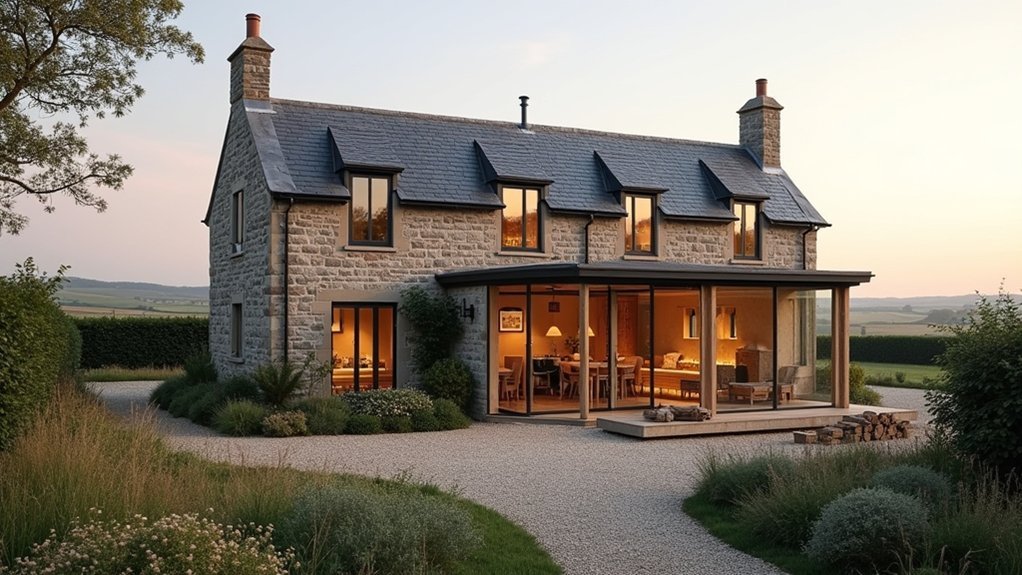
You probably don’t know that many gamekeeper’s cottages were built to “breathe,” so sealing them like a modern house can trigger damp fast. Start with a proper survey, then confirm planning and listed-building consents before you touch anything. Work fabric-first: roof, gutters, stonework, and joinery repairs using breathable materials. Only then add insulation, ventilation, and heating in that order. Get those basics right, and your layout, services, and any small extension choices won’t box you in…
Key Takeaways
- Commission a stone-and-lime building survey, document historic features, and confirm listing, conservation, or Article 4 restrictions before designing changes.
- Plan a fabric-first renovation: fix roof, chimneys, gutters, drainage, and lime masonry repairs before internal upgrades or layout changes.
- Improve comfort without trapping damp by using vapour-open insulation and breathable lime finishes, avoiding cement renders and impermeable foams.
- Upgrade windows and doors sympathetically with draught-proofing, slim double or secondary glazing, and secure insulated doors while retaining period character.
- Modernise services discreetly using existing voids for wiring and plumbing, and add controlled ventilation and right-sized low-temperature heating after heat-loss calculations.
Survey a Gamekeeper’s Cottage and Check Consents
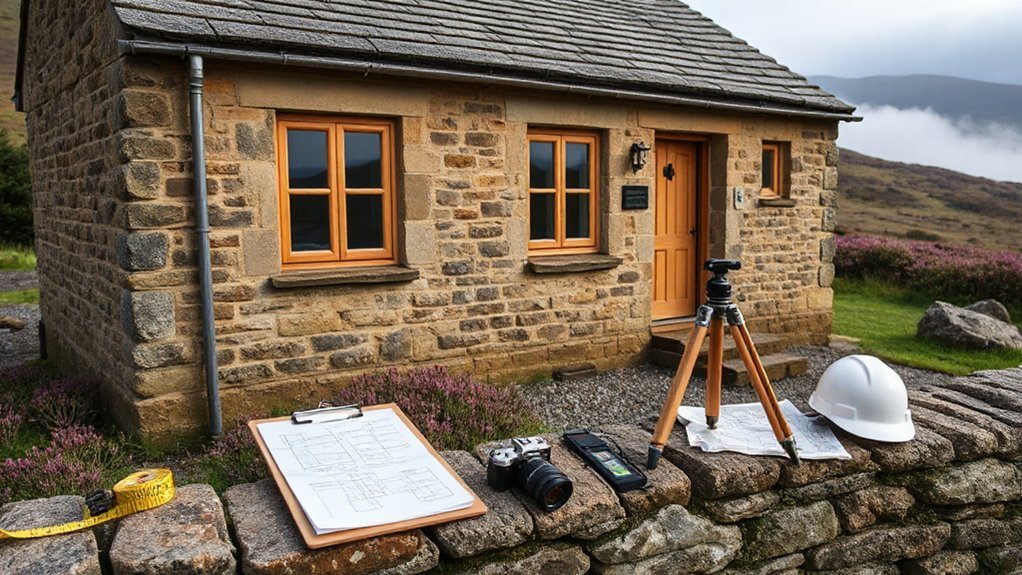
Before you sketch layouts or price materials, commission a proper building survey and establish what you’re legally allowed to change.
In a former gamekeeper’s cottage, instruct a surveyor experienced with stone, lime mortar, and damp diagnosis, not just modern timber frames. Ask for moisture mapping, roof structure checks, chimney integrity, and an inspection of suspended floors, drains, and past alterations.
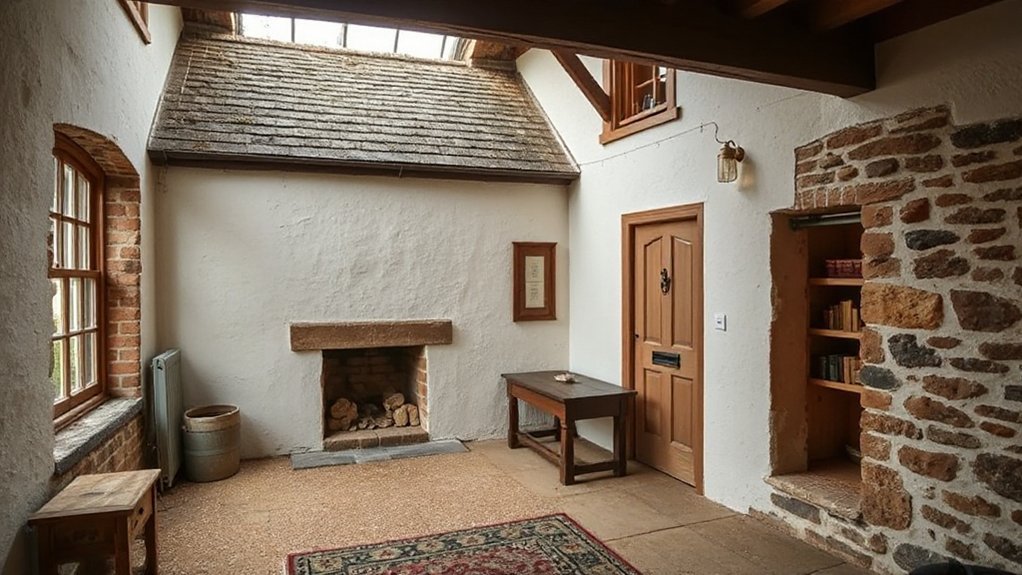
Photograph and record historical features—fireplaces, joinery, sash windows, flagstones—so you can justify retention and sensitive repair.
Then confirm status: listed, conservation area, curtilage structures, or Article 4 restrictions. Check boundaries, rights of way, septic permits, and access for trades.
If you’ve got a cottage garden, verify tree orders, wall heights, and outbuilding consents before work starts.
Set a Fabric-First Plan and Renovation Order
Once you’ve confirmed the cottage’s condition and consents, set a fabric-first plan that tackles the building envelope in the right order, so you don’t trap moisture or undo finished work later.
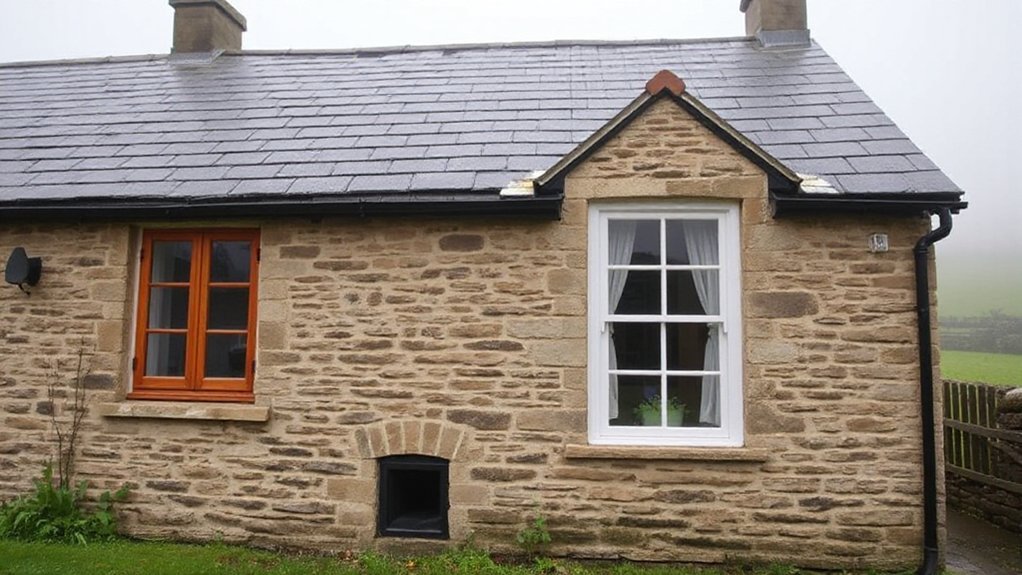
Start outside: repair roof coverings, flashings, chimneys, gutters, and downpipes, then address drainage, ground levels, and splashback zones before you touch internal finishes.
Next, stabilize masonry with like-for-like lime repairs, repointing, and breathable finishes that support Historic preservation.
Replace failed windows and doors, improve thresholds, and seal obvious air paths while keeping ventilation routes clear.
Only then move indoors: first-fix services, then floors, then plaster repairs, then joinery, and finally decoration.
Coordinate Landscape integration early by planning access, spoil storage, and restoration of paths, walls, and planting.
Insulate a Gamekeeper’s Stone Cottage Without Damp
Before you add insulation, you’ll assess moisture paths and confirm the wall build-up can breathe, because trapped vapour turns stonework damp.
You’ll then choose compatible, vapour-open materials and avoid impermeable foams or hard cement renders that block drying.
You’ll keep ventilation and drainage working—clear air gaps, open vents, sound gutters, and proper ground levels—so the cottage sheds water as well as it holds heat.
Assess Moisture And Breathability
Although a thick stone cottage feels solid and “dry,” you can’t insulate it safely until you’ve mapped how moisture actually moves through the walls. Start by checking gutters, downpipes, ground levels, and splashback, then log any wetting patterns after heavy rain.
Inside, note tide marks, salts, musty odours, blistered paint, or cold patches that suggest condensation.
Measure relative humidity and surface temperatures in corners, behind furniture, and at window reveals; repeat morning and evening for a week. Use a moisture meter for trends, not absolute numbers, and confirm suspicious areas with a boroscope if you can.
Identify existing moisture barriers and where they fail. Finally, test airflow paths at fireplaces, floors, and loft hatches; you need walls that can shed vapour like breathable fabrics.
Choose Compatible Insulation Materials
Because traditional stone walls buffer moisture rather than block it, you need insulation that stays vapour-open, tolerates intermittent wetting, and won’t trap condensation against cold masonry.
Choose capillary-active insulation types such as wood fibre boards, cork, hemp-lime, or calcium silicate; they move moisture safely and keep performance stable.
Avoid foil-faced PIR/PUR, impermeable EPS, and closed-cell spray foam on internal faces, as they can create hidden wet zones at the stone interface.
Build your thermal barriers as layered, compatible systems: lime-based plaster or parge coat to even the wall, vapour-open adhesive, then boards with lime finish.
Use mechanically fixed battens sparingly to limit cold bridges, and specify stainless fixings.
Keep junctions continuous around reveals to prevent local chill spots.
Maintain Ventilation And Drainage
Vapour-open insulation only performs as intended if you also control how air and water move through the cottage, so pair your wall build-up with reliable ventilation and robust drainage.
Fit continuous extract in kitchen and bathroom, or specify MVHR if you’ve improved airtightness; commission it and keep filters clean, especially if you’re sensitive to Urban air quality when travelling back from town.
Maintain background trickle via open chimneys or passive vents only where you can avoid cold draught paths.
Outside, fall ground away from walls, clear gutters, extend downpipes into gullies, and keep French drains free-flowing.
Repair lime pointing to shed rain, not trap it.
If you plan solar panel integration, route penetrations through flashing kits and seal to airtight layers, not stonework, to prevent hidden leaks.
Add Ventilation That Works With Solid Walls
You can’t rely on “natural leakage” once you’ve improved insulation in a solid-walled cottage, so you need breathable extractor ventilation that clears moisture at the source without forcing damp into the fabric.
Fit low-sone, humidity-sensing extract fans in kitchens and bathrooms, duct them straight outside with insulated runs and proper backdraft shutters, and keep trickle vents or passive inlets sized to balance the extract.
Then set simple humidity control rules—use boost during cooking and showers, keep indoor RH around 40–60%, and manage drying clothes and fuel storage—so the walls can dry safely between wetting events.
Breathable Extractor Ventilation
While solid-walled cottages happily buffer moisture through lime and stone, they still need targeted extraction in kitchens, bathrooms, and utility spaces to stop steam from overwhelming that balance. Choose “breathable” extractor setups that clear pollutants fast without forcing aggressive whole-house pressure changes that fight Natural airflow or compromise Indoor air quality.
Duct to the outside with short, smooth runs, insulate cold sections, and use backdraft shutters to prevent wind-driven reversal.
- Fit humidistat or timed overrun controls at source
- Size fans to room volume and duct losses
- Use rigid ducting and sealed joints, not flex
- Site terminals away from eaves, windows, and flues
- Add trickle inlets only where extraction needs makeup air
Commission airflow rates after installation.
Humidity Control Strategies
Good extractor fans deal with short, intense bursts of steam, but day-to-day humidity needs a steadier approach that respects how solid walls store and release moisture.
Install continuous, low-rate extract in kitchen and bathroom, then add trickle or wall vents sized for the room volume so you’re not pulling air through chimneys and gaps.
Use Humidity sensors in wet rooms and the main hall; set targets around 50–60% RH and log readings through a week to spot patterns.
Keep heating consistent to prevent cold-surface condensation, and don’t block fireplaces or air bricks.
If RH stays high, choose dehumidifier options: a quiet desiccant unit for cool cottages, or a compressor model for warmer rooms, ideally with a drain hose.
Run it intermittently, not 24/7.
Choose Heating After You Cut Heat Loss
Once you’ve tackled draughts, insulation gaps, and uncontrolled ventilation, you can size a heating system to the cottage you actually have—not the leaky one you started with.
Get a room-by-room heat-loss calculation, then choose low-temperature emitters first; they let efficient boilers or heat pumps run steadily. If you’re opening floors, underfloor heating can deliver comfort at 30–40°C flow temperatures.
Keep domestic hot water separate in your planning; solar thermal can preheat a cylinder and cut summer burn hours.
Prioritise this checklist before you buy kit:
- Heat-loss survey with design temperatures
- Zoned controls and weather compensation
- Low-temperature emitters (UFH or oversized rads)
- Cylinder sizing, immersion backup, and pasteurisation routine
- Commissioning: balancing, flow rates, and verified COP/efficiency
Upgrade Windows and Doors for Comfort and Draft Control
Because old cottage joinery rarely seals the way it should, upgrading windows and doors often delivers the biggest comfort jump per pound by cutting cold downdraughts, rattles, and wind-driven infiltration.
Start by evaluating frames for rot, loose putty, and warped sashes; repair where possible, then add brush seals, staff beads, and discreet compression gaskets.
If replacement’s unavoidable, choose slim-profile double or secondary glazing that preserves Window aesthetics while improving U-values and acoustic control.
Specify low-e glass and warm-edge spacers, and insist on trickle vents only where airflow’s required.
For doors, fit an insulated core, continuous perimeter seals, and a drop-down threshold seal.
Upgrade hinges, locks, and a reinforced keep to improve Door security without changing the cottage’s character.
Update Wiring and Plumbing Without Wrecking Finishes
Although a former gamekeeper’s cottage may look solid on the surface, dated wiring and plumbing often hide behind plaster, panelling, and skirtings—so you’ll get the best result by planning upgrades that use existing voids and reversible routes rather than chasing walls.
Start with an electrical and plumbing survey, then map cable and pipe runs to chimneys, floor voids, and service cupboards. Pull new circuits through underfloor routes, and add accessible junction boxes for Smart automation controls without cutting historic finishes.
- Lift only selected boards and label them
- Use surface-mounted conduit in discreet corners
- Replace lead/galvanised lines via existing sleeves
- Fit isolation valves at every branch
- Keep access panels flush and removable
Coordinate loads for Renewable energy systems (heat pump, PV, battery), and upgrade earthing, bonding, and stopcocks before you decorate.
Replan the Layout for Rural Life and Home Working
If you treat the old cottage plan as a starting point rather than a constraint, you can make it work for muddy boots, dogs, deliveries, and a quiet workday without losing its character.
Map daily routes from door to kitchen, yard, and desk, then move pinch points, not period features.
Keep the hearth wall and stair in place for historical preservation, but reassign rooms by use: a front parlour becomes an office with a door for calls, while the former scullery turns into a utility-ready kitchen zone.
Improve sightlines by widening openings where structure allows, and use glazed internal doors to share light yet control noise.
Align back-door access with garden landscaping so you’re not tracking grit through living areas.
Add resilient thresholds, too.
Add Storage and Consider a Cottage-Friendly Extension
Once you’ve fixed the flow of rooms for boots, dogs, and work, you need to capture the clutter that rural life generates without crowding the cottage’s small footprint. Build storage into dead zones: under-stair drawers, window-seat benches, and full-height cupboards that stop short of original cornices. Use durable, wipe-clean interiors for damp kit, and vent enclosed boots and coats.
- Under-bench crates for feed, leads, and logs
- Slim broom cupboard by the back door
- Pantry pull-outs for bulk staples and tins
- Lofted shelving over utility appliances
- External store that matches stone and roof pitch
If you must extend, keep it subservient: a single-storey lean-to with glazed links. Position it to protect Wildlife habitats and coordinate with Garden landscaping.
Frequently Asked Questions
How Do I Source Reclaimed Materials That Match the Cottage’s Original Character?
Start with local salvage yards, architectural reclamation dealers, and demolition auctions, bringing photos and measurements. Choose Reclaimed wood with similar grain, patina, and saw marks; match Vintage fixtures via period catalogs and specialist restorers.
What Insurance Considerations Apply During and After a Rural Cottage Renovation?
You’ll need specialist insurance coverage during works and updated cover after completion. Tell your insurer about builders, scaffolding, and theft risk; confirm renovation liabilities, public liability, and contract works, then reassess rebuild value, contents, and outbuildings.
How Can I Improve Mobile Signal and Broadband in a Remote Cottage?
You’ll improve reception by testing networks, fitting external antennas and signal boosters, and placing your router high. If lines won’t deliver, you can switch to Satellite internet, secure clear sky view, and optimize Wi‑Fi channels.
What Are the Best Ways to Manage Pests Like Mice in Old Cottages?
Mice squeeze through 6mm gaps, so seal every crack with steel wool and mortar, fit door sweeps, and store food in metal bins. Manage Garden composting, remove clutter, and use Wildlife friendly fencing to deter rodents.
How Do I Budget for Ongoing Maintenance After the Renovation Is Complete?
You’ll budget by setting aside 1–3% of rebuild value yearly, plus a contingency. Track seasonal tasks, price garden landscaping upkeep, fund energy efficiency servicing, and review quotes annually. You’ll prevent surprises through scheduled inspections.
Conclusion
You’ve now discovered the secret to “rustic charm”: it’s mostly surveys, consents, and not trapping moisture in stone walls. Start fabric-first—roof, pointing, windows—then insulate with breathable materials, add measured ventilation, and only then pick heating that isn’t just expensive nostalgia. Tame drafts, route services discreetly, and replan for boots, logs, and Zoom calls. Add storage and, if you must extend, keep it modest—no glass palace pretending it’s a cottage.


