Conceptual interior design starts with one clear idea that guides every choice, so your space feels intentional, not just well-styled. You’ll define an emotional headline, pick a specific artistic reference, and match it to your real daily needs. Then you’ll build a tight mood board, lock in 3–5 core colors plus accents, and repeat a hero material for cohesion. Use zoning, negative space, and layered lighting to control mood and flow. Keep going for sharper examples and cues.
Key Takeaways
- Start with one clear concept sentence and 3–5 non-negotiables to guide every layout, color, and material decision.
- Define an emotional headline, choose a specific artistic reference, and align it with your functional living needs for consistency.
- Build a ruthlessly edited mood board (12–20 images plus space photos) organized by zones, textures, and hero references.
- Limit to 3–5 core colors, add two accents and a neutral bridge, then repeat one hero finish at least three times.
- Plan flow and sightlines, zone by function, and layer ambient/task/accent lighting with consistent color temperature and dimmers for mood control.
Conceptual Interior Design: The Core Idea
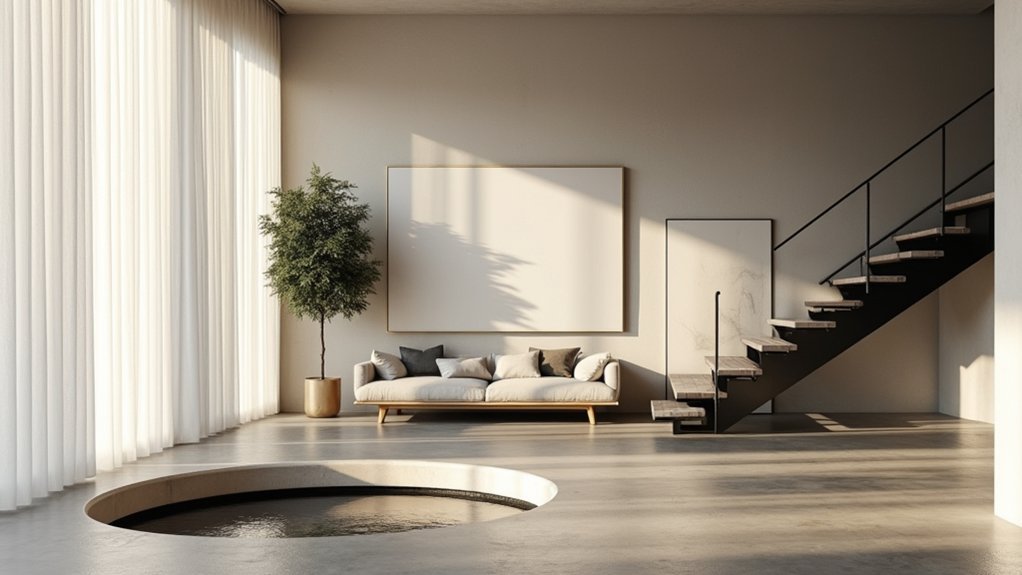
Why do some rooms feel instantly cohesive while others never quite click? Conceptual interior design gives you the missing backbone: a single, clear idea that drives every decision. You start with meaning, not shopping lists, then translate it into choices you can execute—layout, materials, color temperature, lighting, and negative space. Use Abstract symbolism to encode mood and message, like circular forms for continuity or raw stone for resilience. Pull Artistic inspiration from film stills, galleries, or streetwear palettes, then distill it into repeatable cues: one dominant tone, one contrast, one signature texture. Trend-aware doesn’t mean trend-chasing; you borrow what’s current only if it strengthens the concept and reads as intentional throughout.
Choose a Concept With 3 Guiding Prompts
Once you’ve anchored the room in a single core idea, you need a fast way to pick the right concept and keep it from getting vague. Use three guiding prompts to lock it in and move forward with confidence.
First, ask: What’s the emotional headline—calm, electric, intimate, or gallery-clean? That answer sets your contrast level, lighting approach, and negative space. Second, ask: What’s your Artistic inspiration—an artist, era, landscape, or film still? Name it specifically so your palette and forms stay intentional, not random. Third, ask: What’s the functional story—how do you live here day-to-day, and what needs to feel effortless? When all three align, you get thematic consistency without forcing a theme. Keep the concept to one sentence and a shortlist of non-negotiables.
Build a Conceptual Interior Design Mood Board
After you’ve nailed your one-sentence concept, build a mood board to translate it into decisions you can actually shop, specify, and install. Start by collecting 12–20 images that share the same “why”: interiors, architecture, art, fashion, even product shots. Edit hard—if an image doesn’t reinforce the concept, cut it. Then add 3–5 reference photos of your actual space so scale and constraints stay visible. Organize the board by zones: backdrop, Focal points, and supporting details. Include one hero image per zone to keep priorities clear. Finally, layer in close-up shots that prove Texture contrast—matte next to gloss, rough against smooth—so your concept reads at real-life distance, not just on a screen. Keep it digital, shareable, and versioned.
Choose Colors and Materials for the Concept
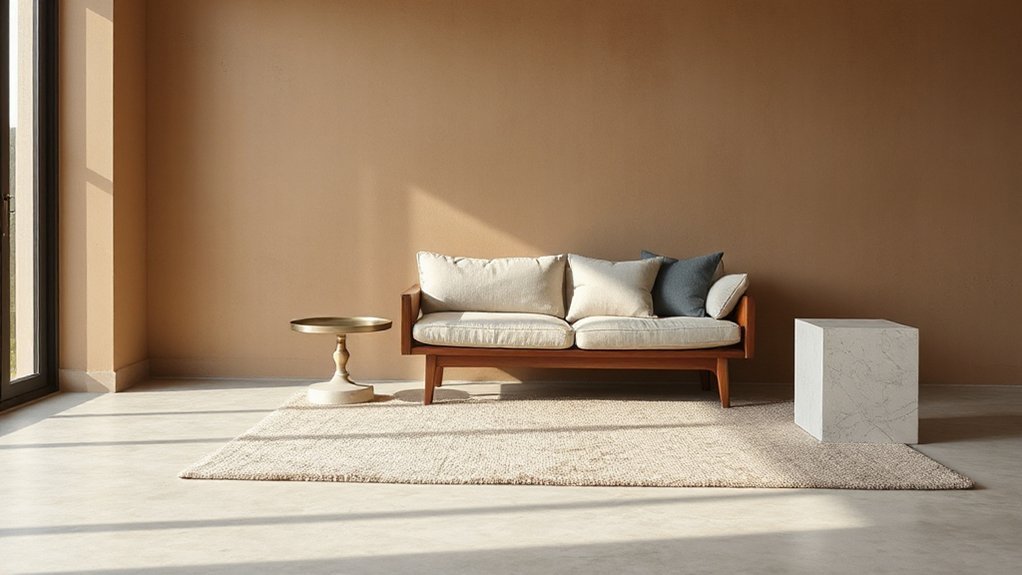
Even if your mood board looks cohesive, you still need a tight, repeatable palette to keep the concept from drifting during sourcing and installs. Start with 3–5 core colors, then add two accents and one “bridge” neutral that ties hard finishes to soft goods. Use color psychology intentionally: cool hues calm, warm tones energize, and high-contrast pairings sharpen focus.
Next, lock in materials by function and feel. Choose one hero finish (like oak, marble, or brushed steel), then repeat it at least three times to signal continuity. Balance sheen levels—matte, satin, gloss—so the room reads layered, not busy. Prioritize material textures that reinforce the story: nubby bouclé for softness, ribbed glass for sparkle, honed stone for grounded restraint. Always sample in real scale.
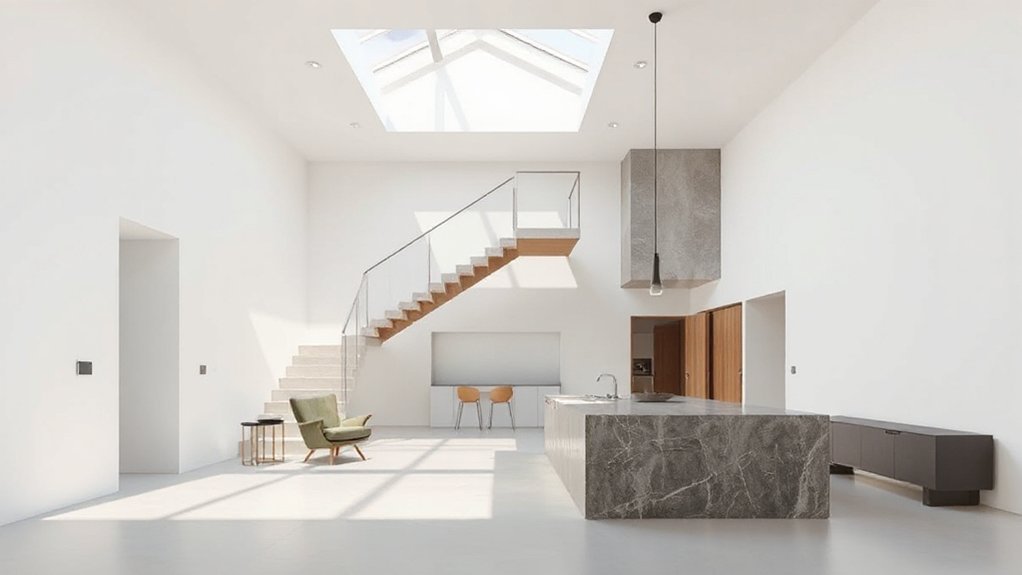
Use Layout and Lighting to Shape the Mood
Because your floor plan controls how people move, pause, and connect, layout and lighting do most of the emotional heavy lifting in a concept. Start by mapping primary paths and sightlines, then edit what interrupts flow. A tighter spatial arrangement creates intimacy; wider circulation and longer views read calm and expansive. Zone the room by function so each area supports the story, not random activity.
Next, layer lighting to steer perception. Use ambient lighting for an even baseline, then add task light where hands work and accent light where you want the eye to land. Put key sources on dimmers to shift from day to night without changing the plan. Keep color temperature consistent—warm for cozy concepts, cooler for crisp, modern ones. Control glare and shadow for comfort.`
Add On-Theme Décor (and Avoid Clutter)
Keep your concept sharp by choosing cohesive accent pieces that echo your palette, materials, and shapes. You’ll get a cleaner, more current look when you prioritize functional décor—think sculptural lighting, storage-forward baskets, or a statement mirror that earns its space. Edit hard and layer sparingly, so every object reads intentional instead of cluttered.
Choose Cohesive Accent Pieces
Once you’ve locked in your concept, choose accent pieces that reinforce it—then stop before the room tips into visual noise. Pick two to three anchor tones from your palette and repeat them in small hits: a glazed vase, a throw, framed art. Use statement pieces sparingly; one oversized ceramic or sculptural lamp reads intentional, while three competing focal points feel chaotic.
Curate decorative accents by material and silhouette, not just color. If your concept is warm minimalism, favor matte woods, linen textures, and rounded forms; if it’s urban glam, lean into smoked glass, polished metal, and crisp geometry. Keep surfaces edited: group items in odd numbers, vary height, and leave breathing room. When an object doesn’t match the story, remove it.
Prioritize Functional Decor
After you’ve edited your accent pieces down to what supports the concept, make every remaining item earn its spot by doing a job. Choose décor that doubles as storage, lighting, or comfort, so your theme reads intentional, not busy. Swap a sculptural bowl for a key-catcher with compartments, or a statement tray that corrals remotes and candles. Use wall-mounted shelves, peg rails, and nesting side tables as space saving solutions that still look curated.
Anchor the room with ergonomic furniture that supports how you actually live: a sleek task chair, a sofa with supportive seat depth, or an adjustable reading sconce by the bed. Treat cables, mail, and daily tools as design inputs—hide them with lidded boxes and built-in organizers that match your palette.
Edit And Layer Sparingly
Although you may love collecting, conceptual interiors land best when you edit hard and layer with intention, adding only on-theme décor that strengthens the story without crowding it. Start by clearing surfaces, then reintroduce pieces in a strict hierarchy: one hero object, two supporting accents, and breathing room. Let your Furniture arrangement do the heavy lifting—float seating to frame a focal point, and keep pathways clean so the concept reads at a glance. Use Texture layering, not quantity, to add depth: pair a matte wall with a nubby rug, a sleek lamp, and a single sculptural throw. Repeat one material or motif three times for cohesion. If an item doesn’t match palette, era, or narrative, store it. Your space will feel curated, not cluttered.
Frequently Asked Questions
How Much Does Conceptual Interior Design Typically Cost for a Whole Home?
You’ll typically pay $2,000–$10,000 for whole-home conceptual interior design, or $2–$8 per square foot. Cost estimation varies by scope and deliverables; you’ll gain Design flexibility, especially with mood boards, layouts, and revision rounds.
Do I Need a Professional Designer, or Can I DIY a Cohesive Concept?
You don’t need a pro—DIY can work—unless you want magazine-level perfection overnight. You’ll nail cohesion by locking Color palettes, testing furniture arrangements, and sticking to one mood. Hire help if you’re overwhelmed.
How Long Does It Take to Complete a Concept-Driven Redesign?
You’ll typically finish a concept-driven redesign in 4–12 weeks, depending on scope. You’ll lock Color palettes and furniture arrangements in 1–2 weeks, then order, manage lead times, and install on schedule.
How Do I Adapt a Strong Concept to Rentals Without Permanent Changes?
Like dressing your space in a bold coat, you’ll adapt the concept by leaning on Temporary solutions: peel-and-stick, removable hooks, textiles, lighting. You’ll choose Budget friendly ideas: thrifted accents, layered rugs, portable art.
What Are Common Mistakes That Make a Concept Feel Forced or Theme-Like?
You make concepts feel forced when you copy literal motifs, push Theme consistency too hard, and ignore Color coordination. You’ll over-style every surface, skip negative space, and chase trends without a clear, lived-in edit.
Conclusion
You’ve learned to anchor every decision to one clear concept, from your guiding prompts to the mood board, palette, materials, and lighting. When you keep the story tight, the room feels intentional, not staged. In fact, studies show clutter can raise stress levels by up to 40%—so you’ll edit harder and decorate smarter. Stick to a few on-theme pieces, repeat key textures, and let negative space work. That’s how conceptual design stays bold, livable, and current.