Like Goldilocks sizing up a room, you can tell when your layout’s not quite right. Start by walking your usual routes and noting where you sidestep chairs, snag on door swings, or squeeze past tables. Then mark clear pathways and set simple zones with a rug, a lamp, or a shift in furniture angle. These quick tests reveal what to move first—and one overlooked spot often changes everything…
Key Takeaways
- Track your weekly routines and photograph rooms day and night to spot hesitation points, clutter magnets, and lighting problems.
- Mock up changes with masking tape and cardboard, then live with the new layout for a week before buying anything.
- Clear and widen main circulation routes by moving bulky pieces, rehinging doors, or using sliding doors; aim for 80–100cm paths.
- Create defined zones with rugs, lighting, and task-specific storage so every routine has a surface and a “home” for essentials.
- Improve flow with smarter furniture spacing and layered lighting, using slim, leggy pieces, vertical storage, and lamps at two heights.
Spot What’s Not Working in Your Layout
Although you might feel like your home’s layout is “just how it is,” you can usually pinpoint what’s not working by tracking how you actually move through each room over a normal week. Note where you hesitate, double back, or avoid a spot entirely. Pay attention to tasks: where you drop post, charge phones, sort laundry, or prep tea, and whether surfaces and storage support those routines.
Then audit what you see and feel. Clashing colour schemes can make a space seem chopped up, while a consistent palette helps rooms read as connected. Check wall textures too: heavy artex, high-sheen paint, or mismatched finishes can highlight awkward proportions or poor lighting.
Photograph each room in daylight and at night; you’ll spot problem zones quickly and more objectively.
Clear Traffic Flow (Walkways, Doors, Pinch Points)
Next, you’ll improve your home’s layout by clearing traffic flow so you can move easily between rooms without weaving around furniture.
Check that walkways and door openings feel wide enough for everyday use—especially when carrying shopping, laundry, or pushing a pram.
Then remove pinch-point obstacles like bulky side tables, poorly placed radiators, or tight furniture clusters that block doors and narrow key routes.
Widen Walkways And Doors
When people have to sidestep furniture or squeeze past door frames, your home’s layout starts working against you. Prioritise clear routes between rooms by increasing hallway width where possible and choosing wider internal doors, especially on busy paths to the kitchen, loo, or garden.
- Measure your hallway width: aim for a comfortable 900mm clear run, more if you’ve got kids or prams.
- Upgrade to 838mm (33″) doors on main routes; you’ll notice the difference carrying laundry or shopping.
- Keep doorway symmetry where two openings face each other; it reads calmer and improves wayfinding.
- Consider pocket or sliding doors to reclaim swing space without changing walls.
Check building regs and fire-door requirements before altering openings.
Remove Pinch Point Obstacles
If your main route through the house narrows at certain spots, fix the “pinch points” first because they create daily bottlenecks. Walk the path from front door to kitchen and sofa with a laundry basket, and mark where you twist sideways.
Move console tables, shoe racks, and plants at least 90cm from the walking line, and keep door swings clear. Swap bulky coat stands for wall hooks, and store buggies under stairs or in a cupboard.
Rehang doors to open against a wall where possible, or fit a slimline door handle. Use lighter color schemes in tight halls to reduce visual clutter, and keep wall decorations flat, centred, and above shoulder height.
You’ll glide through faster, with fewer bumps and spills.
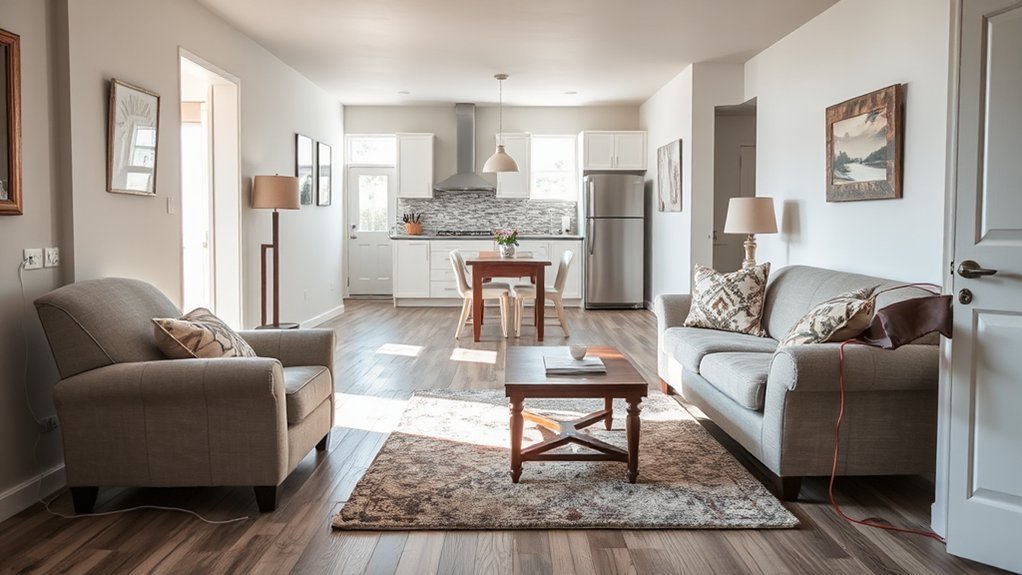
Create Simple Zones for How You Live
Although every home looks different, you’ll improve your layout fastest by dividing rooms into a few clear zones based on how you actually live—cooking, eating, relaxing, working, storing, and getting ready to leave. Start by mapping daily routines: where you drop keys, make tea, charge devices, and sort post. Mark each zone with subtle cues so it feels intentional, not cluttered.
- Use rugs to define relaxing vs working, especially in open-plan UK flats.
- Try color zoning: one wall or accessories per zone to signal purpose.
- Match storage to tasks: a hallway bench with baskets, kitchen drawer inserts, a lidded box for cables.
- Keep furniture arrangement consistent with zones by aligning lighting, sockets, and surfaces to the activity.
You’ll waste less time, and your home will feel calmer daily.
Place Furniture for Better Flow and Comfort
Next, place your furniture so you’ve got clear walkways between doors, seating, and key storage, without having to sidestep coffee tables or chair legs.
Aim for consistent circulation routes (about 80–100cm where possible) and keep corners open so the room feels easy to move through.
Then balance seating distances so you can chat comfortably—sofas and chairs should face each other without feeling cramped or shouting across the room.
Define Clear Walkways
Where do you naturally walk when you come through the front door, head to the kitchen, or move between the sofa and the telly? Map those routes first, then let furniture placement support them. You want clear, comfortable lanes so you’re not sidestepping stools, radiator covers, or stray baskets. Use visual pathways too: a runner, lighting, or a line of sight to the doorway helps your brain read the room instantly.
- Keep 80–90cm clear in main routes (tight UK terraces need every bit).
- Angle or shift armchairs so corners don’t snag hips.
- Pull coffee tables back from the edge of the walkway.
- Park shoes, prams, and bags in one defined drop zone.
Balance Seating Distances
Clear walkways sort out how you move through a room; balanced seating distances sort out how you live in it.
Start with your main seat: set couch placement so you can chat without shouting and still see the telly without craning. Aim for about 2–2.5m between sofa and TV in a typical UK lounge; adjust for screen size and eyesight.
Build the seating arrangement around a conversation zone. Keep 45–60cm between a sofa and coffee table for mugs and knees.
Place chairs 90–120cm apart from the sofa’s edge so people can reach a cuppa but keep personal space.
Don’t shove everything to the walls; pull pieces in, then leave 75–90cm behind for walking.
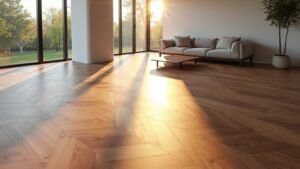
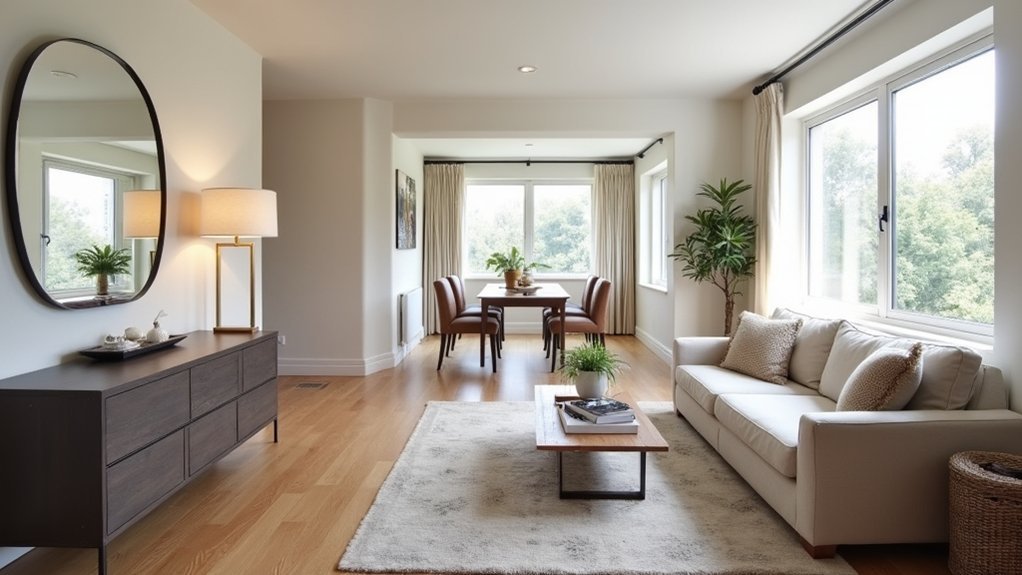
Make Small Rooms Feel Bigger (Scale + Sightlines)
Although small rooms can feel boxed in, you can make them read larger by controlling scale and keeping sightlines open. Start with scale illusions: choose fewer, slimmer pieces so the floor shows around them, and keep legs visible rather than using bulky skirted sofas.
Use sightline strategies by aligning key furniture edges to window reveals and door openings, so your eye travels without interruption. Keep circulation clear from the hall into the room; if you’re sidestepping around a coffee table, it’s too big.
- Swap a deep three-seater for a compact two-seater plus one chair.
- Hang curtains high and wide to stretch the wall.
- Use one large rug, not several small ones.
- Place a mirror opposite a window to bounce daylight.
Add Smart Storage Without Eating Floor Space
If you need more storage but don’t want to lose precious walking space, move your storage up the wall and into the dead zones you already have. Fit shelves above door frames, add tall bookcases tight to skirting lines, and use wall-mounted cabinets in alcoves.
Try Vertical stacking with modular cubes in a utility cupboard, keeping heavier items low for safety.
Build Hidden compartments into everyday pieces: an ottoman with lift-top storage, a bed with drawers, or a hallway bench with a flip seat for shoes.
In UK terraces and flats, make use of under-stair voids with pull-out shelves, and add hooks inside cupboard doors for bags and cleaning kit.
Keep labels tidy so you’ll find things fast.
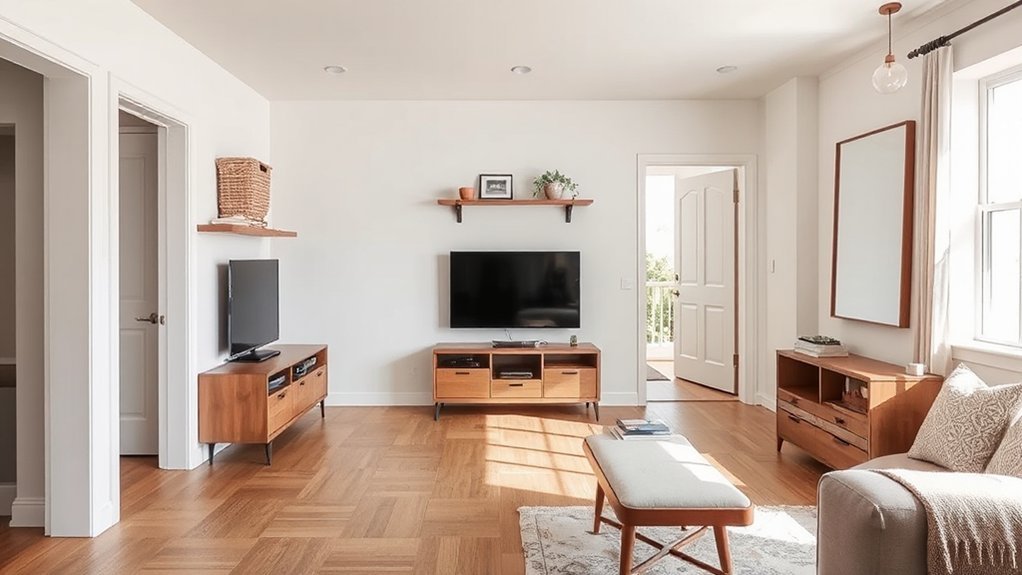
Layer Lighting to Define Zones and Open Rooms
When you layer lighting instead of relying on a single ceiling pendant, you can carve out clear zones and make even a compact UK living space feel wider. Start with Ambient layers on dimmers so the room’s overall brightness stays even. Then add focused points that signal how you use each area—sofa, dining table, or desk—without moving walls.
Keep colour temperature consistent (around 2700–3000K) to avoid a choppy look, and use warm-white LED bulbs to cut running costs.
- Put a dimmable ceiling fitting or track as your base glow.
- Add two lamps at different heights to frame the seating zone.
- Use task lighting over worktops or a reading chair (directional, glare-free).
- Fit smart plugs/switches to scene presets for evenings and mornings.
Fix Layout Dead Zones (Corners, Hallways, Nooks)
Because awkward corners, narrow hallways, and little nooks often collect clutter or go unused, treat them as part of your floorplan rather than leftover space. Start with corner optimization: add a slimline corner shelf, a tall plant, or a small reading chair with a side table to create purpose without blocking circulation.
In hallways, keep a clear walking line of at least 900mm; use wall-mounted hooks, a shallow shoe cabinet, or a radiator shelf to add storage while staying tidy.
For nook utilization, fit a compact desk, a window bench with lift-up storage, or bespoke shelves between studs. Use mirrors opposite light sources to widen tight spaces.
Choose consistent finishes so these additions look intentional, not like afterthoughts.
Test Changes First (Tape, Mockups, One-Week Trial)
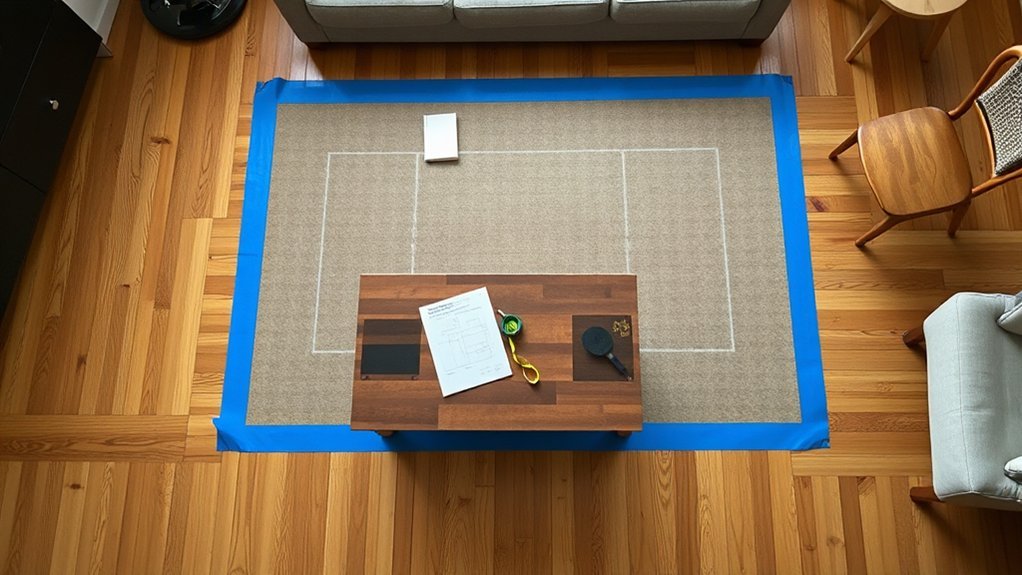
Before you buy furniture or book a tradesperson, test your layout tweaks at full scale so you can spot pinch points and awkward sightlines early. Use masking tape to mark sofa edges, door swings, and cupboard openings; these tape mockups reveal whether you’ll clip radiators, trip over thresholds, or block sockets.
- Tape key footprints and walk the main routes with a laundry basket or hoover.
- Build quick mockups from cardboard boxes to mimic coffee tables, islands, or desks.
- Run a one-week trial: live with the change, including school-run mornings and WFH days.
- Do virtual trials with free room-planner apps, then check measurements against UK standard door widths.
If it feels cramped or noisy, adjust now, not after delivery.
Frequently Asked Questions
Do I Need a Permit to Change My Home’s Layout?
You might need one—if you’re moving walls, changing electrics, plumbing, or structure. In the UK, check Building codes and local renovation permits with your council; minor non-structural changes often don’t require permission.
What’s a Realistic Budget for Minor Layout Improvements?
You’ll realistically budget £500–£3,000 for minor layout tweaks in the UK. Use cost estimation for paint, lighting, joinery, and small partitions. Follow DIY tips to cut labour, but reserve contingency for trades.
How Can I Improve Layout in a Rental Without Permanent Changes?
You can improve a rental’s layout by Furniture rearrangement: float the sofa, angle chairs, and clear walkways. Add Temporary dividers like freestanding bookcases, tension-rod curtains, or folding screens. Use command hooks, removable tape.
Should I Hire an Interior Designer or Space Planner?
You should hire a space planner if you need precise furniture arrangement and flow; choose an interior designer if you want colour coordination too. In the UK, ask for fixed fees, check portfolios, and confirm timelines.
How Do I Choose a Layout Style That Fits My Home’s Architecture?
Surveyors report over 40% of UK buyers pay more for period features—so choose a style that mirrors your architecture. Map Structural elements (chimneys, beams, bays), then adopt an Open floor only where walls aren’t load-bearing.
Conclusion
Think of your home like a small UK high street: if the pavements pinch, shoppers stall. You’ve widened walkways, marked clear “shops” (zones), and shifted displays (furniture) so sightlines stay open. You’ve added tucked-away storage like a back room, and layered lighting like streetlamps guiding you after dark. Now tidy the dead ends, then trial it for a week with tape and photos. If it flows, keep it.