
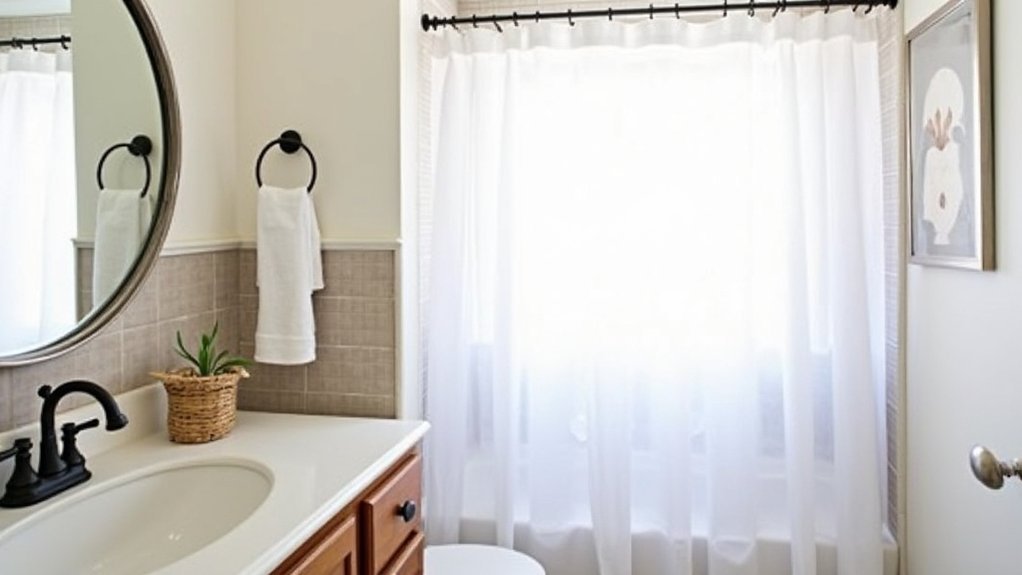
You can paint, you can swap fittings, you can change the light, and your bathroom won’t feel stuck in the past. Start by setting a firm budget in pounds and picking the few fixes that give the biggest visual lift with minimal disruption. Fresh moisture-resistant paint, new silicone, and matching taps or handles are cheap wins from UK DIY shops. But before you spend a quid, there’s one quick check that stops wasted money…
Key Takeaways
- Set a fixed budget with 10–15% contingency, and prioritize essentials like leaks, electrics, and ventilation before cosmetic upgrades.
- Refresh cheaply with mould-resistant bathroom paint, proper surface prep, and new mould-resistant silicone caulk for crisp, clean edges.
- Modernize fast by swapping taps, showerhead, handles, towel rail, and IP-rated lighting, matching existing hole spacing to avoid extra drilling.
- Declutter surfaces and add low-cost storage like mirrored cabinets, under-sink drawers, suction baskets, and stick-on hooks to make the room feel larger.
- Keep decor cohesive with one colour scheme, minimal accessories, warm LED bulbs, and a small plant for a fresh, updated finish.
Set Your Budget and Prioritize Dated-Bathroom Fixes
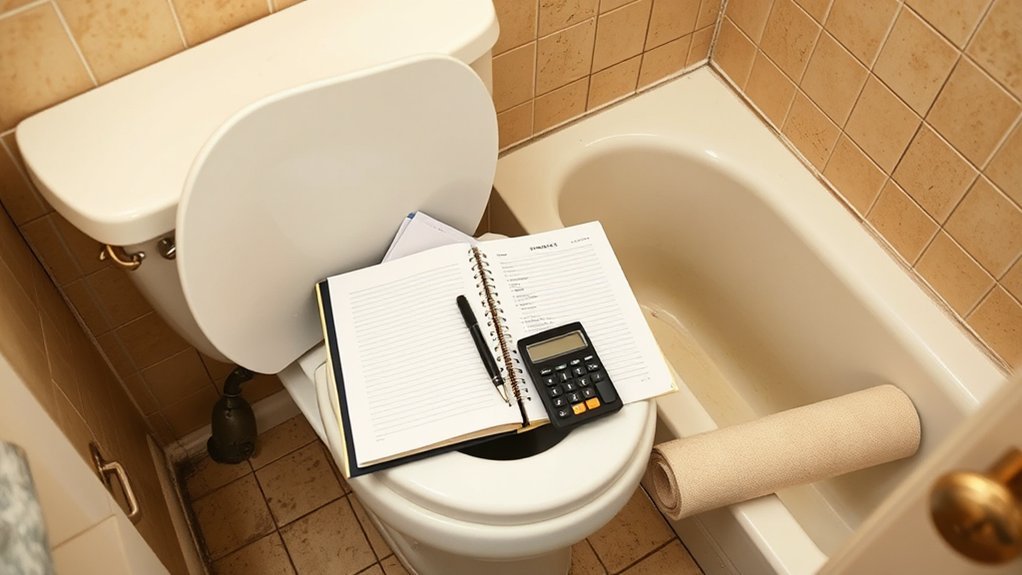
Before you buy a single tile or tap, set a hard budget and decide what’ll make the biggest difference for the least cash. Start with Budget planning: list essentials (safe electrics, leaks, ventilation) and ring-fence 10–15% for surprises, because UK trades and materials often jump in price.
Price-check at B&Q, Wickes, and Screwfix, and compare delivery costs before you commit.
Use prioritization strategies to rank fixes by impact and disruption. Swap tired lighting, a dated mirror, and worn brassware before you consider retiling.
If the suite’s sound, keep the bath and basin and spend on a modern mixer or shower rail.
Book one plumber visit for multiple small jobs to cut call-out fees. Always get at least two quotes in writing.
Paint and Re-Caulk for a Clean, New Look
Fresh paint and new caulk can make your bathroom look cleaner for very little money. You’ll get the best results by choosing a moisture-resistant bathroom paint that stands up to steam and splashes.
Strip out any cracked or mouldy caulk, then reapply a neat bead around the bath, shower, and basin for a crisp finish.
Choose Moisture-Resistant Paint
Because bathrooms stay damp long after you’ve finished showering, standard emulsion can peel fast, so it pays to choose a moisture-resistant paint designed for kitchens and bathrooms. Look for mould-inhibiting formulas and a wipeable finish; they act as moisture barriers and boost paint durability where steam and splashes hit hardest.
In UK DIY sheds, you’ll see bathroom-specific ranges from Dulux, Johnstone’s, and Crown—often on offer, so compare price per litre, not just tin size. Pick a soft sheen or satin for easier cleaning than matt, especially around the basin and shower.
Before you paint, degrease with sugar soap, rinse, and let surfaces dry fully so the coating bonds well and lasts longer, even with daily use.
Remove And Reapply Caulk
Moisture-resistant paint looks its best when the edges and joints around it are sharp, so tackle tired caulk next. Start with Caulk removal: score along the bead with a sharp craft knife, then peel it away with a scraper or caulk remover tool.
Clean residue with white spirit, wipe with sugar soap, rinse, and let everything dry fully to stop mould returning. Mask both sides of the joint with painter’s tape for crisp lines.
For Caulk reapplication, use a bathroom silicone with mould resistance (available at Screwfix, Wickes, or B&Q). Cut the nozzle small, run a steady bead, and smooth it with a damp finger or profiling tool.
Pull tape immediately and leave it to cure 24 hours.
Replace Dated Bathroom Hardware in Minutes
Even if you can’t stretch to new tiles or a vanity, swapping out tired bathroom hardware can make the whole room feel newer in under an hour. Focus on touchpoints: taps, shower head, towel rail, toilet roll holder, robe hooks, and cabinet pulls.
Match finishes so your bathroom layout looks intentional; brushed brass, chrome, and matte black are easy to find at Screwfix, B&Q, or online. Measure first, then choose like-for-like sizes to avoid drilling new holes.
For taps and shower heads, check your existing connections (usually 1/2-inch BSP) and keep a roll of PTFE tape handy to prevent leaks. If you’re not ready for plumbing upgrades, stick to surface-mounted accessories and handle swaps—you’ll get impact with minimal risk.
Upgrade Lighting to Modernize a Dated Bathroom
If your bathroom still has a single harsh ceiling light or a yellowed shade, updating the lighting will modernise the space faster than most décor fixes. Swap tired lighting fixtures for simple IP-rated options from UK DIY sheds; you’ll get a cleaner look without re-tiling.
Add a mirror light or two slim wall lights to reduce shadows, and keep costs down by reusing existing wiring positions. Choose modern bulbs in warm white (around 2700–3000K) for a flattering glow, or neutral white if you want a crisp, hotel feel.
Stick to LED for low running costs and longer life. Always check bathroom zone ratings and use a qualified electrician for any new circuits; it’s not worth the risk.
Make a Dated Bathroom Vanity Look New (No Replace)

You don’t need to replace your vanity to make it look new—you just need a smart refresh. Start by cleaning and degreasing it properly, then paint or refinish the cabinet for a crisp, modern finish.
Finish the job by swapping to budget-friendly knobs and a new tap, and you’ll get a big upgrade for far less than a full unit.
Clean And Degrease Thoroughly
Before any paint or new hardware goes on, give the vanity a proper deep clean so the finish actually sticks and lasts. Start by emptying the cupboard, then vacuum crumbs and dust from corners and hinge areas.
Use simple cleaning techniques: wash with warm water and a drop of washing-up liquid, then rinse and dry.
Next, tackle built-up grime from handprints, hairspray, and moisturiser with degreasing products. In the UK, look for sugar soap, a multi-surface kitchen degreaser, or methylated spirits for stubborn residue (test a hidden spot first).
Work top to bottom, using a microfibre cloth and a soft toothbrush around profiles. Don’t soak MDF edges.
Finish by wiping with clean water, then let it air-dry fully.
Paint Or Refinish Cabinet
Once the vanity’s clean and fully dry, a fresh coat of paint or a quick refinish gives the biggest “new bathroom” impact for the least spend. Lightly sand to key the surface, then wipe off dust with a tack cloth.
If it’s laminate or glossy, use a bonding primer so paint won’t peel in steamy UK bathrooms. Choose a durable satinwood or eggshell; it hides minor dings and cleans easily.
For real wood, you can strip and restain instead, then seal with a tough, water-resistant varnish.
Keep colours simple to calm busy outdated tiles and let Vintage fixtures feel intentional, not tired. Allow full cure time before refitting doors and using the basin daily.
Upgrade Hardware And Faucet
Fresh paint does most of the heavy lifting, but tired taps and yellowed handles can still date the whole vanity. Swap them for modern chrome, brushed brass, or matt black to make everything feel intentional.
Measure your existing hole centres (often 96mm or 128mm in the UK) and buy matching knobs or pulls so you don’t have to drill new holes.
For the tap, check whether you’ve got mono or two-hole fittings, then choose a WRAS-approved mixer for easy compliance.
If you like Vintage fixtures, lean into the look with crosshead taps and ceramic indices; for a subtler nod, pick simple levers and keep antique fittings to one accent.
Shop Screwfix, B&Q, or reclaimed yards for deals.
Swap Faucets and Showerheads for a Quick Upgrade
If your bathroom still has tired chrome taps and a weak shower spray, swapping the taps and showerhead is one of the fastest, most budget-friendly upgrades you can make. You’ll see an instant lift, and you won’t need to retile or call in a tradesperson if you’re confident with basic DIY.
Choose Eco friendly fixtures with ceramic cartridges and modern finishes like brushed nickel or matte black. Look for Water saving options: aerated basin taps, flow restrictors, and a low-flow showerhead (often 6–8 litres per minute) that still feels powerful.
In the UK, you can pick up quality sets from Screwfix, B&Q, or online sales for less than a night out. Check your tap holes (mono or pair), measure existing connections, and turn off the isolation valves before you start.
Add Smart Storage and Simple Decor to Finish
New taps and a better shower set the tone, but smart storage and a few simple decor tweaks make the room feel properly finished. Start by clearing the basin edge: add a mirrored cabinet or slim shelf above the loo, and use matching pump bottles to cut clutter.
Choose Smart storage that’s cheap and rental-friendly, like stick-on hooks, suction baskets, and under-sink drawers from B&Q, Wilko, or IKEA. If you’re tight on space, fit a towel rail with a top shelf, or swap bulky freestanding units for a narrow ladder rack.
For simple decor, stick to one colour and two textures: fresh white towels, a washable bath mat, and a framed print. Finish with warm LED bulbs and a small plant.
Frequently Asked Questions
Do I Need Permits to Change Bathroom Lighting or Plumbing Fixtures?
You often don’t need permits for like-for-like lighting or tap swaps, but plumbing alterations may need Building Regs and a certified electrician. Check local council, consider Bathroom ventilation rules, and choose Water saving fixtures.
How Can I Safely Update Bathroom Outlets to GFCI Without Rewiring?
You can swap existing sockets for GFCI/RCD spur units if wiring’s sound—turn power off, test dead, and fit the correct rating. Prioritise Electrical safety and Outlet replacement; if unsure, hire a Part P electrician.
What’s the Best Way to Remove and Prevent Mold Behind Caulk?
Cut out old caulk, scrub with dilute bleach or hydrogen peroxide, dry thoroughly, then re-caulk with mould-resistant sanitary silicone. Boost ventilation and wipe down weekly for Mold prevention; keep Caulk maintenance by resealing gaps promptly.
How Do I Refinish a Bathtub or Tile Without Hiring a Professional?
You can DIY bathtub refinishing or tile painting using UK epoxy kits: clean, sand, degrease, mask, then roll on thin coats. Ventilate, wear PPE, and cure fully. Expect £30–£80, and redo high-wear areas periodically.
Which Budget Bathroom Updates Add the Most Resale Value?
You’ll add most resale value by turning your bathroom into a bright calling card: refresh with Bathroom paint, swap taps and shower for Fixture upgrades, update lighting, fit a mirrored cabinet, and regrout—UK buyers notice cleanliness.
Conclusion
You don’t need a full rip-out to refresh a dated bathroom on a budget. Set a clear spend, then tackle the biggest wins first: paint, fresh caulk, and updated hardware. Modern lighting, a new tap or showerhead, and a spruced-up vanity make the room feel current fast. Add slim storage and a couple of simple accessories to finish it off. With these tweaks, your bathroom will look fresh like a new pin.


