

You don’t need a renovation to make your home feel newer; you need targeted upgrades that match your budget, time, and DIY comfort. Start with high-impact cosmetic fixes like paint, peel-and-stick wallpaper, and updated hardware, then tighten function with better lighting, smarter storage, and draft sealing. These changes cost less, finish faster, and cause minimal disruption—but the order you tackle them in determines whether it feels cohesive or piecemeal…
Key Takeaways
- Prioritize no-reno upgrades by cost, time, and DIY difficulty, reserving rewiring or HVAC balancing for professionals.
- Refresh walls fast with paint or wallpaper; prep properly, measure patterns carefully, and use peel-and-stick options for rentals.
- Upgrade lighting with statement fixtures, high-CRI LEDs, and dimmers or smart controls to improve ambiance and reduce energy use.
- Modernize kitchens and bathrooms with new hardware, faucets, mirrors, re-caulking, and peel-and-stick backsplashes for quick impact.
- Improve comfort and efficiency by sealing drafts, adding weatherstripping, programming thermostats, and using LED bulbs based on lumens.
Choose No-Reno Upgrades by Cost, Time, DIY Level
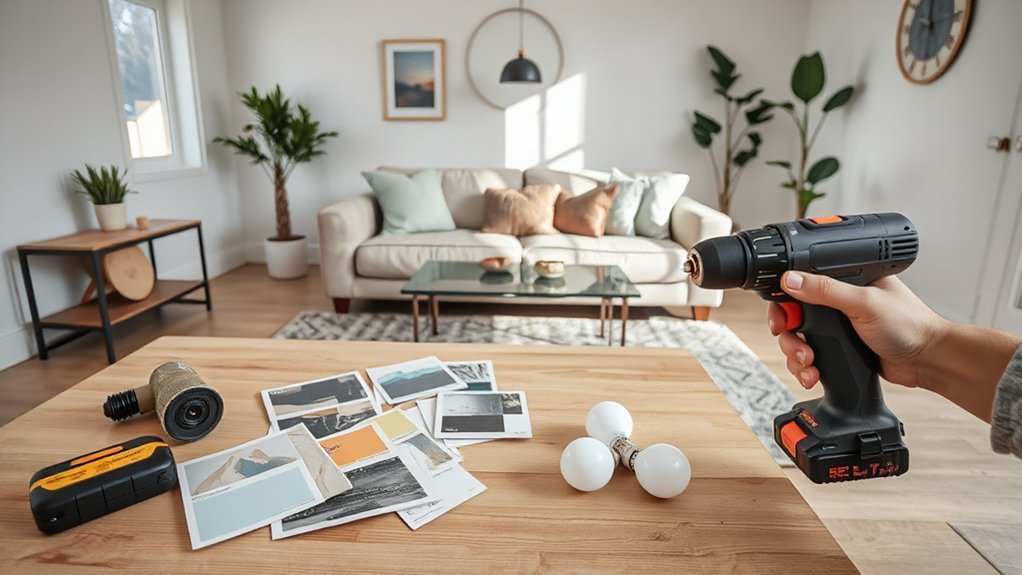
Before you buy anything, sort no-reno upgrades by three filters—cost, time, and DIY difficulty—so you can pick changes that fit your budget and schedule without surprises.
Start with low-cost, low-skill wins: swap cabinet pulls, add weatherstripping, install LED bulbs, or lay peel-and-stick floor tiles rated for your traffic.
Next, plan mid-cost projects that take a weekend: upgrade window treatments, replace faucets with water-saving models, or add shelving using existing studs.
Reserve high-cost or high-risk tasks for pros, like rewiring fixtures or balancing HVAC.
Favor Sustainable materials (FSC wood, recycled rugs, low-VOC sealants) to reduce waste.
Use smart home technology—thermostats, leak sensors, and motion lighting—to cut bills and prevent damage with minimal tools.
Paint and Wallpaper: Fastest “New Room” Upgrade
Although you’re not moving walls, fresh paint or well-chosen wallpaper can make a room feel completely different in a single day, with minimal tools and mess. Start by deciding what you want the space to do, then use Color psychology to guide choices: soft blues calm bedrooms, warm neutrals steady living areas, and deeper tones add drama to dining rooms or offices.
Prep properly: patch holes, sand edges, clean grease, and tape trim so your finish looks intentional. Use quality primer when covering stains, glossy paint, or bold colors.
For wallpaper, measure twice, buy one extra roll, and align wallpaper patterns from a centered plumb line. Choose peel-and-stick for rentals; use paste for lasting durability.
Weekend Lighting Upgrades (Fixtures, Bulbs, Dimmers)
You can transform a room in a weekend by swapping in a statement light fixture that fits the scale of the space and the height of the ceiling.
Upgrade your bulbs to hit the right color temperature and brightness—warm 2700K for cozy areas, 3000K for kitchens and baths, and high-CRI LEDs for accurate color.
Finish by adding dimmers and simple smart controls so you can set task, ambient, and evening lighting on demand.
Swap Statement Light Fixtures
When a room feels flat or dated, swapping in a statement light fixture delivers the fastest visual upgrade with minimal disruption. Choose statement lighting that matches your ceiling height and room scale: oversized pendants suit open spaces, while flush mounts work in low rooms.
If you love character, hunt for restored Vintage fixtures, but confirm they’re rewired and rated for your circuit.
Before you start, shut off power at the breaker and verify with a non-contact tester. Photograph existing wiring, then label the hot, neutral, and ground.
Check the electrical box is fan/fixture-rated and securely anchored; upgrade the bracket if it wobbles. Mount the canopy tight to the ceiling, level the fixture, and confirm no wires are pinched. Finish by testing all switch functions.
Upgrade Bulbs For Ambience
If your fixtures already work but the room still feels harsh or dull, upgrading the bulbs delivers a noticeable ambience shift in minutes. Start by matching the bulb base and shape (A19, BR30, GU10) to the socket and shade so the beam hits where you need it.
Then choose bulb color deliberately: 2700K–3000K warms living rooms and bedrooms, 3500K suits kitchens, and 4000K–5000K sharpens task areas.
Check CRI; aim for 90+ to keep skin tones and finishes accurate.
For recessed cans, pick flood spreads (60–100°) for even wash; for pendants, use narrower beams to avoid glare.
Confirm lumens: 800 for general, 1100+ for bright zones.
Use LED for efficiency and longevity.
Add Dimmers And Controls
Because the right bulb still needs the right control, adding dimmers and smart switches gives you instant command over brightness, mood, and energy use without changing a single fixture.
Start by checking compatibility: your LED bulbs and the dimmer must be rated for each other, or you’ll get flicker and buzz. Replace one switch at a time, shut off the breaker, and label the wires before you disconnect anything.
In multiway circuits, buy a dimmer designed for 3-way/4-way setups or use a companion switch.
For a Smart home upgrade, choose Wi‑Fi, Zigbee, or Z-Wave controls that integrate with automation systems, then set scenes like “Cooking,” “Movie,” and “Night.”
Add occupancy or vacancy sensors in halls and baths to cut waste.
Swap Faucets, Handles, and Hardware for Instant Polish
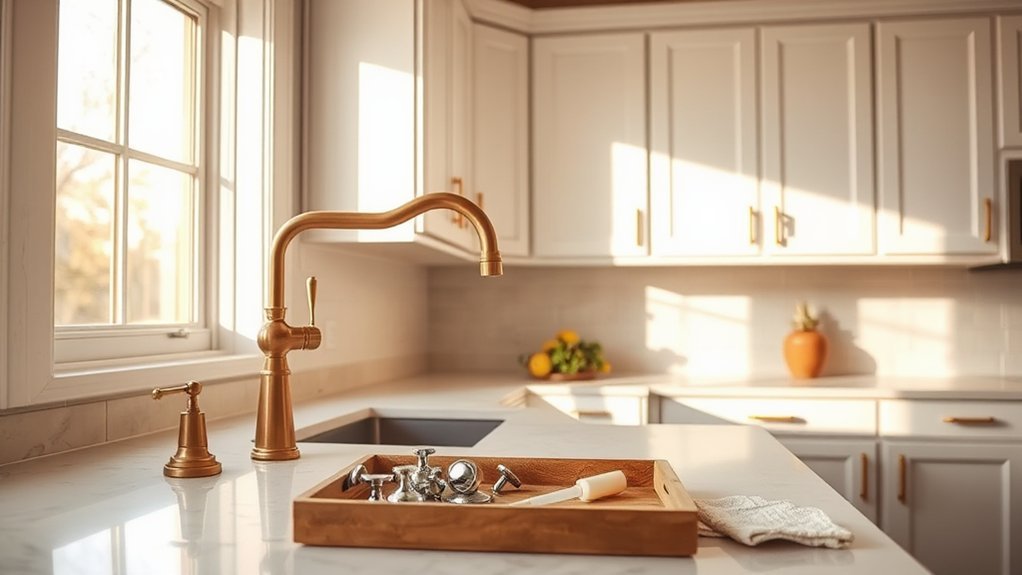
You can sharpen the whole room by swapping faucets, handles, and hardware, but start by choosing one cohesive metal finish (or two at most) and stick with it across kitchens and baths.
Upgrade faucets first for the biggest visual payoff, and match spout style and finish to your sink and surrounding fixtures so nothing clashes.
Then refresh cabinet pulls and knobs in an afternoon—measure hole spacing, buy consistent sizes, and you’ll get an instant, polished look without construction.
Choose Cohesive Metal Finishes
While paint and textiles set the mood, metal finishes deliver the “finished” look that makes a home feel intentionally updated. To get cohesive decor fast, pick one primary finish (about 70–80%) and a secondary accent (20–30%).
Walk room to room and list every visible piece: cabinet knobs, pulls, door levers, hinges, towel bars, light canopies, switch plates, and mirror frames. Match sheen as well as color—brushed nickel reads softer than polished chrome, and matte black hides fingerprints better than glossy.
Keep warm tones together (brass, bronze) and cool tones together (chrome, nickel). Use the accent finish on a few repeat elements to signal intention, not mismatch.
Upgrade Faucets For Style
Even if you don’t change a single tile, swapping faucets and matching handles can make a kitchen or bath look newly renovated. Start by measuring the existing hole configuration (single-hole, 4-inch centerset, or 8-inch widespread) so you buy a compatible faucet or the right cover plate. Check spout reach and height to avoid splashing or clearance issues under shelves.
Shut off the supply valves, open the old tap to relieve pressure, then remove the mounting nuts and lines.
Install the new faucet with fresh gaskets, apply plumber’s tape where the manufacturer specifies, and reconnect braided supply lines. Choose Vintage fixtures for character or Modern styles for a crisp update, but keep the finish consistent with your chosen metal palette.
Test for leaks and re-tighten gently.
Refresh Cabinet Hardware Fast
Fresh faucets set the tone, but cabinet hardware finishes the room and takes less than an hour to swap. Start by counting doors and drawers, then measure your existing hole spacing (center-to-center) so new pulls fit without drilling.
If you’re changing knobs to pulls, use a template to keep alignment crisp and consistent. Match finishes across the room: faucets, light fixtures, and cabinet hardware should read as one system.
Choose hardware styles that suit the cabinet profile—sleek bar pulls for flat fronts, cup pulls for Shaker, and classic knobs for traditional frames. Upgrade hinges only if yours sag or squeak; soft-close versions feel premium fast.
Install with a hand screwdriver to avoid stripping, and tighten after 24 hours.
Add Storage That Makes Daily Life Easier
When your essentials don’t have a designated place, clutter spreads fast and everyday tasks take longer than they should. Fix it with Creative storage solutions that match how you live: add a slim console with baskets by the entry, mount hooks and a shelf rail for bags and keys, and use a lidded tray to corral mail.
In the kitchen, install pull-out bins or under-shelf baskets to reclaim vertical space, and dedicate one drawer to daily tools with adjustable dividers.
In bedrooms and baths, swap in over-door racks, stackable clear bins, and a bedside caddy to keep surfaces open.
Aim for Functional organization: label zones, store frequently used items at arm height, and review each area monthly.
Floors Without a Gut Job (Rugs, Vinyl, Refinishing)
If your rooms feel dated but you can’t take on demolition, start at floor level because it changes the whole space fast.
Use Area rugs to cover worn patches, define zones, and soften echo. Size them right: front legs of seating on the rug, and leave 8–12 inches of border to show floor.
For a bigger reset, consider vinyl flooring with click-lock planks; it installs over many existing surfaces, handles moisture, and looks like oak or tile.
Prep matters: fix squeaks, fill dips, and clean thoroughly so seams stay tight.
If you’ve got hardwood, refinish instead of replace—screen and recoat for light wear, or sand and stain for deeper damage.
Add felt pads to protect everything.
Kitchen Refresh With No Major Work (Fronts, Backsplash, Shelves)
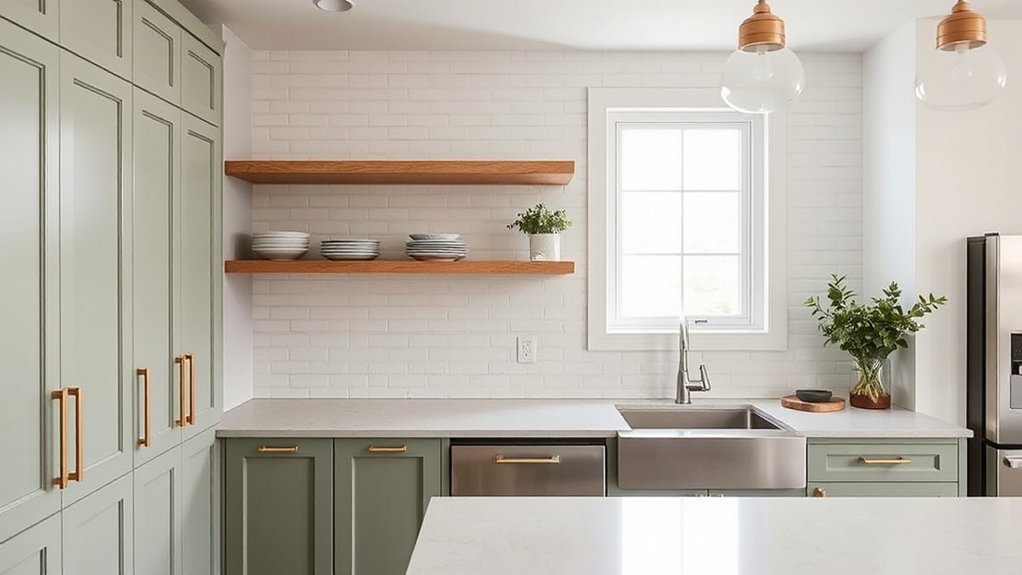
Although a full kitchen remodel can drag on for weeks, you can get a dramatic upgrade by targeting what you touch and see most—cabinet fronts, the backsplash, and open shelving—without moving plumbing or tearing out walls.
Start with doors: swap dated fronts for shaker or flat panels, or refinish with durable cabinet enamel and new pulls. Add soft-close hinges if yours slam.
Next, update the backsplash with peel-and-stick tile or a slim panel system; choose a backsplash design that links your counters and hardware finishes, and run it to the underside of uppers for a taller look.
Finally, tune shelving organization: use matching canisters, stackable risers, and under-shelf hooks, and keep everyday items at eye level. Add puck lights for brightness.
Bathroom Refresh Without Renovating (Surface Swaps, Sealing, Styling)
Even without ripping out tile or moving plumbing, you can make a bathroom feel cleaner, brighter, and more expensive by focusing on three high-impact areas: surface swaps, proper sealing, and tight styling.
Start with Surface enhancements: replace a yellowed shower curtain, dated mirror, and tired hardware to modernize instantly.
Then use smart sealing techniques to stop grime from returning—clean, dry, and re-caulk with mildew-resistant silicone, and re-grout or apply grout sealer where staining persists.
Finish by editing visual clutter so the room reads intentional, not busy. Prioritize improvements you touch daily, and you’ll feel the upgrade every morning.
- Swap taps, towel bar, and toilet seat for matching finishes
- Add a framed mirror and warm, glare-free vanity bulbs
- Re-caulk joints and seal grout lines after deep cleaning
- Style with two towels, one tray, and one plant
Cheap Energy-Efficiency Wins (Sealing, Thermostats, LEDs)
Because small leaks and outdated controls quietly drain your budget, you’ll get the fastest energy-efficiency upgrade by tackling three cheap fixes: air sealing, smarter thermostat settings, and LED lighting.
Start with a quick walk-through, or book energy audits, to spot drafts around doors, windows, attic hatches, and plumbing penetrations. Seal gaps with caulk or foam, then add weatherstripping; it boosts thermal insulation performance by stopping air from bypassing it.
Next, program your thermostat: set back 1–2°C at night and when you’re out, and use schedules instead of constant manual tweaks.
Finally, swap the most-used bulbs first: choose warm or neutral LEDs, check lumens (not watts), and pick dimmable models where needed. You’ll cut bills immediately with minimal tools.
Frequently Asked Questions
Will These Upgrades Increase My Home’s Resale Value Significantly?
They can, but rarely dramatically; you’ll see the best Market impact from cosmetic, energy, and curb upgrades. You’ll boost Home equity most when you match local comps, document improvements, and avoid overpersonalizing.
Do I Need Landlord Permission for Temporary Upgrades in a Rental?
Yes—you usually need landlord OK; small peel-and-stick changes feel free, but leases bite. Check tenant rights and Upgrade permissions: get approvals in writing, avoid drilling/painting, keep receipts, and restore original condition.
What Permits or Building Codes Apply to No-Renovation Improvements?
You’ll usually follow building codes and permit requirements only when you touch electrical, plumbing, gas, HVAC, or structural elements. Check local ordinances for smoke/CO alarms and egress. When unsure, call your building department before starting.
How Do I Plan Upgrades if I Have Allergies or Chemical Sensitivities?
Start by listing triggers, then choose low-VOC, fragrance-free products and ventilate aggressively. Get air purifier recommendations with HEPA plus carbon. Prioritize natural material options like solid wood, wool, cork. Test samples, phase changes, document reactions.
What’s the Best Way to Hire a Handyman for Small Home Upgrade Tasks?
Summon a handyman like you’re paging a telegraph operator: you’ll hire best by checking licensing, reviews, and photos, defining scope, confirming Tool selection, requiring written Budget planning, and agreeing on timeline, materials, and cleanup upfront.
Conclusion
You don’t need a sledgehammer to make your home feel new—you need a smarter checklist. Paint and wallpaper reset the mood like a clean slate. Updated lighting, taps, and hardware add polish in a single afternoon. Storage fixes stop daily clutter from snowballing. Rugs or vinyl soften tired floors without the dust storm. Quick kitchen and bathroom surface swaps deliver “renovation” energy on a weekend. Seal drafts, add LEDs, and you’ll lock in comfort and savings.


