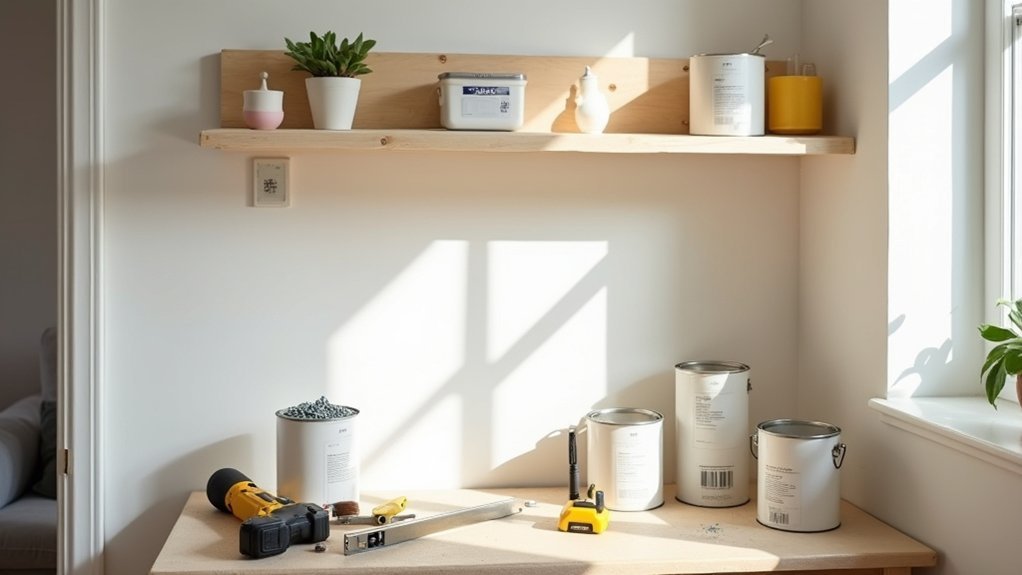
Start with a simple budget: list urgent fixes (leaks, loose sockets, sticking doors), set a monthly cap, and keep 10% back. Buy core tools once (tape measure, spirit level, drill/driver, VDE screwdriver, voltage tester). Patch holes with filler, sand, spot-prime, then paint with low‑VOC emulsion and neat FrogTape lines. Refresh bathroom silicone and grout, swap a shower head or soft-close seat, and seal drafts with foam strips and brush seals. Keep going for smarter upgrades.
Key Takeaways
- Plan a monthly DIY budget, prioritise urgent repairs, and keep 10% aside for unexpected costs.
- Buy a small set of reusable tools first, then price-check materials at Screwfix, Toolstation, B&Q, and Facebook Marketplace.
- Refresh walls cheaply by filling holes, sanding smooth, spot-priming stains, and repainting with low-VOC emulsion for a clean finish.
- Improve kitchens and bathrooms fast by regrouting, replacing silicone, fitting a new shower head, and swapping to a soft-close toilet seat.
- Cut drafts and bills by adding foam seals, brush strips, and caulk around gaps; isolate electrics before tightening sockets or changing switches.
Low-Cost DIY Starter Plan: Tools, Time, Budget
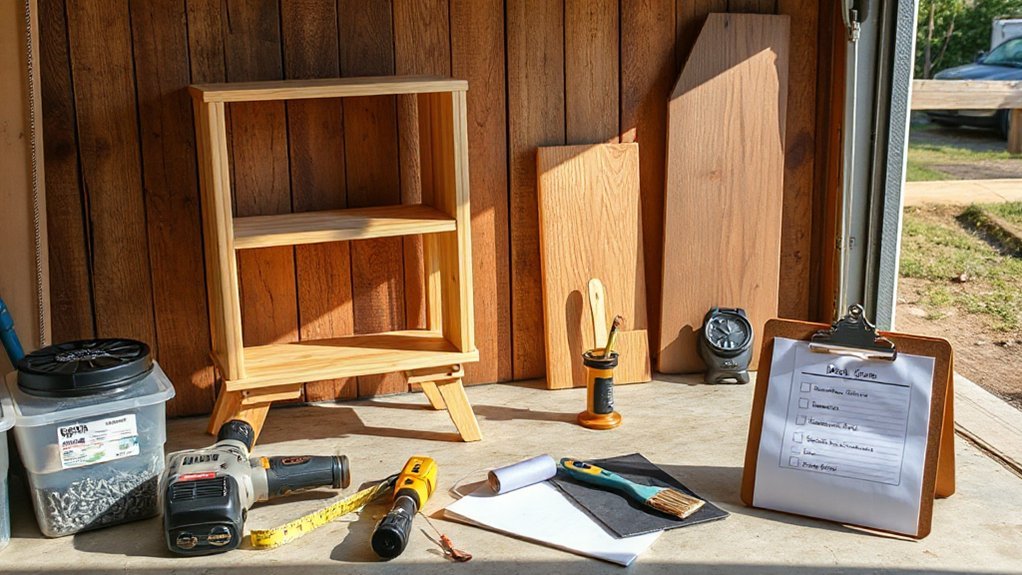
Before you pick up a paintbrush, set yourself up with a cheap, sensible starter plan that matches your home and your weekends. Start with budget planning: list urgent fixes (leaks, loose sockets covers, sticking doors) versus “nice-to-haves”, then set a monthly cap you won’t raid your savings for. Price-check at Screwfix, Toolstation, B&Q, and Facebook Marketplace, and keep 10% for unexpected bits like filler or wall plugs.
Next, do smart tool selection. Buy only what you’ll reuse: a decent tape measure, spirit level, hammer, multi-bit screwdriver, adjustable spanner, utility knife, filling knife, and a drill/driver with a small bit set. Block out two-hour slots, and stop before fatigue causes mistakes.
Best Low-Cost DIY Projects for Instant Wins
With your budget, tool kit, and a couple of two-hour slots pencilled in, you can now pick jobs that look like a big upgrade without costing much or risking major mess. Start with lighting: swap tired pendants for a shade and LED bulb (always isolate at the consumer unit first). Next, refresh joinery—sand and repaint skirting, doors, and banisters using durable satinwood; sample tester pots to nail the colour. Replace dated handles on cupboards and internal doors; measure screw centres and keep the old ones for returns. Re-caulk the bath and sink with mould-resistant silicone; tape edges for crisp lines. Finally, fit adhesive draught strips to windows and letterboxes to cut bills. Use these budget tips as DIY inspiration.
Low-Cost DIY Curb Appeal in One Weekend
You can boost your home’s kerb appeal in a single weekend by revitalizing the front door and upgrading the house numbers. Give the door a quick sand, then apply an exterior wood or uPVC paint and fit a new handle or knocker if yours is tired. Swap old numbers for bold, weatherproof ones that contrast with the brickwork so they’re easy for Royal Mail and visitors to spot from the pavement.
Refresh Front Door
If your home’s exterior feels a bit flat, a front-door refresh delivers the quickest curb-appeal win for the least money. Start by washing down with sugar soap, then sand lightly (120–180 grit) and wipe dust away. Mask glass and hinges, and check for rot at the bottom rail before you paint.
Pick a Door color that suits your brick and roof: deep navy, heritage green, or classic gloss black work well on UK terraces. Use an exterior wood primer/undercoat and two topcoats; water-based satin dries fast, while traditional gloss gives a harder shine. Swap tired fittings to match modern hardware styles—brushed chrome, antique brass, or matte black. Replace the knocker, letterplate, and handle as a set for a cleaner look.
Upgrade House Numbers
Although they’re easy to overlook, smart, well-placed house numbers make your place easier to find and lift the whole frontage in a single afternoon. Swap tired plastic digits for a modern design in brushed stainless steel, powder-coated aluminium, or acrylic—each balances looks with material durability in UK weather.
Measure your existing fixing holes and check sightlines from the pavement and the road, especially if you’ve got a long path. Clean the brickwork, mark a level line with masking tape, then drill with a masonry bit and wall plugs. For uPVC frames, use the right self-tappers and don’t overtighten. Fit numbers at eye level, add a small backplate for contrast, and finish with clear silicone to keep water out.
Patch, Paint, and Peel-and-Stick Wall Upgrades
Once the keys are in your hand, sorting the walls often delivers the quickest “new home” feeling for the least money. Start with wall preparation: fill nail holes with ready-mix filler, sand flush, then wipe dust so paint grips properly. Use tester pots to check colours in UK light, and cut in with a decent 2″ brush before rolling. For rented vibes without commitment, try vinyl; follow peel and stick tips: measure twice, level the first strip, and smooth from centre out to avoid bubbles.
- Fill, sand, and dust off before anything else
- Spot-prime stains and fresh filler
- Use low-VOC emulsion for bedrooms
- Tape skirting with FrogTape for crisp lines
- Apply peel-and-stick panels on clean, dry walls
Swap Lighting, Faucets, and Cabinet Hardware Fast
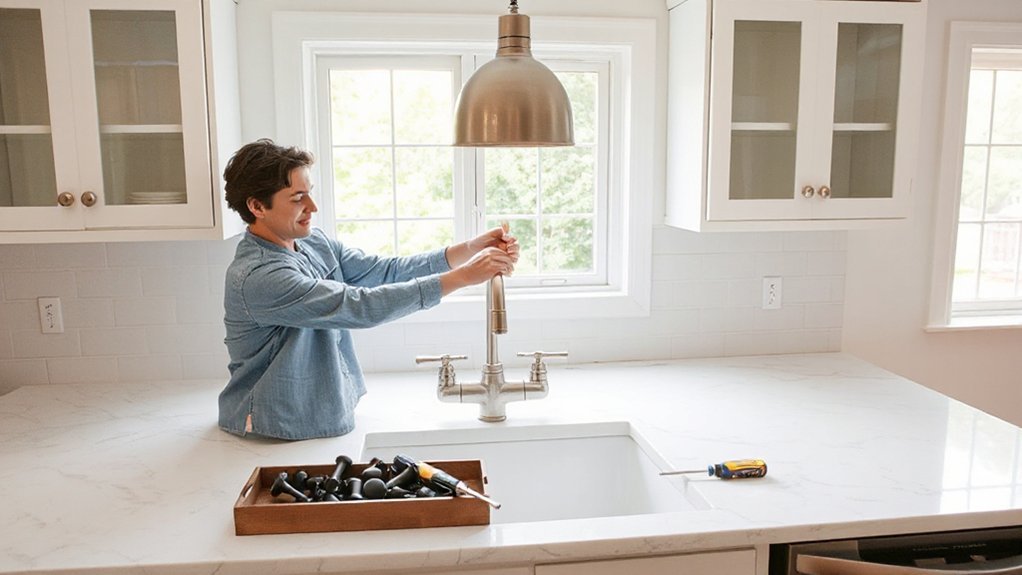
You’ll get the quickest visual upgrade by swapping high-impact fixtures—think a modern ceiling pendant, a new kitchen tap, and matching cabinet handles in a consistent finish. You can do most of it with a screwdriver, adjustable spanner, PTFE tape, and a voltage tester, and you’ll save time by checking hole spacing and pipe connections before you buy. Don’t cut corners: isolate power at the consumer unit, turn off the stopcock, and avoid over-tightening or mixing incompatible fittings that lead to leaks or wobbly hardware.
Choose High-Impact Fixtures
If you want a quick win that makes your home feel newer straight away, start with high-impact fixtures such as lighting, taps, and cabinet handles. You’ll notice the change every day, and you can keep costs down by choosing finishes that suit your existing style and plumbing. Stick to UK-standard sizes, check hole centres on handles, and match tap connections before you buy.
- Upgrade ceiling lights to modern pendants or flush LEDs for instant brightness
- Add smart technology: fit smart bulbs or a dimmer switch compatible with your setup
- Replace tired chrome taps with brushed nickel or matte black for a cleaner look
- Swap cabinet handles for coordinated Decorative accents (knurled, bar, or cup pulls)
- Choose matching finishes across rooms so everything feels intentional and cohesive
Simple Swap Tools
High-impact fixtures look even better when you’ve got the right kit to swap them quickly and safely. Keep a VDE-insulated screwdriver set for UK fittings, plus a voltage tester for light swaps. A small step ladder, head torch, and a magnetic parts tray speed you up without lost screws.
For taps, grab an adjustable spanner, basin wrench, slip-joint pliers, and PTFE tape; a shallow tray and microfibre cloth protect your vanity and catch drips. For cabinet pulls, use a bradawl, tape measure, and a simple drilling jig to line holes up fast. Your power tools list can stay lean: a cordless drill/driver with bits, plus a countersink. Add safety gear—gloves, goggles, and a dust mask—for drilling and cleanup.
Avoid Common Install Mistakes
Although swapping a pendant, mixer tap, or set of cabinet pulls looks like a quick win, most DIY headaches come from a few repeat mistakes—skipping isolation checks, rushing measurements, and forcing fittings that don’t match UK standards. Avoid installation pitfalls by slowing down and confirming what you’ve actually got behind the surface.
- Prove power’s off at the ceiling rose or switch drop with a two‑pole tester, not a neon screwdriver
- Shut off the stop tap, open a cold tap to depressurise, and keep a towel and bowl ready
- Check pipe sizes (15mm/22mm) and tap tails; don’t assume US-style fittings will work
- Measure hole centres for pulls (often 96/128mm) before you drill
- Use correct fixings for plasterboard and torque up gently, not brute force
Follow these safety precautions and you’ll finish faster.
Cheap Kitchen and Bath DIY Upgrades That Last
When you’ve just moved in, the kitchen and bathroom can feel dated fast, but you don’t need a full refit to make them look and work better. Swap tired cabinet pulls for brushed brass or black handles, and fit soft-close hinges on the worst doors. Add Kitchen shelving with sturdy brackets into studs or masonry plugs; paint shelves with wipeable satinwood for longevity. If you’ve got Vintage appliances, lean in: replace mismatched bits with a coordinated splashback tile strip or heat-resistant vinyl wrap on units.
In the bathroom, refresh silicone neatly, fit a new shower head, and swap the toilet seat for a soft-close model. Regrout with mould-resistant grout, then seal it for easy cleaning.
Seal Drafts and Handle Simple DIY Repairs Safely
Before you spend money on bigger upgrades, track down draughts and sort the small repairs that keep your home safe and efficient. On a windy day, feel around windows, doors, loft hatches, and letterboxes; use a candle only if you’ve cleared curtains and aerosols.
- Fit adhesive foam strips to frames for quick draft sealing.
- Add a brush strip to the letterbox and a draught excluder to doors.
- Seal gaps around pipes with decorators’ caulk; use expanding foam sparingly.
- Replace cracked light switches and tighten loose sockets only after isolating the circuit at the consumer unit.
- Patch small holes with filler, then sand and repaint for a clean finish.
For repair safety, wear gloves and goggles, ventilate well, and follow UK product labels and Part P rules.
Frequently Asked Questions
Do I Need Permits for Small DIY Upgrades in My City?
You might need Building permits, depending on the work. Check your council’s Local regulations: structural changes, electrics (Part P), plumbing, and extensions often require approval; cosmetic jobs usually don’t. Ask Building Control before you start.
How Can I Match Existing Paint Colors Without the Original Can?
You’ll hunt that shade like it’s the Crown Jewels: scrape a 50p-sized chip, take it to B&Q or Dulux Decorator Centre for Color matching, then test paint samples on the wall. Check daylight.
Which DIY Projects Improve Appraisal Value Versus Only Personal Comfort?
You’ll get best uplift from appraisal boosting upgrades like repainting neutrals, fixing damp, rejuvenating kitchen fronts, and improving insulation; value increasing renovations beat comfort-only tweaks like feature walls, bespoke shelving, and fancy lighting. Keep receipts, before/after photos.
What Should I Document With Photos for Insurance Before Starting Renovations?
You should photograph every room, valuables, and existing damage; capture close-ups of fixtures, wiring, and plumbing; keep receipts, serial numbers, and dates. Use Insurance documentation and photo recordkeeping, and store copies in UK cloud storage.
How Do I Find and Safely Shut off My Home’s Main Water Valve?
Like finding a lifebuoy in rough seas, locate your Water shutoff under the kitchen sink, in the airing cupboard, or by the internal stop tap. Confirm Valve location, then turn clockwise until it’s snug—don’t force.
Conclusion
You don’t need a magic wand or a five-figure budget to make your first home feel brand new. With a basic tool kit, a couple of evenings, and pocket-change materials, you’ll rack up wins ridiculously fast—fresh paint, peel-and-stick panels, new handles, and brighter fittings can make rooms look like they’ve been “professionally” redone. Seal draughts, tackle safe fixes, and spend smart at B&Q, Screwfix, or Wickes.