Repair your flint cottage with lime mortar and lime render so joints stay vapour-permeable, capillary-active, and sacrificial, letting moisture escape instead of being trapped by hard cement. You’ll spot trouble early via damp halos, salt bloom, darkened flints after rain, map cracking, bulging, or a sharp ringing tap test. Rake out to sound mortar (15–25 mm), pre-wet, then repoint in thin, well-compacted lifts using lime putty or NHL2/NHL3.5 as exposure demands. Keep going for method details.
Key Takeaways
- Use lime mortar because it allows movement and moisture escape, preventing trapped water, salt crystallization, and frost damage common with cement.
- Diagnose problems by spotting damp halos, salt bloom, cracking, bulging render, and using tap, scratch, mist absorption, or acid fizz tests.
- Select the weakest compatible lime: lime putty for fine work, NHL2 for moderate exposure, NHL3.5 for harsher zones like gables.
- Repoint by raking to sound mortar, pre-wetting, packing mortar in thin compacted lifts, then cutting back and brushing before full set.
- Re-render and limewash with thin coats on damp surfaces, scratching between coats, and protecting from sun, wind, rain, and frost during curing.
Why Lime Mortar Works on Flint Cottages
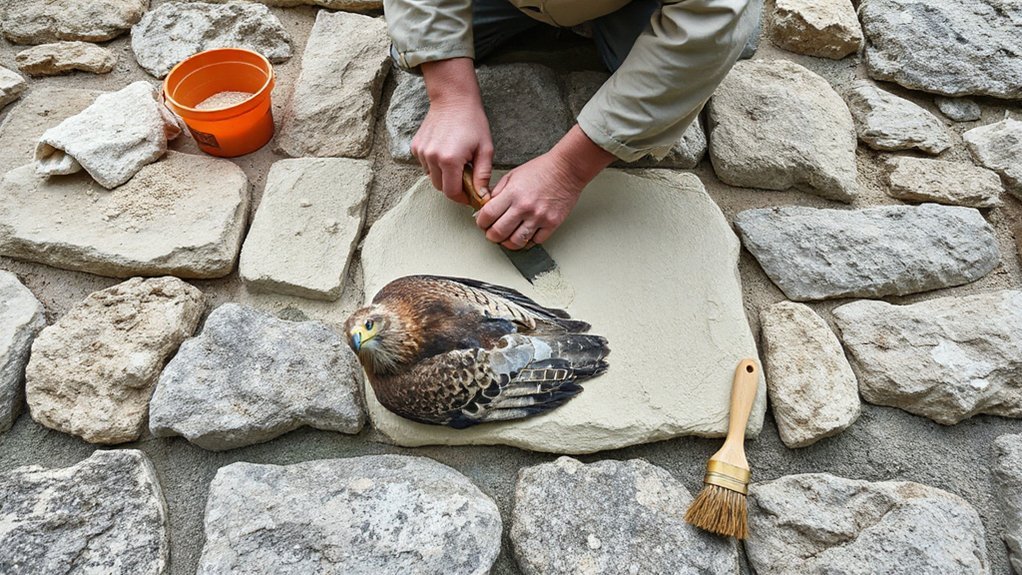
Although flint looks immovable, the wall around it is dynamic, and lime mortar works because it accommodates that movement instead of resisting it. You get a vapor-permeable, capillary-active joint that lets moisture migrate outward, so the flints and core stay drier and salts crystallize at the face, not inside the wall.
You also avoid trapping water behind hard cement, which accelerates frost damage and flint de-bonding. Lime’s lower modulus and micro-cracking self-healing through carbonation keep bedding contact without concentrating stress at irregular flint faces.
For Historical preservation, you match traditional porosity, texture, and sacrificial behavior, enabling future repointing without masonry loss.
For Environmental benefits, you use lower-fired binders and reabsorb CO₂ during cure, reducing lifecycle impact overall.
Spot Flint Cottage Warning Signs Early
Lime mortar’s ability to move and breathe only helps if you catch defects before water bypasses the joint and starts working on the wall core. Walk the elevations after heavy rain and look for damp halos, salt bloom, or darkened flint faces that don’t dry evenly.
Track hairline cracking that repeats at openings, eaves, and corners; it often signals movement or saturated backing.
Check internal faces too: musty odour, blistering paint, crumbling skirtings, and localized cold patches point to moisture migration.
Probe joints gently with a timber pick; if you can dislodge material with light pressure, you’ve got loss of cohesion.
Record locations, heights, and orientation, then photograph with a scale. This documentation supports Historic preservation decisions when Modern construction repairs are nearby.
Identify Cement, Lime, and Failing Render Fast
You’ll identify cement versus lime fast by checking visual cues: cement render looks dense, flat, and dark grey with sharp edges, while lime looks softer, chalkier, lighter, and often hair-flecked with rounded arrises.
Confirm on site with simple tests—scratch for hardness and powdering, mist for suction and darkening, and use a mild acid spot test for lime fizz (avoid damage and contamination).
Then scan for failure signs that demand action: hollow drumming, edge debonding, hairline craze cracking, trapped-damp staining, salt efflorescence, and spalled flint or blown faces at impermeable patches.
Quick Visual Material Clues
Before you reach for a hammer or order new render, read the wall: cement repairs usually look flat, dense, and cold-grey with sharp arrises, tight hairline cracking, and a “ring” when tapped.
While cement repairs tend to be uniform and hard, lime finishes tend to show a softer, chalkier surface, rounded edges, slight open texture, and a duller sound because they flex and breathe.
Scan for quick visual tells that support Historical preservation rather than Modern adaptations that trap moisture. Look at junctions, not just field areas: failures start where materials meet.
- Crisp, straight edges to patches and quoining suggest cement.
- Feathered laps, gentle rounding, and slight friability suggest lime.
- Salt bloom, dark halos, and algae lines flag moisture behind dense render.
- Map cracking and bulging indicate debonding or incompatible stiffness.
- Rust staining at fixings implies trapped damp and corroding metal.
Simple On-Site Tests
Although visual clues get you close, a few quick on-site tests let you confirm whether you’re dealing with cement, lime, or a render system that’s already failing.
Start with a fingernail or coin scratch in a discreet spot: lime will powder and mark easily; cement stays hard and glassy.
Mist the surface and time absorption—lime darkens and takes up water quickly, while dense cement beads and sheds.
Apply a drop of 10% hydrochloric acid (or strong vinegar if you must): lime-rich material fizzes readily; cementitious mixes react weakly.
Drill a 6–8 mm pilot hole and inspect dust: pale, soft fines suggest lime; sharp, grey grit suggests cement.
These checks support Historical preservation choices and help reduce Environmental impact by avoiding unnecessary demolition.
Common Render Failure Signs
Walking the elevations with raking light and a tapping tool, you can usually spot the tell‑tale patterns that separate dense cement render from breathable lime—and flag a render system that’s already losing bond.
Cement often looks planar, hairline‑cracked, and rings sharp; lime reads softer, micro‑crazed, and sounds dull.
On flint, failure shows first at arrises and around hard inclusions where movement concentrates and moisture can’t vent.
Watch for:
- Hollow drummy areas indicating debonding from the backing
- Map cracking with crisp edges, typical of rigid cement
- Damp halos, salt bloom, and friable faces, showing trapped moisture
- Rusted beads or mesh print‑through from incompatible reinforcement
- Step cracking at openings, signalling differential movement
For Historical preservation, you’ll prioritise breathable lime; Modern adaptations must still manage vapour and flex.
Pick the Right Lime (Putty, NHL2, NHL3.5)
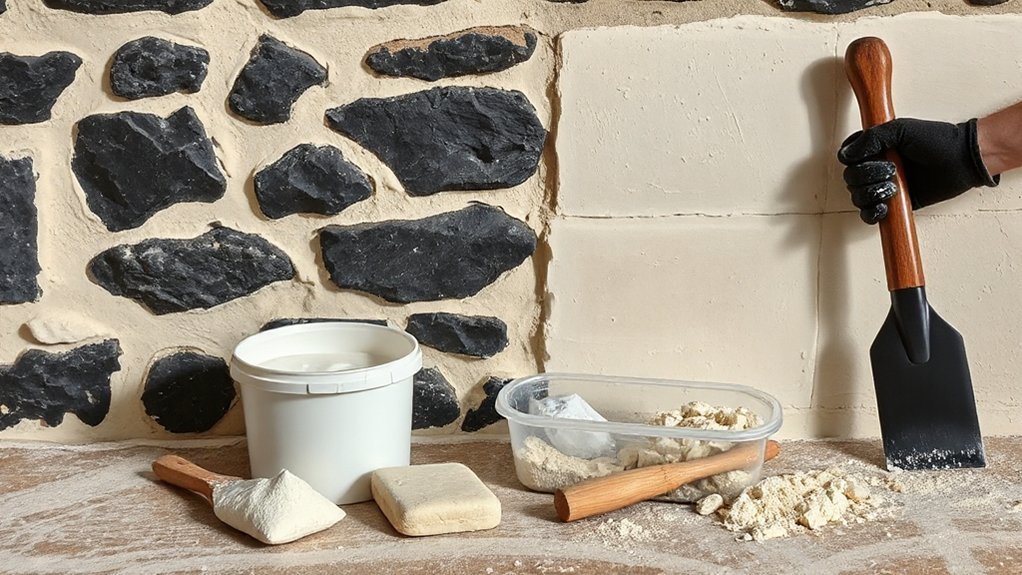
You’ll choose between lime putty and natural hydraulic lime (NHL) based on how you need the repair to set: putty carbonates slowly and stays highly workable, while NHL gains strength through hydraulic set and suits colder, wetter exposures.
For bedding and pointing flint, you must match binder strength and stiffness to the original fabric—use NHL2 for softer, more permeable work and reserve NHL3.5 for more exposed areas where a faster, stronger set is essential.
If you over-specify strength, you’ll trap moisture and drive cracking or spalling at the flint and arrises, so you should always pick the weakest lime that reliably meets the exposure and curing conditions.
Lime Putty Vs NHL
Because a flint cottage wall needs a binder that stays permeable, flexible, and compatible with soft historic masonry, you must choose between lime putty and the right grade of NHL (2 or 3.5) based on exposure, required set, and substrate strength.
Lime putty is air-lime: it carbonates slowly, giving long workability and low stress on arrises after Flint carving. NHL sets hydraulically, so it firms sooner in cooler, damper conditions and resists early washout.
Use your site conditions to decide:
- Choose putty for sheltered elevations and fine joint finishing.
- Choose NHL2 for moderately exposed faces needing earlier set.
- Choose NHL3.5 for harsher exposure and faster lock-up.
- Use putty for Lime painting base coats and breathability.
- Avoid dense mixes that trap salts and moisture.
Matching NHL Grade Strength
Where should you pitch the binder strength so the repair locks up without overpowering the flint and any soft brick or chalk backing? Match the NHL grade to the weakest adjacent material and the exposure.
Use lime putty for sheltered elevations, fine repointing, and historically soft cores. It carbonates slowly, stays flexible, and supports Lime preservation by sacrificing before the masonry does.
Choose NHL2 for general external pointing where you need earlier set but still want vapor permeability and compatibility with chalky or friable brick.
Step up to NHL3.5 only on highly exposed gables, copings, or splash zones, and only with well-graded sharp sand to limit shrinkage.
Keep joints slightly recessed to protect arrises and maintain Flint aesthetics.
Test panels confirm hardness, suction, and finish.
Tools and Materials for Flint Cottage Lime Repairs
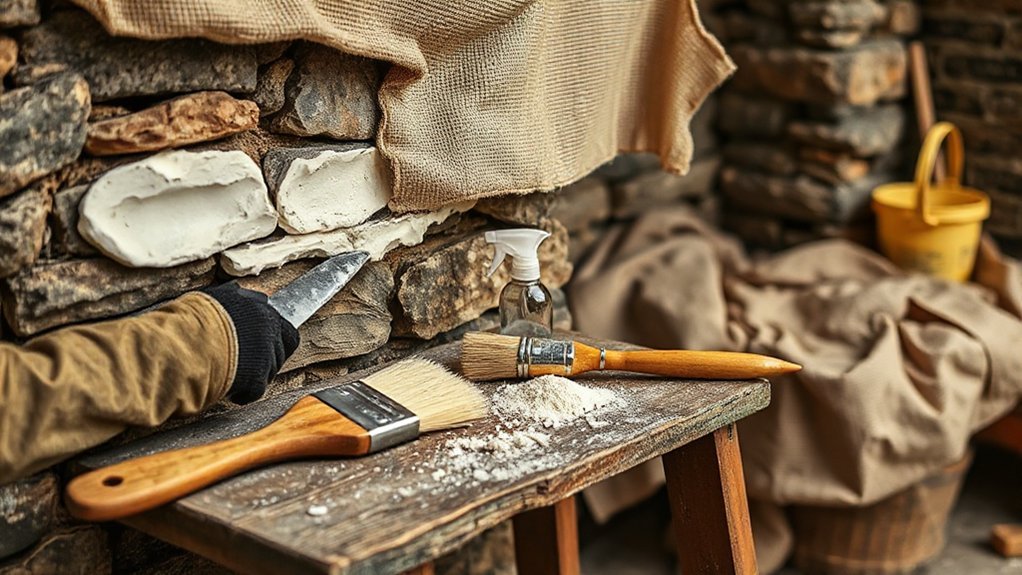
Before you start raking out joints or re-pointing flintwork, assemble the right lime-specific tools and compatible materials, since conventional cement kit and mixes can damage soft masonry and disrupt moisture movement. You’ll protect Historical accuracy and reduce Environmental impact by specifying breathable, repairable components and measuring them consistently.
Choose clean, well-graded sand and appropriate lime (putty or NHL already selected), plus potable water; avoid plasticisers and high-salt aggregates. Keep mixing and placement controlled so you don’t overwork the binder or contaminate it.
- Gauging buckets, scales, and a fine sieve for consistent ratios
- Forced-action mixer or mortar mill; avoid high-speed paddle aeration
- Pointing trowels, small hawk, and jointing irons matched to profiles
- Soft natural-fibre brushes and mist sprayer for gentle finishing/curing
- Hessian, tarps, and shading for wind, sun, and frost protection
Rake Out Joints Safely Around Flints
How do you rake out flint cottage joints without bruising the flints or loosening the core? You work slowly, keep tools sharp, and control vibration.
Start by masking vulnerable arrises and glazing with tape or thin card. Use a plugging chisel or narrow joint raker, always angling toward the mortar, not the flint face. Avoid grinders; modern construction habits can shatter flint and overcut beds.
Rake only to sound mortar, typically 15–25 mm, or twice the joint width, whichever is less. Vacuum as you go so you can see the bedding and stop before you disturb pins or small packers.
If mortar’s hard, pre-wet and score in passes. This discipline protects Historic preservation fabric and maintains stability.
Repoint Flintwork: Mix, Pack, and Finish Joints
Once you’ve exposed sound bedding, you can repoint flintwork only by matching the original lime mortar’s strength, permeability, and texture so the joint—not the flint—takes the weathering.
For historical restoration, choose a feebly hydraulic lime or putty with sharp, well-graded sand; gauge by volume, then knock up to a stiff, cohesive mix.
Dampen the joint to control suction, then pack in thin lifts, compacting hard against the flint arrises to eliminate voids and future frost pockets.
Finish before full set so the surface stays open and durable, supporting environmental sustainability through repair, not replacement.
- Select lime and aggregate to match existing
- Pre-wet joints; avoid saturation
- Pack firmly in 10–12 mm lifts
- Cut back and brush to expose grain
- Protect from sun, wind, and rain
Patch or Re-Render With Breathable Lime Render
Where flint panels have lost their protective coat or show hollow, salt-blown patches, you’ll need to patch or re-render with a breathable lime render that sheds bulk water while letting moisture vapour escape through the wall.
Cut back to firm edges, rake out friable material, and brush off dust; lightly pre-wet so the substrate doesn’t rob water from the mix.
For Historical preservation, match the original: typically lime putty with well-graded sharp sand (about 1:2.5–3), plus hair where specified. Apply in two or three thin coats, pressing to key into flint and mortar, then scratch for mechanical bond.
Use Modern adaptations carefully: NHL 2 or 3.5 only where exposure demands, never cement.
Protect from sun, wind, and frost while it cures.
Limewash Your Flint Cottage and Keep It Sound
Although lime render takes the weathering, limewash keeps it working by closing fine surface pores, shedding driving rain, and staying vapour-open so the wall can dry. You’ll protect flint and mortar while respecting Historical preservation and avoiding Modern construction films that trap moisture.
Mix mature lime putty with clean water, strain, then apply thin, multiple coats onto a dampened, cool substrate to prevent rapid suction and powdering. Work limewash into the texture so it keys to the sand fines and carbonates evenly.
Recoat when it’s touch-dry, not fully cured, and shield from sun, frost, and wind.
- Dampen render before each coat
- Keep coats thin; avoid opacity chasing
- Brush in two directions for coverage
- Allow carbonation between coats
- Rewash sacrificially every few years
Frequently Asked Questions
Do I Need Listed Building Consent Before Repointing or Re-Rendering a Flint Cottage?
You’ll usually need Listed Building Consent if repointing or re-rendering alters fabric, materials, or appearance; confirm with your conservation officer. Historic preservation and Building regulations may also apply, especially if you change breathability, profiles, or detailing.
What Time of Year Is Best for Lime Work in Cold or Wet Climates?
You’ll get best results in late spring to early autumn, when temperatures stay 5–25°C and drying’s steady. Seasonal considerations mean avoiding frost, heat, and driving rain; weather impact demands sheltered curing, dampened substrates, and protection.
How Long Should I Keep Pets and Children Away While Lime Cures?
Keep pets and children away until the surface stops chalking and feels firm—typically 48–72 hours, longer in damp cold. For pet safety during curing duration, block access, ventilate, and prevent licking, dust, or skin contact.
What Are Typical Costs per Square Metre for Repointing Flintwork With Lime?
You’ll typically pay £80–£180 per m² for repointing with lime mortar, depending on joint depth, access, and finish. If flints need resetting, Flint repair can push rates to £150–£300 per m².
Can Lime Repairs Affect Mortgage, Insurance, or Home Survey Reports?
Yes—you’ll see lime repairs flagged if Lime compatibility looks wrong or workmanship seems poor; that can drive Mortgage impact, insurer exclusions, or survey recommendations. You’ll reduce issues by documenting specs, approvals, curing, and contractor credentials.
Conclusion
Treat lime like your flint cottage’s life-support system: ignore it and you’re practically inviting the walls to self-destruct. You spot hairline cracks, hollow render, and cement “repairs” early, then you choose the right binder—putty for finesse, NHL2 for gentle exposure, NHL3.5 when weather’s brutal. You rake joints without bruising flints, pack mortar tight, and finish proud but porous. You render and limewash to seal—breathably—so moisture can escape.