You can improve your property fast with a few weekend-safe DIY upgrades that don’t cost much. Start by planning tools, protecting surfaces, and working in a clean, well-lit space. Then tackle high-impact jobs like paint touch-ups, swapping cabinet hardware, upgrading light fixtures and bulbs, sealing drafts with caulk and weatherstripping, sharpening curb appeal with simple landscaping, and adding closet or pantry storage. The key is knowing which project pays off first…
Key Takeaways
- Prep safely: walk the site, shut off utilities as needed, wear PPE, and stage tools and materials for efficient weekend work.
- Refresh paint: clean, scrape, sand, patch, and prime properly, then paint for a durable, professional-looking finish.
- Add an accent wall: test swatches in different light, cut in clean edges, roll in a “W” pattern, and remove tape while tacky.
- Upgrade hardware and lighting: swap knobs and pulls, install updated fixtures safely, and use high-CRI LED bulbs with dimmers for better ambiance.
- Seal drafts and improve storage: caulk and weatherstrip doors/windows, then add closet rods, shelves, and labeled bins for instant organization.
DIY Safety, Tools, and Weekend Prep
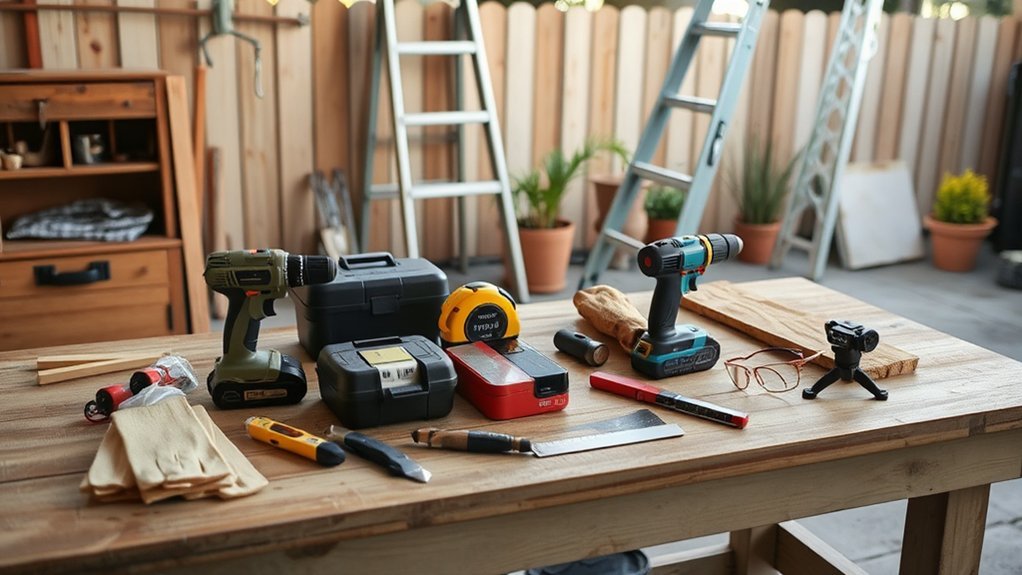
Before you pick up a tool, set yourself up for a safe, efficient weekend by treating prep like part of the project. Walk the site, note hazards, and shut off power or water when needed. Wear safety gear that matches the task: eye protection, gloves, hearing protection, and a respirator for dust.
Plan your materials and cuts on paper, then stage everything within reach. Practice tool organization: sort fasteners in labeled cups, charge batteries, and lay out cords to avoid trips.
Inspect ladders, blades, and bits for damage, and confirm the right anchors for your wall type. Set a realistic timeline with a cleanup buffer, and keep a first-aid kit and fire extinguisher accessible at all times.
Paint Touch-Ups and Accent Walls (DIY)
Before you touch paint, you’ll prep and repair the surface: wash off grime, scrape loose edges, fill dings, sand smooth, and spot-prime bare patches so the sheen matches.
For touch-ups, you’ll feather the edges with a small roller or brush and match the nap, direction, and drying time to the existing finish.
When you paint an accent wall, you’ll cut crisp lines with proper taping and sealing, keep a wet edge, and plan coats and lighting so the color reads clean and intentional.
Prep And Repair Surfaces
Although paint touch-ups and accent walls look like “finish work,” your results depend on how well you prep and repair the surface. Start with surface cleaning: wash grime with a degreasing cleaner, rinse, and let it dry fully.
Scrape loose paint, then feather edges with 120–220 grit so patches won’t telegraph through. Fix dents and nail holes using the right filler; your material selection matters—spackle for small interior flaws, setting-type joint compound for deeper repairs, and wood filler for trim.
Sand patches flush, vacuum dust, and wipe with a tack cloth. Prime any bare drywall, stained areas, glossy paint, or fresh repairs to lock down porosity and prevent flashing. Caulk gaps at trim for crisp lines.
Accent Wall Painting Tips
With the surface clean, patched, sanded, and primed, you’re ready to make an accent wall look intentional instead of improvised. Pick a wall with a natural focal point, then choose Color contrast that supports the room’s trim, flooring, and light level. Sample two swatches and view them morning and night before committing.
Cut in first: tape the edges only if you burnish it tight; otherwise, freehand with a quality angled sash brush. Load the brush, tap off excess, and keep a wet edge—those brush techniques prevent ridges at corners.
Roll in a “W” pattern with a 3/8-inch nap, then back-roll lightly to level. Remove tape while paint’s still tacky, touch up with a small artist brush, and let it cure 24 hours.
DIY Hardware Swaps: Pulls, Knobs, Handles
If you want a fast, high-impact upgrade that doesn’t require a full remodel, swap your pulls, knobs, and handles. You’ll modernize kitchens, baths, and built-ins in an hour with basic tools and careful measuring.
Start by checking hole spacing (center-to-center) on existing pulls, then buy replacements that match to avoid filling and drilling. For knobs, confirm screw length and door thickness so hardware seats tight.
Choose a consistent finish—matte black, brushed nickel, or warm brass—to unify rooms without repainting. Use Hardware customization to mix shapes: bar pulls on drawers, knobs on doors, for better grip and visual balance.
Select decorative hardware that complements your cabinet style, then tighten by hand to prevent stripping. Keep a template for straight alignment.
Swap Light Fixtures and Upgrade Bulbs (DIY)
When you swap dated light fixtures and upgrade to the right bulbs, you’ll change how every room looks and functions in a single afternoon. Start by cutting power at the breaker and confirming with a tester, then follow a simple Lighting design plan: layer ambient, task, and accent light so spaces feel intentional, not random.
- Measure and match: confirm box rating, canopy size, and mounting style before fixture selection.
- Choose the right color: 2700K for cozy rooms, 3000–3500K for kitchens and baths.
- Go LED, high CRI: pick 90+ CRI for true colors and fewer shadows.
- Dim smartly: pair dimmable LEDs with compatible dimmers to prevent flicker.
Finish by leveling fixtures and tightening all connections.
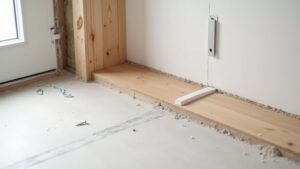
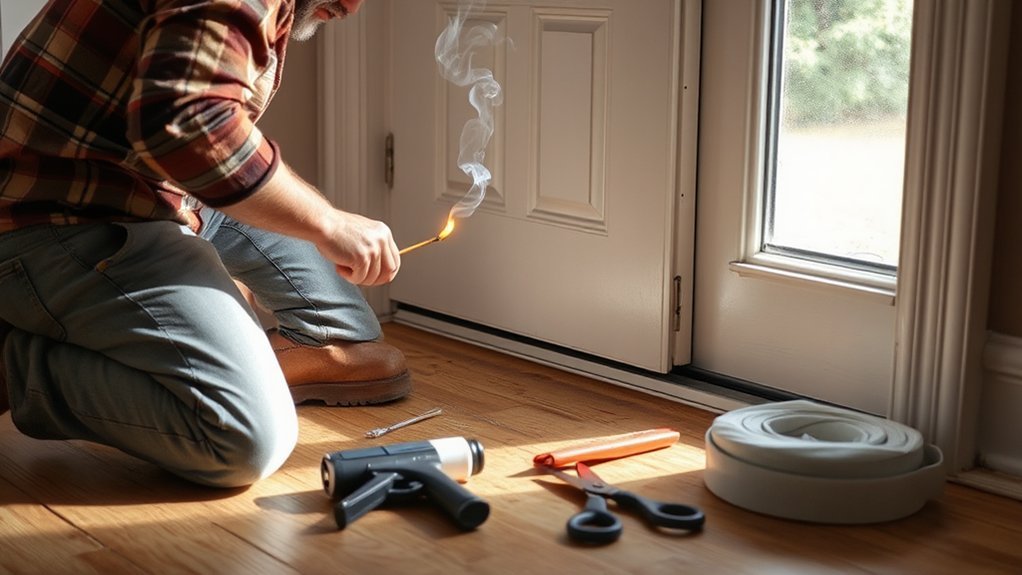
Find Drafts and Seal With Caulk + Weatherstripping
Because air takes the path of least resistance, small gaps around windows, doors, and penetrations can leak enough to spike your heating and cooling bills and make rooms feel uneven.
Start by hunting drafts on a windy day: hold a lit incense stick near casings, baseboards, outlets, and attic hatches; watch for smoke drift. Mark leaks with painter’s tape.
Clean and dry surfaces, then run paintable acrylic-latex caulk along trim joints, window stops, and plumbing penetrations; tool it smooth for full contact.
For larger voids and insulation gaps, use low-expansion spray foam rated for windows and doors.
Replace worn door seals and add adhesive-backed foam or V-strip weatherstripping at jambs; install a sweep at the threshold. Recheck after 24 hours.
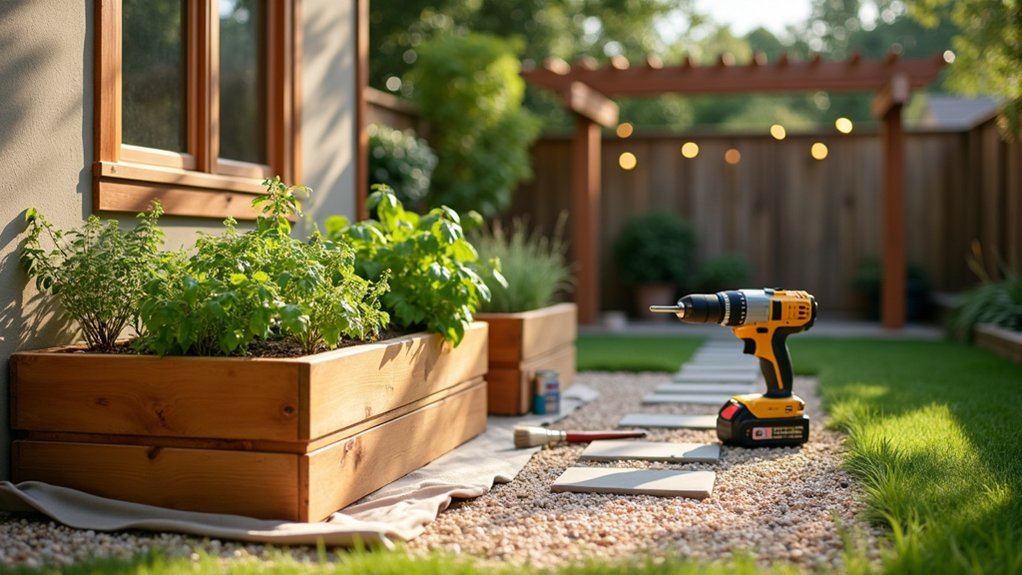
Boost Curb Appeal With Simple DIY Landscaping
Sealing drafts tightens comfort indoors; now make the outside look just as dialed-in with a few weekend landscaping upgrades. Start by defining clean edges and a simple Garden layout that guides the eye to your entry.
Choose Plant varieties that match your light and soil so you won’t babysit them. Keep lines crisp, heights layered, and colors limited for a professional finish.
- Edge and weed: Cut a spade edge along beds; pull weeds, then rake smooth.
- Refresh mulch: Lay 2–3 inches, keeping it off stems and siding.
- Plant in groups: Cluster 3–5 of the same plant for impact and balance.
- Add a focal point: Place one urn or boulder near the walk for structure.
DIY Storage Upgrades for Closets and Pantries
How much space do you actually have in your closet or pantry once every item has a defined “home”? Start by emptying everything, measuring wall widths, and sketching zones: hang, fold, shoes, bulk goods, and grab-and-go staples.
For closet organization, install a second closet rod or adjustable track system, then add labeled bins on the top shelf for seasonal items. Use slim, matching hangers to cut wasted inches and keep sightlines clean.
In pantries, upgrade pantry shelving with stackable risers, pull-out wire drawers, and door-mounted racks for spices and wraps. Anchor shelves into studs, level every bracket, and leave 2–3 inches above can tops.
Finish with clear containers and dated labels so you restock fast.
Frequently Asked Questions
Do I Need Permits for Small DIY Upgrades in My Area?
You might need permits, depending on your project and your area. Check Permit requirements and local regulations with your city or county building office. Electrical, plumbing, structural changes usually require approval; cosmetic fixes often don’t.
Which Projects Add the Most Resale Value Before Listing My Home?
You’ll gain the most resale value by polishing your home like a shopkeeper’s window: focus on kitchens, baths, paint, and lighting, then add Landscaping upgrades and Curb appeal enhancements; you’ll sell faster.
How Do I Estimate Total Project Costs and Avoid Budget Overruns?
You’ll estimate total costs by using Budget planning and Cost estimation: itemize materials, labor, permits, and tool rentals, add 10–20% contingency, get three quotes, track spend weekly, and lock scope to prevent overruns.
When Should I Hire a Professional Instead of Doing It Myself?
Hire a professional when the job’s a high-wire act: you face structural, electrical, or plumbing risks, permitting, or expensive mistakes. Do Skill assessment honestly, prioritize Tool safety, and call experts if timelines, codes, or warranties matter.
How Can I Document DIY Work to Satisfy Future Buyers or Insurers?
Document DIY work by keeping dated photos, receipts, permits, and step-by-step notes; store digitally with backups. Use documentation tips: label materials, include diagrams, and record inspections. Highlight Home safety checks and test results.
Conclusion
You don’t need a big budget to get big results—you need a smart plan and a free weekend. Trade scuffed walls for crisp paint, dated knobs for clean hardware, and dim bulbs for bright, efficient light. While you’re upgrading looks, tighten performance: hunt drafts, caulk gaps, and add weatherstripping. Outside, swap bare beds for simple plantings and fresh mulch. Finish by taming closets and pantries so clutter becomes order.