You can repair most engineered parquet damage, but you’ve got to confirm whether it’s only in the finish or through the veneer. Start by checking for scratches, dents, water marks, lifted blocks, and open joints, then match your method to the floor’s coating (hardwax oil or lacquer) and its wear layer thickness. Get this wrong and you’ll sand through or lock in moisture—so the next step matters.
Key Takeaways
- Check wear-layer thickness; 3–6 mm usually allows sanding and refinishing, while thin veneers often need recoating or board replacement.
- Diagnose damage depth: pale marks without a fingernail catch are finish-only, while dark catches indicate timber or core damage.
- Fix light scratches by cleaning, then blending with colour-matched pens or wax; buff and feather-sheen with fine abrasive pads.
- Repair gouges by cleaning, filling with colour-matched epoxy or filler, leveling flush, then sealing with matching lacquer or hardwax oil.
- Address moisture fast: stop leaks, dry 48–72 hours, stabilize 45–60% RH, then treat stains or replace delaminated boards.
Can You Repair Engineered Parquet, or Must You Replace It?
Although replacement sometimes looks like the quickest option, you can often repair engineered parquet in the UK if the wear layer is thick enough and the damage is localised. Check your specification: a 3–6 mm hardwood top layer usually supports sanding and re-finishing, while thinner veneers limit your options.
If boards are individually damaged, you can lift and swap them without disturbing the whole floor, provided you can source the same block size, grade, and finish. You’ll preserve engineered parquet durability by keeping the plywood core dry and stable, controlling humidity, and restoring the correct lacquer or oil system.
Environmental considerations also favour repair: you’ll reduce waste, avoid new timber demand, and cut transport emissions compared with full replacement. Always use UK-rated adhesives and compatible finishes.
Identify the Damage: Scratches, Stains, Lifting, or Gaps
Before you pick up sandpaper or book a fitter, you need to pin down exactly what’s failed in your engineered parquet—surface finish, hardwood wear layer, adhesive bond, or subfloor conditions—because each fault dictates a different repair.
Start by checking scratches: if they’re pale and don’t catch a fingernail, they’re in the lacquer; if they’re dark or catch, the wear layer may be cut.
For stains, identify source (water, oil, tannin) and whether it’s in the finish or timber, as color matching later depends on how deep it’s penetrated.
For lifting or hollow spots, tap-test for debonding and review adhesive selection used (MS polymer vs PU) and moisture readings.
For gaps, measure seasonal movement versus failed tongues, and confirm RH and subfloor flatness.
Fix Light Scratches and Scuffs in Engineered Parquet
Start by checking the scratch severity: if it’s only in the finish and you can’t catch it with a fingernail, you’re dealing with a light mark rather than veneer damage.
Clean the area, then blend the scuff with a colour-matched repair pen or wax stick suited to your parquet’s tone.
Finish by buffing with a soft microfibre cloth and, if needed, a small amount of compatible maintenance polish to level the sheen.
Identify Scratch Severity
If you match the scratch depth to the parquet’s wear layer and finish type, you’ll choose a repair that won’t compromise the engineered boards.
Start by checking the finish: lacquered floors show white lines, while oiled floors show darker marks where fibres open. Run a fingernail across the damage under a raking light; if it doesn’t catch, it’s superficial. If it catches lightly, you’ve disturbed the finish only. If it catches firmly or you see bare timber, you’ve cut into the wear layer and risk colour shift.
Confirm thickness from your product spec (often 3–6 mm wear layer). Note grain direction and plan for color matching.
Maintenance tips: lift grit, fit felt pads, and keep humidity stable indoors.
Blend And Buff Marks
Once you’ve confirmed the scratch sits in the finish rather than the wear layer, you can usually blend it out with controlled abrasion and a compatible refresher. Clean the area with a pH-neutral wood floor cleaner, then dry fully.
Use a maroon pad or 1000–1500 grit abrasive, working with the grain and keeping pressure light to avoid cutting through the lacquer or oil. Feather the edges 50–100mm beyond the mark so you don’t leave a halo.
Wipe, inspect under raking light, and repeat if needed.
For colour matching, test a tinted maintenance polish or repair wax on an offcut or hidden board. Apply sparingly, buff with a white pad, then finish restoration by matching sheen using the manufacturer’s satin or matt refresher.
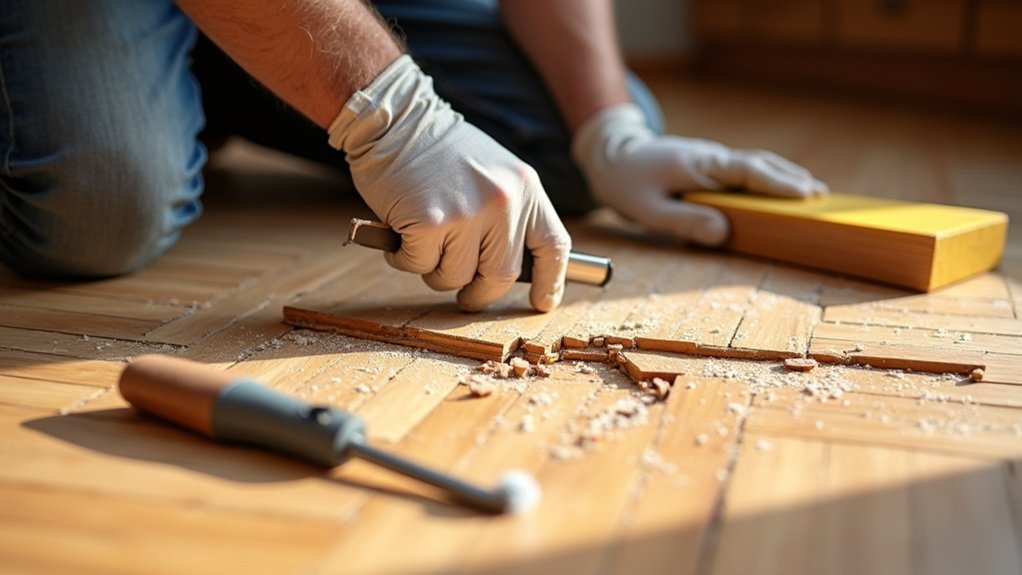
Repair Deeper Gouges and Chipped Parquet Blocks
Start by evaluating the depth of the gouge or chip to confirm it’s confined to the wear layer and hasn’t breached into the core.
You’ll then fill the damage with a colour-matched wood filler or hard wax, pack it tight, and level it flush with the surrounding parquet.
Once it’s cured, lightly sand the spot and refinish to match the existing sheen and finish system.
Assess Damage Depth
Because engineered parquet has only a thin wear layer over a stable core, you need to judge how deep the damage runs before you reach for filler or a replacement block. Start by cleaning the area, then inspect in raking light to see whether the gouge breaks through the veneer into the plywood/HDF core.
Run a fingernail across the defect; if it catches sharply or you can see a pale substrate, treat it as deep. Measure wear-layer thickness at a threshold or offcut if you’ve got one, and compare that to the gouge depth.
Check edges for lifted fibres and any movement under foot, which suggests a compromised bond. Note finish type and board species now to plan later colour matching and verify material compatibility.
Fill Gouges And Chips
After you’ve confirmed the damage reaches into the wear layer or exposes the core, treat gouges and chipped parquet blocks as structural defects rather than surface scratches. Vacuum out debris, then wipe with a barely damp microfibre cloth and let it dry fully to avoid swelling. Mask the edges with low-tack tape to protect the finish.
For filling, use a two-part wood filler or epoxy repair compound suitable for engineered flooring. Pack it firmly with a flexible filling knife, slightly proud of the surface, and recreate the bevel or block edge before it cures.
Prioritise color matching by blending tints or mixing fine sanding dust from an offcut into the filler. Once set, apply local sealing techniques: a thin coat of compatible lacquer or hardwax oil to lock in colour and moisture resistance.
Sand And Refinish Area
Where the repair sits proud, shows a visible edge, or the filler’s colour needs blending, you’ll need to sand and locally refinish the area to level it with the surrounding parquet and restore the sheen.
Mask adjacent blocks with low-tack tape to protect decorative patterns, then hand-sand with a cork block: start P180, finish P240, always following the grain direction of each block.
Vacuum thoroughly and wipe with a barely damp microfibre cloth; don’t flood engineered boards.
Recoat only the patched section with the same finish already on the floor (lacquer or hardwax oil). Apply thinly with a small pad, feathering 50–100mm beyond the repair to avoid a witness line.
Let it cure as per the manufacturer.
Maintenance tips: fit felt pads and keep grit off.
Treat Water Stains and Moisture-Damaged Engineered Parquet
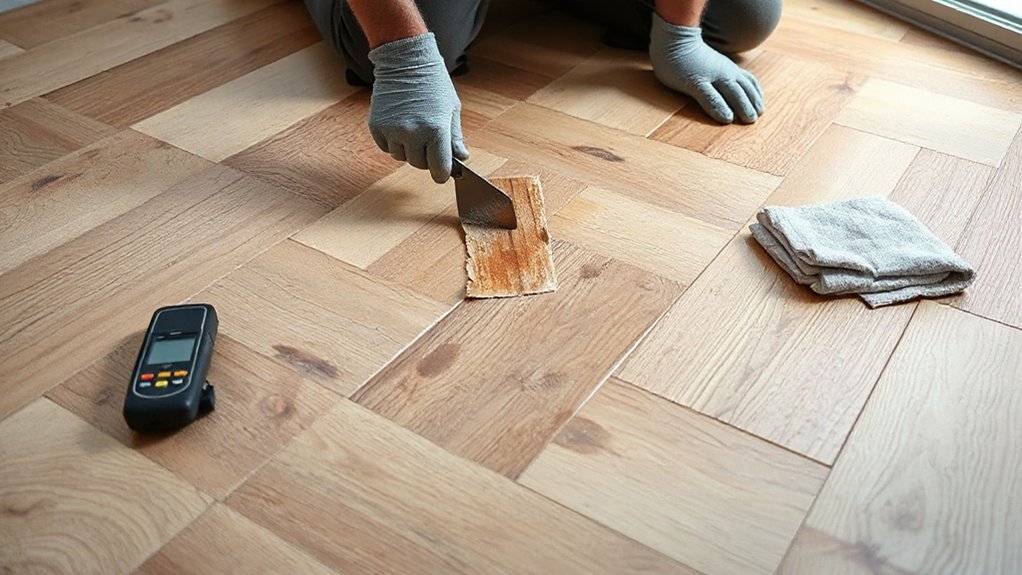
When water sits on engineered parquet, it drives moisture through the joints and into the plywood core, leaving dark tannin stains, whitening, and edge lift. First, stop the source and lift any rugs or furniture so air can circulate. Blot—don’t scrub—then run a dehumidifier and fan for 48–72 hours; aim for 40–55% RH.
Check with a pin moisture meter: you want readings close to unaffected boards before finishing work. For surface water damage marks, lightly abrade the affected area and apply a wood bleach (oxalic acid) to tannin stains, neutralise, then dry fully.
For whitening, warm gently with a hairdryer and re-oil or re-lacquer. If boards feel soft or delaminated, replace them.
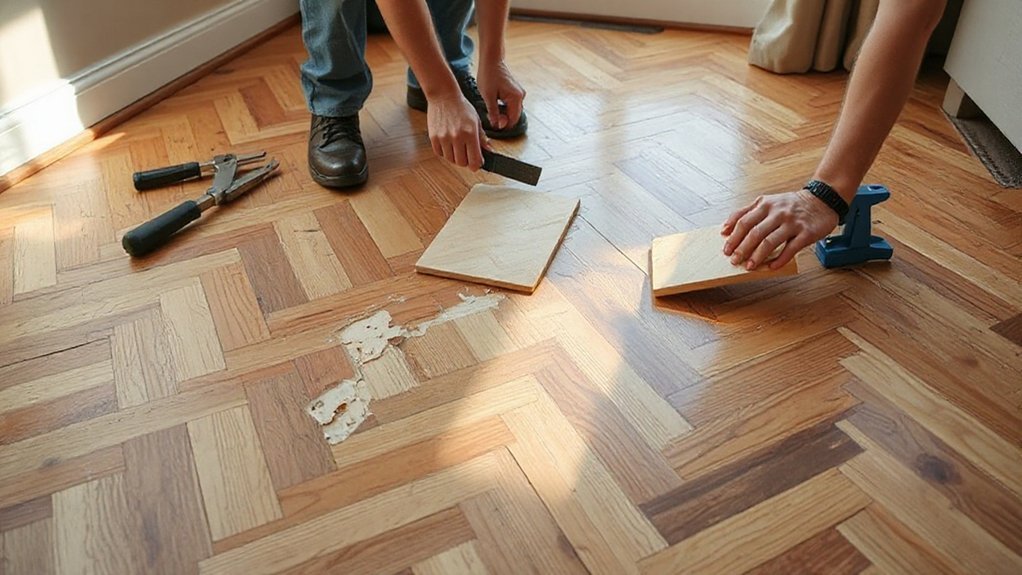
Re-Glue Loose or Lifting Engineered Parquet Blocks
Because lifted parquet blocks usually signal bond failure rather than simple swelling, you’ll get the best repair by re-adhering them to a clean, flat subfloor with the right adhesive for your build-up.
Lift the loose block carefully, scrape off old glue, and vacuum to dust-free. Check the subfloor for high spots and feather them flat.
Prioritise Adhesive selection: use a flexible MS polymer for most UK plywood/screed, or a PU adhesive where moisture resistance is needed; follow the manufacturer’s trowel notch and open time.
- Mark the block’s orientation before lifting
- Dry-fit to confirm tight alignment
- Weight it down with a board and sandbags
- Wipe squeeze-out fast, and plan Color matching for any exposed edges
Fill Gaps and Cracks for a Seamless Parquet Pattern
Although small gaps can look like simple shrinkage, treat them as a finish and stability issue and fill them in a way that keeps the parquet pattern crisp. First, stabilise the room at UK norms: 18–22°C and 45–60% RH for several days. Then vacuum out debris with a crevice tool.
For hairline cracks, use a colour-matched acrylic parquet filler or resin-based filler compatible with your lacquer/oil system; press it in with a flexible filling knife, working with the grain direction of each block.
For wider gaps (over ~2 mm), insert matching wood slivers, glued with MS polymer or PU, then trim flush. Wipe squeeze-out immediately.
Keep gap filling confined to the joint so the herringbone lines stay sharp.
Refinish Engineered Parquet Safely (Avoid Sanding Through Veneer)
With gaps and cracks filled and the parquet lines kept crisp, you can turn to refinishing—but engineered blocks don’t tolerate aggressive sanding. Your goal is to clean, key, and coat without cutting through the Engineered veneer, because once you expose the core you’ll compromise flooring durability and moisture resistance.
- Use a 150–180 grit screen on a rotary buffer, not a belt sander.
- Hand-de-nib edges with a sanding sponge, working with the grain.
- Vacuum thoroughly, then wipe with a water-based tack cloth substitute.
- Apply two to three thin coats of hardwax oil or polyurethane, de-nibbing between coats.
Check the manufacturer’s wear-layer thickness first; many UK engineered parquets offer only 2–4mm. If you see darker glue lines or ply, stop immediately and recoat instead.
Frequently Asked Questions
How Much Does Professional Engineered Parquet Repair Typically Cost per Square Metre?
In the UK, you’ll typically pay £40–£120 per m² for professional engineered parquet repair. Cost estimates vary with Repair factors like damage depth, veneer thickness, pattern matching, access, subfloor prep, sanding, finishing, and minimum call-out charges.
Will Repairing Damaged Parquet Affect My Floor’s Warranty Coverage?
Yes, repairs can void your warranty—because nothing says “coverage” like unauthorised work. Check Warranty considerations, follow manufacturer Repair process procedures, use approved UK installers, keep invoices, and avoid sanding beyond wear-layer limits.
How Long Should I Wait Before Walking on Repaired Areas or Replacing Furniture?
You should allow a 24–48 hour Foot traffic delay; keep socks only initially. Wait 72 hours before light Furniture repositioning, and 7 days for heavy items or rugs, depending on adhesive, sealant, and room humidity.
Can Damaged Engineered Parquet Be Repaired Without Matching the Original Wood Species?
Yes, you can, but expect compromises: 70% of repairs look acceptable after finishing. You’ll prioritise Matching wood grains and careful color blending using stains and fillers, yet mismatched species may telegraph under raking light.
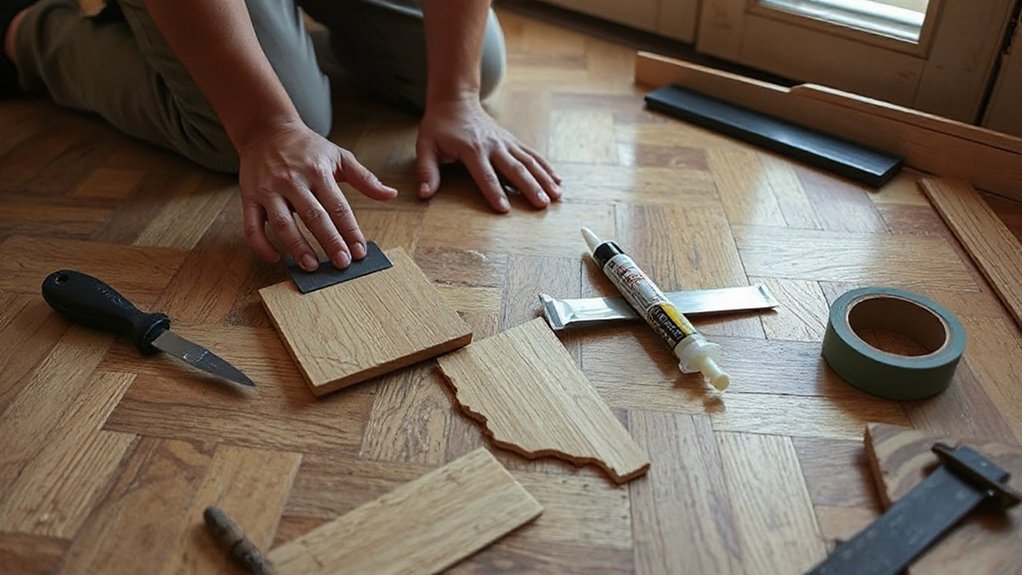
What Tools and Materials Are Essential for a DIY Engineered Parquet Repair Kit?
For Tools overview, you’ll need a utility knife, pull saw, pry bar, chisel, sanding block, vacuum, and moisture meter. For Material selection, grab wood filler, PVA, two-part epoxy, stain, hardwax oil, and varnish.
Conclusion
You don’t always need to replace engineered parquet; you can usually repair it if the veneer’s intact. Start by matching the fix to the fault—blend light scratches, fill and recoat gouges, and tackle moisture at source before boards cup or lift. Re-glue loose blocks, then fill gaps to keep the pattern crisp. With veneer thickness limited, sand lightly or not at all. In UK homes, around 1 in 5 suffer damp issues—act quickly.