You can learn fast, code-smart home fixes with a small kit: 16 oz claw hammer, tape measure, torpedo level, utility knife, stud finder, and a bit driver with pliers. Wear ANSI-rated eye protection, cut-resistant gloves, and use a non-contact voltage tester before touching anything electrical. Fix nail pops by sinking the nail and adding a drywall screw, then mud, sand, prime, and paint. Tighten hinges, stop drips at shutoffs, clear drains, and tune toilet fill valves—more steps follow.
Key Takeaways
- Stock basic tools and safety gear: hammer, screwdrivers, pliers, level, utility knife, eye protection, gloves, and a non-contact voltage tester.
- Fix nail pops and small drywall holes by driving fasteners below the surface, applying joint compound, sanding smooth, then priming and painting.
- Stop squeaky or misaligned doors by tightening hinge screws, using longer screws into studs, lubricating hinge pins, and adjusting latch alignment.
- Improve sticky drawers by cleaning slides, tightening fasteners, realigning runners, and lubricating with dry PTFE spray.
- Address common plumbing and draft issues: replace toilet flappers, tighten faucet connections, clear drains with a plunger, and install weatherstripping or door sweeps.
Build a Basic Toolkit for Simple Home Repairs
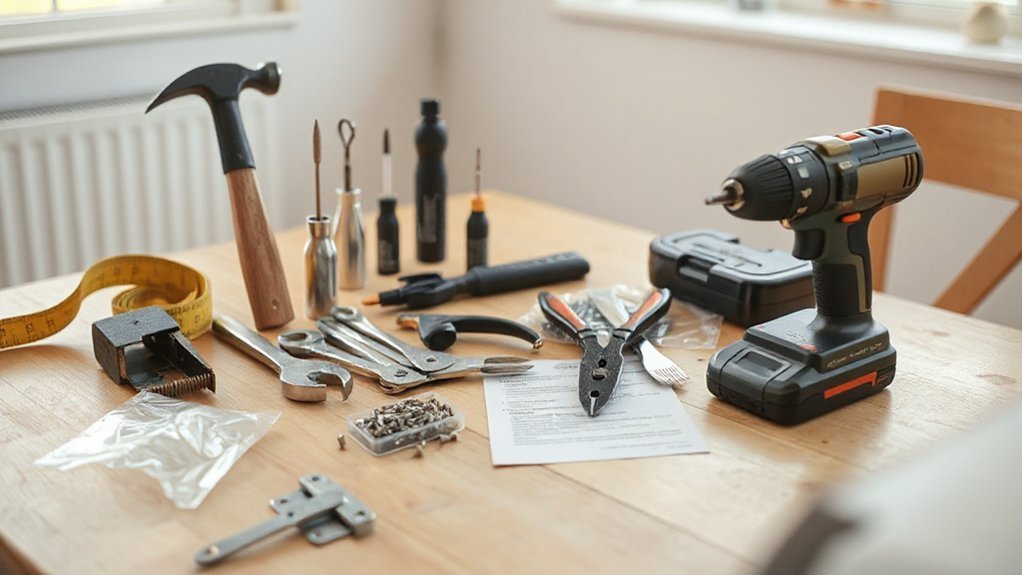
Before you start patching drywall, tightening a loose hinge, or swapping a light fixture, you’ll work faster and safer if you’ve got a basic, well-chosen toolkit on hand. Start with a 16 oz claw hammer, tape measure, torpedo level, utility knife, stud finder, and a compact set of screwdrivers plus a bit driver. Add adjustable pliers, needle-nose pliers, a small pry bar, and a 6-inch adjustable wrench. For fastening, keep assorted screws, anchors, and picture hooks in labeled bins. For DIY safety, wear ANSI-rated eye protection and cut-resistant gloves, and keep a non-contact voltage tester for any electrical work. Practice tool maintenance: clean blades, oil joints, inspect cords, and replace worn bits.
Simple Home Repairs: Patch Nail Pops and Small Holes
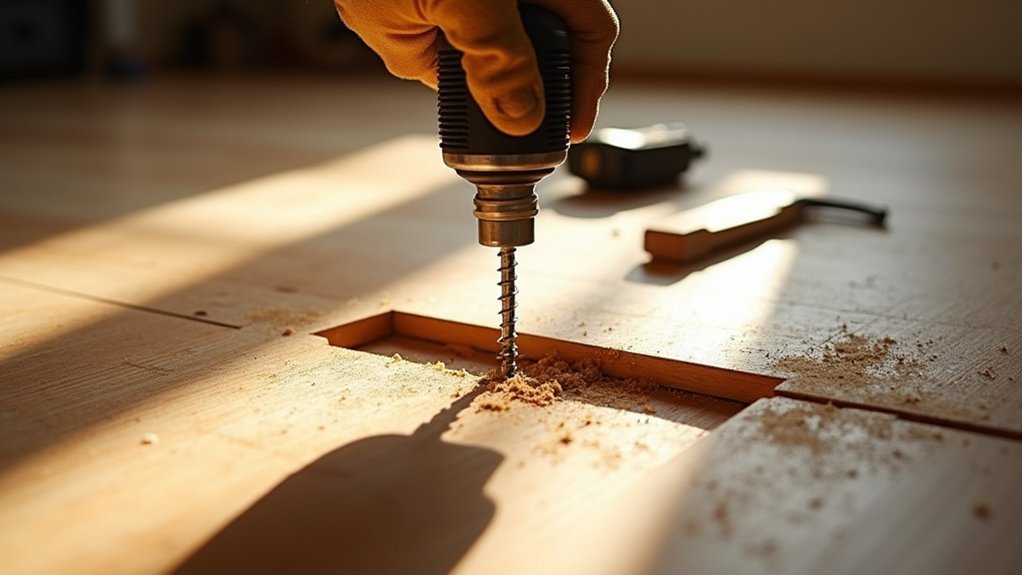
Although nail pops and small drywall holes look minor, fixing them correctly prevents cracks, loose fasteners, and repeat touch-ups. First, confirm the drywall is dry and free of mold; if you find moisture staining, address the source before patching per local building and health codes. For a nail pop, drive the nail slightly below the surface, then add a drywall screw 1–2 inches above or below into framing. Dimple it without tearing paper. For small holes, clean loose edges, apply setting-type joint compound with a putty knife, and press firmly to fill voids. Let it cure, sand with 120–150 grit, and feather edges. Match wall texture using spray or sponge techniques, then prime. Finish with paint touch ups using the original sheen to blend.
Simple Home Repairs: Tighten Door Handles and Hinges
After you’ve patched wall damage, you’ll often notice doors that still rattle, sag, or feel loose at the latch because the hardware has backed out of the framing. Start by tightening hinge screws with a hand screwdriver so you don’t strip heads. If a screw spins, replace it with a longer #9 or #10 that reaches the stud; keep screw length compliant with your hinge leaf so it doesn’t bind. Check hinge alignment, then perform hinge lubrication: add a drop of dry PTFE or light machine oil to the pin, wipe excess to prevent staining. Next, inspect the knob or lever. For door handle installation, snug the through-bolts evenly and verify the latch retracts smoothly and meets the strike without forcing. Test for fire-door closers, if present.
Fix Sticky Drawers: Adjust Slides and Tracks
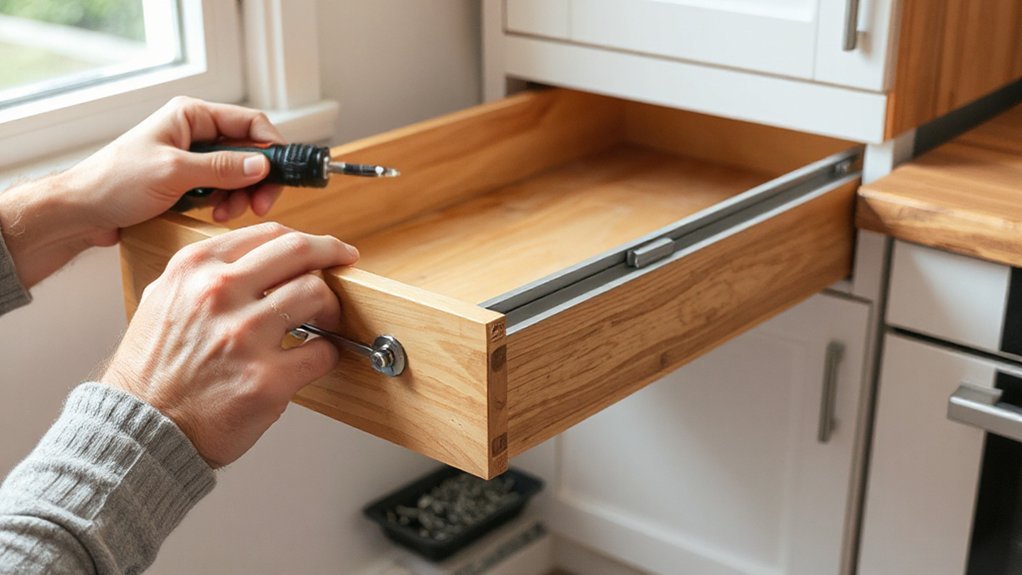
When a drawer drags, binds, or won’t close flush, you can usually fix it by correcting slide alignment and clearing track interference rather than forcing the box. Pull the drawer fully out and set it on a stable surface. Vacuum debris, then wipe slides and tracks with a damp cloth; let them dry. Inspect screws and brackets; tighten loose fasteners, but don’t overtighten into particleboard. For Drawer alignment, measure gaps at the face and adjust slide mounting holes or cam screws until the drawer sits square and level. Check for rub marks on the cabinet frame and lightly sand only where needed. Finish with Track lubrication: apply a dry PTFE spray to metal slides, avoiding oil that attracts dust. Cycle the drawer 10 times.
Stop a Dripping Faucet and Under-Sink Leaks
Because even a slow drip can waste gallons and damage the cabinet base, tackle faucet and under-sink leaks by shutting off the hot and cold stops, confirming pressure is off at the tap, and inspecting the common failure points—supply connections, shutoff valve packing nuts, P-trap slip joints, and the faucet cartridge or washers. Then work methodically, keeping Water pressure in mind and following local plumbing code for materials and torque. For Faucet maintenance, keep parts OEM-matched and don’t overtighten compression fittings.
- Dry everything, then run water briefly to pinpoint the first wet spot.
- Snug slip-joint nuts by hand plus 1/4 turn; replace worn washers.
- Tighten packing nuts slightly; if seepage persists, replace the valve.
- Pull the cartridge/seat, clean mineral buildup, and reinstall with silicone grease.
Unclog a Sink Drain Without Harsh Chemicals
Although a clogged sink tempts you to reach for caustic drain openers, you can usually restore flow faster—and with less risk to PVC, chrome finishes, and septic systems—by using mechanical methods like a plunger, a simple drain-cleaning tool, and P-trap service. First, plug the overflow (if present) with a wet rag and plunge 10–15 strokes, keeping the cup sealed. If it’s still slow, remove the stopper and run a plastic zip tool or small hand auger to pull hair and grease. Set a bucket, then loosen the slip nuts and clean the P-trap; replace worn washers and hand-tighten plus a quarter-turn. For Eco friendly drain cleaning, flush with hot water; consider Natural clog remedies like baking soda and vinegar, only after debris removal.
Simple Home Repairs: Fix Running Toilets and Seal Drafts
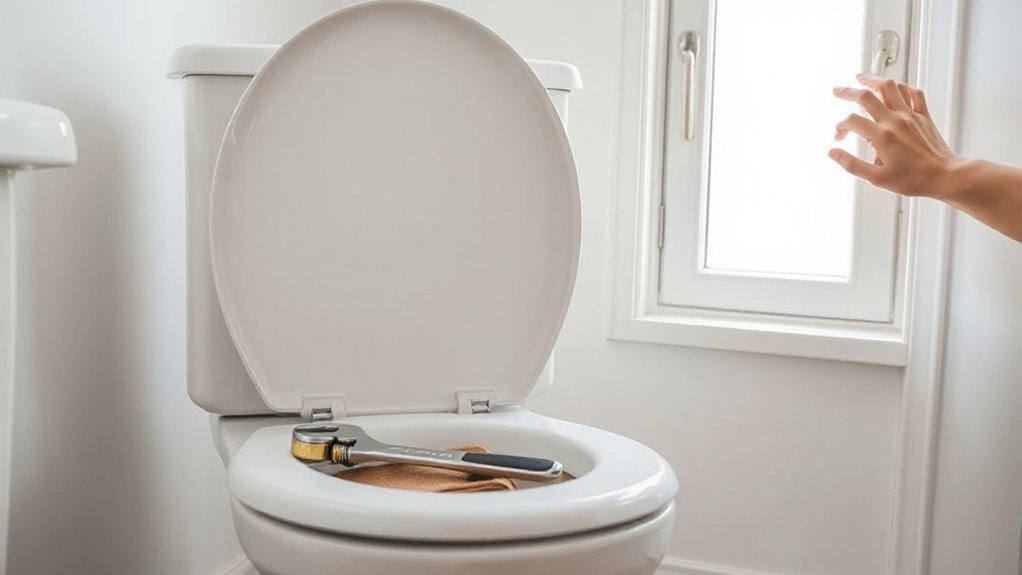
If your toilet won’t stop running, you can usually fix it fast by shutting off the supply, checking the flapper seal and chain, and setting the fill valve to the marked waterline to prevent overfill. You’ll also want to inspect the shutoff valve and supply line for leaks and replace worn parts with code-compliant, manufacturer-rated components. To seal drafts around doors, you can install or adjust weatherstripping and a door sweep so the door latches fully and maintains required clearances and safe egress.
Stop Toilet Running Fast
Why let a running toilet waste gallons of treated water and push up your utility bill when you can stop it in minutes with a few basic checks? Lift the lid, identify the Toilet tank components, and work methodically to restore proper Water flow regulation without exceeding your fixture’s rated fill level.
- Shut the stop valve, flush, then inspect the flapper for warping, slime, or a bent chain; replace if it won’t seal flat.
- Check the overflow tube: set the waterline 1 inch below its top, per common plumbing-code guidance.
- Test the fill valve: move the float; if it sticks or hisses, clean the screen or swap the valve.
- Dye-test the tank; color in the bowl means a leak you must correct.
Seal Drafts Around Doors
Once you’ve stopped the water waste in the bathroom, tackle door drafts next to cut heat loss and keep indoor air quality under control. First, check the perimeter with a flashlight test and feel for airflow on a windy day. If gaps exceed about 1/8 inch, you’ll need new seals.
Clean the jamb and stop surfaces, then apply adhesive-backed foam or V-strip using sound weatherstripping techniques: measure twice, cut square, and press firmly along a straight, continuous line. For exterior doors, use compressible silicone for durability. Next, handle the bottom gap with door sweep installation: choose a sweep rated for exterior use, predrill to avoid splitting, and set it to lightly contact the threshold. Don’t block required egress or interfere with door latching.
Frequently Asked Questions
What Repairs Require a Permit or Licensed Professional in My Area?
You’ll need permits or licensed pros for service-panel work, new circuits, gas lines, HVAC replacement, plumbing reroutes, water-heater installs, structural changes, roofing, and sewer work. Check local permit requirements; homeowner responsibilities include inspections and compliant documentation.
How Do I Safely Shut off Water, Gas, and Electricity Before Repairs?
Like dimming a storm, you’ll shut off water at the main; relieve water pressure at a lowest faucet; add pipe insulation. You’ll close the gas meter valve; you’ll switch off the main breaker—local code permitting.
What’s the Best Way to Find a Hidden Wall Stud or Pipe?
Use a Stud finder with deep-scan, confirm by probing nail patterns and measuring 16-inch centers. Then run a Pipe locator for metallic/PVC routes. You should follow local code, avoid drilling near outlets, plumbing, or gas.
How Can I Remove Lead Paint or Asbestos Safely During Repairs?
You can’t safely DIY most Lead removal or asbestos handling; you’ll follow EPA/RRP and local rules, avoid sanding, mist and contain, use HEPA vacuums and PPE, seal waste, and hire licensed abatement when required.
When Should I File a Home Insurance Claim for Damage or Repairs?
File a claim when damage is sudden, covered, and exceeds your deductible; document promptly. Focus on Choosing the right claim, Understanding deductibles, and policy limits. Notify your insurer fast, mitigate loss, and follow local reporting rules.
Conclusion
You’ve handled the toolkit, patched holes, tightened hardware, tuned drawers, stopped drips, cleared drains, and quieted that running toilet—but don’t put the tools away yet. One last walk-through can catch what causes repeat failures: slow seepage under valves, loose hinge screws, or drafts at thresholds. Shut off water before any plumbing adjustment, follow manufacturer torque limits, and keep code-required traps and vents intact. Do that, and you’ll discover the next fix waiting—before it becomes damage.